
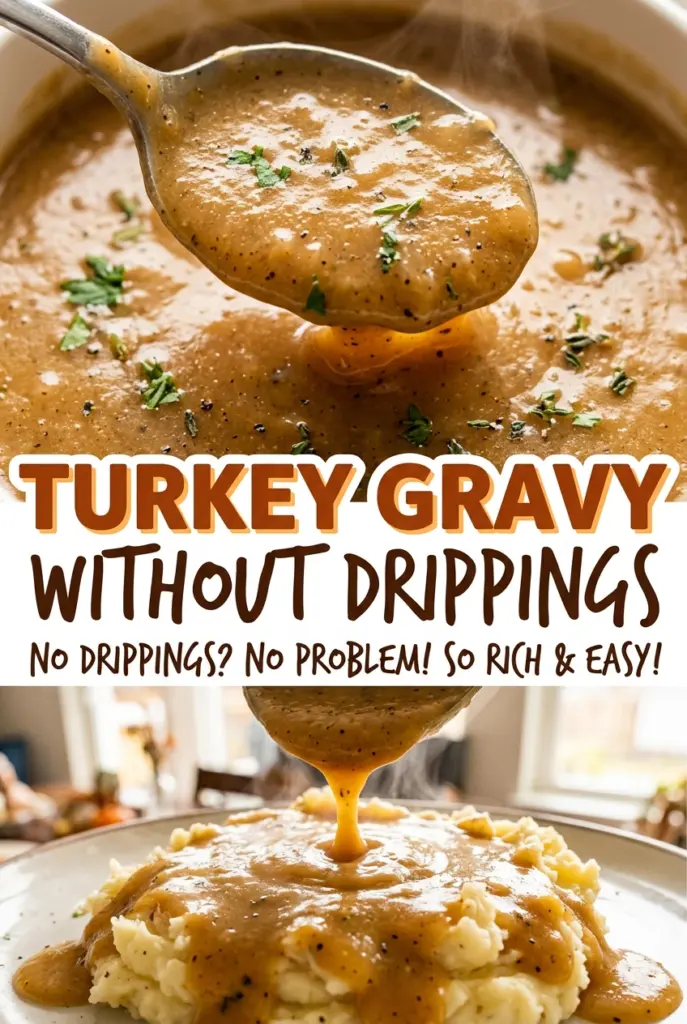
Turkey Gravy Without Drippings
Butter melts quietly in the saucepan, then the flour turns it into a smooth paste that gives gravy its body. I like having this turkey gravy ready even when there…
Tip: save now, cook later.Butter melts quietly in the saucepan, then the flour turns it into a smooth paste that gives gravy its body. I like having this turkey gravy ready even when there aren’t any pan drippings to work with; the broth brings the turkey flavor, and the roux makes a dependable, spoon-coating sauce.
For Turkey Gravy Without Drippings, the order matters more than fancy ingredients. Cook the flour in the butter until the roux is pale golden, then take the pan off the heat before adding broth. Whisking the broth in gradually gives you a smooth start instead of a floury, lumpy one.
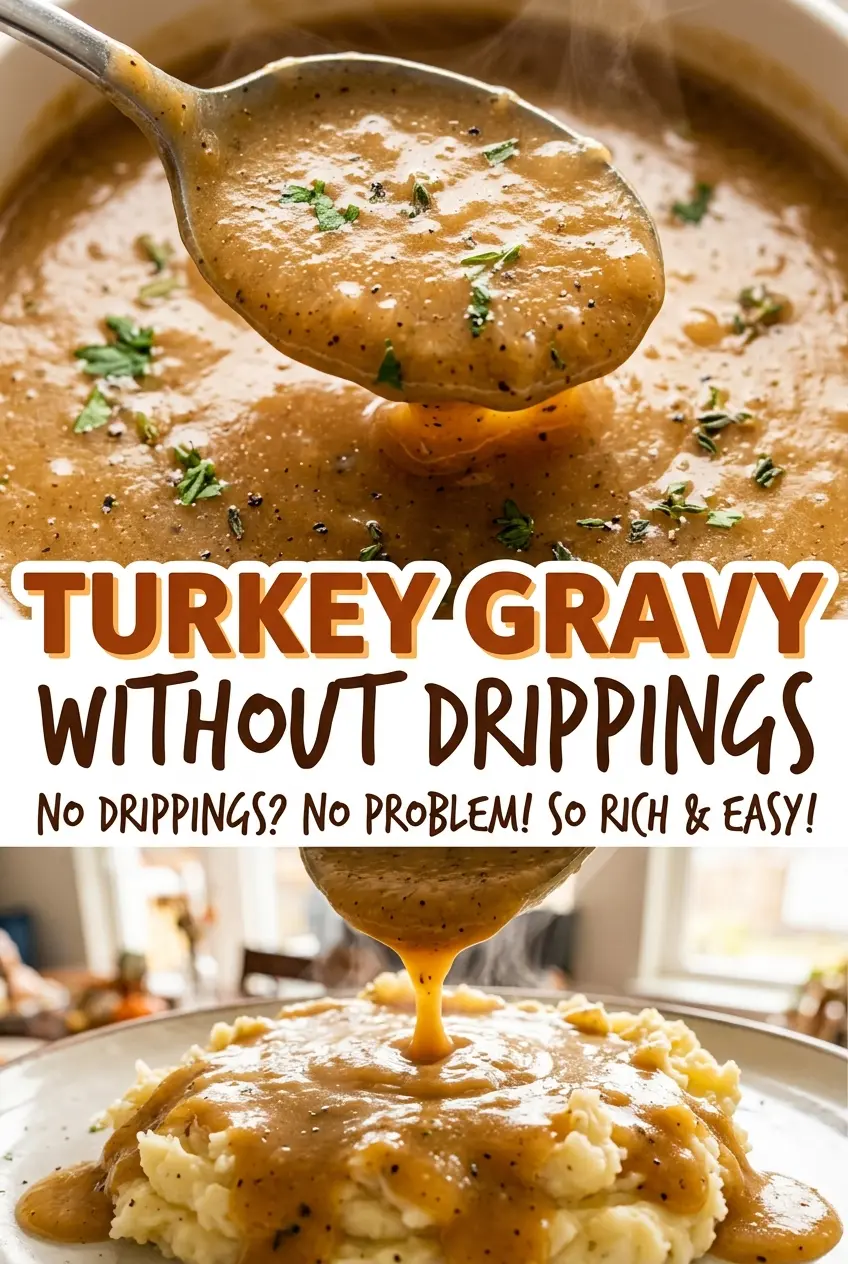
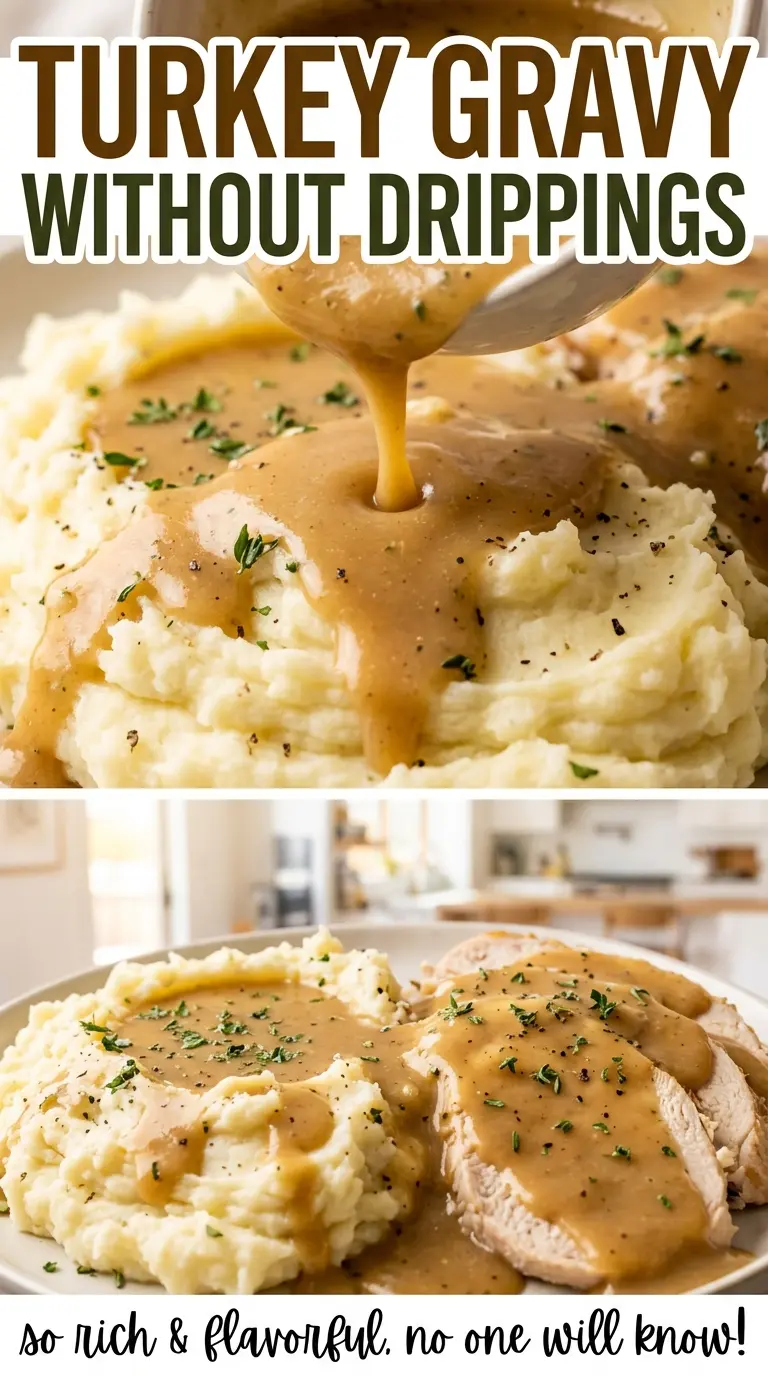
After that, poultry seasoning, salt, and pepper round out the broth. A gentle simmer thickens everything without asking you to wait for a roast to finish. The result is warm, savory gravy with a glossy surface and enough body to settle over a spoon.
Kitchen Note
Keep the roux moving for the full two minutes. It should stay smooth and turn pale golden, not brown; that light color keeps the gravy’s flavor gentle and lets the flour thicken the broth.
Save this turkey gravy without drippings for a smooth, savory sauce that doesn’t depend on the roast pan.
Why This Gravy Doesn’t Need a Pan Full of Drippings
Drippings add roasted flavor, but they also bring an unpredictable mix of fat, browned bits, and salt. This version starts with low-sodium turkey broth instead, so the flavor stays clear and the gravy doesn’t depend on how much liquid happens to collect in the roasting pan. Butter and flour form the base, while poultry seasoning gives the broth a familiar savory note.
The roux does the other job drippings can’t do on their own: it thickens the broth into a gravy that clings to food rather than running straight across the plate. Keeping the broth low in sodium leaves room for the measured salt and pepper to season the finished sauce without having to guess what’s already in the pan. You also get a consistent result whether the turkey is still roasting or you’re making gravy separately.
That makes this especially handy when oven timing is tight. The whole sauce comes together on the stovetop in a small saucepan, and you can judge its thickness directly by how it coats the back of a spoon.
The Ingredients That Build Flavor and Body Without Drippings
- Unsalted butter — Butter gives the flour a rich base and carries the seasoning through the gravy. A standard grocery-store butter works well here; using unsalted keeps the salt level more predictable than starting with salted butter.
- All-purpose flour — This is the thickener, and cooking it in butter first gives the finished gravy a smoother, more rounded taste than whisking raw flour directly into broth. Keep it moving in the pan so it cooks evenly.
- Low-sodium turkey broth — The broth supplies the turkey flavor in place of drippings. A dependable store-brand broth is fine; choose low-sodium so the measured salt doesn’t make the finished gravy too salty. A broth with a pleasant turkey aroma matters more than a premium label.
- Poultry seasoning — This is the compact way to give the broth a savory, herb-seasoned character. Use the seasoning you already keep in the pantry; freshness matters more than buying a specialty blend.
- Kosher salt and black pepper — They sharpen the broth’s flavor without covering it. Freshly ground pepper has a more pronounced aroma, but regular ground black pepper works too.
Build the Roux First, Then Let the Broth Thicken Gently
Melt the butter without browning it
Set a 2-quart saucepan over medium heat and add the butter. Let it melt for about 1 to 2 minutes; the goal is liquid butter, not browned butter. If it starts to darken, lift the pan from the burner briefly before moving on. A gently melted base makes it easier to whisk in the flour evenly.
Cook a smooth, pale-golden roux
Whisk the flour into the melted butter and keep whisking constantly for 2 minutes. The mixture should look smooth, with no dry pockets of flour, and turn pale golden. Don’t walk away during this short cook; flour can catch on the bottom if it sits still. This brief cooking time removes the raw-flour taste while keeping the roux light.
Whisk in broth away from the heat
Take the saucepan off the heat before adding the turkey broth. Pour it in gradually as you whisk, working the liquid into the roux until the mixture is smooth. If you add all the broth at once, the roux is harder to blend evenly and lumps are more likely. Whisk in the poultry seasoning, kosher salt, and black pepper once the broth is incorporated.
Simmer until it coats a spoon
Return the pan to medium heat and bring the gravy to a gentle simmer, whisking frequently. Cook for 5 to 8 minutes, watching for the liquid to thicken and cling to the back of a spoon. Keep the simmer gentle rather than letting the gravy boil hard. If it still looks loose, give it the full cooking time and keep whisking before deciding it needs anything else.
Easy Swaps for Different Tables and Pantries
Make it dairy-free with stick-style plant butter
Replace the butter with the same amount of unsalted stick-style dairy-free butter, then use the same roux method. Avoid soft tub spreads, which have a different water content and may not make a sturdy roux. The gravy will still thicken, though the buttery flavor will be less pronounced.
Use a measure-for-measure gluten-free flour
Swap the all-purpose flour for the same amount of a gluten-free blend labeled for cup-for-cup or measure-for-measure baking. Cook it in the butter as you would regular flour and keep whisking; different blends can make the roux look slightly different, but this keeps the same gravy-making approach. The texture may be a little less silky than the wheat-flour version.
Trade turkey broth for chicken broth
Use the same amount of low-sodium chicken broth if that’s what you have. The gravy will keep its smooth, savory texture, but the turkey flavor will be subtler and the chicken broth will come through instead. The poultry seasoning still fits naturally with this swap.
Storage and Reheating
- Refrigerator: Refrigerate in a covered container for 3 to 4 days. It will thicken as it chills.
- Freezer: Freeze in an airtight container for up to 2 to 3 months. Thaw it in the refrigerator; the texture may look separated until you whisk it warm.
- Reheating: Warm it gently in a saucepan, whisking often, until it reaches 165°F. Avoid high heat, which can make the gravy stick to the pan before it heats evenly.
Questions That Come Up When Making Turkey Gravy
Turkey Gravy Without Drippings
Ingredients
Equipment
Method
- Melt the butter in a 2-quart saucepan over medium heat, about 1 to 2 minutes.
- Whisk in the flour and cook, whisking constantly, for 2 minutes, until the roux is smooth and pale golden.
- Remove the pan from the heat and gradually whisk in the turkey broth until smooth, then whisk in the poultry seasoning, salt, and black pepper.
- Return the pan to medium heat and bring the gravy to a gentle simmer, whisking frequently; cook for 5 to 8 minutes, until thick enough to coat the back of a spoon.
