
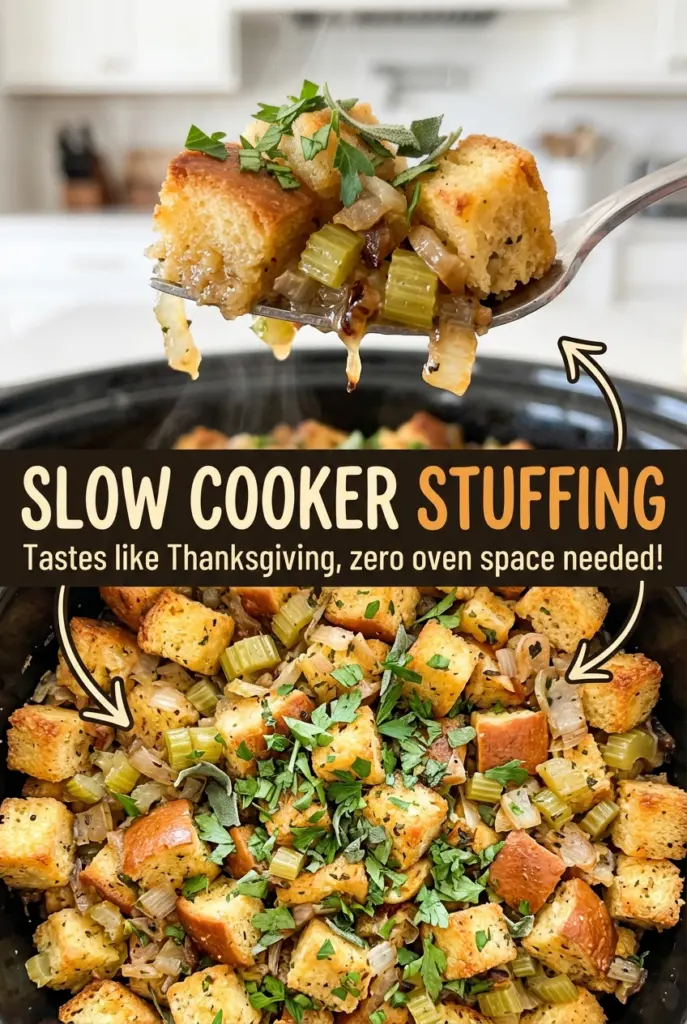
Slow Cooker Stuffing
The onion and celery soften slowly in butter, and the kitchen starts to smell like sage before the bread cubes even hit the bowl. That skillet step matters for Slow…
Tip: save now, cook later.The onion and celery soften slowly in butter, and the kitchen starts to smell like sage before the bread cubes even hit the bowl. That skillet step matters for Slow Cooker Stuffing: the vegetables need to soften before they’re tucked into the bread, or they can stay firm while the rest turns tender.
I toss the bread with the buttery vegetables first, then whisk the broth and eggs together and pour that mixture over everything. It gives me a chance to coat the cubes evenly without crushing them. The slow cooker keeps the stuffing moist under its lid, while the edges settle into a tender, lightly packed texture.
It’s a hands-off way to make a generous batch for the table, with savory herbs in every scoop and no oven space needed. The finished stuffing is soft, fragrant, and ready to serve straight from the cooker.
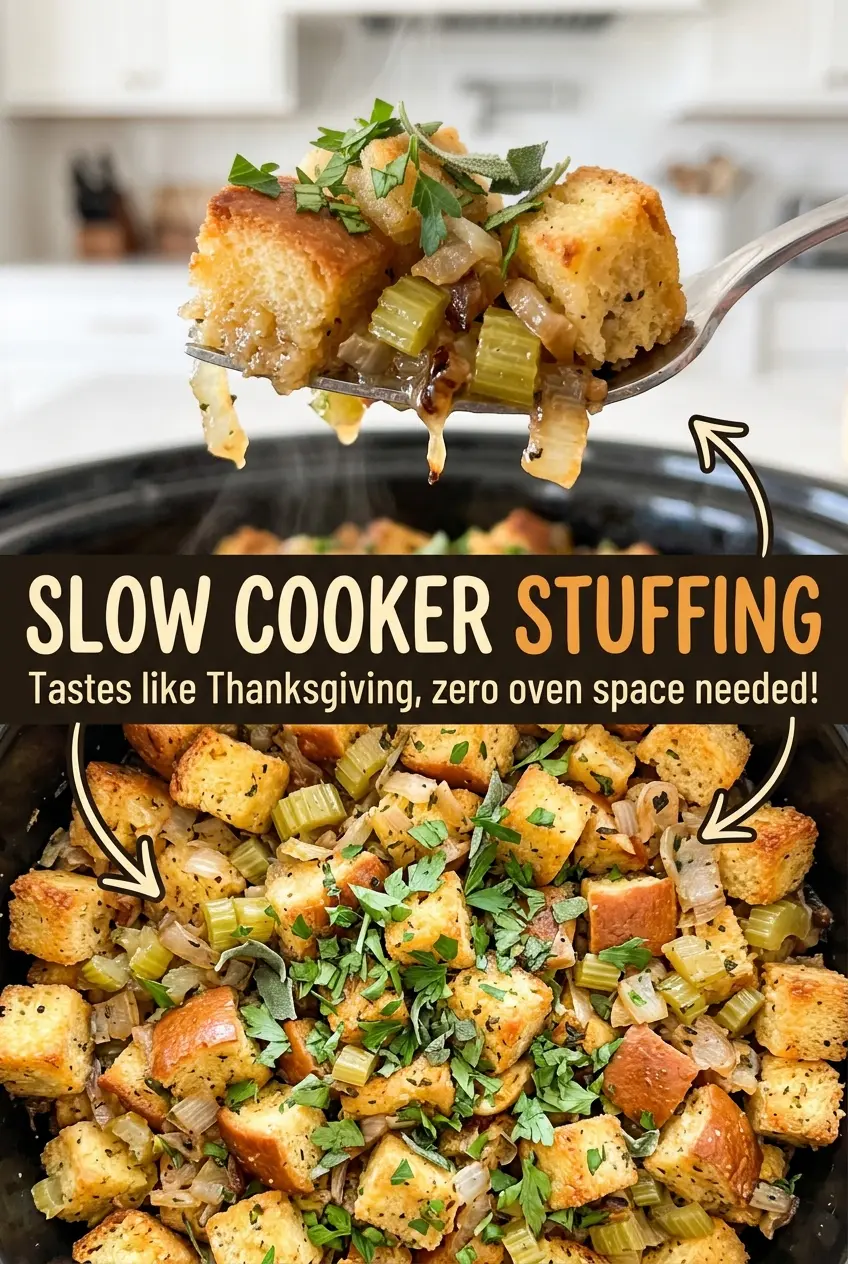
Kitchen Note
Let the stuffing rest in the covered slow cooker for the full 10 minutes after you turn it off. The brief pause helps it settle so it’s easier to scoop without falling apart.
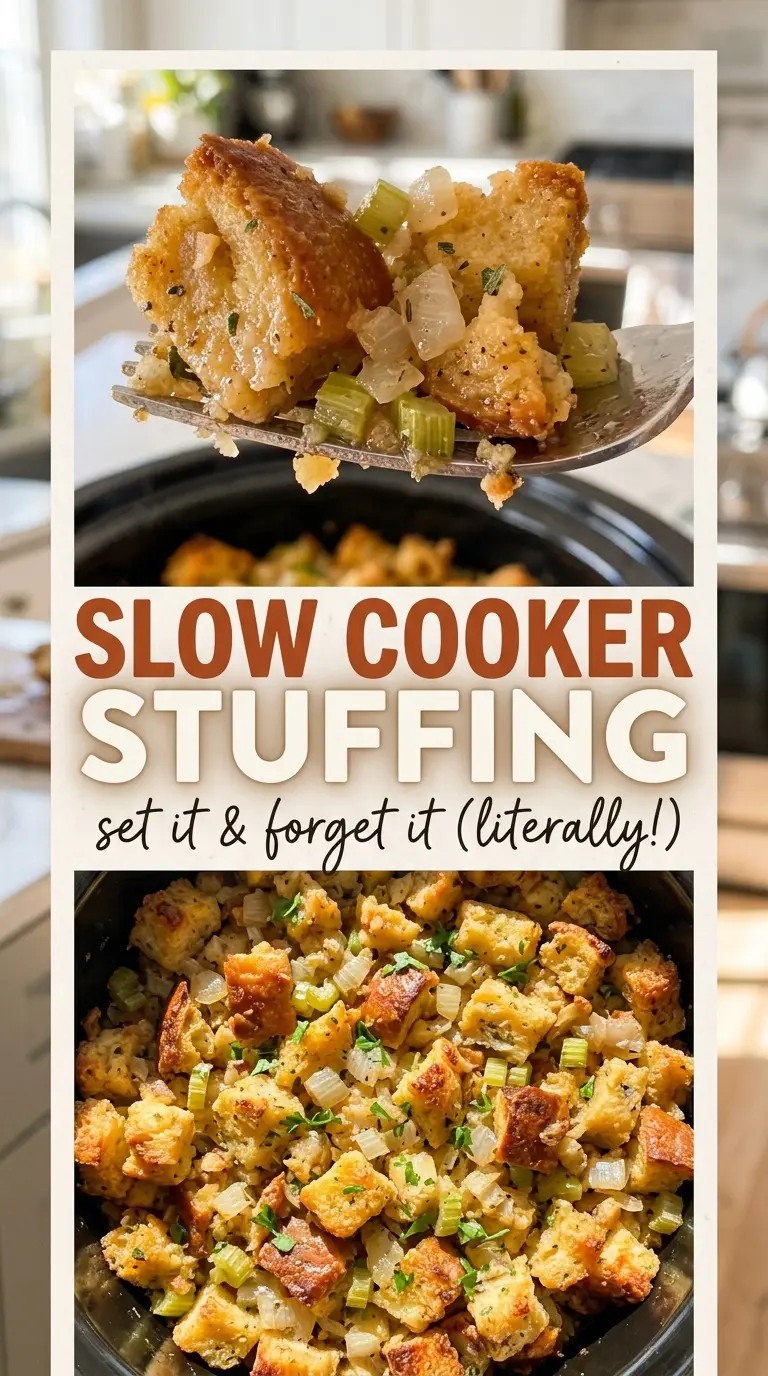
Save this Slow Cooker Stuffing for a hands-off side with tender bread cubes and classic sage flavor.
Why Slow Cooker Stuffing Doesn’t Need Extra Broth
A slow cooker traps steam beneath its lid, so stuffing behaves differently here than it does in an uncovered baking dish. The bread doesn’t lose moisture to the oven air as it cooks. Adding extra broth “just in case” can leave the center heavy and wet instead of tender.
What matters more is starting with dried bread cubes and distributing the liquid that’s already in the bowl. Dry cubes have room to take in the broth-and-egg mixture; fresh, soft bread starts closer to saturated and can turn pasty. After tossing, look across the bowl rather than judging one cube: the mixture should look evenly damp, with no puddle of liquid collecting at the bottom.
Slow-cooker stuffing also won’t develop a crisp, browned top the way oven-baked stuffing does. The covered environment is built for a soft, cohesive texture. If you’re expecting crunchy edges, this method may surprise you; if you want a moist side that cooks while the oven is busy, that gentler texture is exactly the point.
How Bread, Butter, and Eggs Shape This Stuffing
- Unseasoned dried bread cubes — Their dry, firm texture absorbs the liquid without collapsing right away, and the unseasoned version lets the sage, thyme, salt, and pepper stay in balance. Look for cubes that are evenly dried; a bargain bag is fine as long as the pieces aren’t crushed into crumbs. If you need a gluten-free version, plain gluten-free dried bread cubes are the most direct swap, though their texture may come out a little softer.
- Butter, onion, and celery — Butter carries the herbs through the bread and gives the chopped vegetables time to soften in the skillet. A medium yellow onion and fresh celery ribs bring the familiar savory base; the vegetables should be finely chopped so they’re spread through each serving rather than sitting in large, crunchy pieces. Unsalted butter also leaves the seasoning easier to control.
- Dried sage and thyme — These dried herbs season the whole batch without adding extra moisture. Rubbed sage disperses well through the butter and bread, while thyme brings a quieter herbal note alongside it. Keep them dry and measure carefully; a heavy hand with either can make the stuffing taste dusty or medicinal.
- Low-sodium chicken broth and eggs — The broth moistens the cubes, and the eggs help the cooked mixture hold together instead of remaining loose. Low-sodium broth gives the added salt room to season the bread without making the whole dish too salty. For a vegetarian variation, low-sodium vegetable broth works in the same role, with a less chicken-forward savory taste.
How to Layer Flavor Before the Slow Cooker Takes Over
Soften the onion and celery in the herb butter
Grease the inside of a 6-quart slow cooker, then melt the butter in a large skillet over medium heat. Add the finely chopped onion and celery and cook for 8 to 10 minutes, stirring occasionally, until both have softened. If the vegetables are still crisp, give them the full cooking window rather than relying on the slow cooker to soften them later. Stir in the sage, thyme, salt, and pepper once the vegetables are ready.
Coat the bread cubes with the skillet mixture
Put the dried bread cubes in a large bowl and add the butter and vegetable mixture. Toss until the herbs and softened vegetables are spread through the cubes, lifting from the bottom of the bowl so the butter doesn’t pool in one spot. Work gently enough to keep the bread pieces intact. A thorough toss here makes the finished stuffing taste seasoned throughout instead of having all the onion at the bottom.
Whisk the broth and eggs, then moisten evenly
Whisk the chicken broth and eggs together in a medium bowl before pouring them over the bread. Toss until the cubes look evenly moistened, turning the mixture from the bottom of the bowl as you go. Don’t pour the broth in one concentrated spot and stop; a few dry cubes beside a soggy patch are a sign it needs another gentle toss. The mixture should be moist throughout before it goes into the cooker.
Cook covered, then check the center
Transfer the mixture to the greased slow cooker, cover, and cook on LOW for 4 to 5 hours or on HIGH for 2 to 3 hours. The center is the part to check, since the outside can feel hot before the middle is ready. Cook until the center reaches 160°F. Turn off the slow cooker and let the stuffing rest, covered, for 10 minutes before serving.
Two Swaps That Change the Table Without Changing the Method
Make the stuffing vegetarian
Replace the low-sodium chicken broth with the same amount of low-sodium vegetable broth. The stuffing keeps its moist, cohesive texture, but the savory flavor becomes more vegetable-forward and less like poultry stuffing.
Use gluten-free bread cubes
Swap in unseasoned gluten-free dried bread cubes and keep the rest of the mixture the same. Different brands absorb liquid differently, so the finished stuffing may be softer or less uniform, but choosing dried cubes rather than fresh gluten-free bread gives the mixture a better chance of holding its shape.
Storage and Reheating
- Refrigerator: Refrigerate leftovers in a covered container within 2 hours and use them within 3 to 4 days. The stuffing firms up as it chills.
- Freezer: Freeze cooled portions in an airtight container for up to 1 month for the best texture. Thaw in the refrigerator before reheating; the cubes may be a little softer after freezing.
- Reheating: Put a portion in an oven-safe dish, add a small splash of broth to loosen it, cover, and warm at 325°F until the center reaches 165°F. Keep it covered so the top doesn’t dry out before the middle heats through.
Questions That Come Up With Slow Cooker Stuffing
Slow Cooker Stuffing
Ingredients
Equipment
Method
- Grease the inside of a 6-quart slow cooker.
- Melt the butter in a large skillet over medium heat, then add the onion and celery and cook for 8 to 10 minutes, stirring occasionally, until softened; stir in the sage, thyme, salt, and pepper.
- Place the bread cubes in a large bowl, add the butter and vegetable mixture, and toss to combine.
- Whisk the chicken broth and eggs in a medium bowl, pour over the bread mixture, and toss until evenly moistened.
- Transfer the mixture to the slow cooker, cover, and cook on LOW for 4 to 5 hours or HIGH for 2 to 3 hours, until the center reaches 160°F.
- Turn off the slow cooker and let the stuffing rest, covered, for 10 minutes before serving.
