
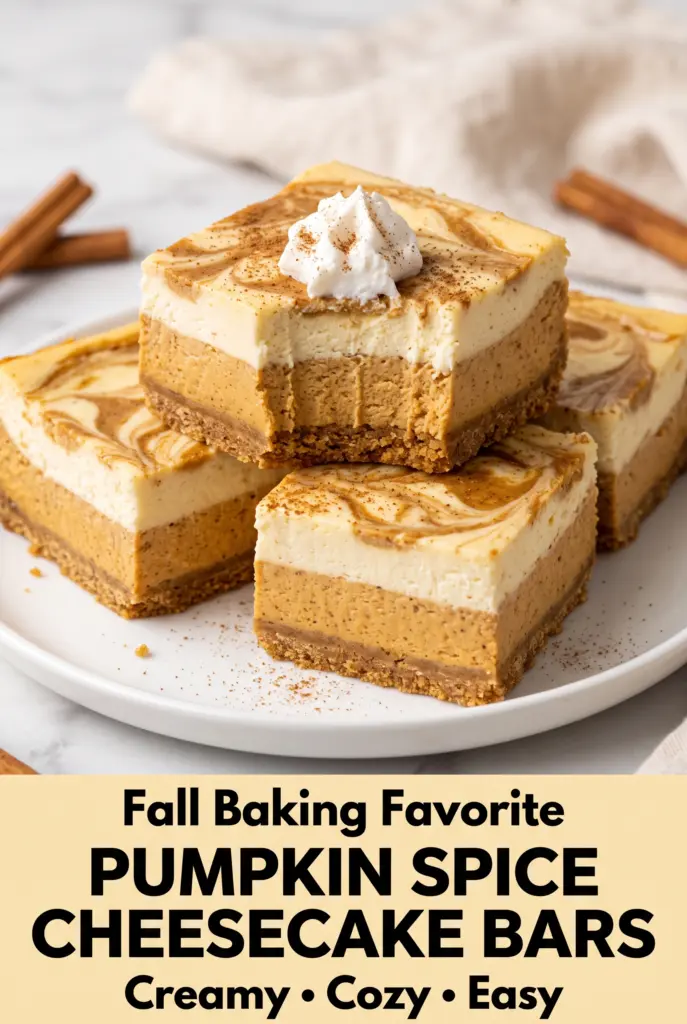
Pumpkin Spice Cheesecake Bars
Pumpkin spice cheesecake bars hit that sweet spot between a proper cheesecake and an easy pan dessert. You get a buttery graham cracker base, a smooth cream cheese layer, and…
Tip: save now, cook later.Pumpkin spice cheesecake bars hit that sweet spot between a proper cheesecake and an easy pan dessert. You get a buttery graham cracker base, a smooth cream cheese layer, and a spiced pumpkin swirl that bakes up rich without feeling heavy. The bars slice cleanly once chilled, which makes them a lot less fussy than a full cheesecake, and they still bring the same creamy payoff.
What keeps this version dependable is the way the filling is divided before the pumpkin goes in. The plain cheesecake layer gives you that classic tang and structure, while the pumpkin layer stays lighter on the spice so it doesn’t taste muddy. The flour helps the filling set without turning rubbery, and baking the crust first keeps it crisp instead of softening under the filling.
Below, I’ve included the part that matters most if you want neat squares instead of a soft mess: how to know when the center is done, how to swirl without blending the layers, and what to change if you want a cleaner slice or a deeper pumpkin flavor.
The bars chilled into perfect clean squares, and the pumpkin layer stayed creamy instead of getting dense. I also loved that the crust held up all the way to the last bite.
Save these pumpkin spice cheesecake bars for the kind of dessert that slices cleanly, swirls beautifully, and tastes even better after a night in the fridge.
The Trick to Keeping the Swirl Distinct Instead of Blending Into One Filling
The biggest mistake with marbled cheesecake bars is overmixing the pumpkin into the plain batter or dragging the knife through too many times. Once the two fillings are spooned over the crust, the goal is a loose swirl, not a full blend. If you stir too much, you lose the visual contrast and end up with one uniform filling that tastes fine but looks flat.
Temperature matters too. Softened cream cheese mixes smoothly, but if the eggs or pumpkin are ice-cold, the batter can seize into little lumps. Let everything sit out long enough to take the chill off. The filling should look glossy and smooth before it goes into the pan, and the pumpkin layer should still have enough body to sit on top instead of sinking straight through.
What Each Ingredient Is Actually Doing in This Dish
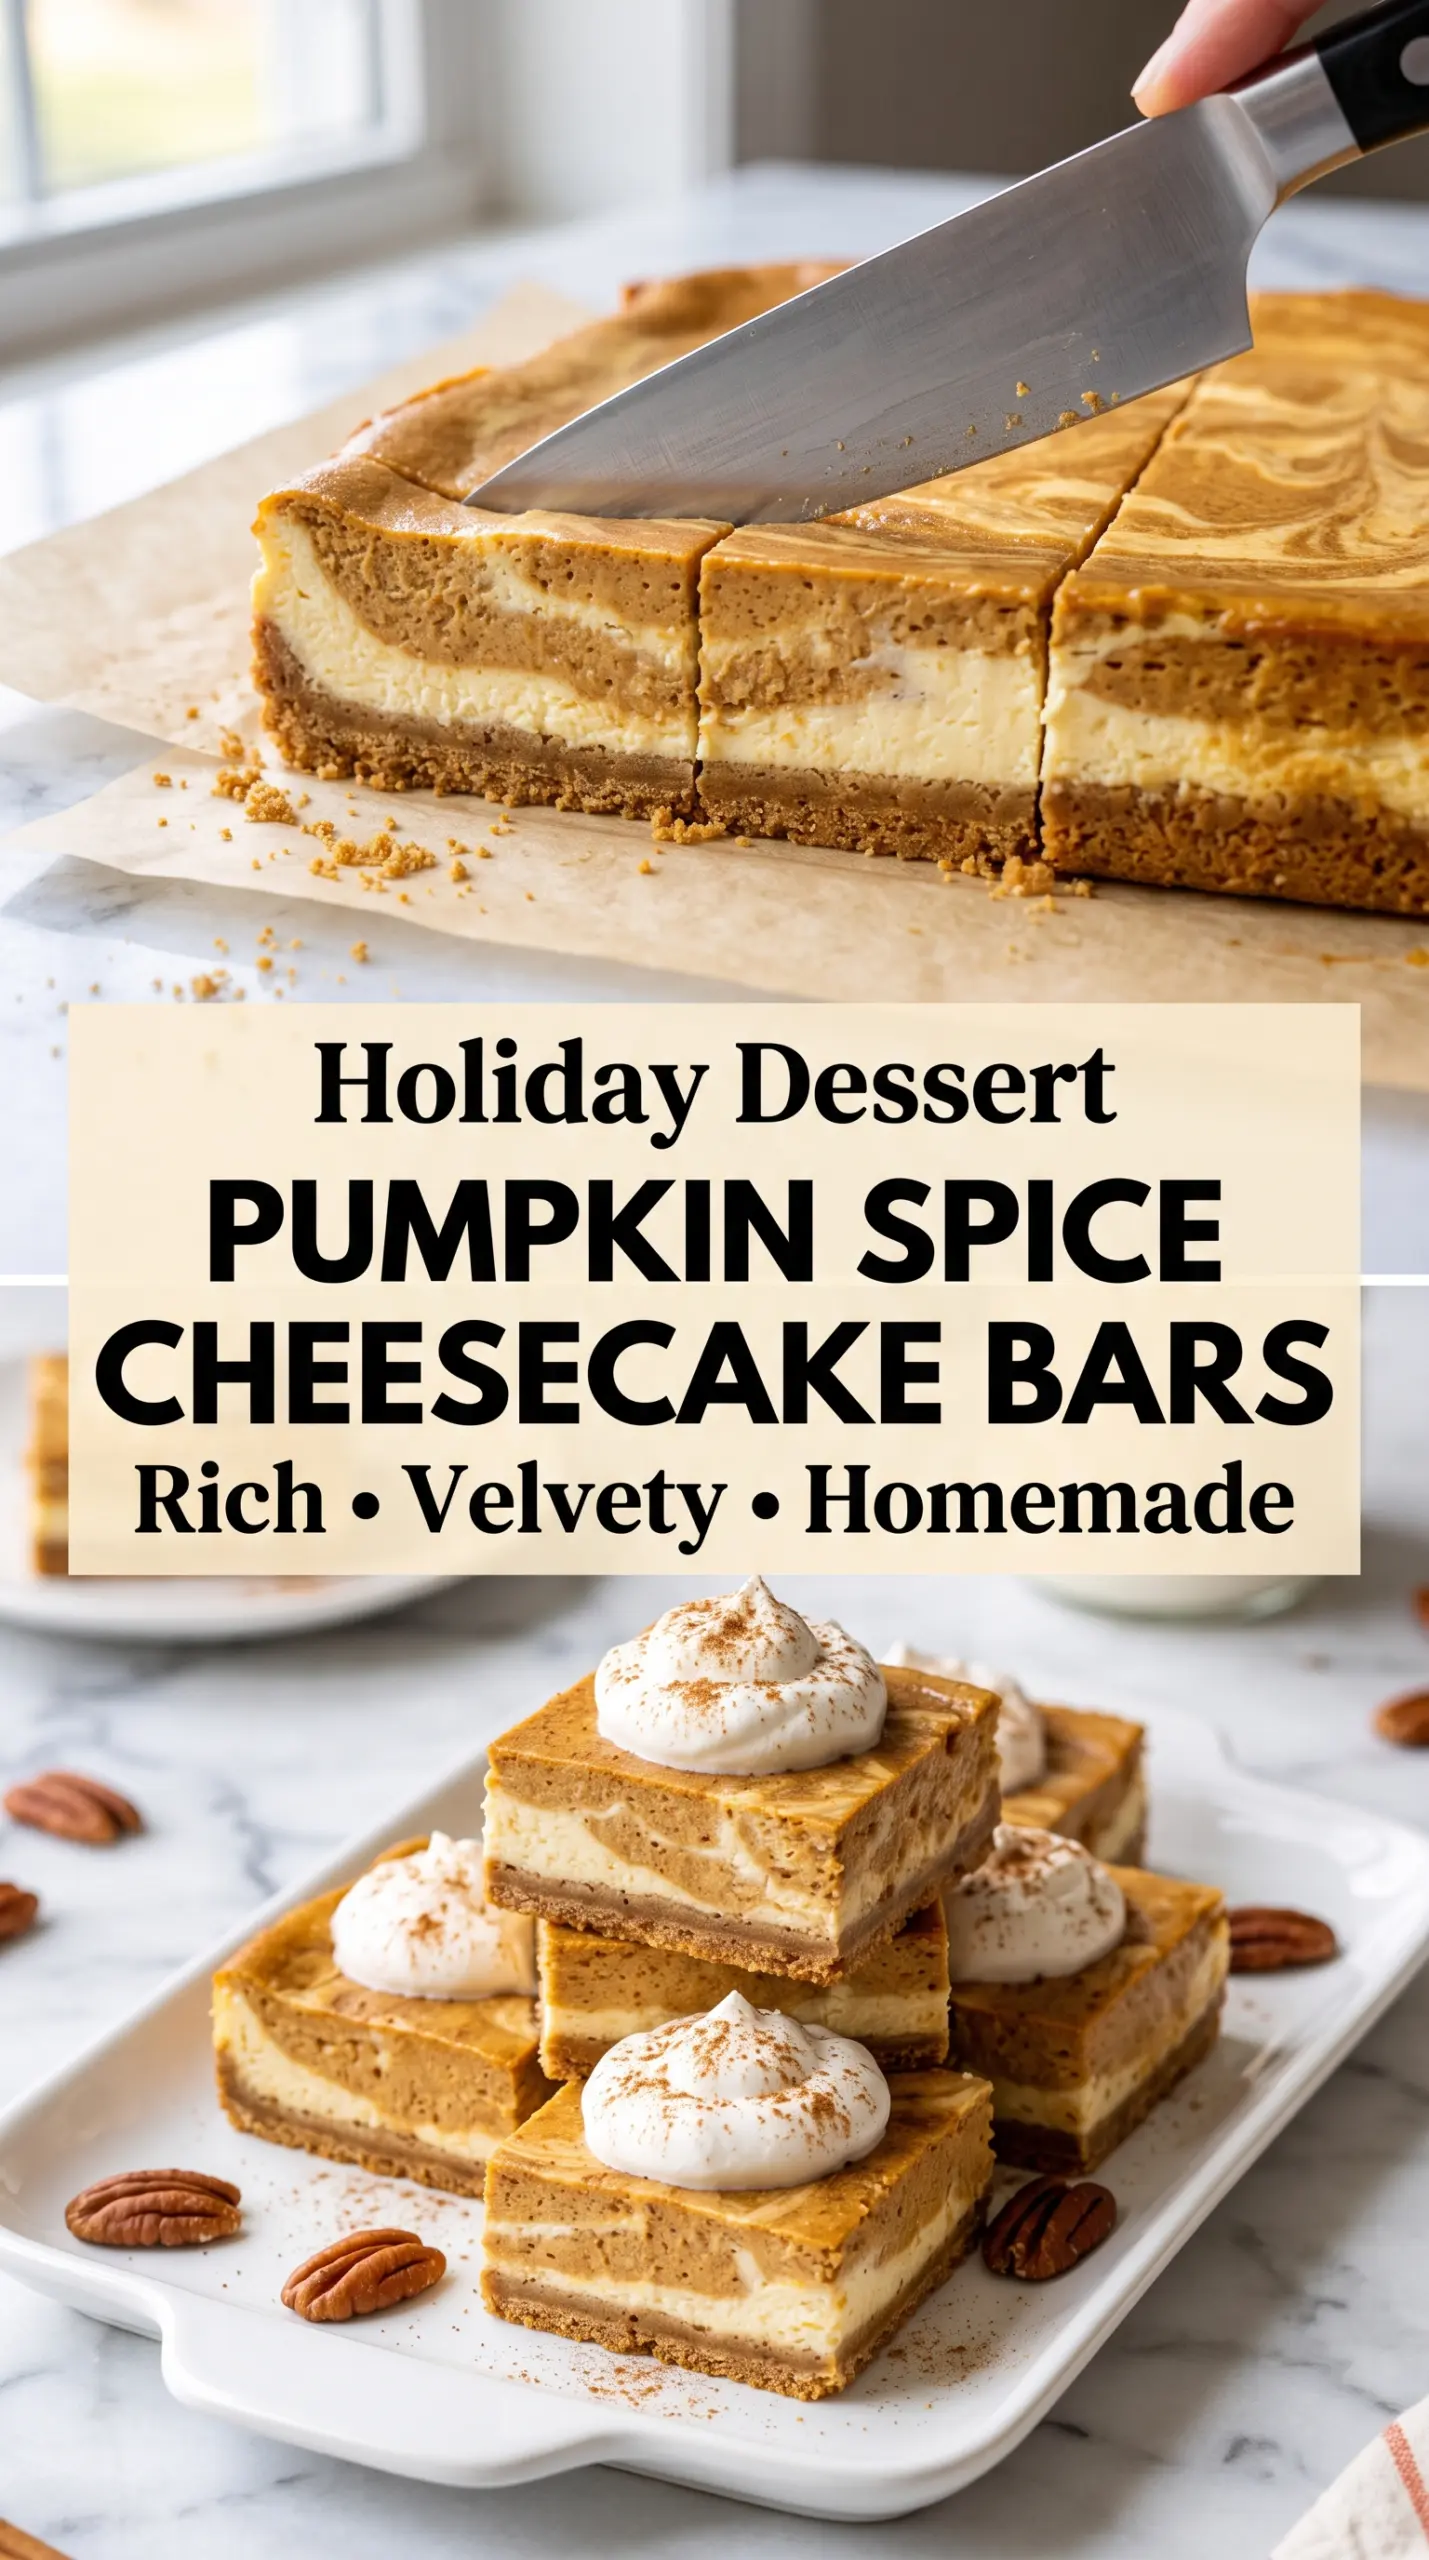
- Graham cracker crumbs — These give you the classic cheesecake-bar base with enough sweetness and structure to balance the filling. A store-bought box works fine; just crush the crumbs finely so the crust presses together without gaps.
- Cream cheese — Full-fat cream cheese matters here because it gives the filling its dense, creamy body. Low-fat cream cheese sets looser and tends to bake up softer, which makes slicing harder after chilling.
- Pumpkin purée — Use plain pumpkin purée, not pumpkin pie filling. Pie filling already contains sugar and spices, and that throws off both the texture and the seasoning balance.
- Flour — The flour helps the bars set into neat squares without turning dry. You only need a small amount, but skipping it can leave the center softer than you want after chilling.
- Pumpkin pie spice, cinnamon, and nutmeg — This combination gives the pumpkin layer depth instead of a one-note spice taste. If your pumpkin pie spice is old, the bars will taste muted, so check the jar before you start.
Building the Crust and Filling in the Right Order
Pressing and Prebaking the Crust
Mix the crumbs, sugar, cinnamon, and melted butter until every crumb looks evenly damp, then press it into the pan with real pressure. A loose crust falls apart when you cut the bars. Bake it just until the top looks set and slightly darker at the edges; that short bake keeps the crust from tasting sandy under the filling.
Mixing the Cheesecake Base
Beat the cream cheese and sugar until the mixture loses all graininess and looks smooth around the edges of the bowl. Add the eggs one at a time and stop as soon as they disappear. If you whip in a lot of air, the bars rise too much in the oven, then sink and crack as they cool.
Creating the Pumpkin Layer and Swirl
Split the batter into two bowls, then stir the pumpkin, spices, and flour into one half only. Spread the plain layer first, spoon the pumpkin mixture over it, and drag a butter knife through in broad, shallow passes. If the knife goes all the way to the pan bottom or you keep swirling until the colors disappear, the pattern turns muddy fast.
Baking Until the Center Still Has a Little Give
Bake until the edges look set and the center has a slight wobble when you tap the pan. That small jiggle is what you want; the bars finish setting as they cool. If you wait until the middle is firm in the oven, they usually end up overbaked and dry after chilling.
Gluten-Free Crust Swap
Use gluten-free graham-style crumbs in the crust and keep the filling the same. The texture stays close to the original, though some GF crumbs need a touch more butter to hold together, so press the crust firmly and check that it feels like damp sand before baking.
Dairy-Free Version
Use dairy-free cream cheese and plant-based butter. The bars will be a little softer and less tangy, but they still slice well after a full chill. Choose a brand of dairy-free cream cheese that bakes firmly, since some tubs stay too loose for bar desserts.
Extra Pumpkin, Stronger Spice
If you want the pumpkin to stand out more, add an extra tablespoon or two of purée and bump the cinnamon slightly. Go slowly, because too much pumpkin softens the filling and can make the bars harder to cut cleanly.
Storage and Reheating
- Refrigerator: Store covered for up to 5 days. The bars actually slice better on day two, when the filling has fully set.
- Freezer: They freeze well. Cut into squares, wrap individually, and freeze in a single layer before moving them to a container.
- Reheating: Serve chilled or let a slice sit at room temperature for 15 to 20 minutes. Don’t microwave it, or the filling turns soft and the crust loses its clean bite.
Questions I Get Asked About This Recipe
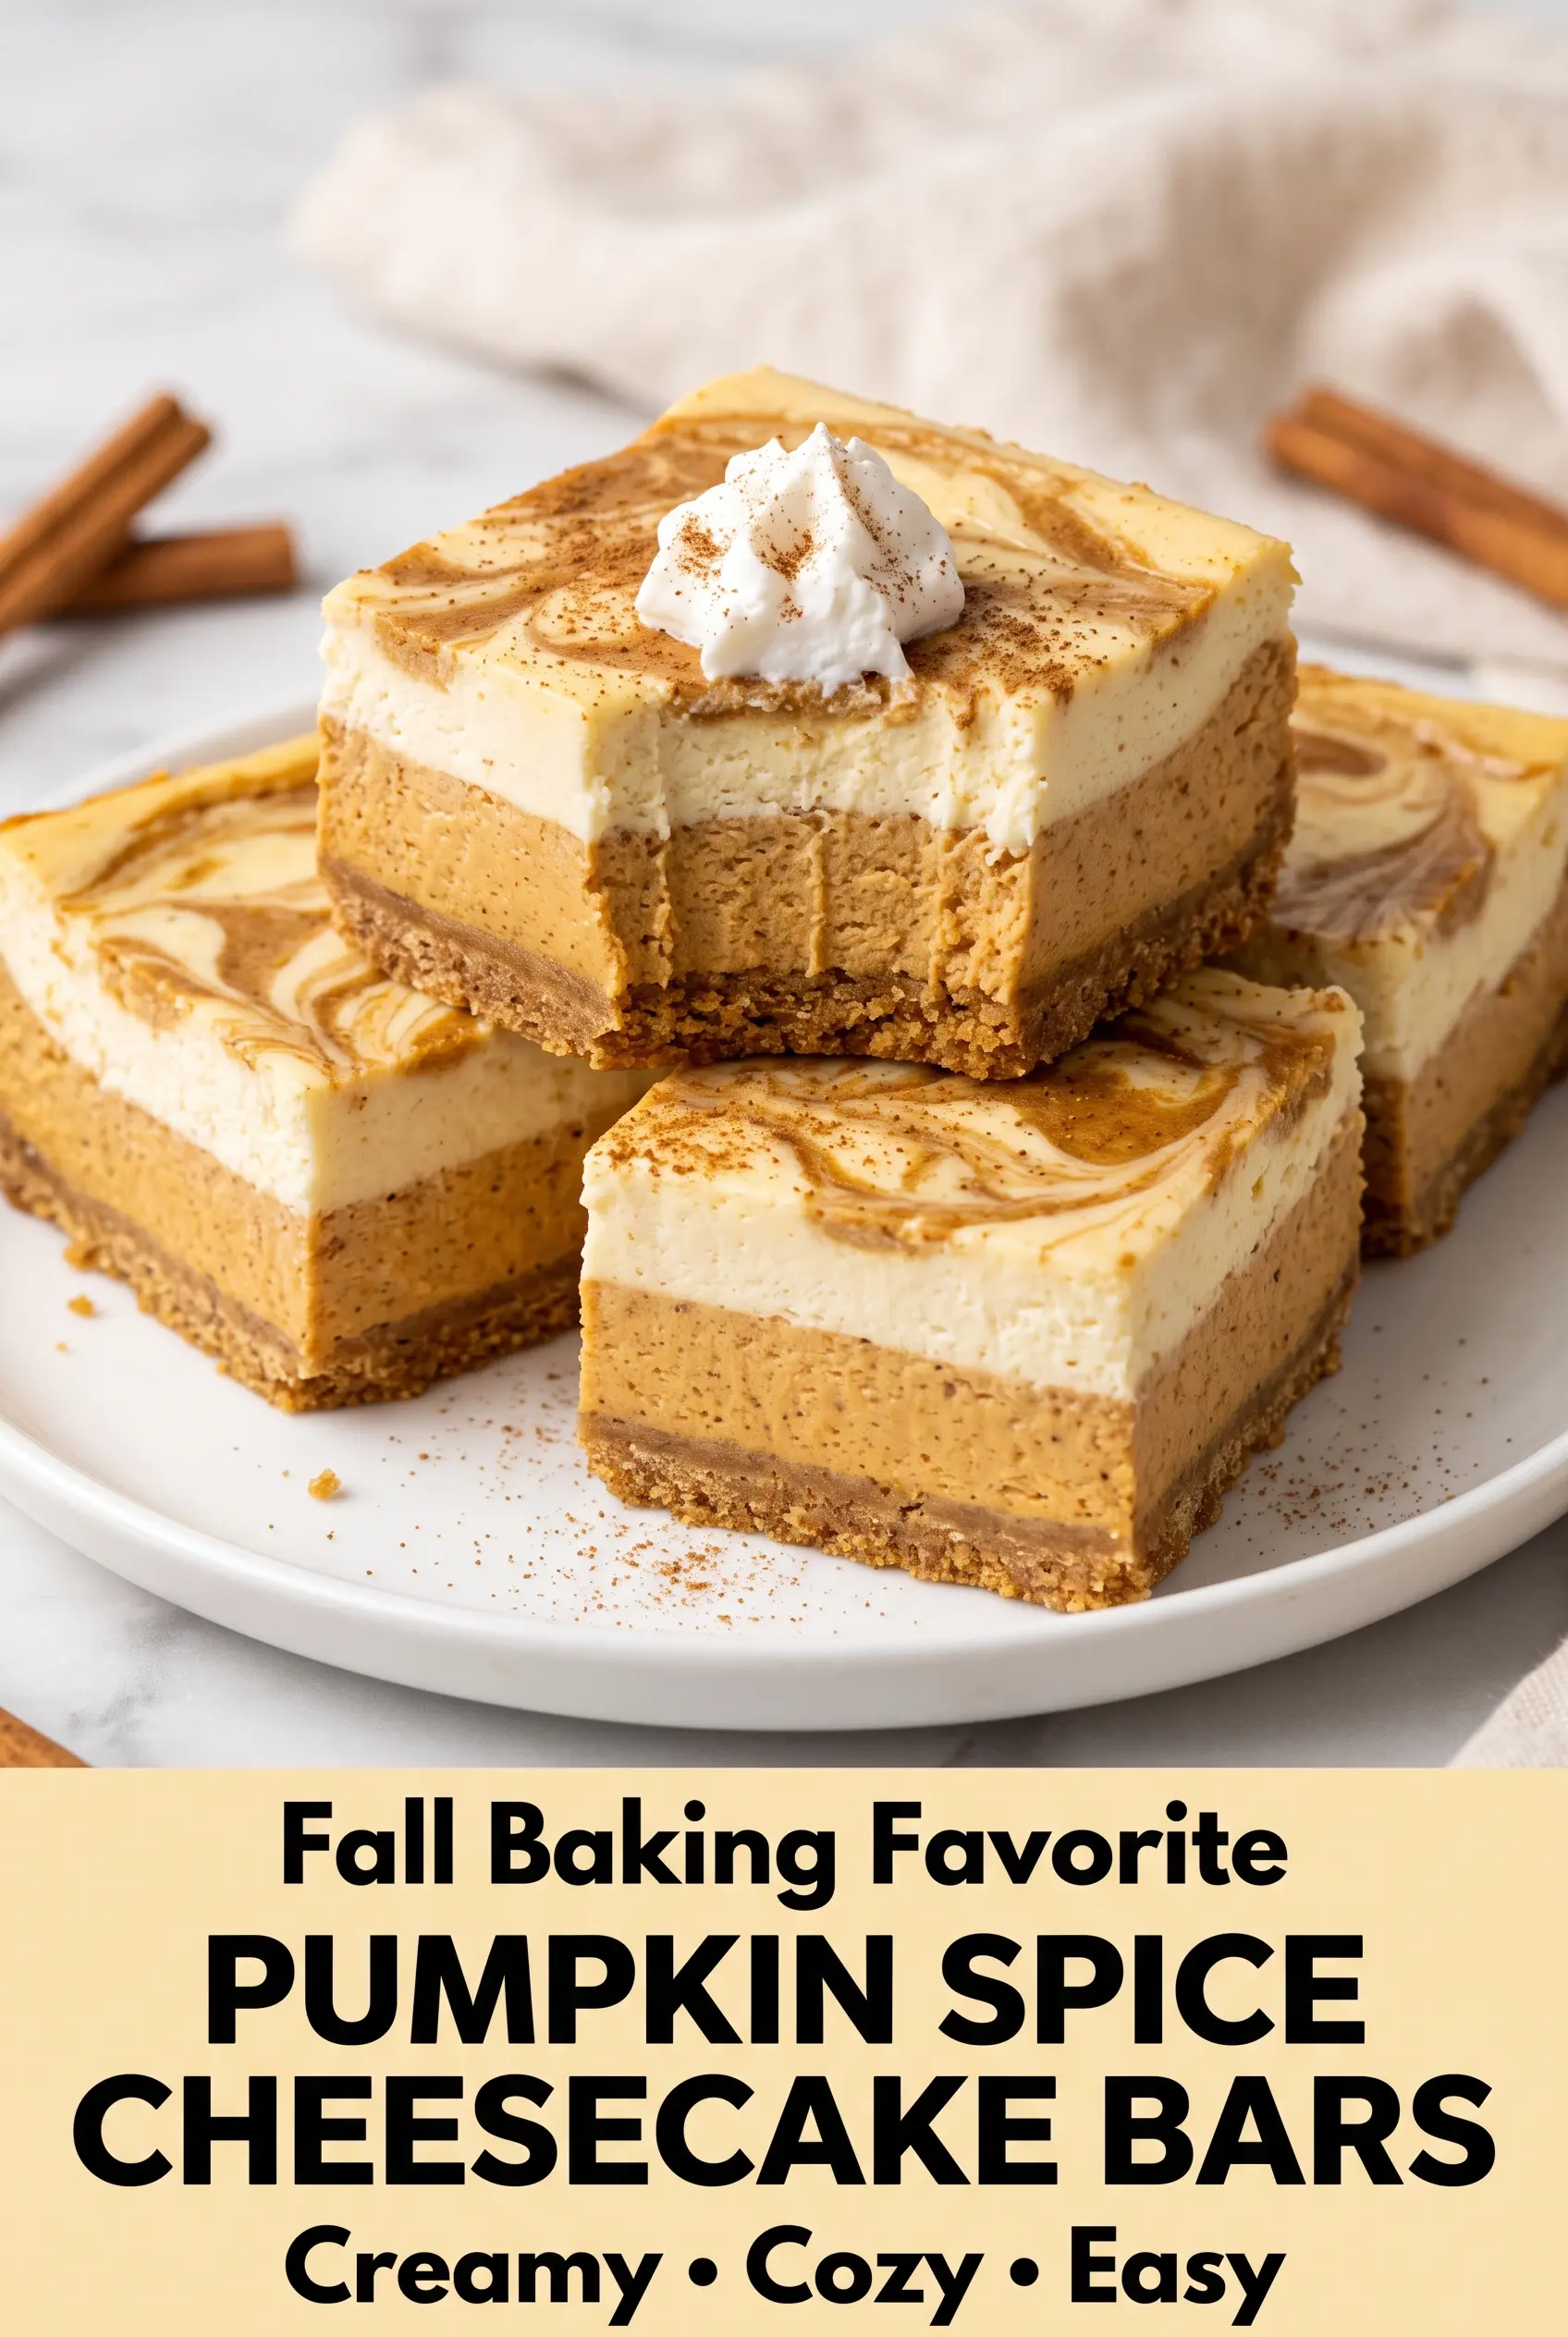
Pumpkin Spice Cheesecake Bars
Ingredients
Equipment
Method
- Preheat the oven to 325°F. Line a 9×13-inch baking pan with parchment paper, leaving an overhang for easy removal.
- Combine the graham cracker crumbs, granulated sugar, ground cinnamon, and melted butter until evenly moistened. Press firmly into the bottom of the prepared pan.
- Bake the crust for 8–10 minutes, until lightly golden. Let it cool for 10 minutes with the pan on a rack.
- Beat the cream cheese and granulated sugar until smooth and creamy, about 2 minutes. Scrape the sides and bottom of the bowl to remove lumps (visual cue: silky batter).
- Mix in the eggs one at a time, followed by the vanilla extract. Stir until just combined (visual cue: batter looks uniform, not frothy).
- Transfer half of the cheesecake mixture to a separate bowl. Keep the remaining half in the original bowl.
- Stir the pumpkin purée, pumpkin pie spice, ground cinnamon, ground nutmeg, and flour into one bowl of cheesecake mixture until smooth. Mix just until no dry flour remains (visual cue: thick, spiced pumpkin batter).
- Spread the plain cheesecake mixture evenly over the cooled crust. Use a spatula to smooth the surface (visual cue: even top layer).
- Spoon the pumpkin cheesecake mixture over the top. Gently swirl the two layers together with a butter knife to create a marbled pattern.
- Bake for 38–45 minutes, until the edges are set and the center has a slight jiggle. Turn the pan halfway through if your oven has hot spots (visual cue: center jiggles like set gelatin).
- Cool to room temperature, about 45 minutes. Cover lightly once cool to prevent condensation.
- Refrigerate for at least 4 hours or overnight until fully chilled. For clean slices, chill until the bars feel firm all the way through.
- Lift the bars from the pan using the parchment paper. Place on a cutting board and peel away parchment for a neat edge.
- Slice into squares and serve chilled. Wipe the knife between cuts for crisp lines.
