
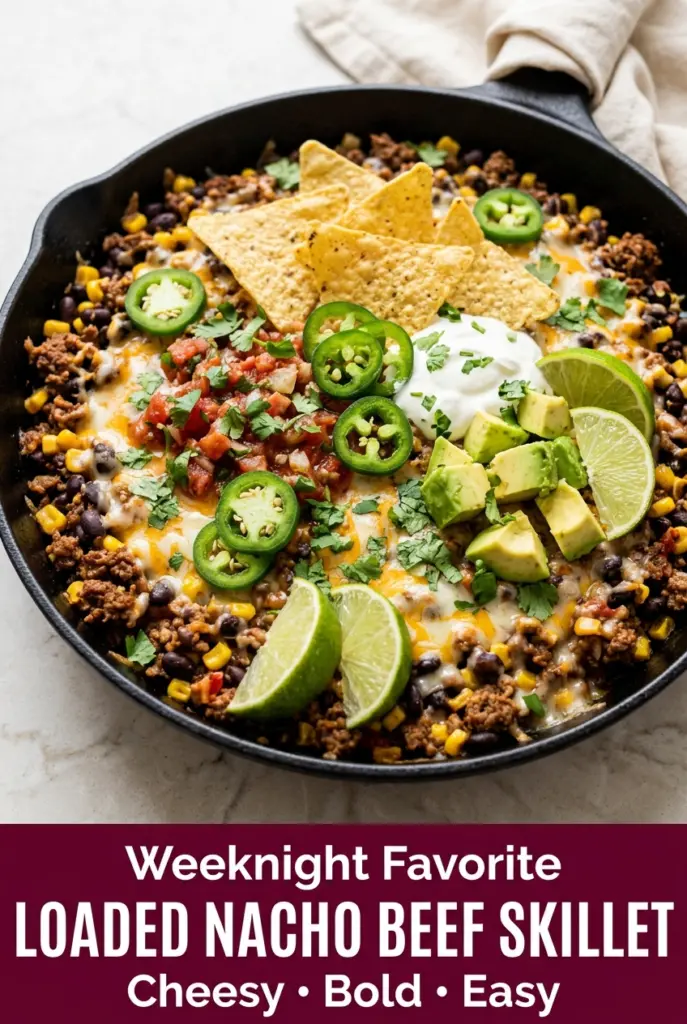
Loaded Nacho Beef Skillet
Loaded nacho beef skillet brings the fast, messy, satisfying kind of dinner that disappears straight from the pan. You get seasoned beef, smoky salsa, sweet corn, black beans, and a…
Tip: save now, cook later.Loaded nacho beef skillet brings the fast, messy, satisfying kind of dinner that disappears straight from the pan. You get seasoned beef, smoky salsa, sweet corn, black beans, and a thick layer of melted cheese, then the tortilla chips go on at the very end so they stay crunchy instead of turning soggy. It eats like nachos, but it’s sturdy enough to count as dinner.
What makes this version work is the balance in the skillet before the chips ever show up. The salsa adds moisture and seasoning at the same time, the smoked paprika gives the beef a deeper edge, and the black beans keep the whole thing from feeling heavy. I also like that the cheese melts over a hot filling, not a cold one, so you get that stretchy, glossy top without having to babysit the pan.
Below, I’ll show you the small timing choices that keep the chips crisp, plus the swaps that still give you a bold, loaded skillet when you need to work with what’s in the pantry.
The cheese melted into the beef mixture perfectly and the chips stayed crisp right up until we served it. I doubled the jalapeños and my husband kept going back for “just one more scoop.”
Love the cheesy, crunchy finish of this loaded nacho beef skillet? Save it to Pinterest for a fast one-pan dinner that feels like game day in a skillet.
The Reason the Chips Stay Crunchy Instead of Turning Limp
The biggest mistake with skillet nachos is letting the chips sit in the hot filling too long before serving. Once chips absorb moisture from salsa, beans, and tomatoes, they go soft fast. That’s why this version keeps the chips on top at the very end instead of simmering them into the pan. You get the best part of nachos — the contrast between hot, cheesy filling and crisp chips — without the whole skillet collapsing into one texture.
The other thing that matters is thickness. If the beef mixture looks soupy, it needs another minute or two on the stove before the cheese goes on. A thicker filling clings to the chips and holds the toppings in place. Too much liquid is the fastest way to end up with a pan that tastes fine but eats like stew with tortilla shards.
- Ground beef — Lean beef works best here because it keeps the skillet rich without pooling a lot of grease. If you use a fattier blend, drain it after browning so the salsa and cheese don’t slide around in the pan.
- Chunky salsa — This does the seasoning and saucing in one move. A thicker salsa gives you a better texture than a thin restaurant-style salsa, which can make the filling watery.
- Black beans and corn — These bulk up the skillet and give it that loaded feeling. Canned beans are fine as long as you rinse them well; that keeps the sauce from tasting muddy.
- Mexican cheese blend — Pre-shredded cheese melts well enough for this, but freshly shredded cheese melts a little smoother if you have the time. Avoid low-moisture cheese alternatives that don’t actually melt cleanly, or the top will look oily instead of gooey.
Building the Skillet in the Right Order
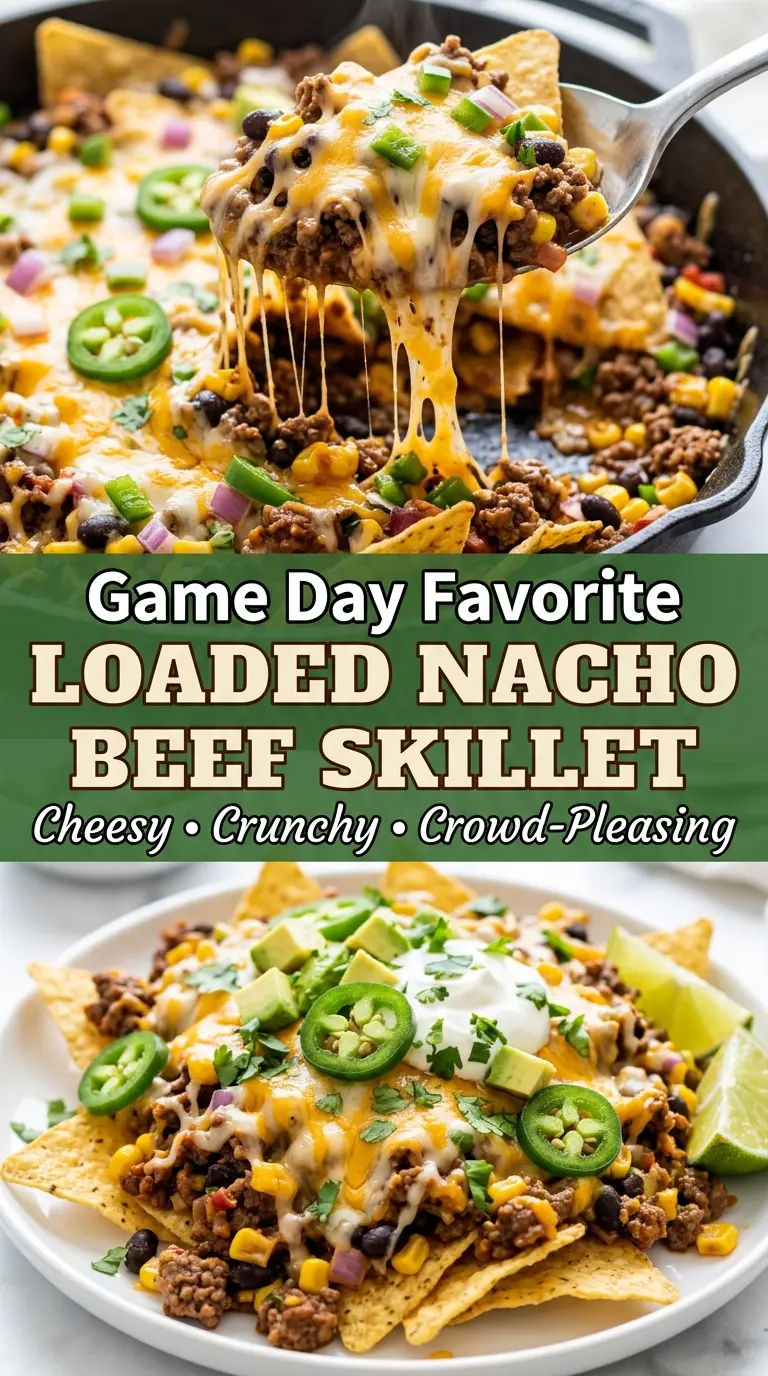
Heat the olive oil in a large oven-safe skillet over medium-high heat, then cook the beef and onion together until the beef is browned and the onion has softened. If you rush this part, the onion stays sharp and the beef never develops much flavor. Once the meat is no longer pink, drain off excess grease if needed so the skillet doesn’t end up oily.
Blooming the Seasoning
Stir in the garlic, taco seasoning, smoked paprika, cumin, salt, and pepper and cook for about a minute. The spices should smell warm and a little toasted, not burnt. If the pan is too hot, the garlic can go bitter fast, so keep the heat steady and don’t walk away during this part.
Thickening the Filling
Add the salsa, black beans, corn, and diced tomatoes, then simmer until the mixture tightens up and most of the excess liquid cooks off. You want a spoonable filling, not a loose sauce. This is the point where the dish either turns into a solid nacho base or a watery mess, so give it the extra few minutes if it still looks thin.
Melting the Cheese and Finishing Fast
Scatter the cheese over the hot filling and let it melt on the stovetop, or slide the skillet under the broiler for a couple of minutes until it bubbles. Pull it the moment the top turns glossy and lightly golden. Add the tortilla chips, jalapeños, and cilantro right before serving so the chips keep their crunch and the herbs stay bright.
Three Smart Ways to Adapt the Skillet
Make it gluten-free without losing the crunch
This recipe is naturally gluten-free as long as your taco seasoning and salsa are checked for hidden wheat additives. Keep using corn tortilla chips, and you won’t lose any texture or the layered nacho feel.
Swap in ground turkey for a lighter skillet
Ground turkey works well if you want a lighter dinner, but it needs the full seasoning and a touch of extra oil to keep from tasting dry. Use the same method, and don’t skip the simmering step or the turkey filling can taste flat.
Make it vegetarian with beans and extra vegetables
Skip the beef and use an extra can of black beans plus diced bell pepper or zucchini. You’ll lose the meaty richness, but you gain a lighter skillet with the same bold seasoning and a little more texture in every bite.
Storage and Reheating
- Refrigerator: Store the beef mixture without the chips for up to 4 days. The filling thickens as it sits, which actually helps it hold up well for leftovers.
- Freezer: The beef, bean, and salsa base freezes well for up to 2 months. Freeze it without the cheese and chips, then thaw overnight before reheating.
- Reheating: Reheat the filling on the stove over medium-low heat or in the microwave in short bursts, stirring between rounds. Add fresh cheese and chips after reheating, because leftover chips go soft no matter what you do.
Questions I Get Asked About This Recipe
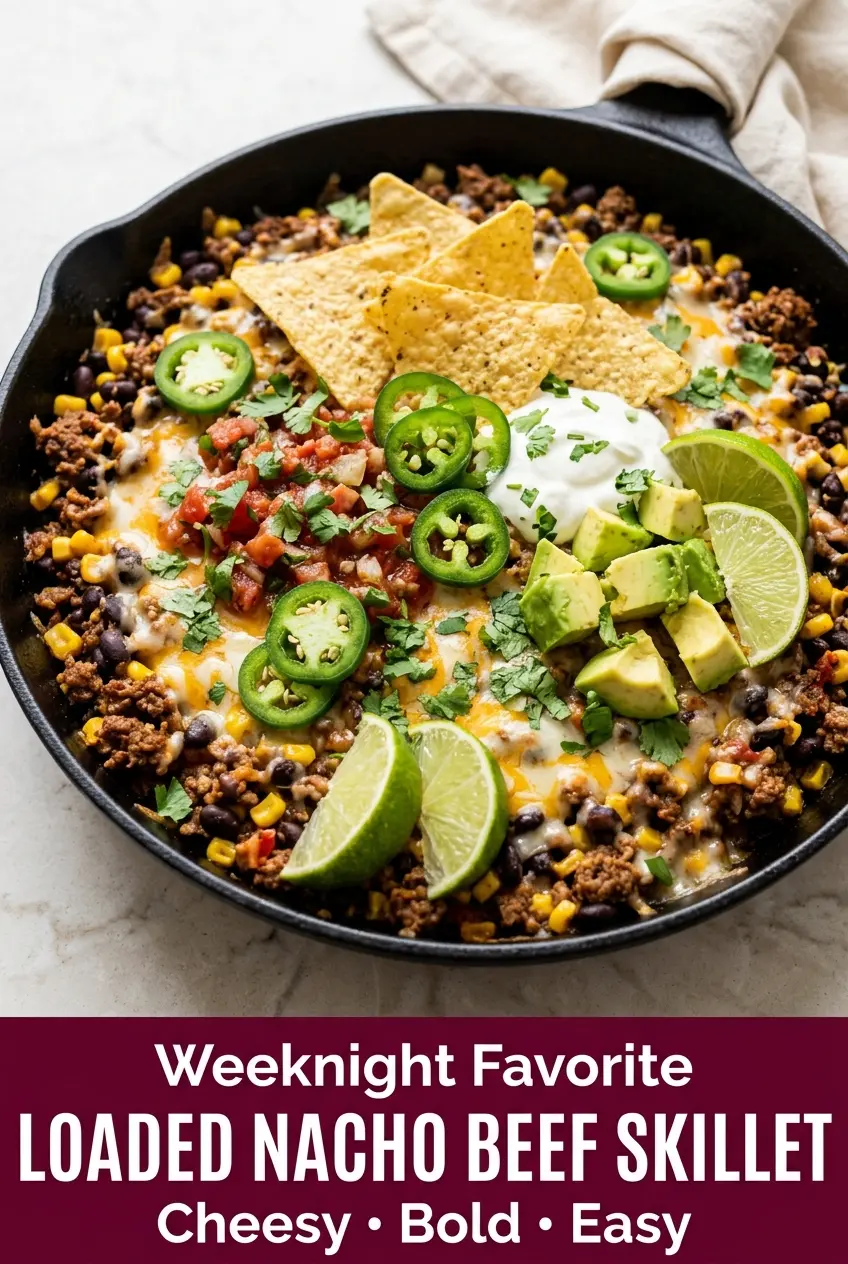
Loaded Nacho Beef Skillet
Ingredients
Equipment
Method
- Heat the olive oil in a large oven-safe skillet over medium-high heat. Cook the lean ground beef and yellow onion for 6–8 minutes until the beef is browned and no pink remains, then drain excess grease if needed.
- Stir in the garlic, taco seasoning, smoked paprika, ground cumin, salt, and black pepper. Cook for 1 minute until fragrant.
- Add the chunky salsa, black beans, corn, and diced tomatoes. Stir well and simmer for 5 minutes until slightly thickened.
- Sprinkle the shredded Mexican cheese blend evenly over the beef mixture. Cook for 2 minutes until the cheese begins to melt, or place the skillet under a broiler for 2–3 minutes until bubbly and lightly golden.
- Top with tortilla chips, sliced jalapeños, and chopped cilantro. Add sour cream, diced avocado, guacamole, sliced green onions, and lime wedges if desired.
- Serve immediately while the cheese is hot and the chips remain crisp. For best texture, assemble and eat right away.
