
Patriotic Red White and Blue Cupcakes
Patriotic red, white, and blue cupcakes land on the table looking like a little celebration all on their own. The crumb stays soft and tender, the frosting pipes into bold…
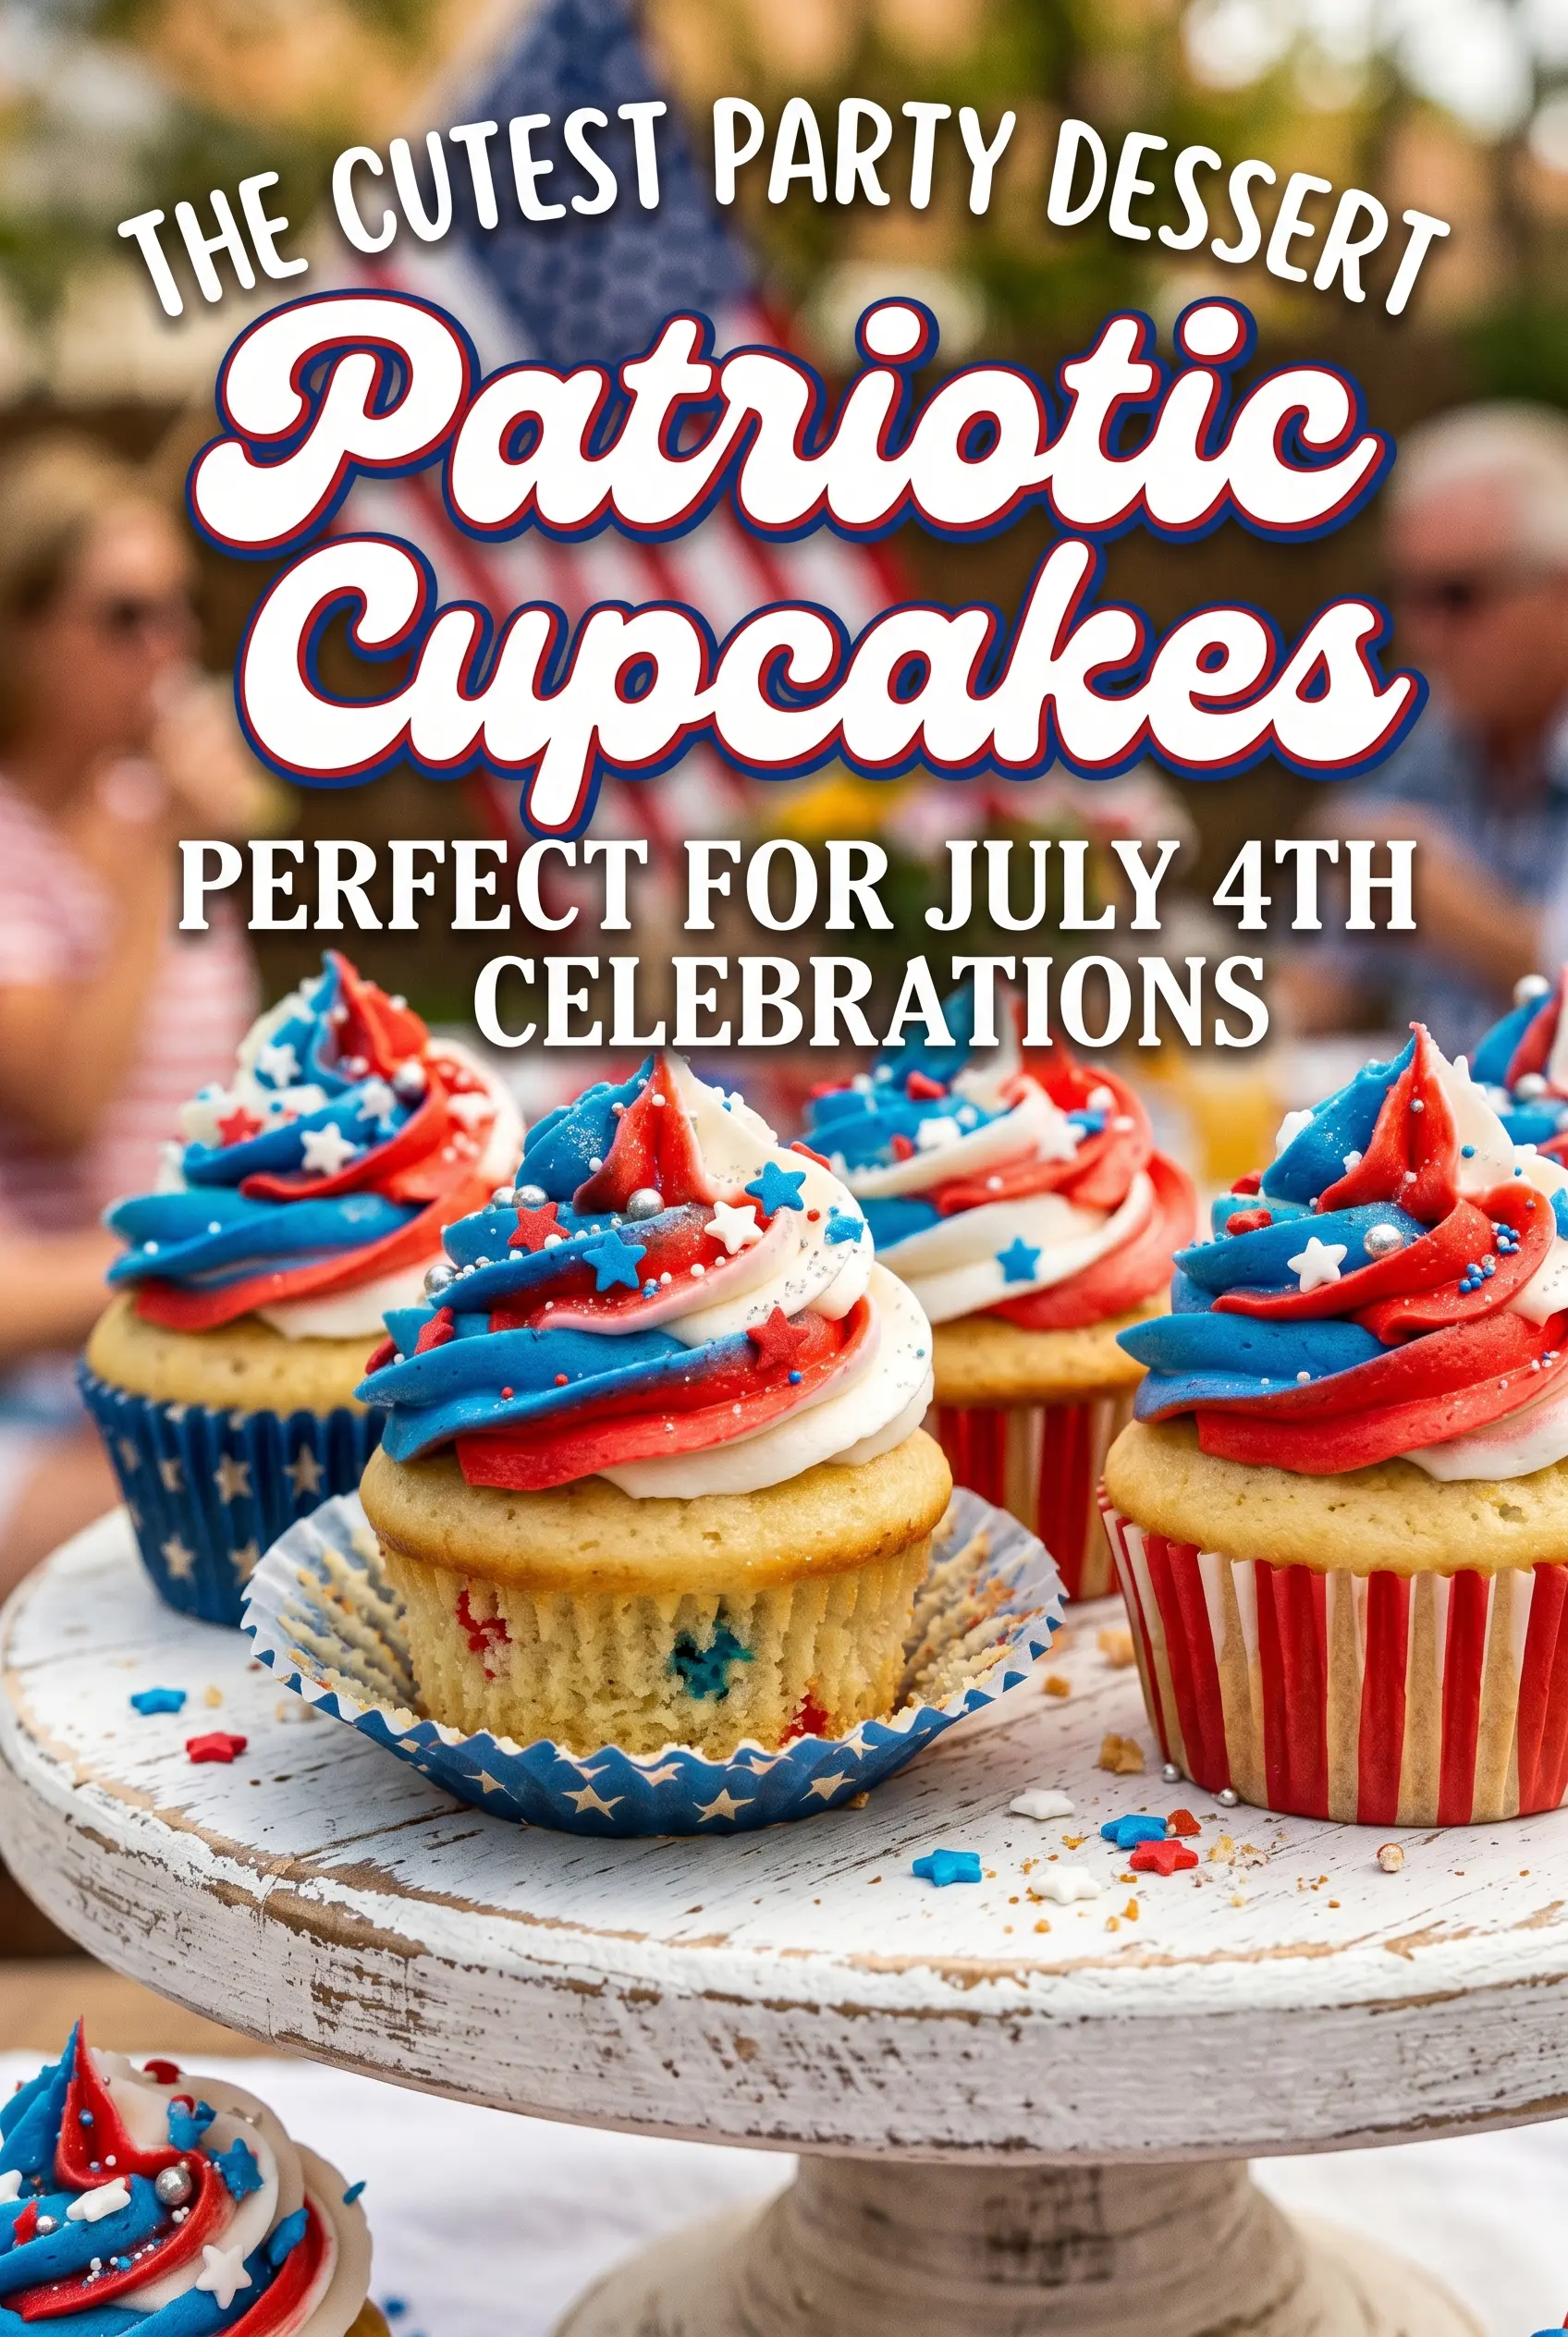
Tip: save now, cook later.Patriotic red, white, and blue cupcakes land on the table looking like a little celebration all on their own. The crumb stays soft and tender, the frosting pipes into bold swirls that hold their shape, and every bite gives you that classic vanilla-cake comfort with a festive twist. They look like a bakery project, but the method is straightforward once you know how to keep the colors distinct and the frosting stable.
The trick is using a boxed white cake mix as a reliable base, then dividing the batter carefully so the colors stay bright instead of muddying together. Layering spoonfuls into the liners gives you those pretty stripes after baking, while a vanilla buttercream made with enough powdered sugar and a little cream stays fluffy without sliding off the cupcakes. If the frosting gets too soft, it usually means the butter was too warm or the cream was added too fast, so the texture matters just as much as the color here.
Below, I’ve included the small details that make the swirls cleaner, the colors sharper, and the cupcakes easier to serve at a party. There’s also a few practical variations, since this is one of those desserts that should work for a crowd without turning into a kitchen project.
The frosting held its shape even outside for our backyard cookout, and the red, white, and blue layers baked up clean instead of turning into one purple mess. I got compliments from kids and adults, and they were gone fast.
Save these red, white, and blue cupcakes for the next time you need a festive dessert with sharp color layers and a stable buttercream swirl.
The Best Way to Keep the Batter Colors Clean Instead of Turning Muddy
Once the batter is divided, the biggest mistake is overmixing the colors or spooning them into the liners in a way that blends everything together before the cupcakes even hit the oven. Red and blue food coloring are strong enough to overpower the white base quickly, and a few extra stirs can leave you with a dull purple-gray result instead of those clear patriotic layers.
The goal is contrast, not perfect symmetry. Use separate bowls and separate spoons, then add the batter in small mounds or distinct layers so the colors stay visible after baking. You don’t need to swirl the batter in the cups; that usually blurs the lines and wastes the whole point of this dessert. The oven will do enough movement on its own as the cupcakes rise.
These cupcakes also bake best when the liners are only about two-thirds full. Too much batter pushes the colors together and creates domed tops that spill over the pan, while too little batter leaves you with flat cupcakes that don’t support a good frosting cap.
What Each Ingredient Is Actually Doing in These Cupcakes
- White cake mix — This gives you a pale, neutral base that takes food coloring cleanly. A yellow cake mix works, but it shifts the colors and makes the red and blue look softer. If you want the brightest result, stick with white.
- Milk and eggs — These add richness and structure so the cupcakes taste homemade instead of dry and boxed. Whole milk gives the best texture, but 2% works if that’s what you have. Don’t swap in a low-fat milk alternative that’s thin unless you’re prepared for a less tender crumb.
- Vegetable oil — Oil keeps the cupcakes moist even after they cool, which matters for a party dessert that may sit out for a while. Butter can be used in a pinch, but the crumb will be a little firmer and less plush.
- Butter for the frosting — Softened butter is the backbone of the buttercream. If it’s melted or greasy, the frosting won’t pipe cleanly and the colors will slump together. You want it soft enough to beat fluffy, not warm enough to lose structure.
- Heavy cream — This smooths the frosting and helps it pipe without tearing. Add it slowly; too much at once can make the buttercream loose before the powdered sugar has a chance to stabilize it.
- Food coloring — Gel color gives the sharpest red and blue without thinning the batter or frosting. Liquid coloring works, but you’ll need more of it and the color can dilute the texture. If you only have liquid, use it sparingly and expect slightly softer shades.
Building the Swirls So the Colors Stay Separate
Mixing the Base Batter
Prepare the cake batter according to the package directions, then divide it evenly into three bowls. Leave one bowl plain, tint one red, and tint one blue. Stir each bowl just until the color is even; if you keep mixing, you’ll start thickening the batter unevenly and the colors will get streaky in a bad way. The batter should still look smooth and pourable.
Layering the Cupcake Liners
Spoon small portions of each color into the liners, alternating as you go so the colors show up in distinct sections. Don’t stir them together in the cup. That’s how you lose the clean stripes after baking. Fill each liner about two-thirds full so the tops rise nicely without collapsing over the sides of the pan.
Baking Until Set, Not Dry
Bake at 350°F until the tops spring back when lightly touched and a toothpick comes out with just a few moist crumbs. If they bake too long, the crumb turns dry and the color layers can look muted around the edges. Let them cool completely before frosting, or the buttercream will melt and slide right off.
Piping the Red, White, and Blue Frosting
Divide the buttercream into three bowls, tint each one, then spoon the colors side by side into a piping bag fitted with a large star tip. The key is packing the bag loosely enough that the colors travel together without blending into one shade. Pipe with steady pressure and stop cleanly at the top of each swirl so the ridges stay crisp. If the frosting starts to warm up in your hand, chill it for a few minutes before continuing.
Ways to Change the Cupcakes Without Losing the Party Look
Dairy-Free Version
Use a dairy-free milk in the cupcake batter and swap the butter in the frosting for a plant-based stick butter that’s designed for baking. The texture will still pipe well if you keep the frosting cold and don’t overbeat it. Just know the flavor is a little less rich, so a good vanilla extract matters more here.
Gluten-Free Shortcut
Start with a gluten-free white cake mix and follow the package directions for any extra binding ingredients. The color pattern works the same, but gluten-free cupcakes can dry out faster, so pull them as soon as the centers spring back. Let them cool in the pan for a few minutes, then move them out so they don’t get gummy.
Sheet Cake Instead of Cupcakes
Bake the same batter in a parchment-lined 9×13-inch pan if you’d rather slice and serve than pipe individual cupcakes. The colors won’t be as dramatic in every piece, but you get a faster dessert for a crowd and less decorating time. Spread the frosting in three bands, then drag a spatula lightly through the top for a striped finish.
Storage and Reheating
- Refrigerator: Store frosted cupcakes in an airtight container for up to 3 days. The frosting stays stable, but the cake is best at room temperature.
- Freezer: Freeze unfrosted cupcakes for up to 2 months, wrapped well and sealed in a freezer bag. Thaw at room temperature before frosting. Frosted cupcakes can be frozen, but the colors and sprinkles look better fresh.
- Reheating: These aren’t meant to be reheated. If the cupcakes were chilled, let them sit out for 20 to 30 minutes so the buttercream softens and the cake loses its cold, firm texture.
Answers to the Questions Worth Asking
Patriotic Red White and Blue Cupcakes
Ingredients
Equipment
Method
- Preheat the oven to 350°F (175°C) and set a muffin pan on a sheet pan for stability.
- Line the muffin pan with cupcake liners.
- Prepare the cake batter according to the package directions using the white cake mix, eggs, vegetable oil, milk, and adjust with red food coloring and blue food coloring if needed.
- Divide the batter into three bowls.
- Leave one bowl white, color one bowl red with red food coloring, and color one bowl blue with blue food coloring.
- Layer small spoonfuls of the red, white, and blue batter into each cupcake liner to create distinct color streaks.
- Fill the liners about 2/3 full.
- Bake at 350°F (175°C) for 18–20 minutes, until the tops spring back and a toothpick comes out clean.
- Cool the cupcakes completely before frosting.
- Beat the softened unsalted butter until fluffy.
- Add the powdered sugar, heavy cream, and vanilla extract, then beat until smooth and spreadable.
- Divide the frosting into three bowls.
- Leave one frosting bowl white, color one red with red food coloring, and color one blue with blue food coloring.
- Place the red, white, and blue frosting side-by-side in a piping bag fitted with a large star tip.
- Pipe red, white, and blue swirls onto the cooled cupcakes, keeping the pressure steady for a clean ridged swirl.
- Decorate with red, white, and blue sprinkles and mini patriotic star sprinkles.
- Serve the cupcakes right away, or store for later serving.
