
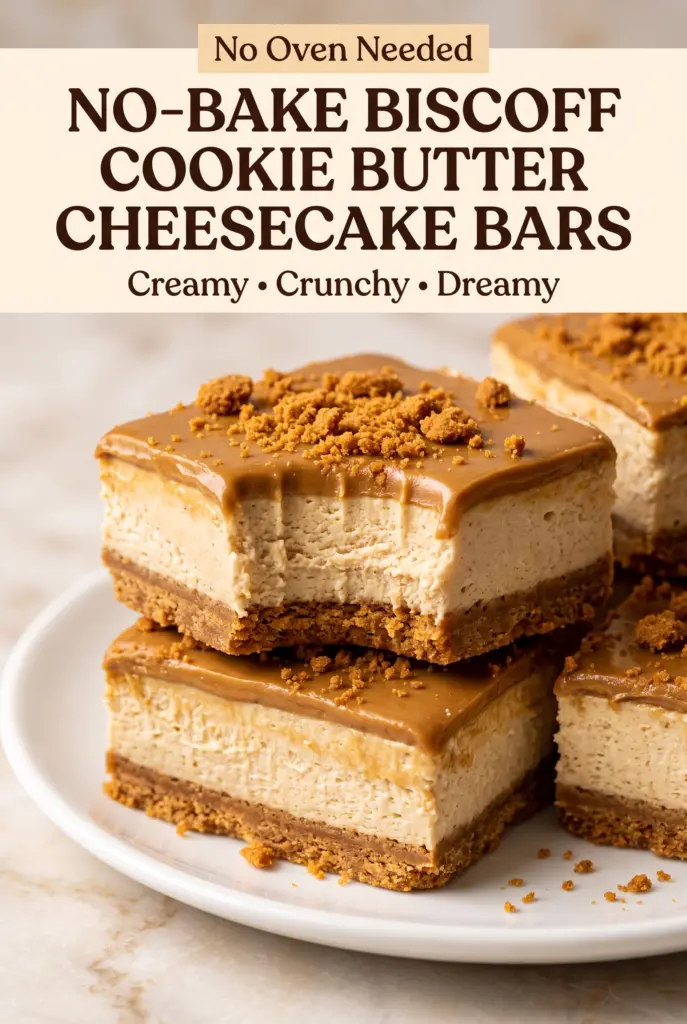
No-Bake Biscoff Cookie Butter Cheesecake Bars
Biscoff Cookie Butter Cheesecake Bars deliver that sweet spot between rich and light: a spiced cookie crust that holds its shape, a filling that slices cleanly, and a glossy cookie…
Tip: save now, cook later.Biscoff Cookie Butter Cheesecake Bars deliver that sweet spot between rich and light: a spiced cookie crust that holds its shape, a filling that slices cleanly, and a glossy cookie butter topping that finishes each bite with a little extra crunch. The texture is what keeps you coming back. The crust stays firm without baking, the cheesecake layer sets up plush and creamy, and the top adds just enough depth to keep the bars from tasting one-note.
The trick is building each layer for the job it needs to do. The crust needs enough melted butter to pack tightly, but not so much that it turns greasy. The filling gets its body from softened cream cheese plus whipped cream folded in at the end, which keeps it airy instead of dense. And the topping works because the cookie butter is loosened just enough with cream to spread without tearing the cheesecake beneath it.
Below, I’m walking through the part that matters most: how to get clean slices, how to keep the filling smooth, and what to change if you need a dairy-free or make-ahead version that still tastes like the real thing.
The crust pressed down so well and held together cleanly, and the filling set up overnight into those neat, creamy layers I was hoping for. The cookie butter topping made them taste bakery-level without any baking at all.
Craving these creamy Biscoff bars? Save them to Pinterest for the nights when you want a no-bake dessert with a crisp cookie crust and a smooth cookie butter finish.
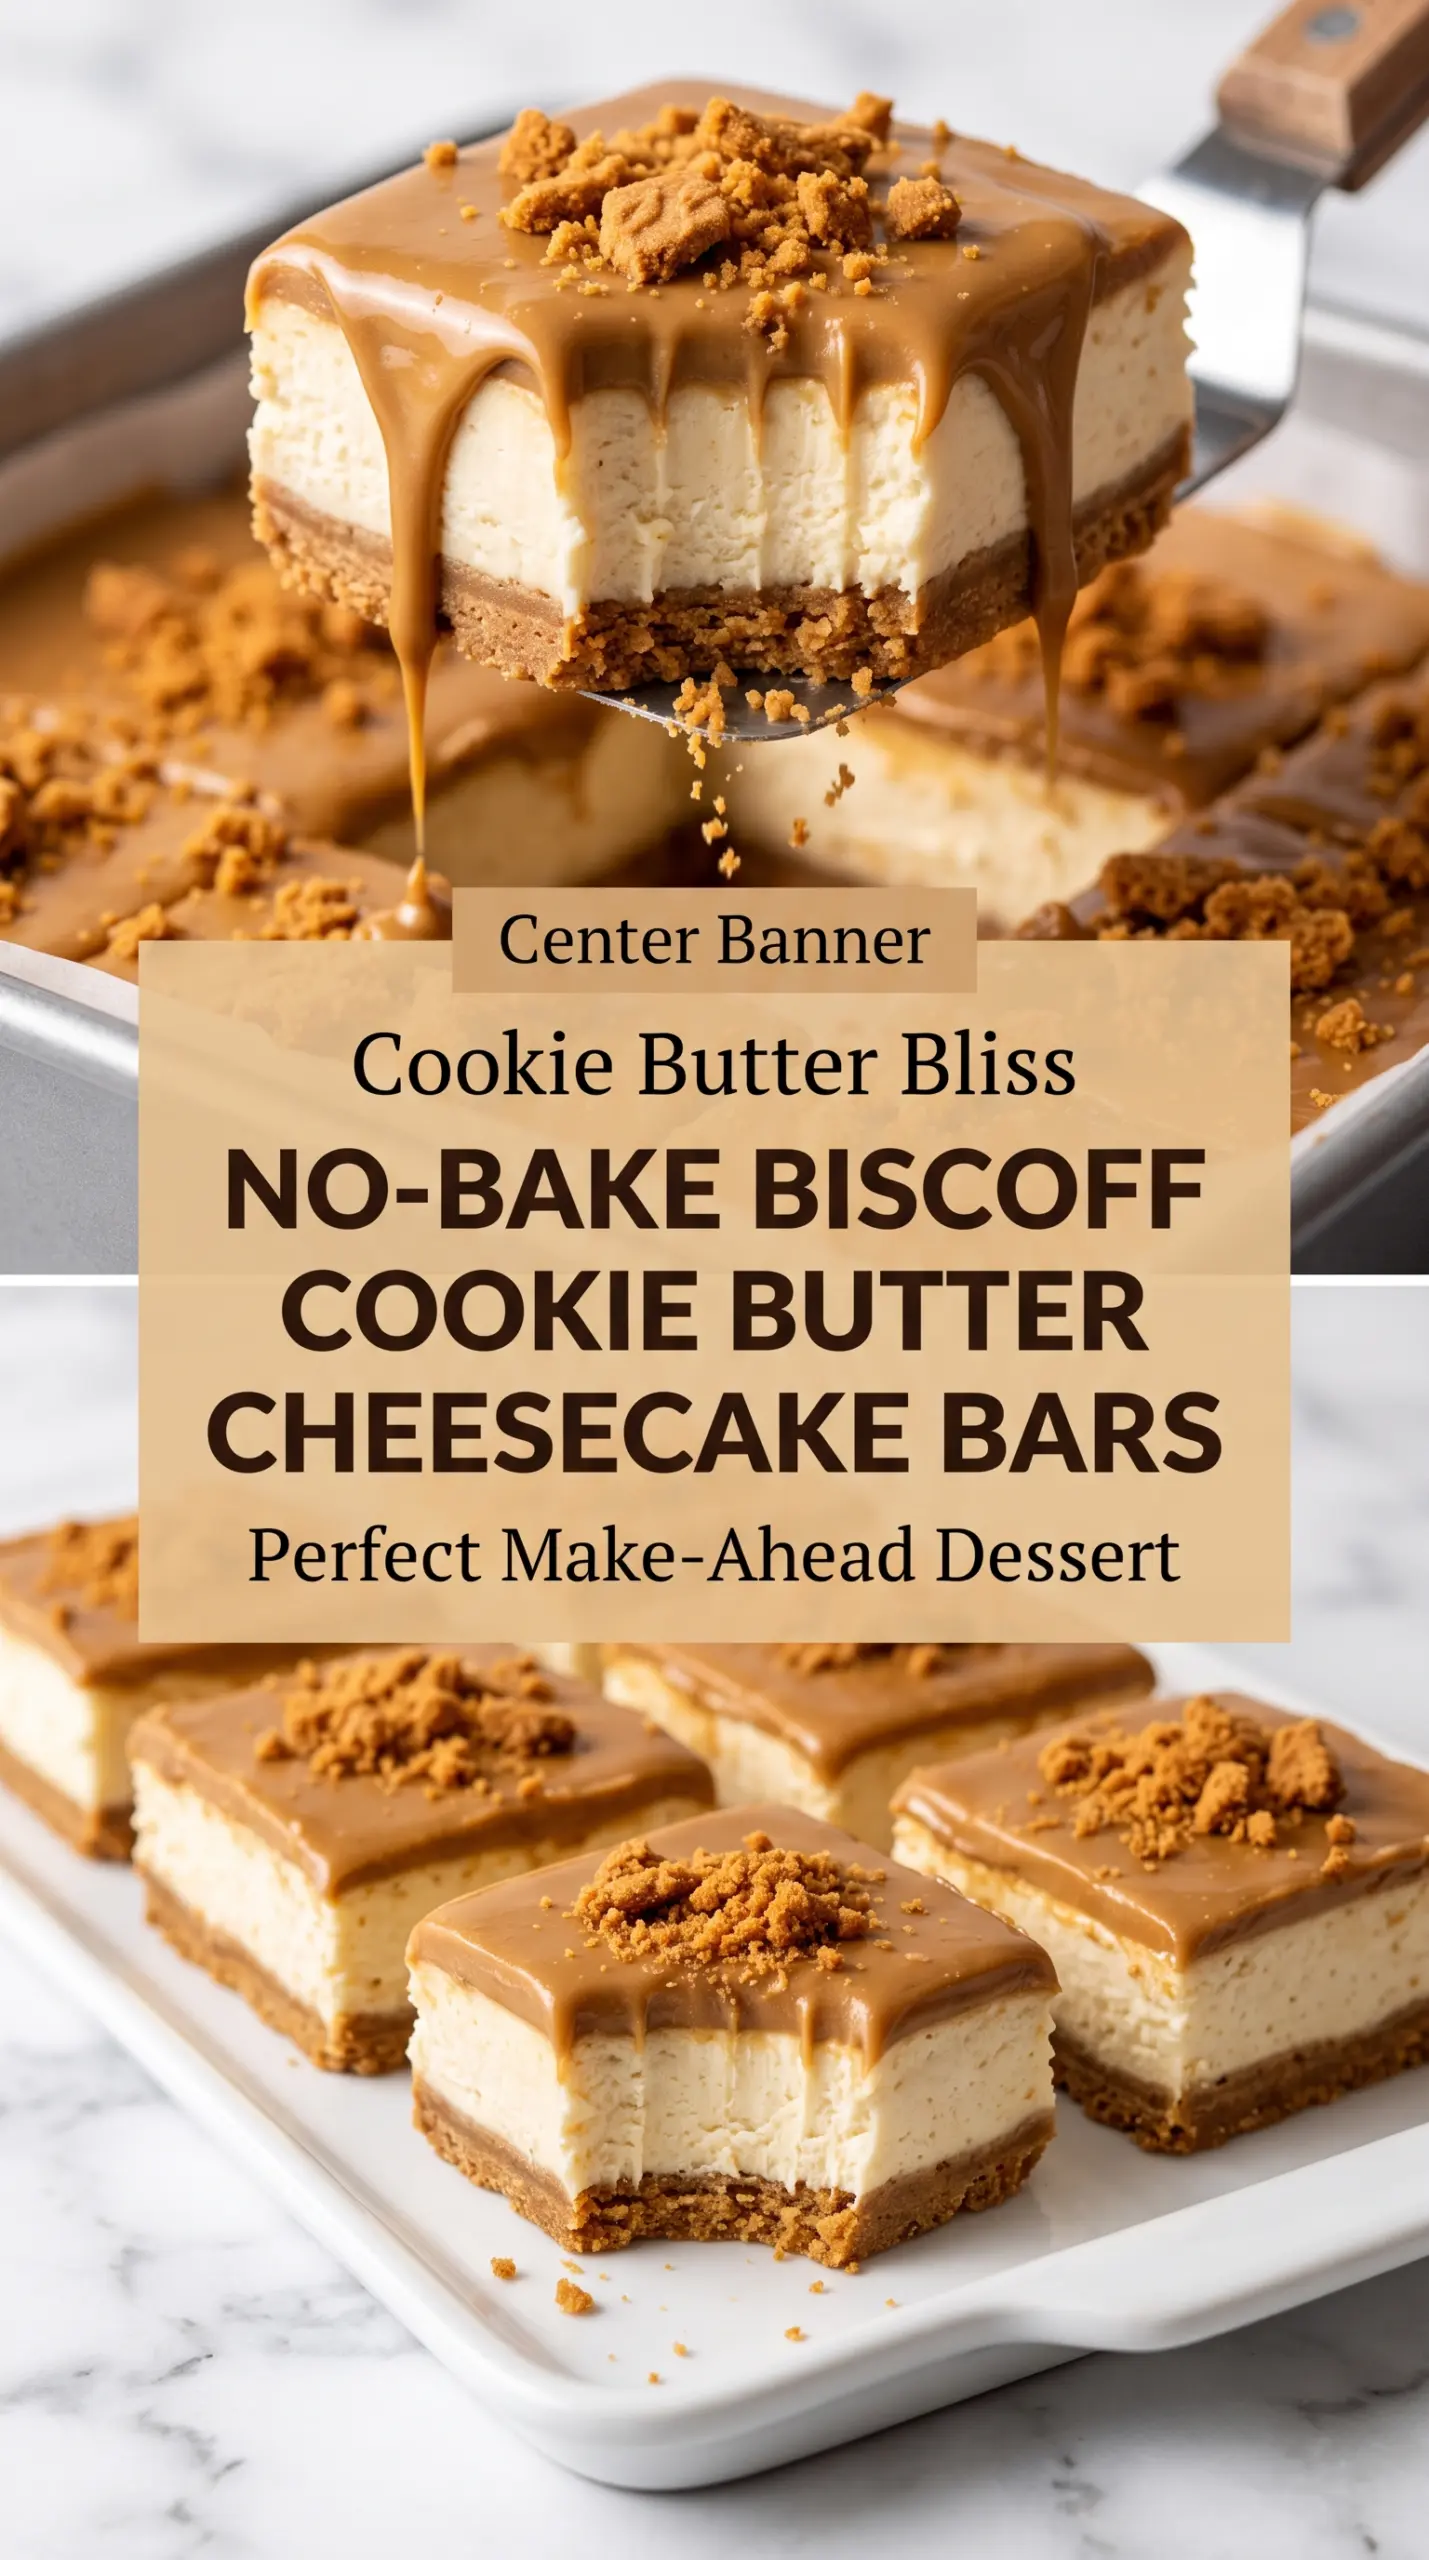
The Secret to Bars That Slice Clean Instead of Smearing
No-bake cheesecake bars can go wrong in two ways: the crust crumbles when you cut it, or the filling drags and smears because it never fully sets. These bars avoid both problems by starting with a tightly packed cookie crust and ending with enough chill time for the filling to firm up all the way through. If you rush the chilling, the top will still look fine, but the middle will slump the moment the knife goes in.
The other detail that matters is temperature. Softened cream cheese blends smoothly with the cookie butter, while cold heavy cream whips into structure before it gets folded in. That contrast is what gives the filling body without making it heavy. The result is a bar that holds a neat edge straight from the fridge and still tastes creamy instead of stiff.
- Biscoff cookie crumbs — These do more than add flavor. They form the whole backbone of the crust, so using actual crumbs from the cookies gives you the right spice, sweetness, and texture. If you need a substitute, graham crumbs work in a pinch, but the bars lose that signature caramelized cookie flavor.
- Unsalted butter — Butter binds the crust and helps it set firmly when chilled. Salted butter works if that’s what you have, but the flavor will read a little less clean. Melt it fully so every crumb gets coated before pressing the crust into the pan.
- Cream cheese — Full-fat cream cheese gives the filling its tang and structure. Reduced-fat cream cheese can work, but the bars won’t be as rich and may set a little softer. Let it soften at room temperature so it beats smooth instead of leaving little lumps behind.
- Biscoff cookie butter — This is the defining flavor, so use a creamy version that stirs easily. If it’s stiff from the pantry, warm it just enough to loosen it, but don’t melt it thin. You want spreadable, not runny.
- Heavy whipping cream — The cold cream gets whipped and folded in to lighten the filling and help it hold. Regular whipping cream can work if that’s what you have, but don’t swap in milk. Milk won’t give the filling enough structure.
Building the Layers Without Losing the Texture
Pressing the Crust Firmly
Mix the cookie crumbs and melted butter until every crumb looks damp, then press the mixture into the pan with real pressure. An offset spatula or the bottom of a measuring cup helps pack the crust into an even layer. If the crust feels sandy after pressing, it needs a little more butter or a tighter pack. Chill it before the filling goes in so it firms up instead of blending into the cheesecake layer.
Whipping the Filling to the Right Point
Beat the cream cheese, cookie butter, powdered sugar, and vanilla until the mixture is smooth and glossy with no streaks left on the bowl. In a separate bowl, whip the cold cream until stiff peaks hold their shape when you lift the whisk. If the cream is underwhipped, the filling turns loose; if it’s overwhipped, it gets grainy and hard to fold in. Stop at stiff peaks, then fold gently so you keep as much air in the mixture as possible.
Finishing and Chilling for Clean Cuts
Spread the filling all the way to the corners and smooth the top before adding the warmed cookie butter topping. Loosen the topping just until it pours, then spread it gently so you don’t pull up the filling underneath. The bars need at least six hours in the fridge, and overnight is better. For the cleanest slices, lift the slab out with the parchment, use a warm knife, and wipe the blade after every cut.
How to Adapt These Biscoff Cheesecake Bars for Different Kitchens
Dairy-Free Version
Use dairy-free cream cheese, coconut cream whipped to stiff peaks, and a dairy-free butter substitute for the crust. The bars will still set, but the filling will taste a little less tangy and a little more coconut-forward depending on the brand you choose.
Gluten-Free Swap
Use gluten-free speculoos-style cookies for the crust if you can find them. The texture stays nearly the same, and you keep the spiced cookie flavor that makes these bars special. Check the cookie butter label too, since most versions are gluten-free but not all brands are certified.
Making Them Ahead for a Party
These bars are built for make-ahead dessert duty. Assemble them a day in advance, keep them chilled, and slice just before serving for the sharpest edges. If you need to top them with crushed cookies for crunch, add those right before serving so they stay crisp.
Storage and Reheating
- Refrigerator: Store covered for up to 5 days. The crust softens slightly over time, but the bars stay creamy and sliceable.
- Freezer: They freeze well. Wrap the slab or individual bars tightly and freeze for up to 1 month, then thaw in the refrigerator so the filling doesn’t weep.
- Reheating: No reheating needed. Serve straight from the fridge for the cleanest texture. If they’ve been frozen, let them thaw until fully chilled but no longer icy in the center.
Answers to the Questions Worth Asking
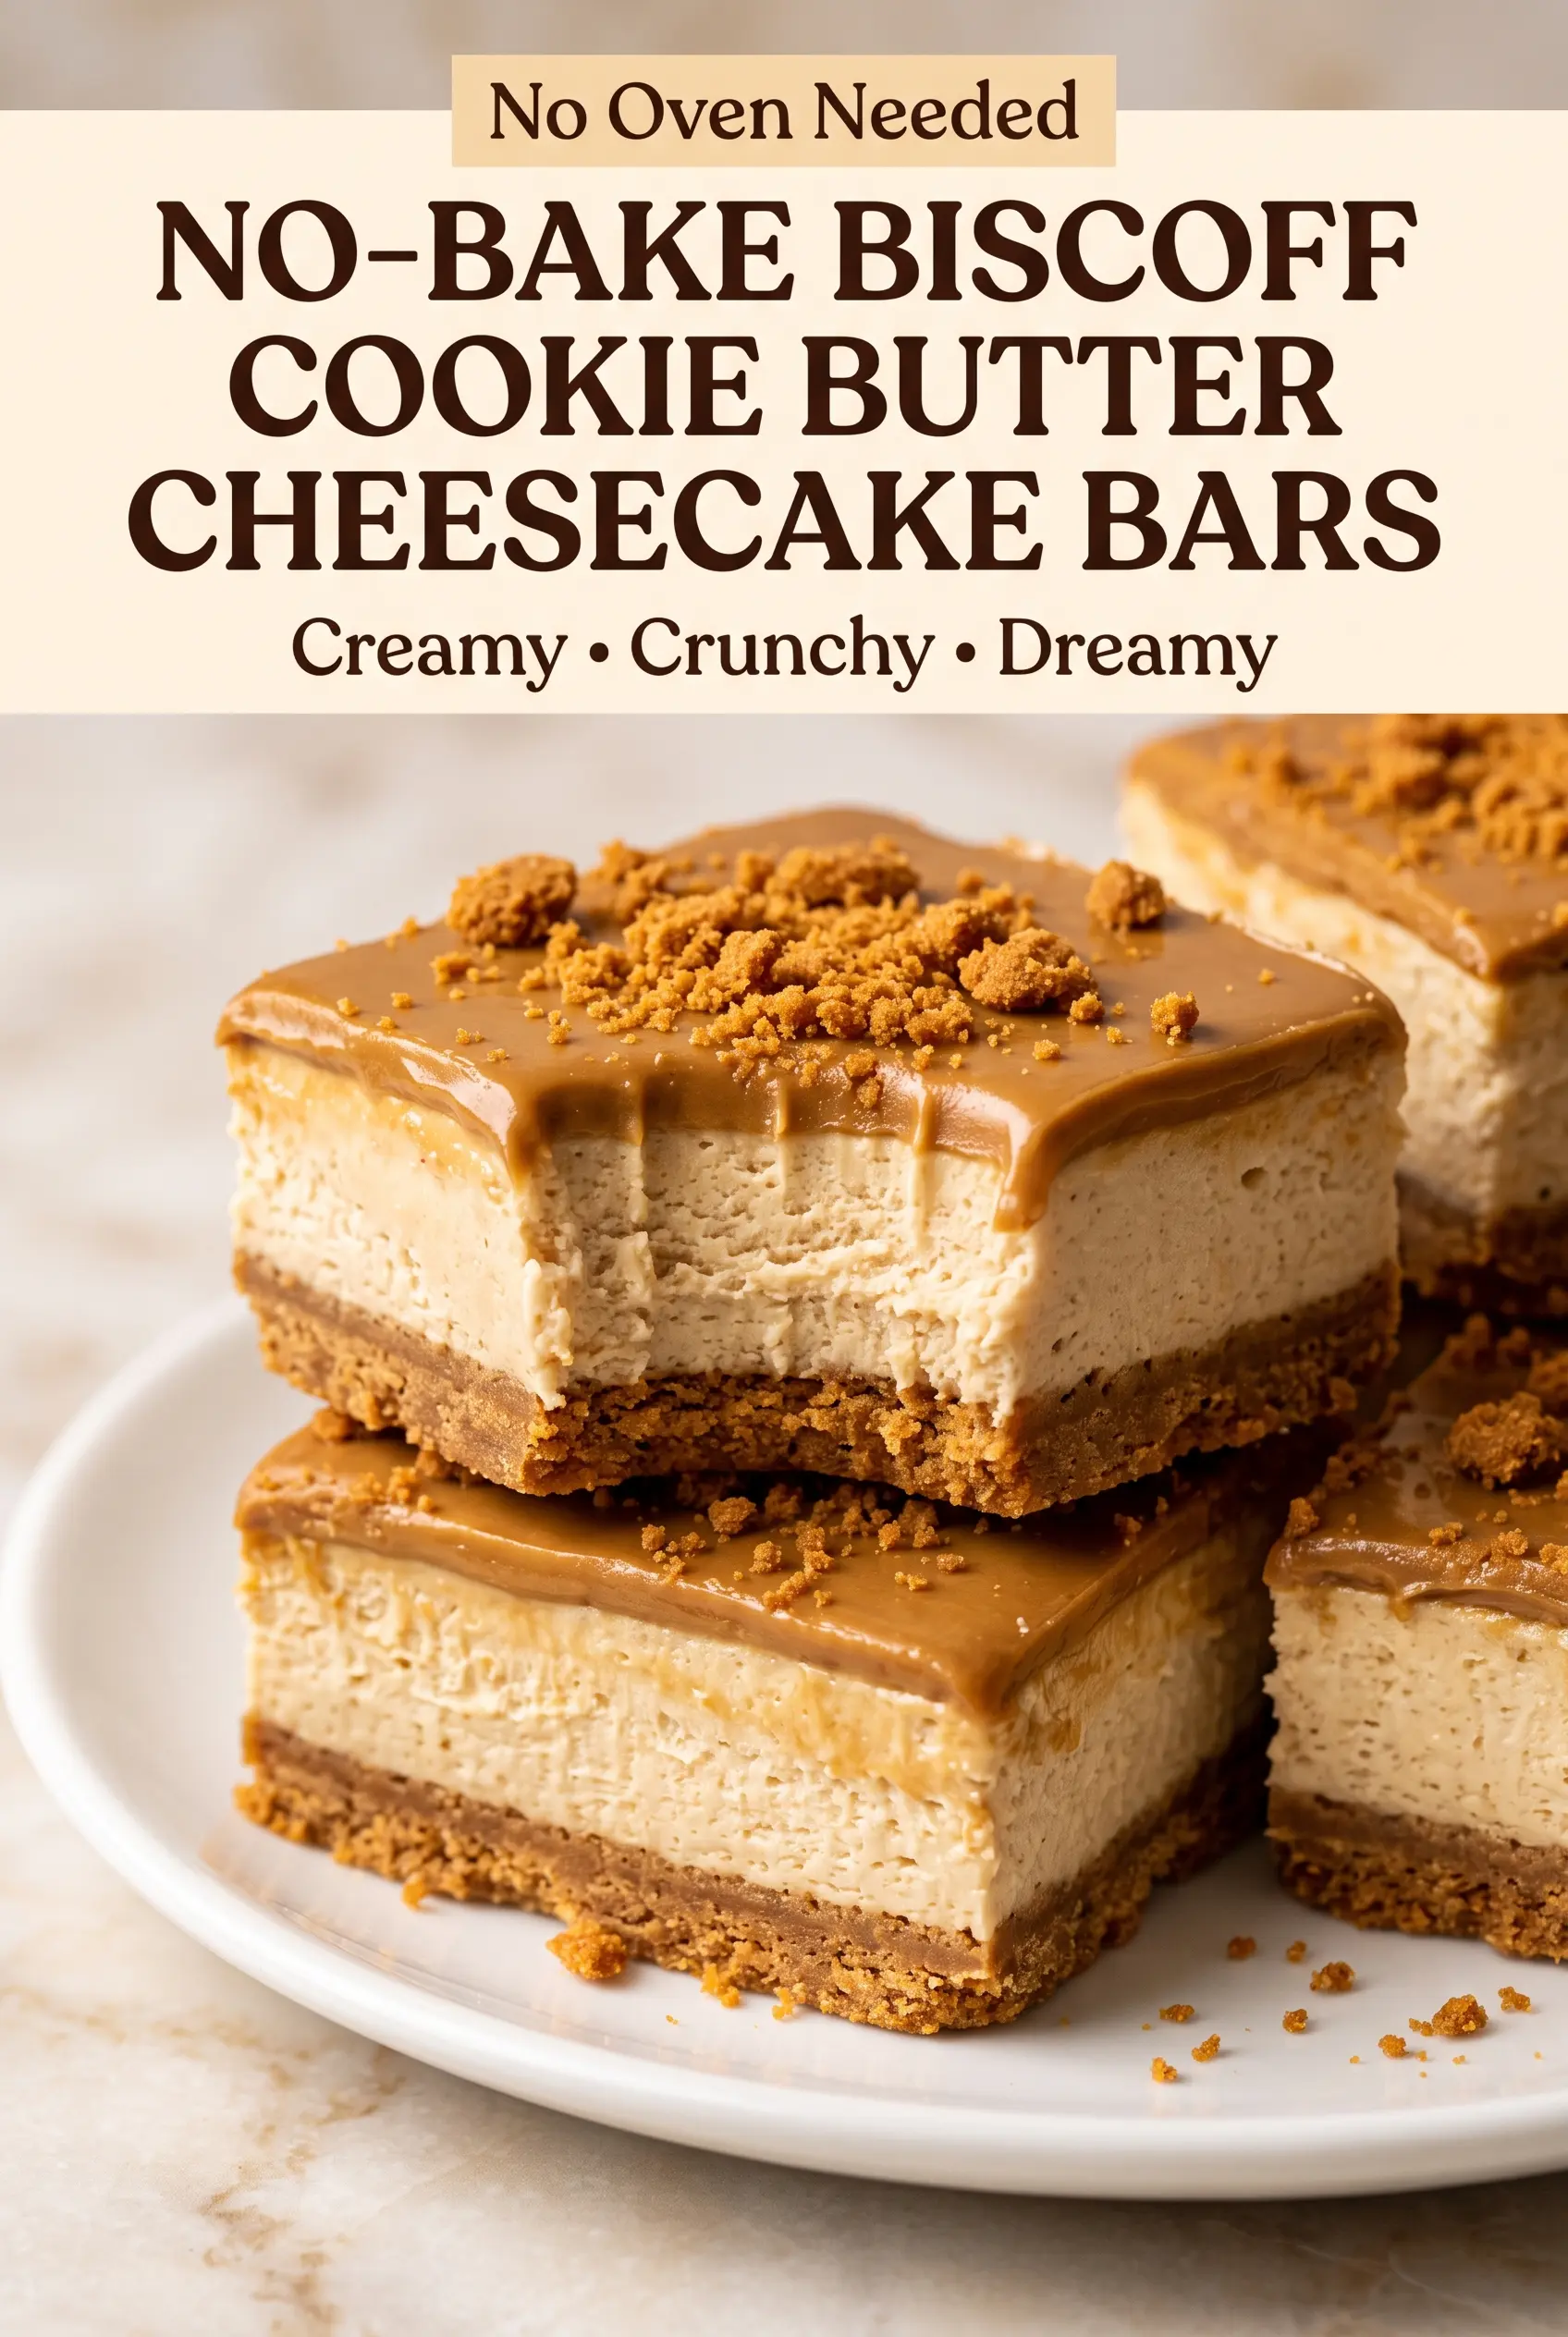
No-Bake Biscoff Cookie Butter Cheesecake Bars
Ingredients
Equipment
Method
- Line an 8×8-inch baking pan with parchment paper, leaving an overhang for easy removal.
- Mix Biscoff cookie crumbs and melted unsalted butter until evenly coated, then press firmly into the pan to form an even crust.
- Refrigerate the crust for 20 minutes until firm.
- Beat softened cream cheese, creamy Biscoff cookie butter, powdered sugar, and vanilla extract with an electric mixer for 2–3 minutes until smooth and creamy.
- Whip cold heavy whipping cream with the electric mixer until stiff peaks form, about 3–4 minutes.
- Fold the whipped cream gently into the cheesecake mixture until fully combined and light in texture.
- Spread the filling evenly over the chilled crust and smooth the top with an offset spatula.
- Warm the remaining creamy Biscoff cookie butter with heavy cream in the microwave for 15–20 seconds, then stir until smooth and pourable.
- Pour the cookie butter topping over the cheesecake layer and spread gently into an even layer.
- Sprinkle crushed Biscoff cookies over the top.
- Refrigerate the bars for at least 6 hours, preferably overnight, until fully set.
- Lift the cheesecake from the pan using the parchment paper, then slice into 16 bars using a warm knife and wipe the blade clean between cuts.
- Serve the bars chilled.
