
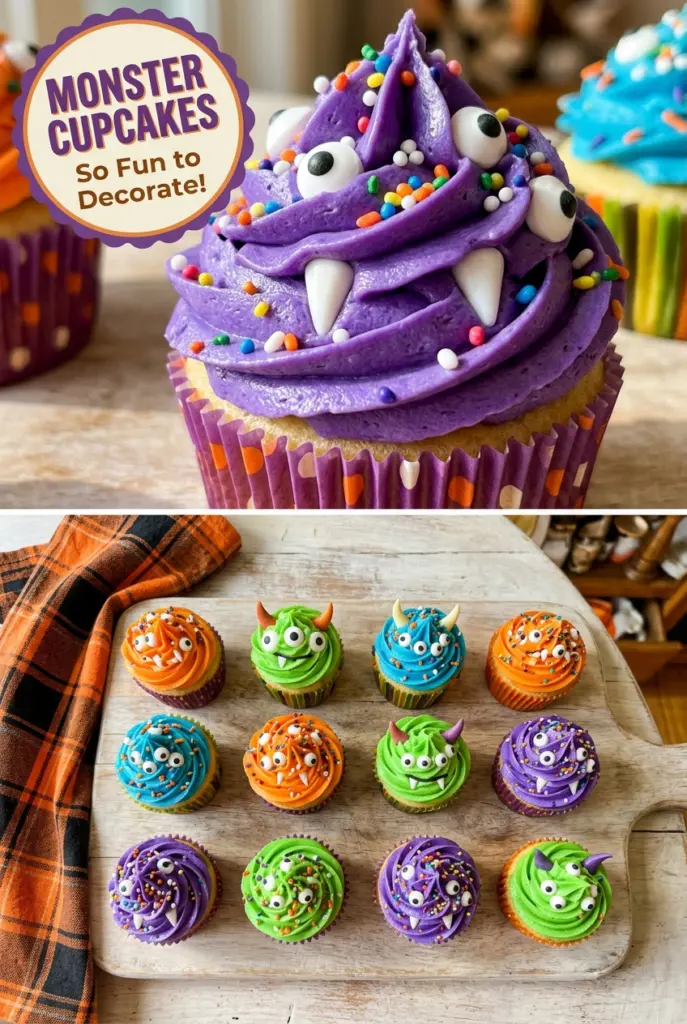
Monster Cupcakes
Monster cupcakes are all about a soft chocolate crumb under a swirl of thick buttercream that holds its shape long enough to pile on candy eyes, sprinkles, and those goofy…
Tip: save now, cook later.Monster cupcakes are all about a soft chocolate crumb under a swirl of thick buttercream that holds its shape long enough to pile on candy eyes, sprinkles, and those goofy little fangs. The chocolate base stays tender instead of dry, and the decoration is where the fun happens: every cupcake can look a little different without any extra effort. That’s part of why they disappear fast at parties. They’re playful, but they still taste like a good homemade cupcake.
What makes this version work is the balance between the batter and the frosting. Hot water loosens the cocoa so the cupcakes bake up with a deeper chocolate flavor, and buttermilk keeps the crumb soft. The buttercream is rich enough to pipe cleanly, but the cream keeps it from turning stiff and heavy. Gel food coloring is the right choice here because liquid coloring can thin the frosting and make the swirls slump.
Below, I’ve included the little details that matter most, from baking the cupcakes just long enough to keeping the frosting from turning greasy when you color it. If you’ve ever had Halloween cupcakes come out more messy than cute, the process here will help you avoid that.
The cupcakes stayed really soft the next day, and the buttercream held its shape even after I added all the candy eyes and sprinkles. My kids loved decorating them, and the chocolate flavor came through better than the boxed mix I usually use.
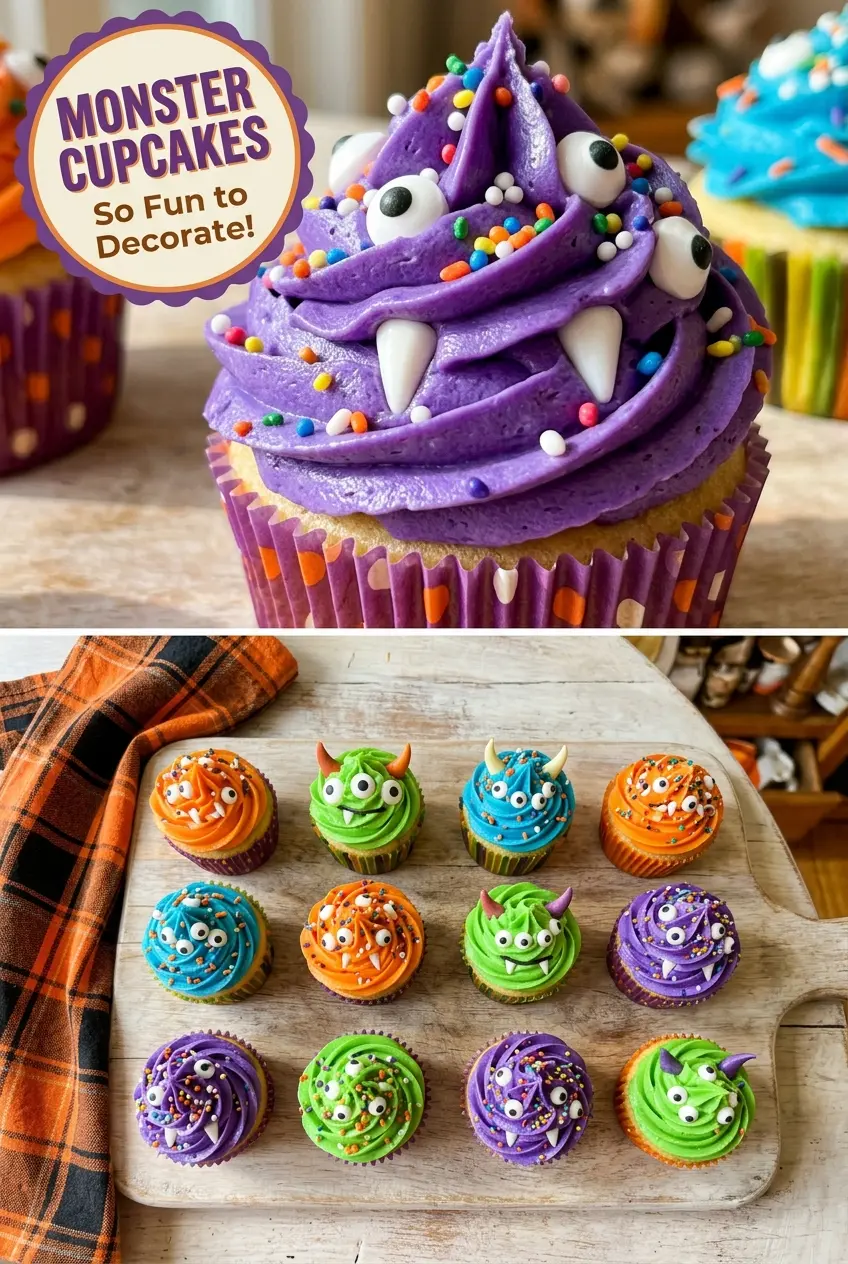
These monster cupcakes are a total Halloween hit — chocolatey, fluffy, and ready for candy eyes, swirls, and all the spooky decorations.
The Trick to Keeping Monster Cupcakes Soft Instead of Dry
Chocolate cupcakes go wrong when the batter gets overmixed or baked a minute too long. The flour develops too much structure, and the crumb turns tight instead of tender. Here, the dry ingredients get whisked just enough to distribute the leaveners, then the wet and dry are combined only until the batter comes together. That keeps the cupcakes light and gives them a fine, even crumb that holds up under a heavy frosting swirl.
The other thing worth paying attention to is the hot water. It looks thin and almost too loose at the end, but that’s exactly what you want. It wakes up the cocoa and helps the cupcakes bake with a deeper chocolate taste. Pull them when a toothpick comes out clean, not after the tops have started to darken too much. Overbaking is the fastest way to lose that soft texture.
What Each Ingredient Is Actually Doing in These Cupcakes
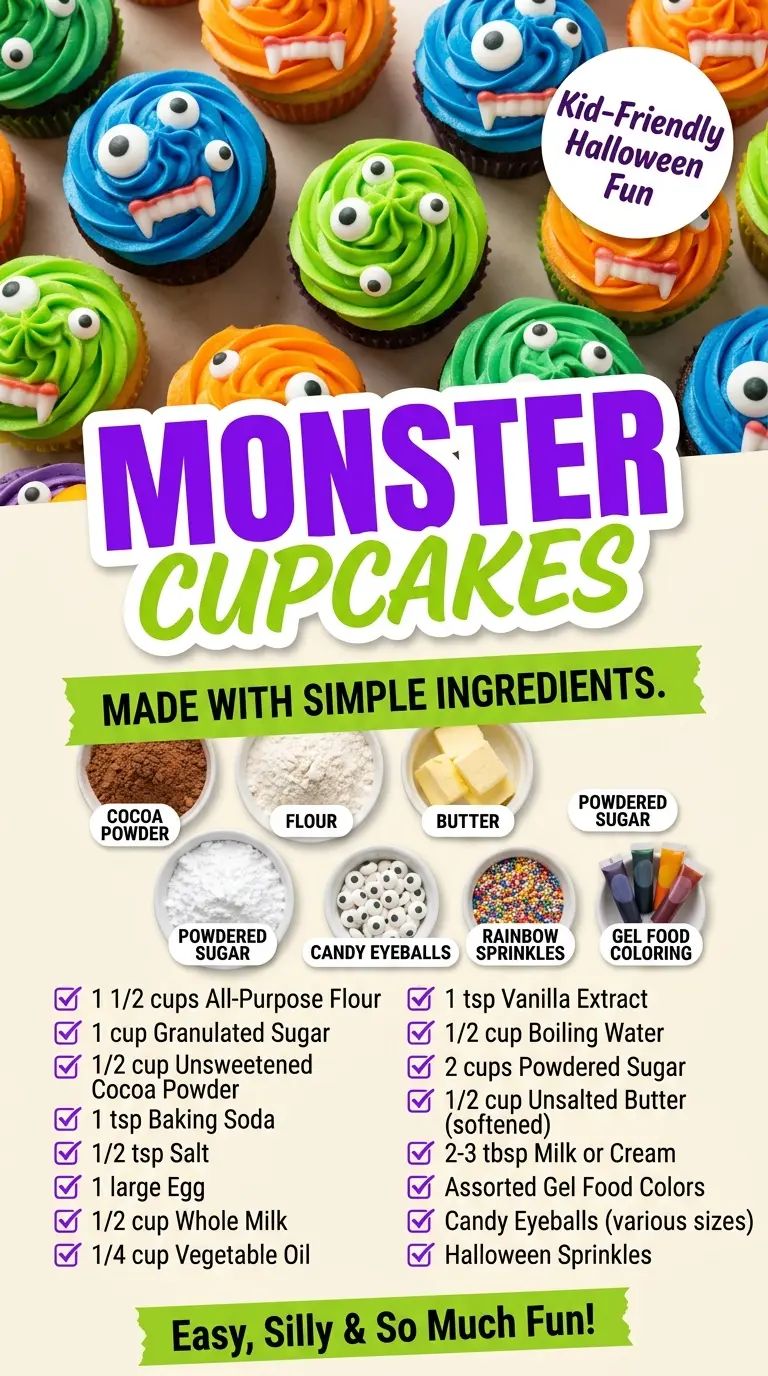
Cocoa powder — This is the main chocolate flavor, so use unsweetened cocoa with a color and aroma you like. Dutch-process cocoa will give you a darker cupcake, but regular unsweetened cocoa works well too. If your cocoa is old and dusty, the flavor will be flat no matter how well you bake them.
Buttermilk — This keeps the crumb soft and adds a little tang that balances the sweet frosting. If you don’t have it, mix 1/2 cup milk with 1/2 tablespoon lemon juice or vinegar and let it sit for 5 minutes. That substitute gets close enough for texture, though the flavor is a little less rich.
Vegetable oil — Oil gives these cupcakes a moist crumb that stays tender after chilling. Butter can work in a pinch, but the cupcakes won’t have quite the same softness the next day. Since the frosting carries most of the rich flavor here, oil is the better choice.
Gel food coloring — Gel color is the difference between bright monster swirls and frosting that turns loose and greasy. You need just a tiny amount to tint each bowl, and the buttercream stays thick enough to pipe. Liquid coloring can thin the frosting and weaken the shape.
Building the Batter and Frosting the Monsters
Mix the Chocolate Batter Without Beating It Dry
Whisk the flour, cocoa, baking soda, baking powder, and salt together first so the leaveners are evenly distributed. In a separate bowl, beat the sugar, oil, eggs, and vanilla until the mixture looks smooth and glossy, then mix in the buttermilk. When you add the dry ingredients, stop as soon as you no longer see streaks of flour. A few small lumps are fine. The batter should look loose before the hot water goes in; once it does, it will turn silky and pourable.
Bake Until the Centers Spring Back
Divide the batter among the liners about two-thirds full so the cupcakes rise without spilling over. Eighteen to twenty minutes is usually the sweet spot, but the real test is the top: it should spring back when touched lightly, and a toothpick should come out clean or with a few moist crumbs. If the tops dome too sharply or the sides pull away too much, they’re already edging toward dry. Cool them completely on a wire rack before frosting, or the buttercream will melt and slide.
Whip the Buttercream Until It Pipes Cleanly
Beat the butter until it looks pale and fluffy before adding the powdered sugar. That extra aeration helps the frosting spread and pipe without feeling dense. Add the cream a little at a time until the frosting holds a sturdy swirl but still moves easily through the piping bag. If it looks grainy, keep beating. If it turns soupy, it needs more powdered sugar and a few minutes to firm back up.
Decorate Before the Frosting Sets
Divide the frosting into bowls and tint each one with a separate color, then pipe on swirls while the buttercream is still soft enough for decorations to stick. Candy eyes, sprinkles, and chocolate chip spots all stay put best when added right away. The candy fangs can be pressed gently into the swirl so they look like they’re peeking out instead of sitting on top like a topper. No two cupcakes need to match. The uneven, goofy ones are usually the best-looking monsters.
How to Adapt These Monster Cupcakes for Different Crowds
Dairy-Free Monster Cupcakes
Swap the buttermilk for a dairy-free milk plus 1/2 tablespoon lemon juice, and use a plant-based butter for the frosting. The cupcakes still bake up soft, but the buttercream may need a little extra powdered sugar to hold strong swirls. Choose a dairy-free candy decoration if your brand of eyeballs or candy melts contains milk.
Make Them Ahead for a Party
Bake the cupcakes a day in advance and store them unfrosted. The frosting can be made ahead too, but let it come back to room temperature and rewhip it for a minute before piping. That brings the texture back to a smooth, fluffy finish instead of a stiff, cold one.
Less Sweet Version
Use a little less frosting per cupcake and lean harder into the decorations for the monster look. The chocolate base can handle it because the cocoa flavor stays front and center. If you want the frosting to taste less sugary, add a pinch of salt and a tiny splash more vanilla.
Storage and Reheating
- Refrigerator: Store frosted cupcakes in an airtight container for up to 3 days. The frosting firms up in the fridge, so let them sit at room temperature for 20 to 30 minutes before serving.
- Freezer: Freeze the unfrosted cupcakes for up to 2 months. Wrap each one tightly and thaw at room temperature before decorating. Frosting and candy decorations don’t freeze as cleanly, so assemble after thawing.
- Reheating: These don’t need reheating. If the cupcakes are cold, bring them back to room temperature rather than microwaving them, which will melt the frosting and ruin the decoration.
Answers to the Questions Worth Asking
Monster Cupcakes
Ingredients
Equipment
Method
- Preheat oven to 350°F and line a muffin tin with cupcake liners.
- Whisk together all-purpose flour, unsweetened cocoa powder, baking soda, baking powder, and salt in a bowl.
- In a separate bowl, beat granulated sugar, vegetable oil, eggs, and vanilla extract until combined.
- Add buttermilk and mix well until the batter looks smooth and thick.
- Stir the dry ingredients into the wet ingredients until just combined.
- Stir in hot water until the batter is smooth and glossy.
- Divide batter among the cupcake liners, filling each about two-thirds full.
- Bake at 350°F for 18–20 minutes, until a toothpick inserted in the center comes out clean.
- Cool completely on a wire rack before decorating.
- Beat unsalted butter until fluffy.
- Gradually add powdered sugar, then beat until it looks like thick, pale frosting.
- Add heavy cream and vanilla extract, then beat until smooth.
- Divide the frosting into bowls and tint each portion with green, purple, and blue gel food coloring.
- Pipe swirls of the tinted buttercream onto each cooled cupcake.
- Add candy eyeballs to each cupcake while the frosting is still fresh.
- Sprinkle on rainbow sprinkles for extra color and texture.
- Add white candy melts shaped like fangs on top of the frosting.
- Finish by placing mini chocolate chips as spots on each cupcake.
