
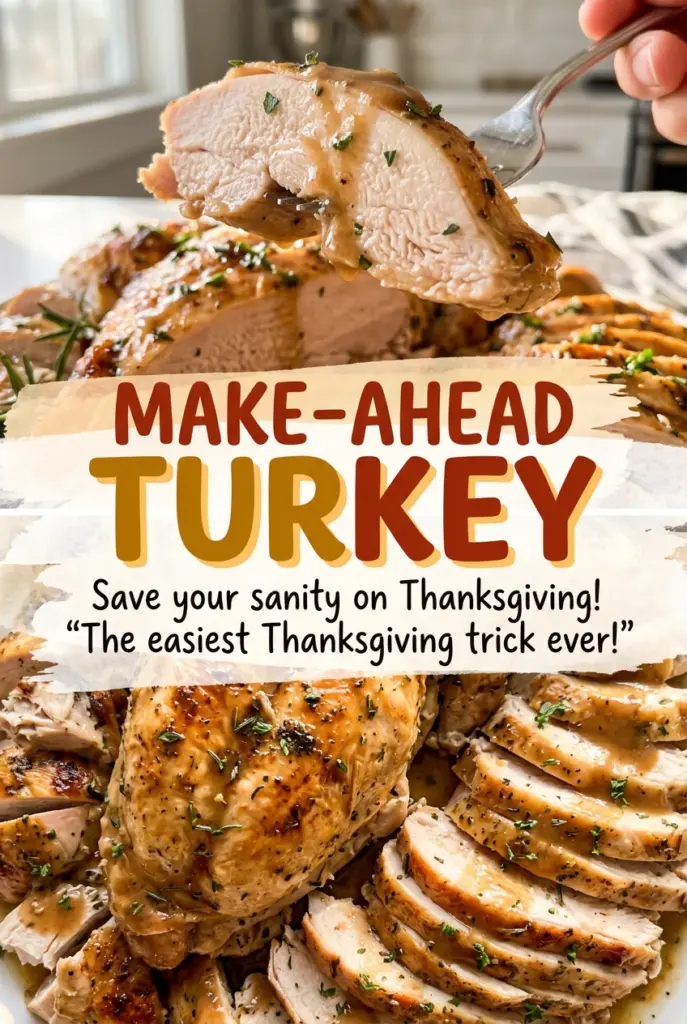
Make-Ahead Turkey
The pan juices are still warm when the carving starts, and that’s the moment that makes this turkey work as a make-ahead dinner. Instead of trying to serve a whole…
Tip: save now, cook later.The pan juices are still warm when the carving starts, and that’s the moment that makes this turkey work as a make-ahead dinner. Instead of trying to serve a whole bird straight from the roasting pan, I carve it after its rest and pack the meat with the juices so it reheats covered, tender, and ready to serve. Make-Ahead Turkey is a practical way to get the roasting finished before the day you need it.
Softened butter goes over the skin and underneath the breast skin, where it helps season the meat as it roasts. Onion, lemon, and thyme perfume the cavity without turning the turkey into a complicated project. The next day, shallow layers of carved meat warm in two baking dishes with pan juices and broth; you can bring the turkey to the table without carving while everyone waits.
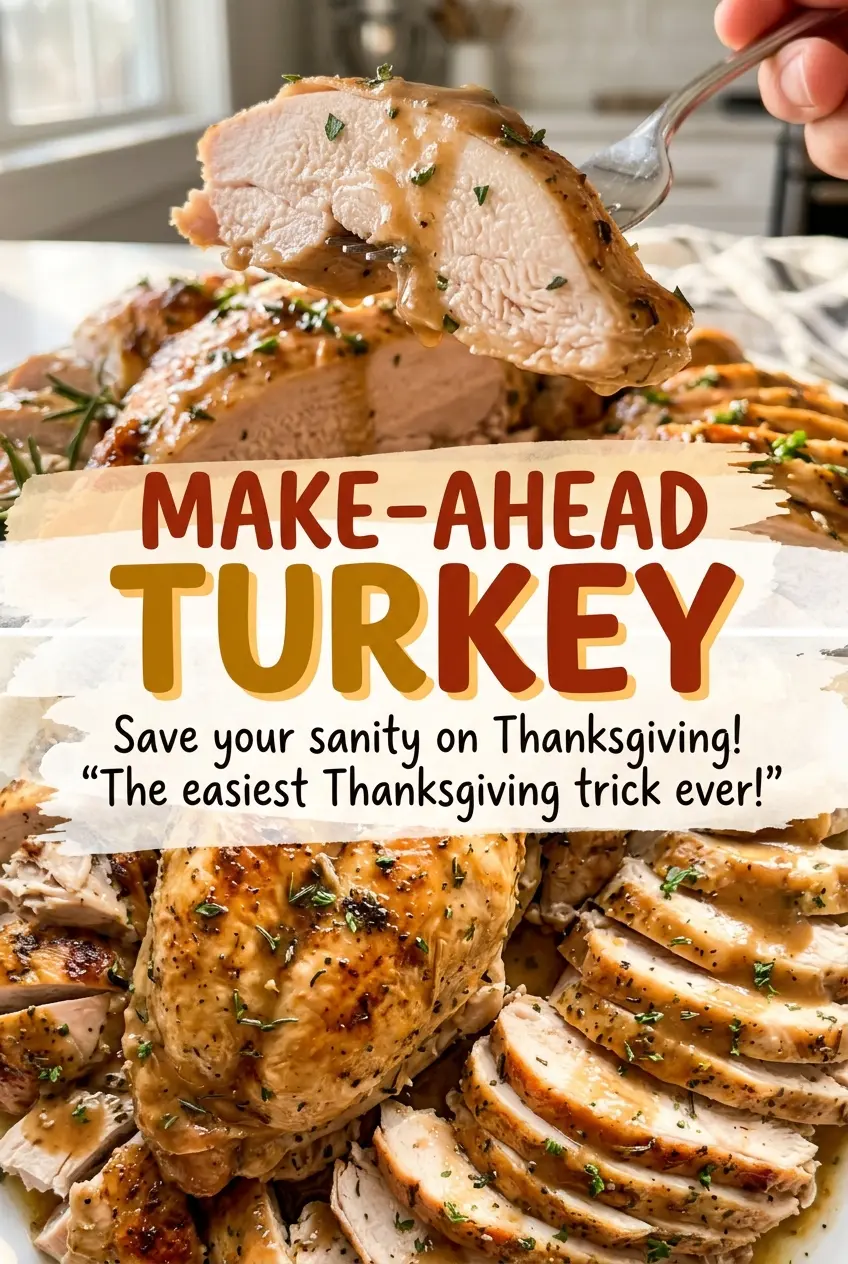
Kitchen Note
Use softened butter, not melted butter. It should spread in an even layer over the skin and slip under the breast skin without running off the bird.
Save this make-ahead turkey for a calmer dinner: carved meat reheats covered with its pan juices and broth.
The Second Heating Is Where Make-Ahead Turkey Loses Moisture
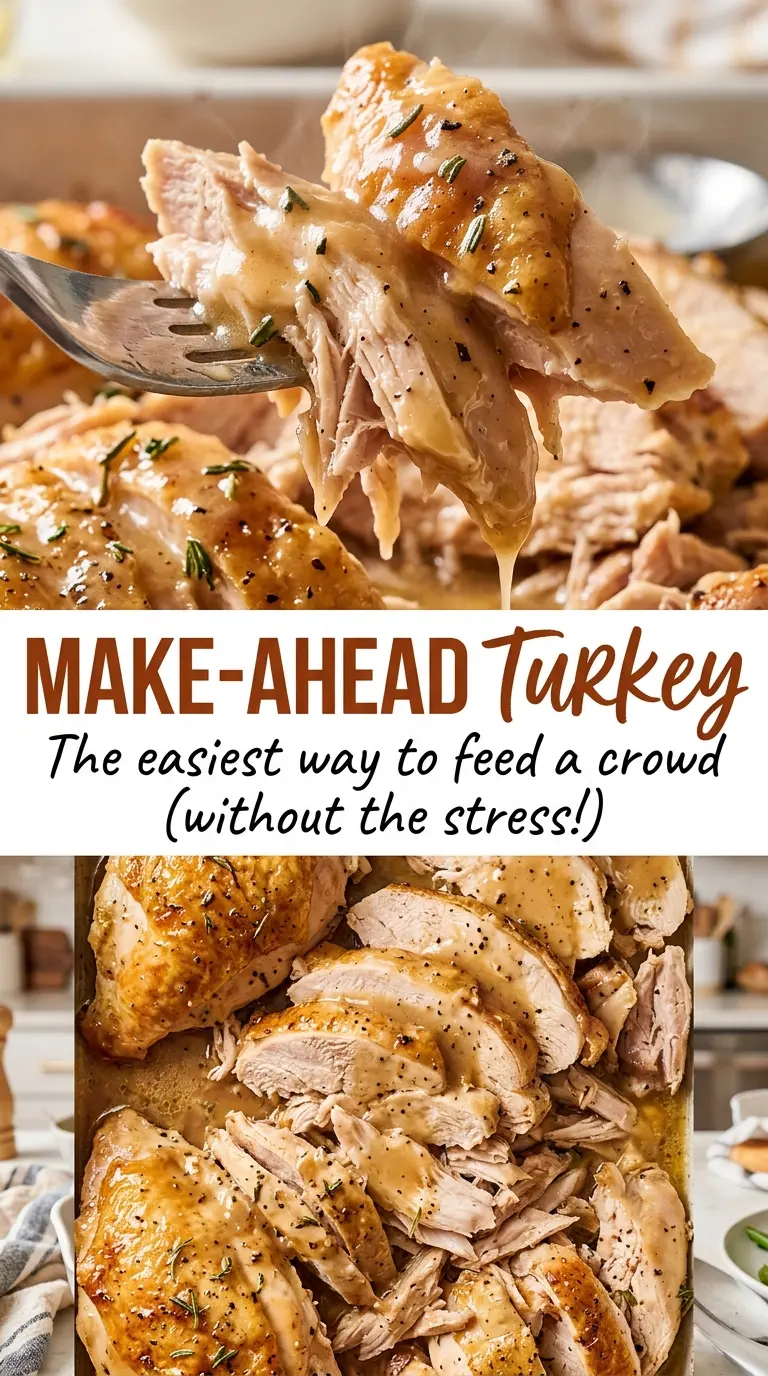
Roasting the bird isn’t the part that makes this approach tricky. The vulnerable moment comes after carving: slices have much more exposed surface than a whole turkey, and uncovered meat can dry out while it waits to be served. The fix is built into the way the meat is packed for reheating. Keep the layers shallow, add the pan juices and broth over the meat, and reheat the dishes covered.
Those details work together. A layer no deeper than 2 inches warms more evenly than a deep pile, while the liquid keeps the sliced surfaces from sitting dry in the oven. The cover holds in moisture instead of letting it escape. When you swap the dishes’ rack positions halfway through reheating, both pans get a turn in the warmer spot. You’re not trying to roast the carved meat again; you’re warming it gently until it’s hot throughout.
What the Butter, Broth, and Cavity Aromatics Actually Do
- Whole turkey — The roasting time and pan setup suit a thawed bird in the specified 12- to 14-pound range. Remove the neck and giblets before roasting, and don’t rely on skin color alone to judge doneness.
- Unsalted butter — Softened butter spreads easily over the skin and under the breast skin, helping season the meat where it needs it. Unsalted butter also leaves the measured kosher salt in control; a salted-butter swap would make the seasoning less predictable.
- Low-sodium chicken broth — It supplies moisture in the roasting pan and again over the carved meat. A premium brand isn’t necessary; the low-sodium label matters more because the turkey is also seasoned with kosher salt. For a gluten-free version, choose low-sodium chicken broth labeled gluten-free.
- Onion, lemon, and fresh thyme — These aromatics sit in the cavity and give the turkey a gentle savory, citrus, and herbal aroma as it roasts. Fresh thyme is the ingredient specified here; keep the sprigs intact so they’re easy to lift out after roasting.
Roast the Bird Once, Then Reheat It Without Drying It Out
Season the Skin and Fill the Cavity
Heat the oven to 325°F and set a rack in a 16-inch roasting pan. Pat the thawed turkey dry, then rub the softened butter over the skin and under the breast skin before seasoning it with kosher salt and black pepper. Put the quartered onion, halved lemon, and thyme sprigs in the cavity. If the skin is still damp, take the time to pat it dry before adding butter so the butter can coat the surface instead of sliding over moisture.
Roast Until Both Checks Reach Temperature
Pour 1 cup of the chicken broth into the roasting pan and set the turkey on the rack. Roast at 325°F for 3 to 3¾ hours; the exact point depends on the bird, so use a thermometer rather than the clock alone. Check the thickest part of the breast and the innermost thigh, keeping the thermometer away from bone. Both spots need to read 165°F before you take the turkey out.
Rest Before You Carve
Transfer the turkey to a cutting board and let it rest for 30 minutes before carving. That pause makes the bird easier to handle, and it gives you time to gather the shallow baking dishes for the next stage. Carve the meat into pieces that are easy to portion into the dishes. Keep the juices from the roasting pan; they go over the carved turkey rather than down the sink.
Pack the Meat with Liquid, Then Reheat Covered
Divide the carved turkey between two shallow 9×13-inch baking dishes, keeping each layer no deeper than 2 inches. Pour the pan juices and the remaining 1 cup of broth over the meat, cover the dishes, and refrigerate them within 2 hours of the turkey coming out of the oven. When it’s time to serve, heat the oven to 325°F and reheat the covered dishes for 30 to 45 minutes, swapping their rack positions halfway through. Check that the turkey reaches 165°F throughout before serving.
Three Practical Ways to Adapt Make-Ahead Turkey
Keep the broth gluten-free
Use low-sodium chicken broth labeled gluten-free in place of standard low-sodium chicken broth, keeping the same quantity. The turkey stays close to the original in taste and texture, but the broth needs its gluten-free label because brands can use different ingredients.
Make the turkey less citrus-forward
Leave the lemon out of the cavity and keep the onion and thyme. The roasted turkey will have a more straightforward savory-herb aroma, without the light citrus note. This changes the aroma rather than the roasting method.
Separate white and dark meat for serving
Instead of mixing all the carved meat together, place the breast meat in one dish and the dark meat in the other. Keep both layers no deeper than 2 inches and divide the pan juices and broth between them. The two dishes are easier to portion for people who prefer one type of meat.
Storage and Reheating
- Refrigerator: Keep covered turkey refrigerated for 3 to 4 days. The meat may firm up as it chills; the broth and pan juices help it warm back up moist.
- Freezer: Freeze the carved turkey with some of its juices in airtight freezer-safe containers for up to 3 months for best quality. Thaw it in the refrigerator before reheating.
- Reheating: Reheat covered in a 325°F oven for 30 to 45 minutes, swapping rack positions halfway through, until the turkey reaches 165°F throughout. Don’t reheat it uncovered; the exposed slices can dry before the center is hot.
Questions That Come Up When You Roast Turkey Ahead
Make-Ahead Turkey
Ingredients
Equipment
Method
- Heat the oven to 325°F.
- Set a rack in a 16-inch roasting pan.
- Pat the turkey dry.
- Rub the butter over the skin and under the breast skin.
- Season the turkey with the salt and pepper.
- Put the onion, lemon, and thyme in the cavity.
- Pour 1 cup of the broth into the roasting pan.
- Roast the turkey for 3 to 3 3/4 hours, until a thermometer in the thickest part of the breast and innermost thigh, away from bone, reads 165°F.
- Transfer the turkey to a cutting board.
- Let it rest for 30 minutes before carving.
- Divide the carved meat between two shallow 9x13-inch baking dishes in layers no deeper than 2 inches.
- Pour the pan juices and remaining 1 cup broth over the meat.
- Cover the dishes.
- Refrigerate within 2 hours of the turkey coming out of the oven.
- Heat the oven to 325°F.
- Reheat the covered dishes for 30 to 45 minutes, swapping their rack positions halfway through, until the turkey reaches 165°F throughout.
