
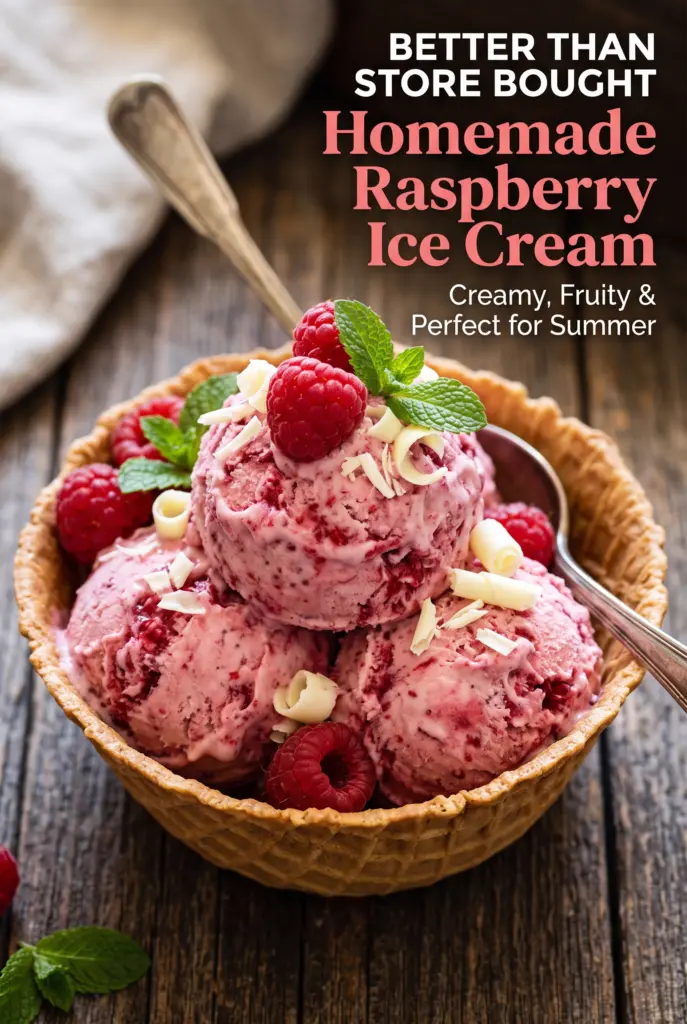
Homemade Raspberry Ice Cream
Bright raspberry ice cream hits the sweet spot between creamy and tart, and that balance is what keeps you coming back for another scoop. The fruit stays front and center…
Tip: save now, cook later.Bright raspberry ice cream hits the sweet spot between creamy and tart, and that balance is what keeps you coming back for another scoop. The fruit stays front and center instead of getting buried under too much dairy, so every bite tastes clean, fresh, and a little sharp in the best way. When it’s done right, the texture is smooth enough to spoon straight from the freezer without feeling icy or heavy.
The trick is cooking the raspberries long enough to break them down and concentrate their flavor, then cooling the puree completely before it meets the cream. If that base goes into the machine warm, the ice cream churns unevenly and freezes with a grainy edge. Straining out the seeds gives you a softer finish, and the lemon juice keeps the berry flavor awake instead of flat.
Below, you’ll find the step that matters most for keeping this ice cream silky, plus the small ingredient choices that give it that fresh-from-the-berry-bush flavor. There’s also a storage note that helps if you’re making it ahead for a crowd.
I was shocked at how creamy this was without any eggs. The raspberry flavor stayed bright after freezing, and straining the seeds made it taste smoother than the store-bought kind.
Homemade Raspberry Ice Cream with that bright berry flavor and a silky, scoopable finish
The Reason Raspberry Ice Cream Stays Creamy Instead of Icy
Fruit ice cream gets icy when there’s too much water left in the base and not enough fat to cushion the freeze. Raspberries are naturally juicy, which is great for flavor but tricky for texture, so the puree needs to be cooked down and strained before it goes into the dairy. That step concentrates the fruit and removes the seeds, which helps the final ice cream feel smoother on the tongue.
The other thing that matters is temperature. A cold base churns into smaller ice crystals, and that’s what gives you the soft, scoopable texture people want from homemade ice cream. If you rush the chill time, the machine has to fight warm liquid, and the result is usually loose at first and hard later.
What Each Ingredient Is Actually Doing in This Berry Base
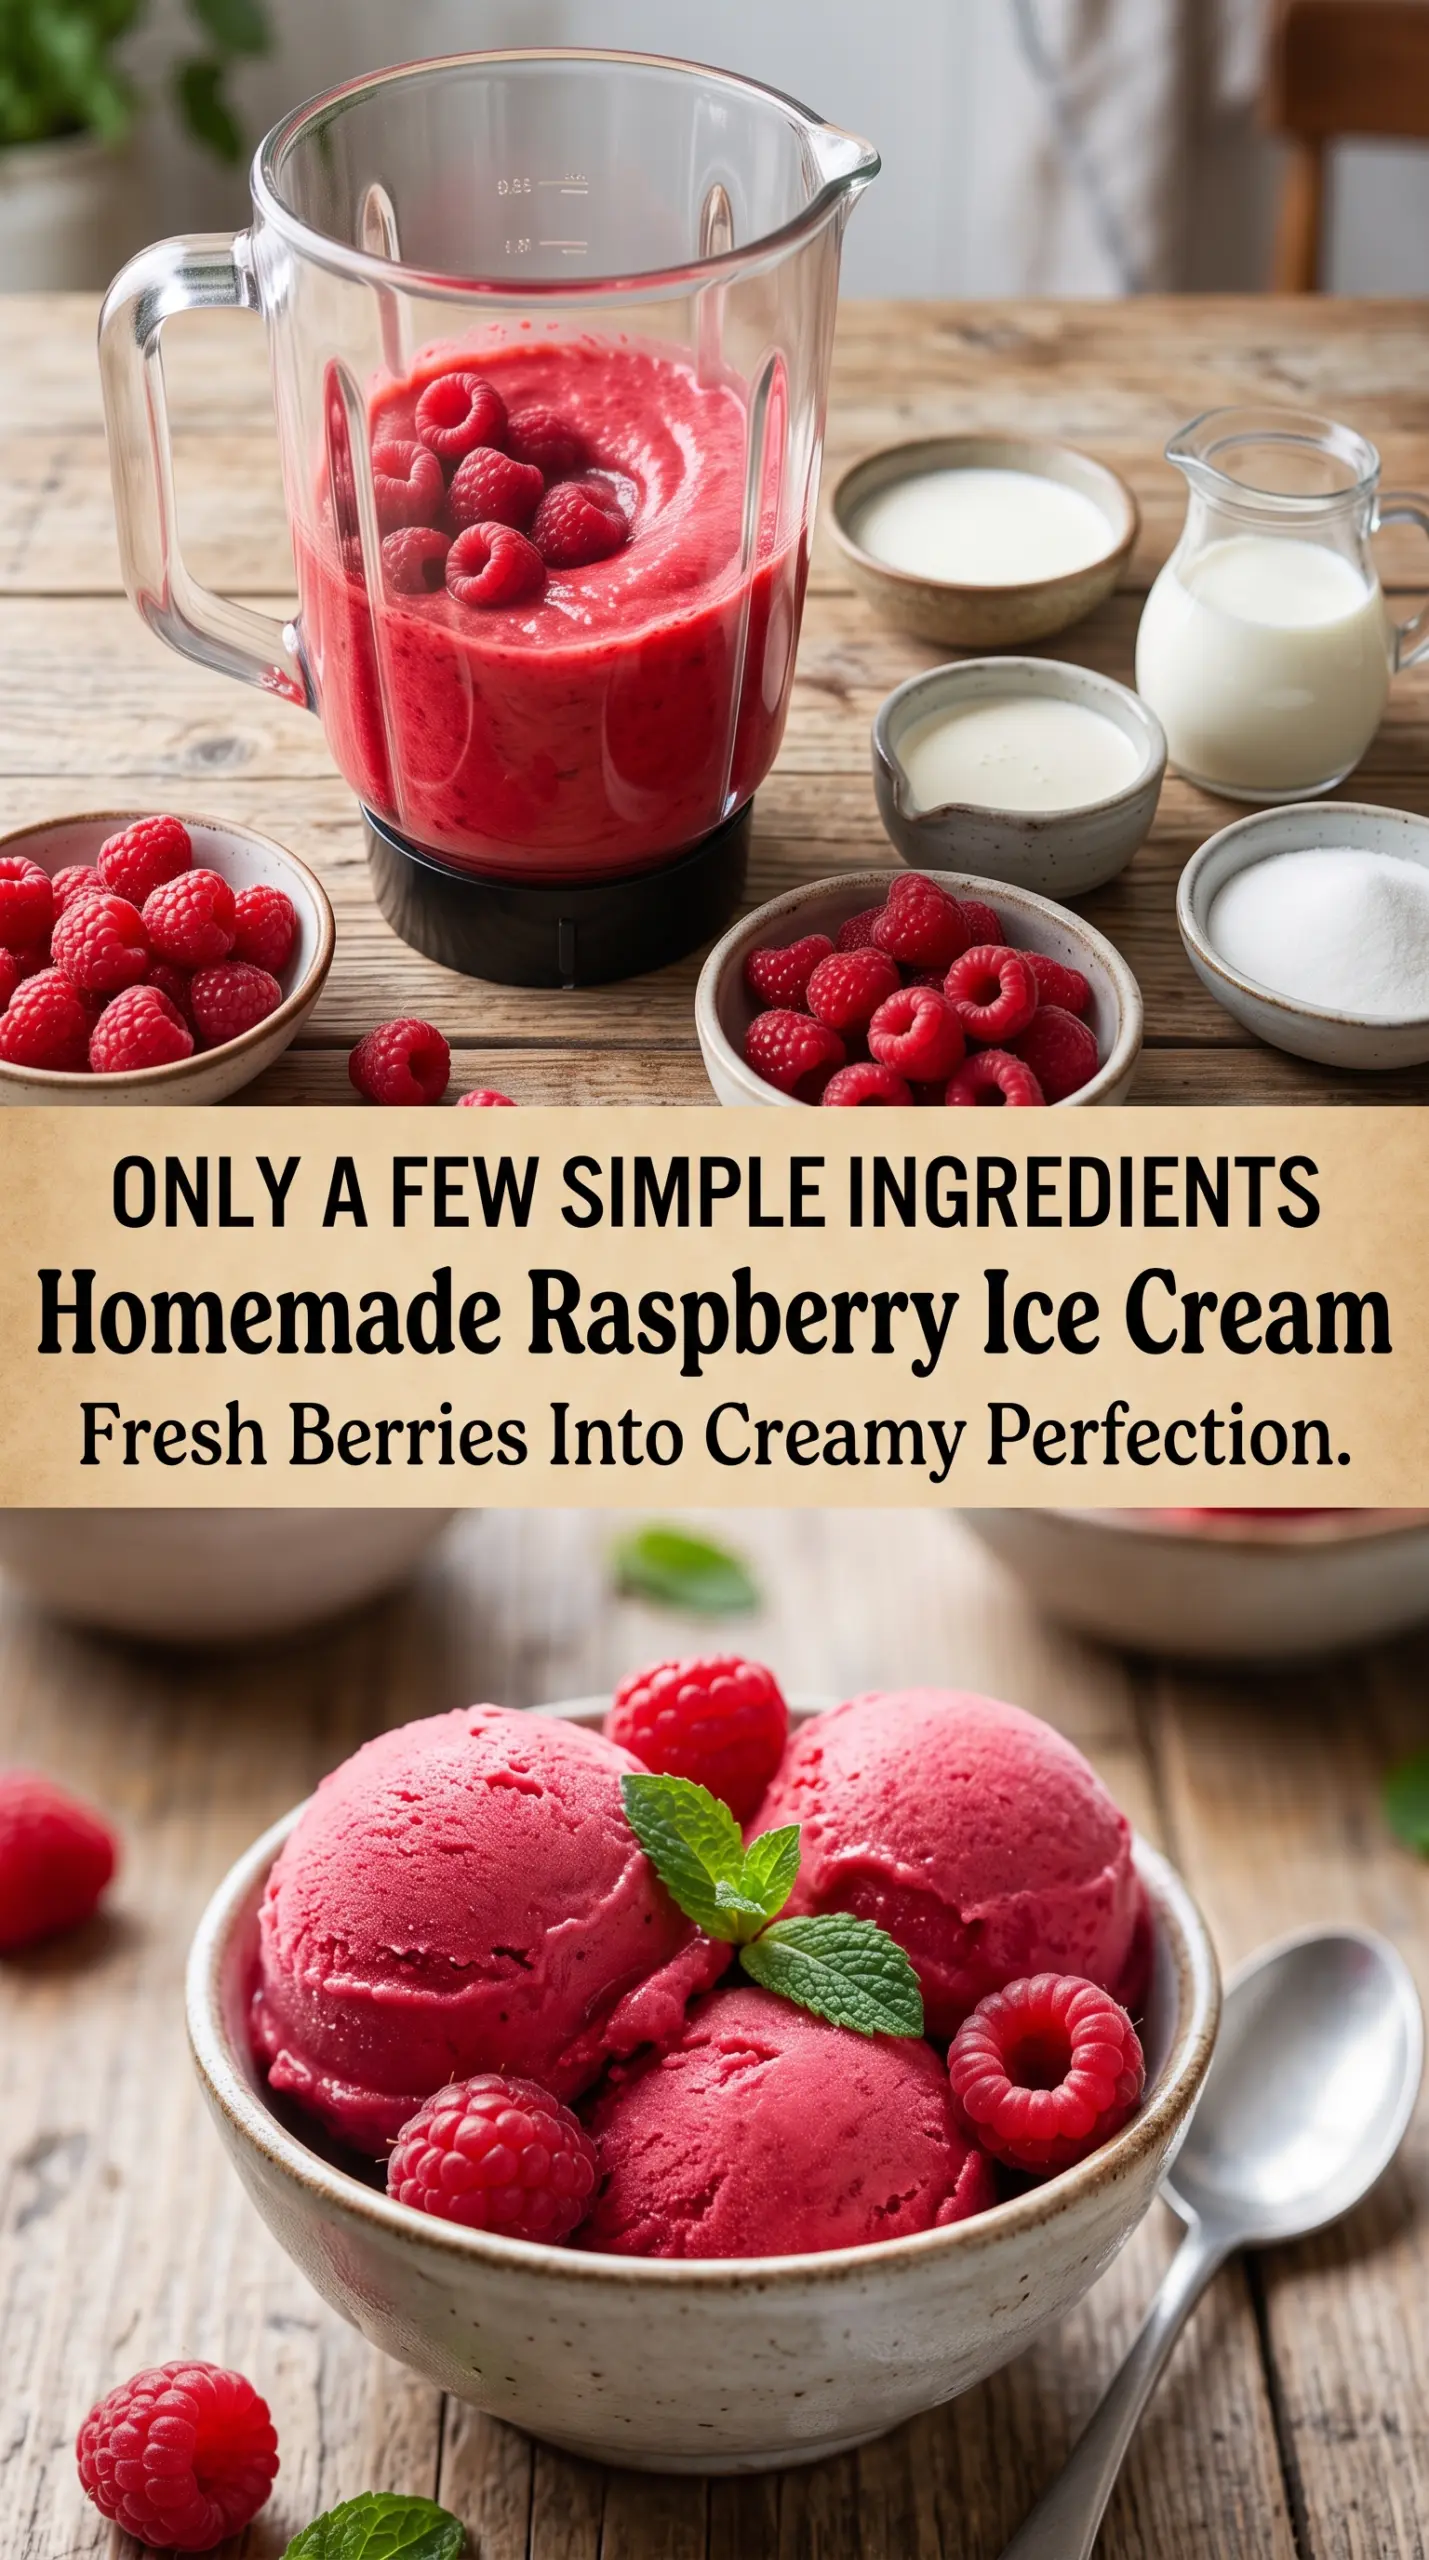
- Fresh raspberries — Fresh berries give the cleanest, brightest flavor. Frozen raspberries work too; cook them from frozen and expect a little more liquid, which means you may need an extra minute or two to reduce the puree.
- Granulated sugar — Sugar sweetens the berries, but it also lowers the freezing point so the ice cream stays softer in the freezer. Cutting it too far makes the texture hard and dulls the fruit.
- Lemon juice — A small amount sharpens the raspberry flavor and keeps the puree from tasting flat. Bottled lemon juice can work here, but fresh tastes cleaner.
- Heavy whipping cream — This is what gives the ice cream its rich body. There isn’t a true substitute if you want the same texture, because lower-fat dairy freezes harder and less smoothly.
- Whole milk — Milk keeps the base from being too heavy. Use whole milk rather than skim; the extra fat helps the mixture churn into a creamier scoop.
- Vanilla extract — Vanilla rounds out the berry flavor without turning the ice cream into a vanilla dessert. Use a good-quality extract if you have it, since it’s one of the few background flavors in the recipe.
- Pinch of salt — Salt doesn’t make this taste salty; it lifts the fruit and keeps the sweetness in check. Don’t skip it.
Cooking the Raspberries Down Before Anything Else
Softening the Fruit
Combine the raspberries, sugar, and lemon juice in a saucepan and cook over medium heat until the berries collapse and release plenty of juice. You want a bubbling, jammy mixture, not a dry pan or a pale pink liquid. If the sugar starts sticking before the berries break down, the heat is too high.
Blending and Straining
Blend the cooked berries until smooth, then push the puree through a fine-mesh sieve. This is where the texture changes from homemade to polished, because the seeds are what make raspberry ice cream feel sandy. Press firmly with a spatula, but don’t force chunks through the sieve; those stay behind for a reason.
Cooling the Base Completely
Whisk the cream, milk, vanilla, salt, and cooled puree together, then chill the mixture for at least 4 hours. Cold is not optional here. If the base is even a little warm, the churning step takes longer and the finished ice cream can set up with a coarse, almost buttery texture instead of a smooth one.
Three Ways to Make This Raspberry Ice Cream Work for Different Kitchens
Use Frozen Raspberries When Fresh Aren’t in Season
Frozen raspberries work well in this recipe and often cost less. Cook them straight from frozen, and give the mixture a little extra time on the stove so the excess water evaporates; otherwise the ice cream can turn softer and a bit icier after freezing.
Dairy-Free Version With Coconut Cream
Swap the heavy cream and whole milk for full-fat coconut milk and coconut cream. The result is still creamy, but you’ll taste a light coconut note under the raspberries, and the texture will be a little softer straight from the freezer.
Make It Sweeter or Sharper
If your berries are very tart, add another tablespoon or two of sugar when cooking them down. If they’re already sweet and ripe, keep the sugar where it is and let the lemon do the work; the berry flavor stays cleaner that way.
Storage and Reheating
- Refrigerator: Not recommended. Ice cream melts fast and won’t hold in the fridge.
- Freezer: Store in a freezer-safe container with parchment pressed on the surface. It keeps best for 1 to 2 weeks before the texture starts to get harder and more icy.
- Reheating: Let it sit at room temperature for 5 to 10 minutes before scooping. If you try to force it straight from the freezer, the surface warms unevenly and the scoop tears instead of lifting cleanly.
Answers to the Questions Worth Asking
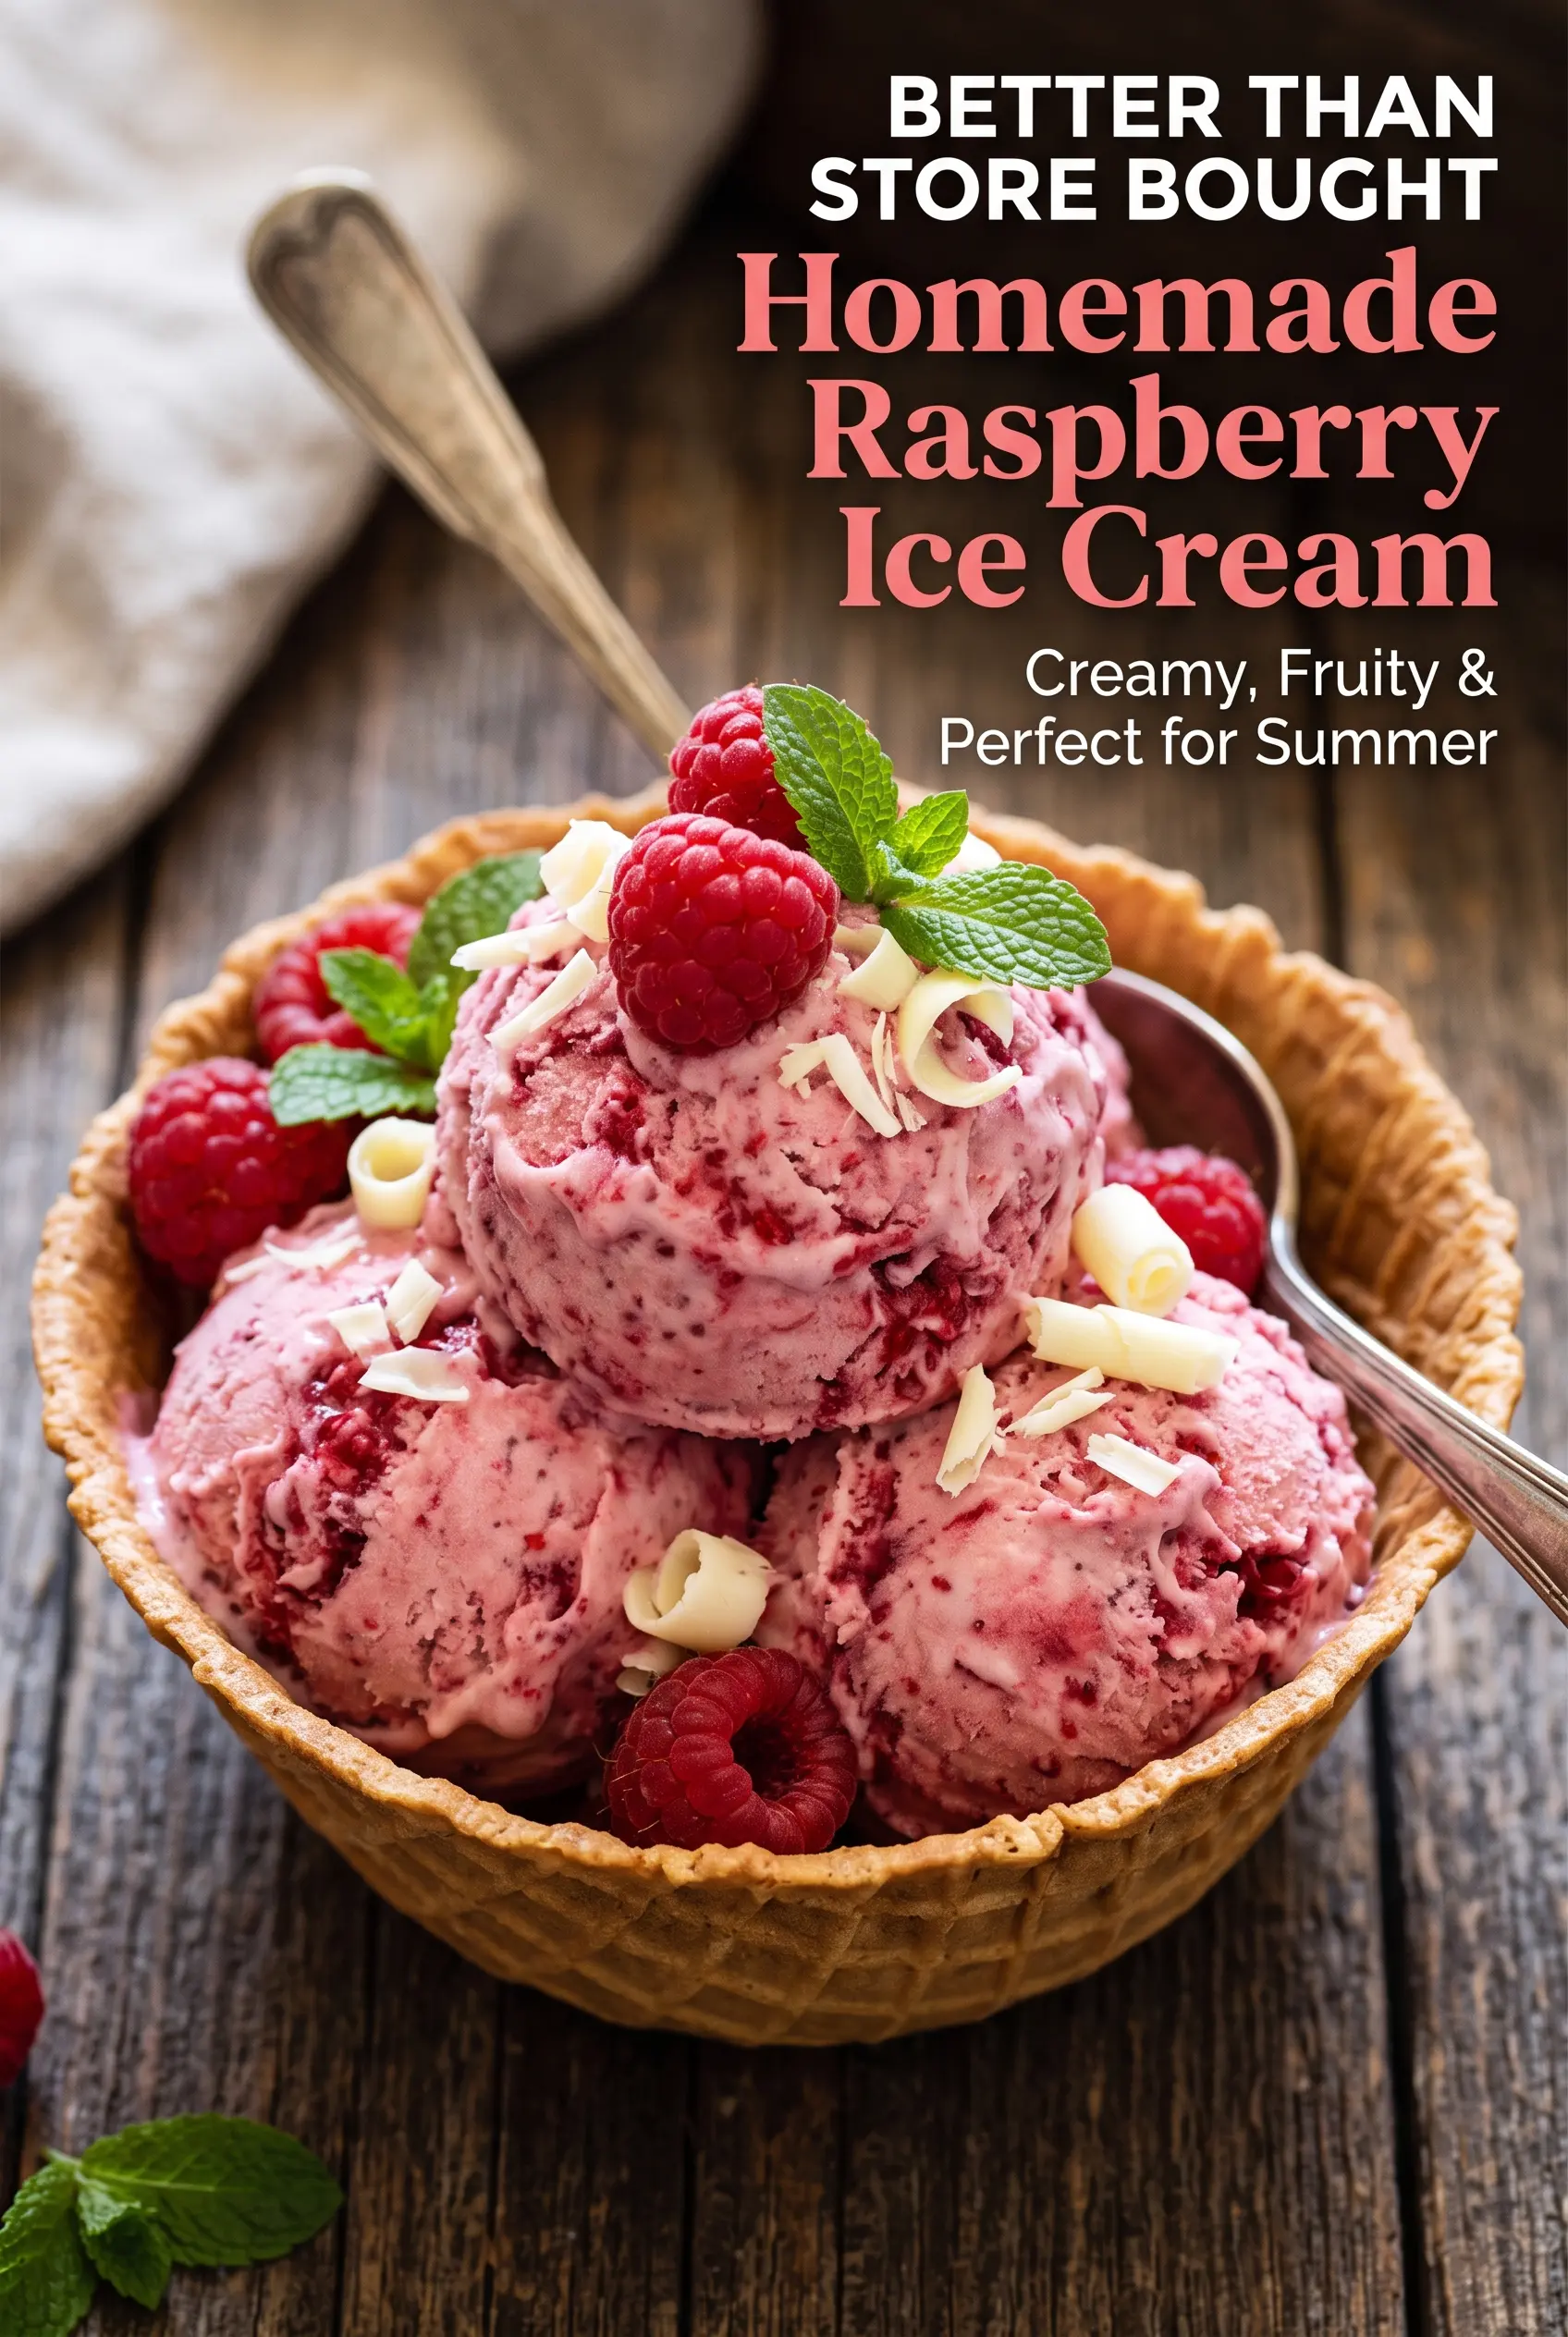
Homemade Raspberry Ice Cream
Ingredients
Equipment
Method
- Combine fresh raspberries, granulated sugar, and lemon juice in a saucepan.
- Cook over medium heat for 5–7 minutes, stirring occasionally, until the raspberries soften and release juice.
- Blend until smooth, then strain through a fine-mesh sieve to remove the seeds.
- Spread the raspberry puree onto a sheet pan and cool completely until no longer warm.
- Whisk together heavy whipping cream, whole milk, vanilla extract, and salt until evenly combined.
- Stir in the cooled raspberry puree until the mixture is a uniform rosy color.
- Chill the mixture for at least 4 hours, until cold throughout.
- Churn in an ice cream maker according to the manufacturer’s instructions until thickened like soft-serve.
- Transfer to a freezer-safe container and press a piece of parchment or plastic wrap directly onto the surface.
- Freeze for 3–4 hours before serving, until firm enough to scoop.
- Scoop and garnish with fresh raspberries, white chocolate shavings, and mint leaves as desired.
