Classic Beef and Vegetable Stew
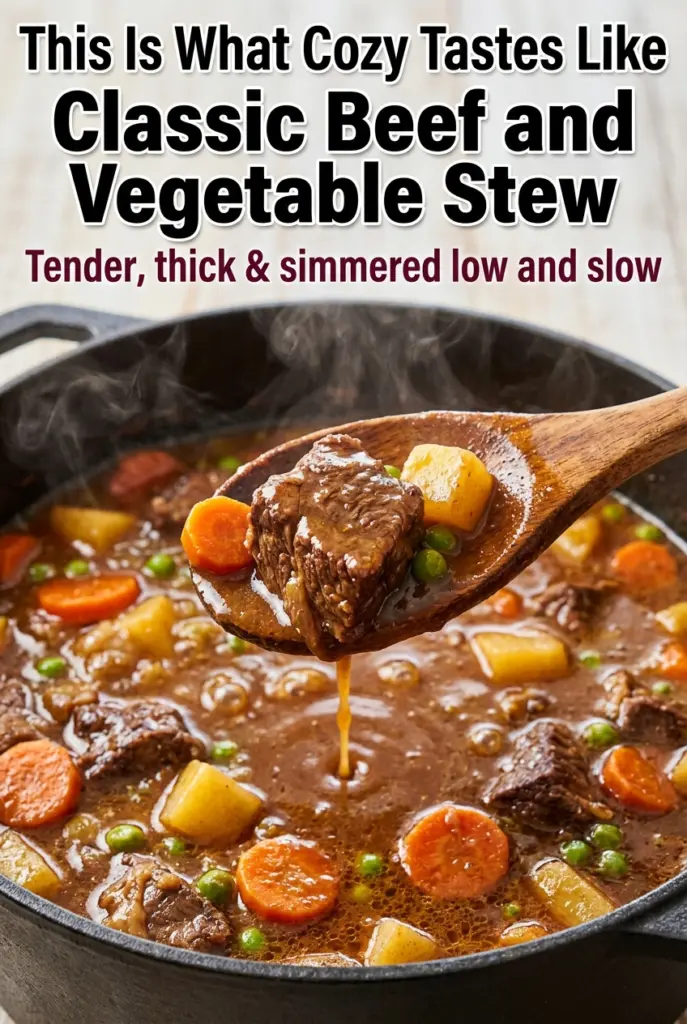
Classic beef and vegetable stew earns its place on the table because it turns a modest cut of meat into something deeply satisfying: tender beef, soft potatoes, sweet carrots, and…
Tip: save now, cook later.Classic beef and vegetable stew earns its place on the table because it turns a modest cut of meat into something deeply satisfying: tender beef, soft potatoes, sweet carrots, and a broth that tastes like it spent all afternoon becoming itself. The best bowls have contrast — meat that yields without falling apart into shreds, vegetables that hold their shape, and a glossy broth that clings just enough to a spoon.
The trick is in the order. The beef needs a dry surface and a real sear before anything else, and the tomato paste needs time in the pot long enough to darken and lose its raw edge. That’s what gives the stew its depth instead of a flat, beef-broth taste. The wine also matters here, not because the stew tastes boozy, but because it lifts the browned bits off the bottom and folds them back into the broth.
Below, I’ve laid out the parts that matter most so you can avoid watery stew, tough beef, or vegetables that collapse before dinner. There’s also a smart way to swap the wine if you need to, plus storage notes for the kind of leftovers that taste even better the next day.
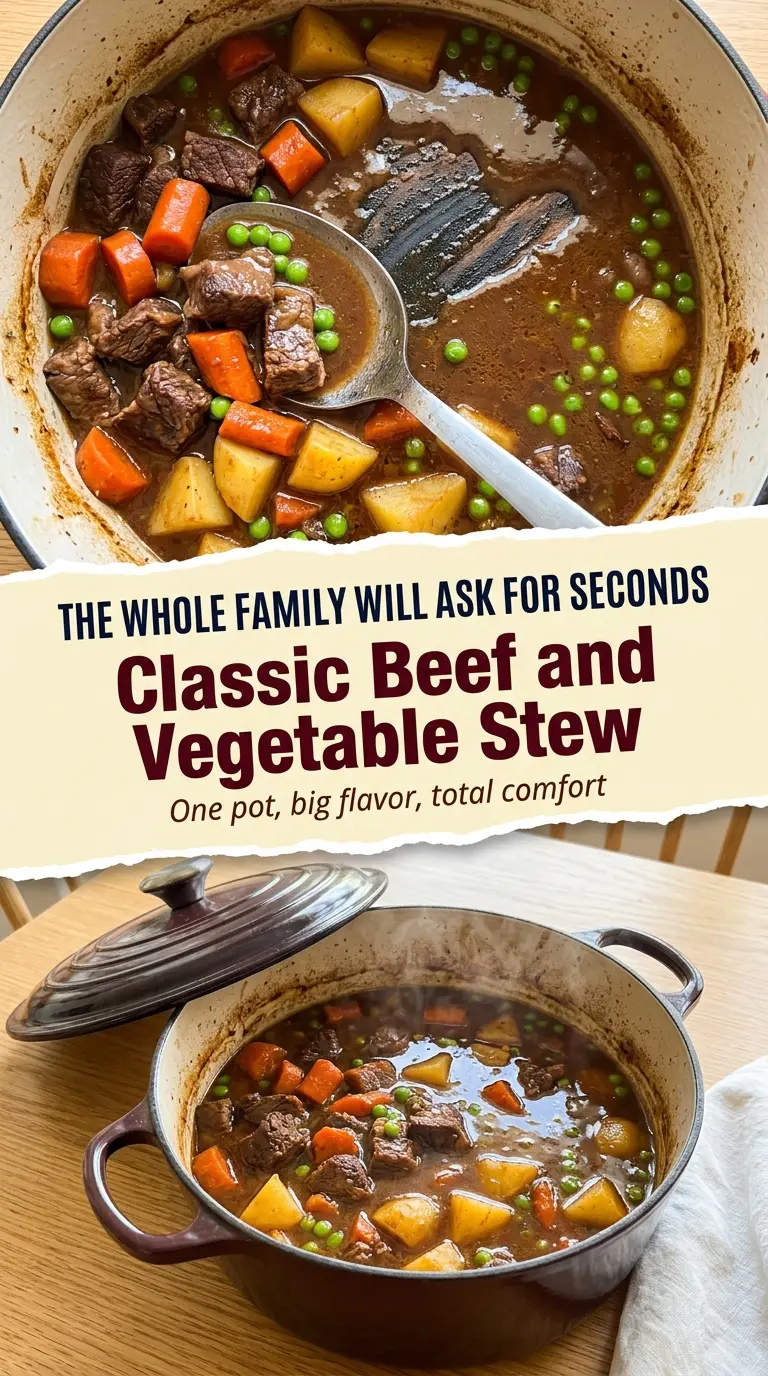
The beef got beautifully tender and the broth turned thick and rich without needing anything extra. My husband kept going back for more carrots and said the potatoes soaked up all the best flavor.
Pin this beef and vegetable stew for the nights when you want tender chuck, a thick savory broth, and a one-pot dinner that tastes like it simmered all day.
The Difference Between Tender Beef and Tough Stew Meat
Beef stew goes wrong when the pot is treated like a place to boil meat into submission. Chuck is the right cut here because it has enough marbling and connective tissue to turn silky during a long simmer, but it still needs the right treatment. If the cubes go into a wet pot without browning, they can taste dull and the broth never gets that deep, roasted backbone.
The flour coating does two jobs. It helps the beef brown better, and it gives the broth a little body as the stew cooks. Don’t skip the sear or crowd the pot to the point that the beef steams; you want a dark crust on the outside and enough space for the meat to actually hit the heat. That first layer of color is where the flavor starts.
What Each Ingredient Is Actually Doing in This Dish
- Beef chuck — This is the cut that turns tender without drying out. If you swap in a lean stew meat, it can work, but the texture won’t be as plush and you’ll need to watch the simmer even more closely.
- Red wine — It sharpens the broth and pulls up the browned bits from the pot. If you’d rather skip it, use more beef broth with a teaspoon of red wine vinegar at the end for some of that lift back.
- Tomato paste — It adds a quiet sweetness and a deeper savory note, but only after it’s cooked long enough to darken. Raw tomato paste tastes sharp; cooked tomato paste tastes like the stew has more hours behind it than it does.
- Yukon Gold potatoes — These hold together better than russets and give the broth a slight creaminess as they soften. If you use russets, they’ll break down more and thicken the stew, which is fine if that’s what you want.
- Frozen peas — They go in at the end for color and a clean sweet finish. Add them too early and they turn dull and soft.
Building the Pot So the Broth Gets Deep, Not Thin
Dry the Beef Before It Hits the Pan
Patting the beef dry is the first real decision you make here. Moisture on the surface turns to steam, and steam blocks browning. Once the beef is dry and lightly dusted in flour, it should hiss the moment it touches the hot oil. If it doesn’t, the pan isn’t hot enough yet.
Brown in Batches, Not All at Once
The pot should look crowded only with empty space, not meat. Work in batches and leave room between the cubes so each side can pick up a dark crust. If the beef starts giving off a lot of liquid, the heat is too low or the pan is overloaded. Take the time here; this is where the stew gets its backbone.
Cook the Tomato Paste Until It Darkens
Once the onions and celery soften, stir in the tomato paste and let it cook for a couple of minutes. It should go from bright red to a deeper brick color and smell richer, less sharp. That small extra step keeps the broth from tasting like canned tomato. When you add the wine, scrape the bottom hard so none of that browned flavor stays stuck to the pot.
Let the Simmer Stay Gentle
The stew should barely bubble once it’s covered. A hard boil breaks down the meat too aggressively and can make the broth greasy or cloudy. You’re looking for a slow, steady simmer that softens the chuck until it yields when pressed with a spoon. Add the potatoes and carrots later so they stay intact instead of dissolving into the broth.
How to Adjust This Stew Without Losing What Makes It Good
Use broth instead of wine
If you’re cooking without wine, replace it with extra beef broth and add a small splash of red wine vinegar or Worcestershire at the end. You’ll lose a little brightness, but the stew will still taste rounded and savory instead of flat.
Make it gluten-free
Skip the flour dredge and use a gluten-free all-purpose flour blend or cornstarch slurry at the end if you want more body. The stew will still be rich, but the broth may stay a little looser until the vegetables break down and help thicken it.
Use a slow cooker after browning
You can move the browned beef, softened aromatics, and broth mixture to a slow cooker and cook on low until the meat starts to soften, then add the potatoes and carrots near the end. The key is still the same: brown the beef first, because the slow cooker won’t create that flavor on its own.
Storage and Reheating
- Refrigerator: Store covered for up to 4 days. The broth thickens as it chills, and the potatoes soften a bit more overnight.
- Freezer: It freezes well for up to 3 months, though the potatoes may turn a little softer after thawing. For the best texture, cool it completely before freezing in portions.
- Reheating: Warm it slowly on the stove over medium-low heat with a splash of broth or water to loosen the sauce. Don’t blast it on high heat, or the beef can tighten up and the potatoes can start to break apart.
Questions I Get Asked About This Recipe

Classic Beef and Vegetable Stew
Ingredients
Equipment
Method
- Pat the beef cubes completely dry with paper towels, then season all over with salt, black pepper, and smoked paprika and toss lightly in flour to coat.
- Spread the coated beef in a single layer so the surface stays dry for better browning during the sear.
- Heat the olive oil in a large Dutch oven over medium-high heat until shimmering.
- Working in batches (don’t crowd the pan), sear the beef on all sides until deeply browned, about 3–4 minutes per side, then remove and set aside.
- Reduce heat to medium, add the onion and celery, and cook, stirring, for 3–4 minutes until softened and picking up the browned bits from the bottom.
- Add the garlic and cook for 1 minute more until fragrant, stirring to prevent scorching.
- Stir in the tomato paste and cook for 2 minutes until it darkens slightly and smells rich.
- Pour in the red wine and scrape up any remaining browned bits from the bottom, then let it bubble for 2 minutes.
- Return the beef to the pot and stir in the beef broth, Worcestershire sauce, fresh thyme sprigs, bay leaves, and dried rosemary to combine.
- Bring the stew to a gentle boil, then reduce heat to low, cover, and simmer for 1 hour 15 minutes, until the beef is starting to become tender.
- Add the potatoes and carrots, stir gently, replace the lid, and continue simmering for 30–35 more minutes until the vegetables are fork-tender and the broth has thickened.
- Remove the thyme sprigs and bay leaves, then stir in the frozen green peas and cook for 3 minutes.
- Taste and adjust salt and black pepper, then serve hot in deep bowls.
