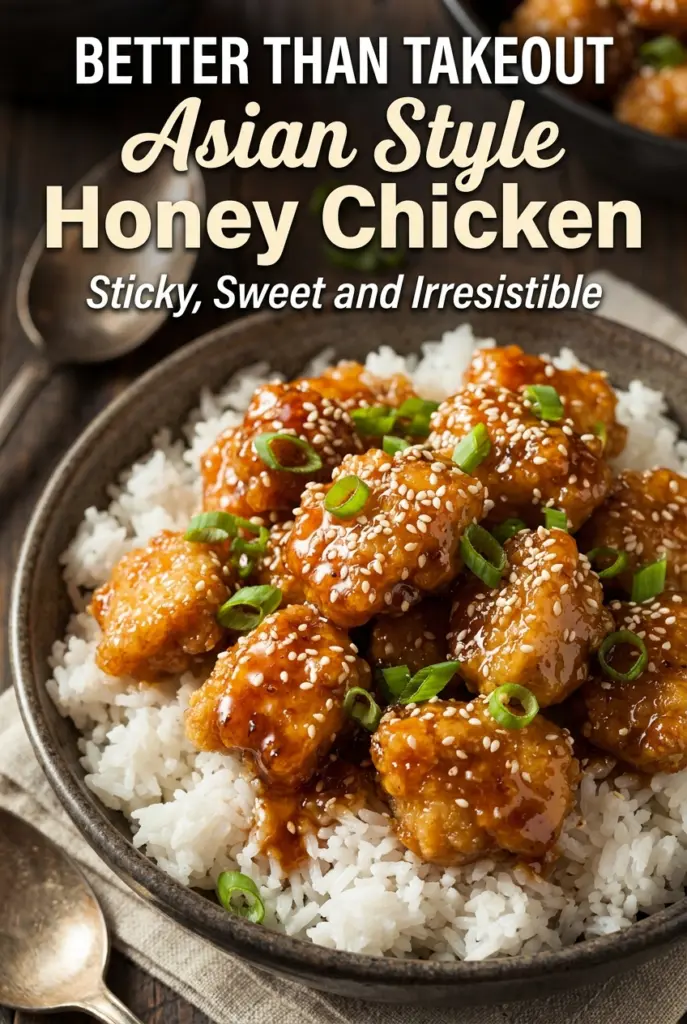
Asian Style Honey Chicken
Sticky honey chicken earns its place in the dinner rotation when the sauce clings to every bite and turns glossy instead of watery. The chicken stays tender under a light…
Tip: save now, cook later.Sticky honey chicken earns its place in the dinner rotation when the sauce clings to every bite and turns glossy instead of watery. The chicken stays tender under a light cornstarch coating, and the glaze lands in that sweet-savory lane that tastes like takeout without needing a wok or a long ingredient list. Served over rice, it’s the kind of pan dinner that disappears fast.
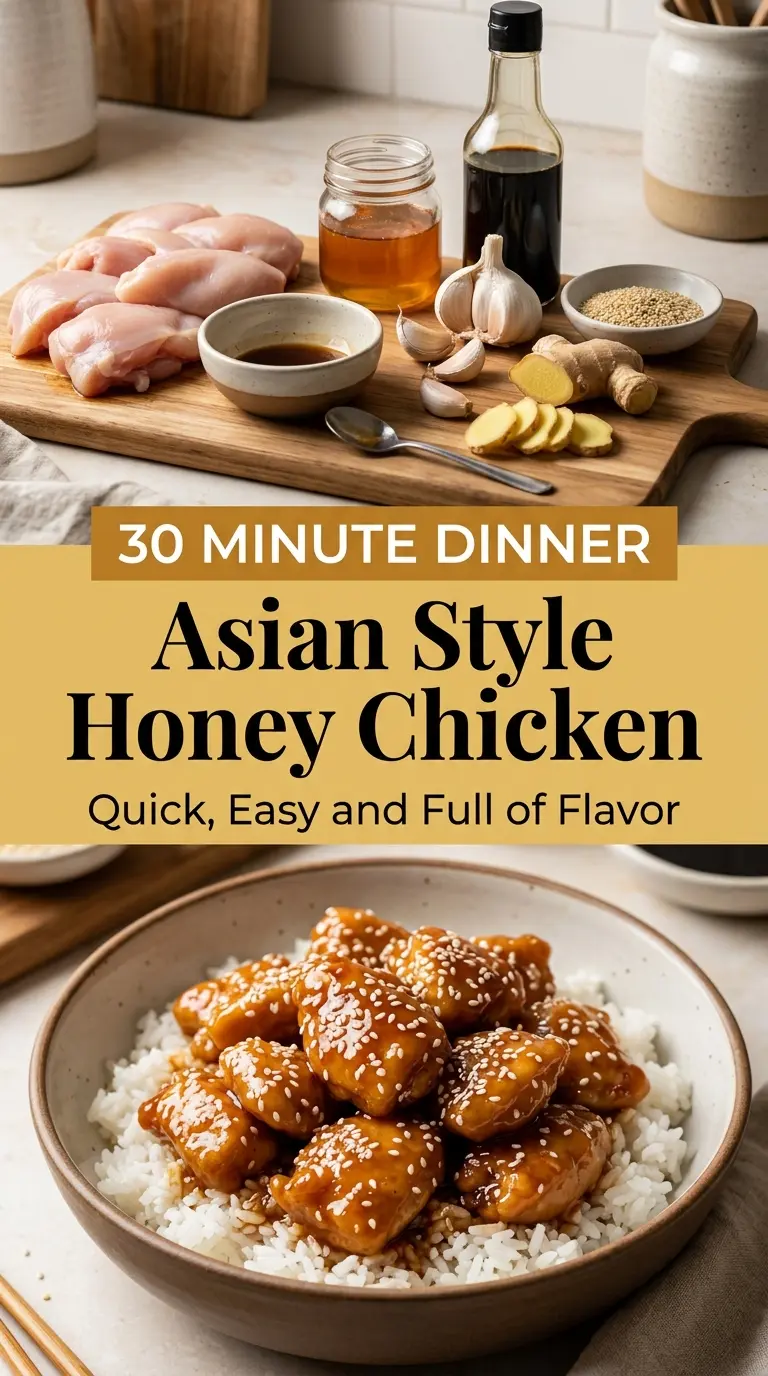
What makes this version work is the order of operations. The chicken gets coated before it hits the skillet, which helps it brown and gives the sauce something to grab onto later. Then the honey, soy sauce, rice vinegar, garlic, ginger, and sesame oil build a sauce that thickens at the end with a quick slurry, not a long reduction. That keeps the garlic bright, the ginger noticeable, and the final coating sticky instead of syrupy.
Below, I’ve included the detail that matters most for this dish: how to get the sauce thick enough to coat the chicken without turning gummy. There are also a few swaps and storage notes, since this is one of those meals that cooks well once and still holds up nicely the next day.
The chicken stayed crisp enough to hold the sauce, and the glaze thickened up in just a minute or two. I served it with jasmine rice and my husband said it tasted better than our usual takeout.
Save this sticky Asian Style Honey Chicken for the nights when you want glossy takeout-style chicken with almost no cleanup.
The Reason the Sauce Sticks Instead of Sliding Off
Sticky honey chicken only works when the chicken and the sauce are handled as two separate jobs that come together at the end. If you dump raw chicken straight into the sauce, the coating turns muddy and the glaze never gets that lacquered finish. The cornstarch on the chicken does double duty here: it protects the meat from drying out and leaves just enough starch in the pan to help the sauce cling.
The other detail that matters is heat. High heat at the wrong moment can scorch the honey before the sauce thickens, which leaves you with bitter spots instead of a glossy glaze. The pan should be hot enough to brown the chicken, then lowered enough that the sauce simmers gently when it goes in. That’s how you get shiny, sticky chicken instead of a burnt, thin sauce.
- Chicken thighs stay juicier than breasts and handle the high-heat skillet better. If you use breast meat, cut it a little larger and pull it off the heat as soon as it’s cooked through.
- Cornstarch on the chicken creates the light crust and helps the sauce thicken later. Arrowroot can work in a pinch, but it gives a slightly softer finish.
- Rice vinegar keeps the sauce from tasting flat. If you swap in white vinegar, use a little less because it hits sharper.
- Sesame oil is small but important. It adds the nutty finish that makes the sauce taste complete, and there isn’t a real substitute for that particular flavor.
How to Build the Glaze Without Turning It Gummy
Coating the Chicken
Toss the chicken pieces until every surface looks dusty with cornstarch, salt, and pepper. That thin coating should cling without forming clumps; if it looks pasty, there’s too much moisture on the chicken, so pat it dry before coating. Once it hits the skillet, leave it alone long enough to form a golden crust before you stir it around.
Making the Sauce in the Pan
Whisk the honey, soy sauce, rice vinegar, garlic, ginger, and sesame oil in a bowl, then pour it into the skillet after the chicken is cooked. The sauce should come to a steady simmer, not a hard boil. Hard boiling can make the honey taste harsh and push the sauce toward sticky candy instead of a balanced glaze.
Thickening at the End
Stir the cornstarch slurry again right before adding it, then pour it in while the sauce is bubbling gently. The sauce will go from thin to glossy fast, usually in a minute or two. Pull the pan off the heat once it coats the back of a spoon, because it thickens a little more as it sits and can turn heavy if you keep cooking it too long.
Coating and Serving
Toss the chicken until every piece is shiny and evenly glazed. If the sauce seems too tight, add a spoonful of water to loosen it; if it looks loose, let it bubble for another 30 seconds. Finish with green onions and sesame seeds so the dish has a little freshness and crunch against the sticky coating.
Three Ways to Make This Honey Chicken Fit What You’ve Got
Gluten-Free Version
Swap the soy sauce for tamari or a certified gluten-free soy sauce. The flavor stays close, but tamari tends to taste a little rounder and less sharp. Check your cornstarch label too, since some brands are processed in facilities with gluten-containing products.
Lower-Sugar Balance
Reduce the honey slightly and add a splash more rice vinegar if you want the sauce less sweet. The glaze will still coat the chicken, but it won’t set up quite as thick or shiny. This works well if you’re serving it with fried rice or another richer side.
Chicken Breast Instead of Thighs
Chicken breast works, but it cooks faster and dries out sooner, so keep the pieces a little larger and don’t overbrown them in the skillet. The sauce helps, but thighs still give you the best texture for this style of recipe. If breast is what you have, cook it just until the center is no longer pink, then move straight on to the glaze.
Storage and Reheating
- Refrigerator: Store in an airtight container for up to 4 days. The sauce thickens as it chills, but it loosens again with heat.
- Freezer: It freezes well for up to 2 months. Let it cool completely first, and expect the chicken to be a little softer after thawing.
- Reheating: Warm it gently in a skillet over medium-low heat with a splash of water. The common mistake is blasting it in a hot pan or microwave until the honey hardens and the chicken turns dry.
Questions I Get Asked About This Recipe

Asian Style Honey Chicken
Ingredients
Equipment
Method
- Toss the chicken pieces with cornstarch, salt, and pepper until evenly coated.
- Heat vegetable oil in a large skillet over medium-high heat until shimmering.
- Cook the chicken until golden and cooked through, about 6–8 minutes, turning as needed for even browning.
- In a bowl, whisk together honey, low-sodium soy sauce, rice vinegar, garlic, ginger, and sesame oil until smooth.
- Pour the sauce into the skillet and bring it to a simmer, stirring to lift the browned bits from the pan.
- Mix cornstarch and water in a small bowl, then stir the slurry into the simmering sauce.
- Cook until thickened, about 1–2 minutes, until the sauce becomes glossy.
- Toss the chicken in the honey glaze until every piece is evenly coated.
- Garnish with green onions and sesame seeds.
- Serve over steamed rice.
