
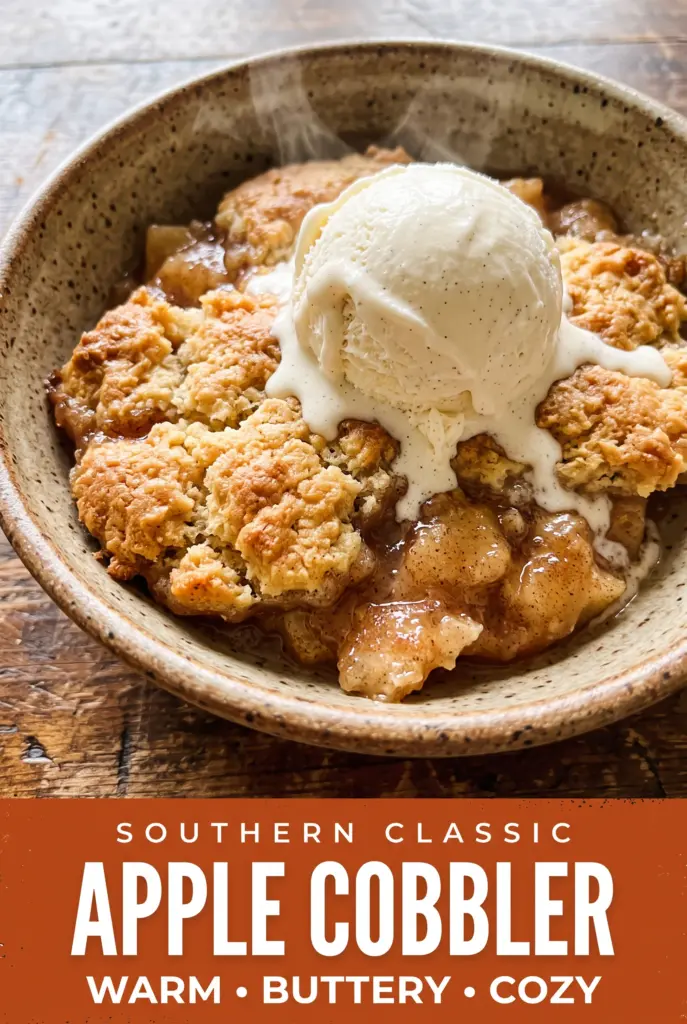
Apple Cobbler
Warm cinnamon apples bubbling up through a golden biscuit topping never lasts long in my kitchen. The best apple cobbler has contrast: tender fruit that holds its shape, a syrupy…
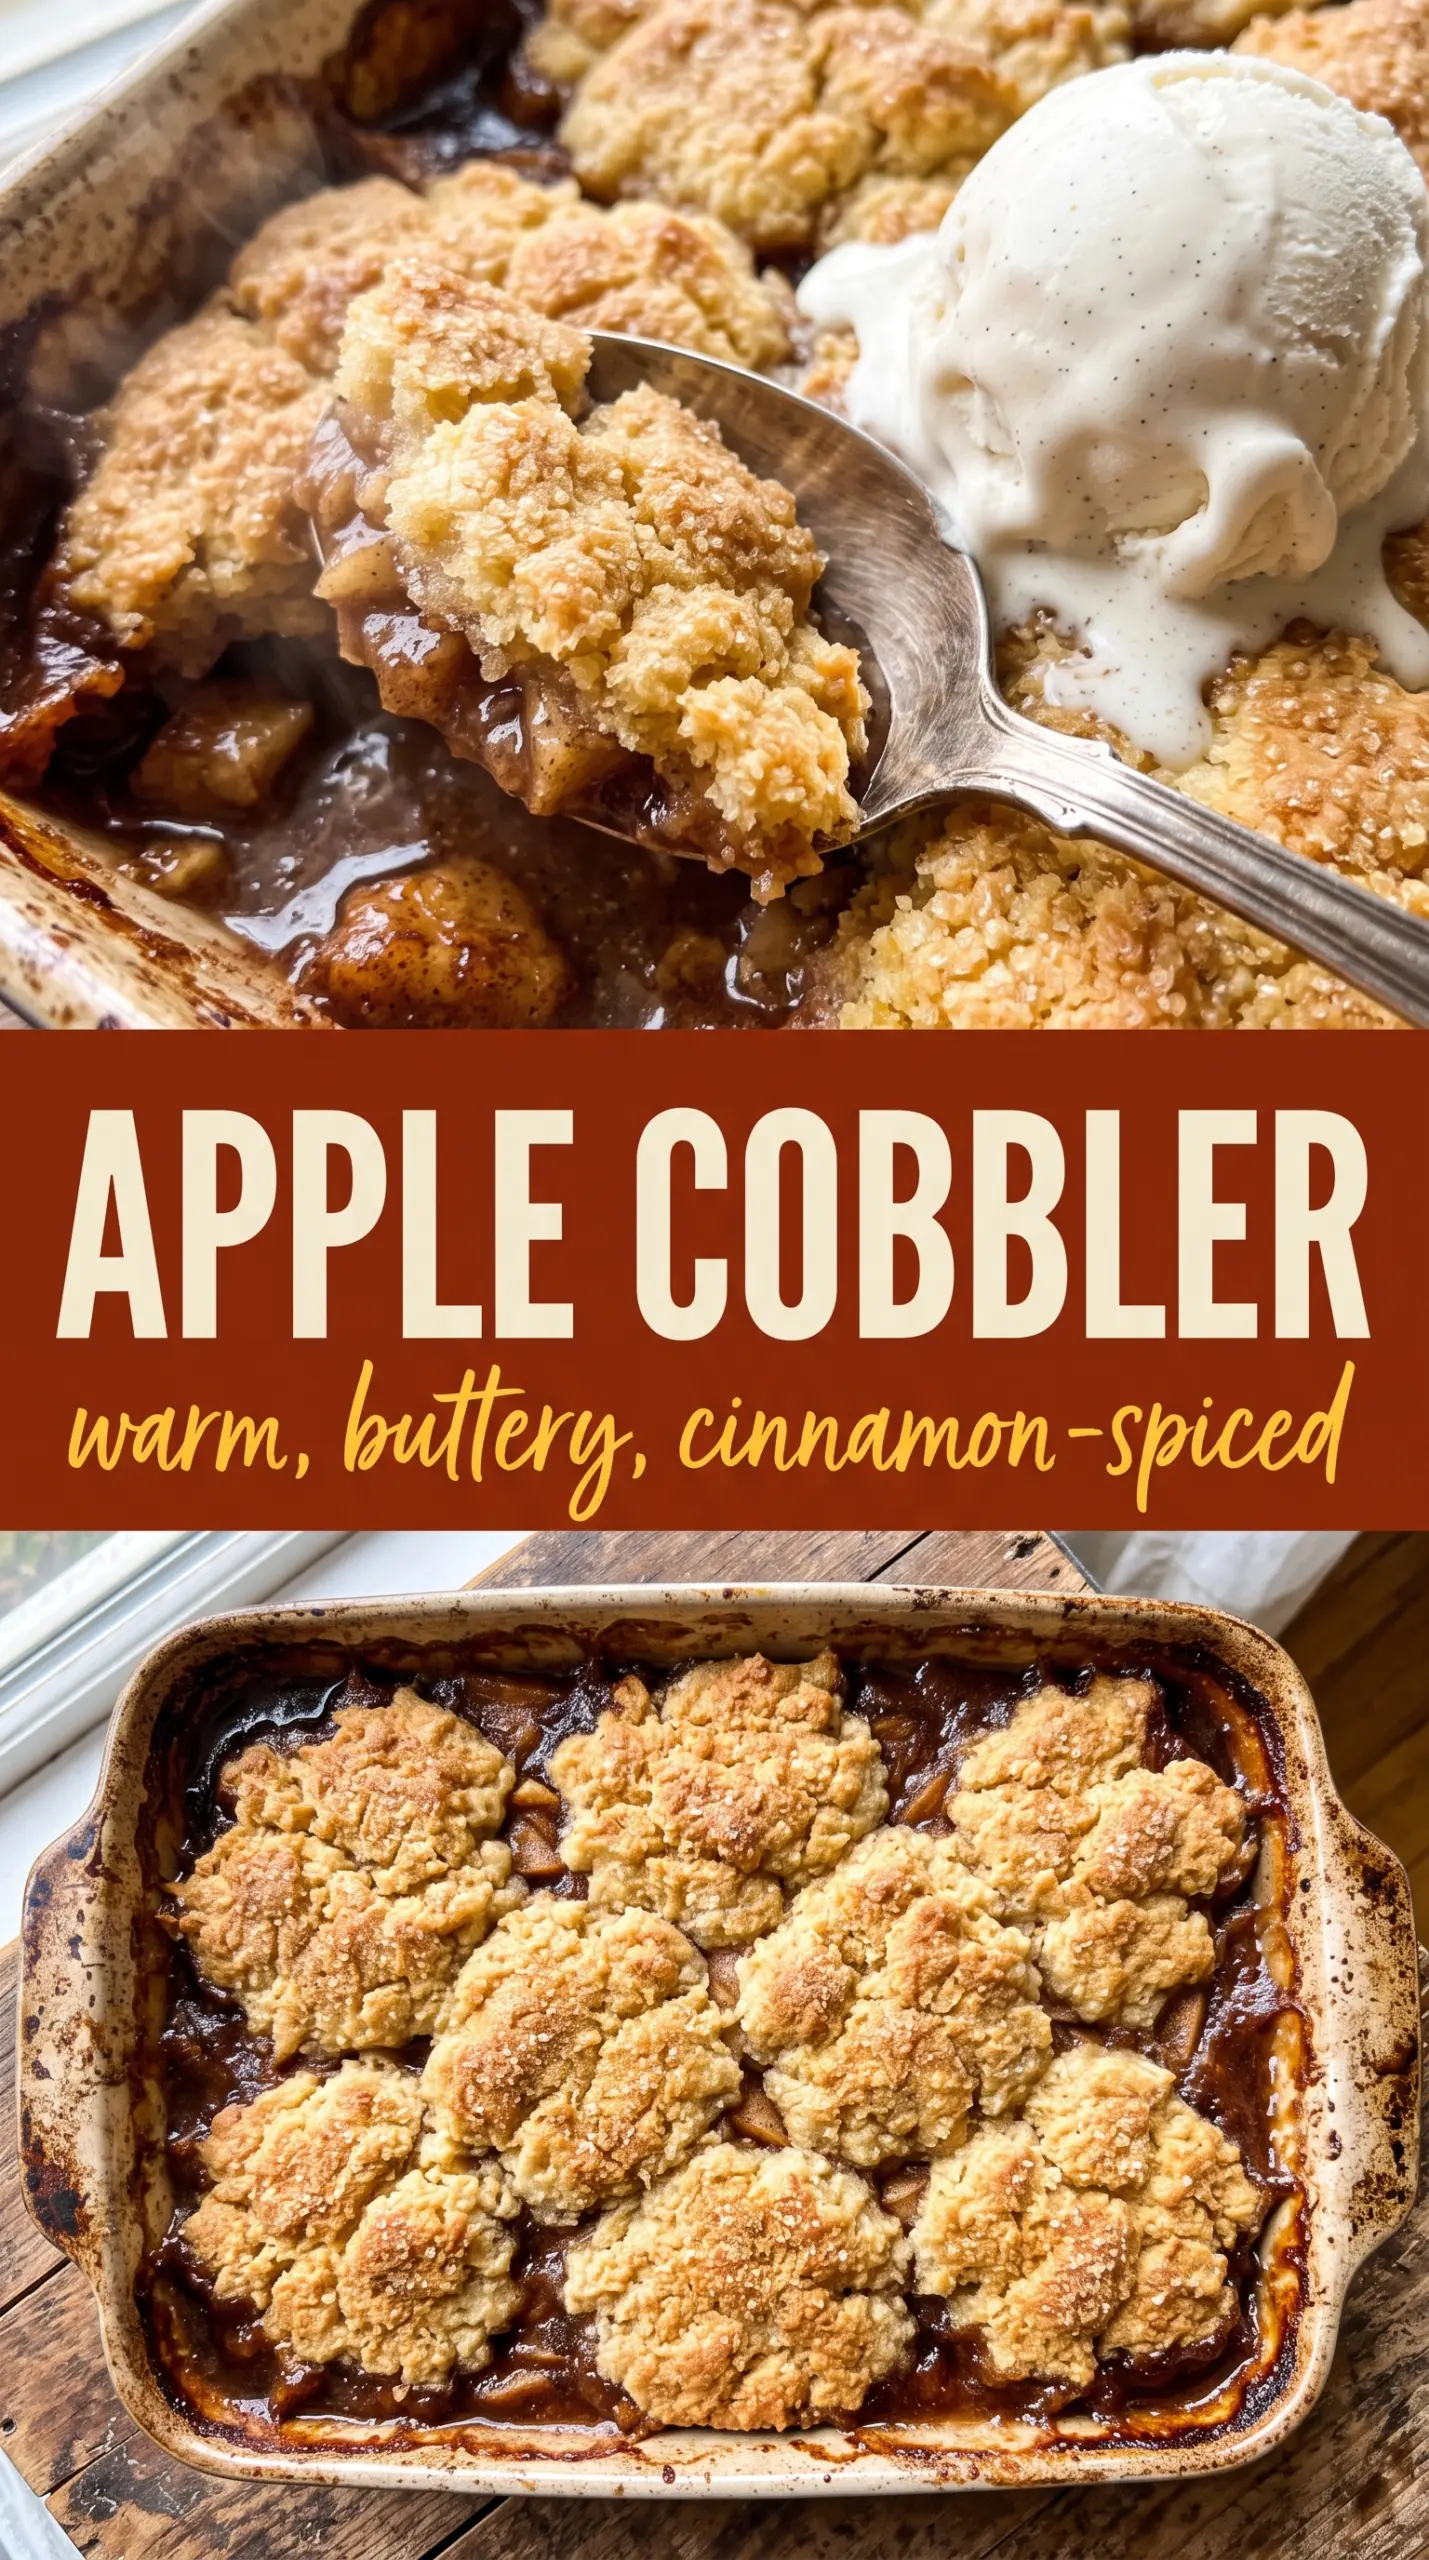
Tip: save now, cook later.Warm cinnamon apples bubbling up through a golden biscuit topping never lasts long in my kitchen. The best apple cobbler has contrast: tender fruit that holds its shape, a syrupy filling that thickens instead of turning watery, and a craggy top that bakes crisp on the edges while staying soft underneath. That balance is what turns a simple pan of baked apples into a dessert worth making on repeat.
The trick is in the two textures working together. Tossing the apples with a little flour before baking gives the juices something to cling to, so the filling sets around the fruit instead of pooling at the bottom of the dish. The topping stays biscuit-like because the butter goes in cold and the batter is only mixed until combined. Overmix it, and you lose those tender pockets that bake up light and cakey.
Below, I’ve included the small details that matter most: which apples hold up best, how to tell when the filling is ready, and a few variations if you want to adjust the sweetness or make it fit what’s already in your pantry.
The apples baked down into a thick filling instead of turning soupy, and the topping had those crisp sugared bits on top that my kids kept picking off first.
Save this apple cobbler for the kind of dessert that bakes into a bubbling fruit filling and a craggy buttery top.
The Reason Apple Cobbler Turns Watery Before It Turns Good
Apple cobbler goes wrong in one of two ways: the fruit never softens enough, or the juices flood the pan and wash out the topping. The fix starts before the dish even goes into the oven. A little flour mixed with the apples helps the released juice thicken as it bakes, and that means the filling stays glossy and spoonable instead of thin.
The other mistake is cutting the fruit too thin. Paper-thin slices break down fast and leave you with apple sauce under biscuit dough. Keep the slices thick enough to hold some shape, and the cobbler bakes into distinct layers: tender fruit below, browned topping above, and just enough syrup in between to tie it together.
What Each Ingredient Is Actually Doing in This Cobbler
- Apples — Granny Smith gives you tartness and structure; Honeycrisp brings a little more sweetness and juice. A mix works best if you want a filling that tastes balanced and still holds its shape after baking.
- Lemon juice — This keeps the apples from tasting flat and slows browning while you mix the filling. You only need a little, but it sharpens the whole dessert.
- Flour in the filling — This is what thickens the juices. Cornstarch works in a pinch, but flour gives a slightly more old-fashioned, softly set filling that feels right in a cobbler.
- Cold butter — This is the difference between a biscuit topping with craggy ridges and one that bakes up dense. If the butter starts melting before it hits the oven, the topping loses those flaky pockets.
- Coarse sugar — It’s not just for looks. The sugar on top bakes into a thin, crisp shell that gives the first bite a little crunch before you get into the softer crumbs underneath.
Building the Filling and Topping So They Bake at the Same Pace
Tossing the Apples
Mix the sliced apples with the sugars, lemon juice, cinnamon, nutmeg, and flour until every piece looks lightly coated. You want the fruit evenly dressed, not drowned, because extra dry flour on the bottom can clump into pasty spots. Spread the apples in an even layer in the baking dish so the filling cooks at the same rate from edge to center.
Making the Biscuit Batter
Cut the cold butter into the flour mixture until it looks like coarse crumbs with a few pea-sized pieces still showing. That texture matters. Those little bits of butter melt in the oven and create tenderness, while overmixing turns the topping heavy and bread-like. Stir in the milk and vanilla just until the batter comes together; a thick, shaggy batter is exactly what you want.
Layering and Baking
Dollop the batter over the apples instead of smoothing it into a full lid. Leaving gaps gives steam a place to escape and lets the filling bubble up around the edges. Bake until the top is deeply golden and the juices are visibly bubbling at the sides of the pan. If the top browns before the fruit is soft, lay a loose piece of foil over it for the last few minutes.
Letting It Set Before Serving
Rest the cobbler for about 10 minutes before scooping. That short wait gives the bubbling juices time to settle and thicken, so the first serving holds together instead of running across the plate. Warm is the target, not blazing hot; the flavor opens up as it cools just enough to eat.
Three Ways to Adjust This Apple Cobbler Without Losing What Makes It Good
Dairy-Free Cobbler
Swap the butter for a cold plant-based baking stick and use an unsweetened non-dairy milk. The topping won’t taste quite as rich, but you’ll still get a crisp top and tender crumb if the butter substitute stays cold and the batter isn’t overmixed.
Extra-Spiced Filling
Add a pinch of cloves or allspice if you want the filling to taste deeper and more autumnal. Go lightly, though; apple cobbler needs the fruit to stay in front, and too much spice makes it taste muddled.
Gluten-Free Version
Use a 1:1 gluten-free flour blend in both the filling and topping. The texture will be a little more delicate, but it still bakes up nicely if you avoid stirring the topping past the point where the ingredients come together.
Storage and Reheating
- Refrigerator: Store covered for up to 4 days. The topping softens a bit as it sits, but the flavor holds well.
- Freezer: It freezes well after baking. Cool completely, wrap tightly, and freeze in portions or as a whole dish for up to 2 months.
- Reheating: Warm individual servings in the microwave for 30 to 45 seconds, or reheat larger portions in a 325°F oven until the filling is hot and the top re-crisps. The mistake most people make is blasting it on high heat, which makes the topping soggy before the center is warm.
Questions I Get Asked About This Apple Cobbler
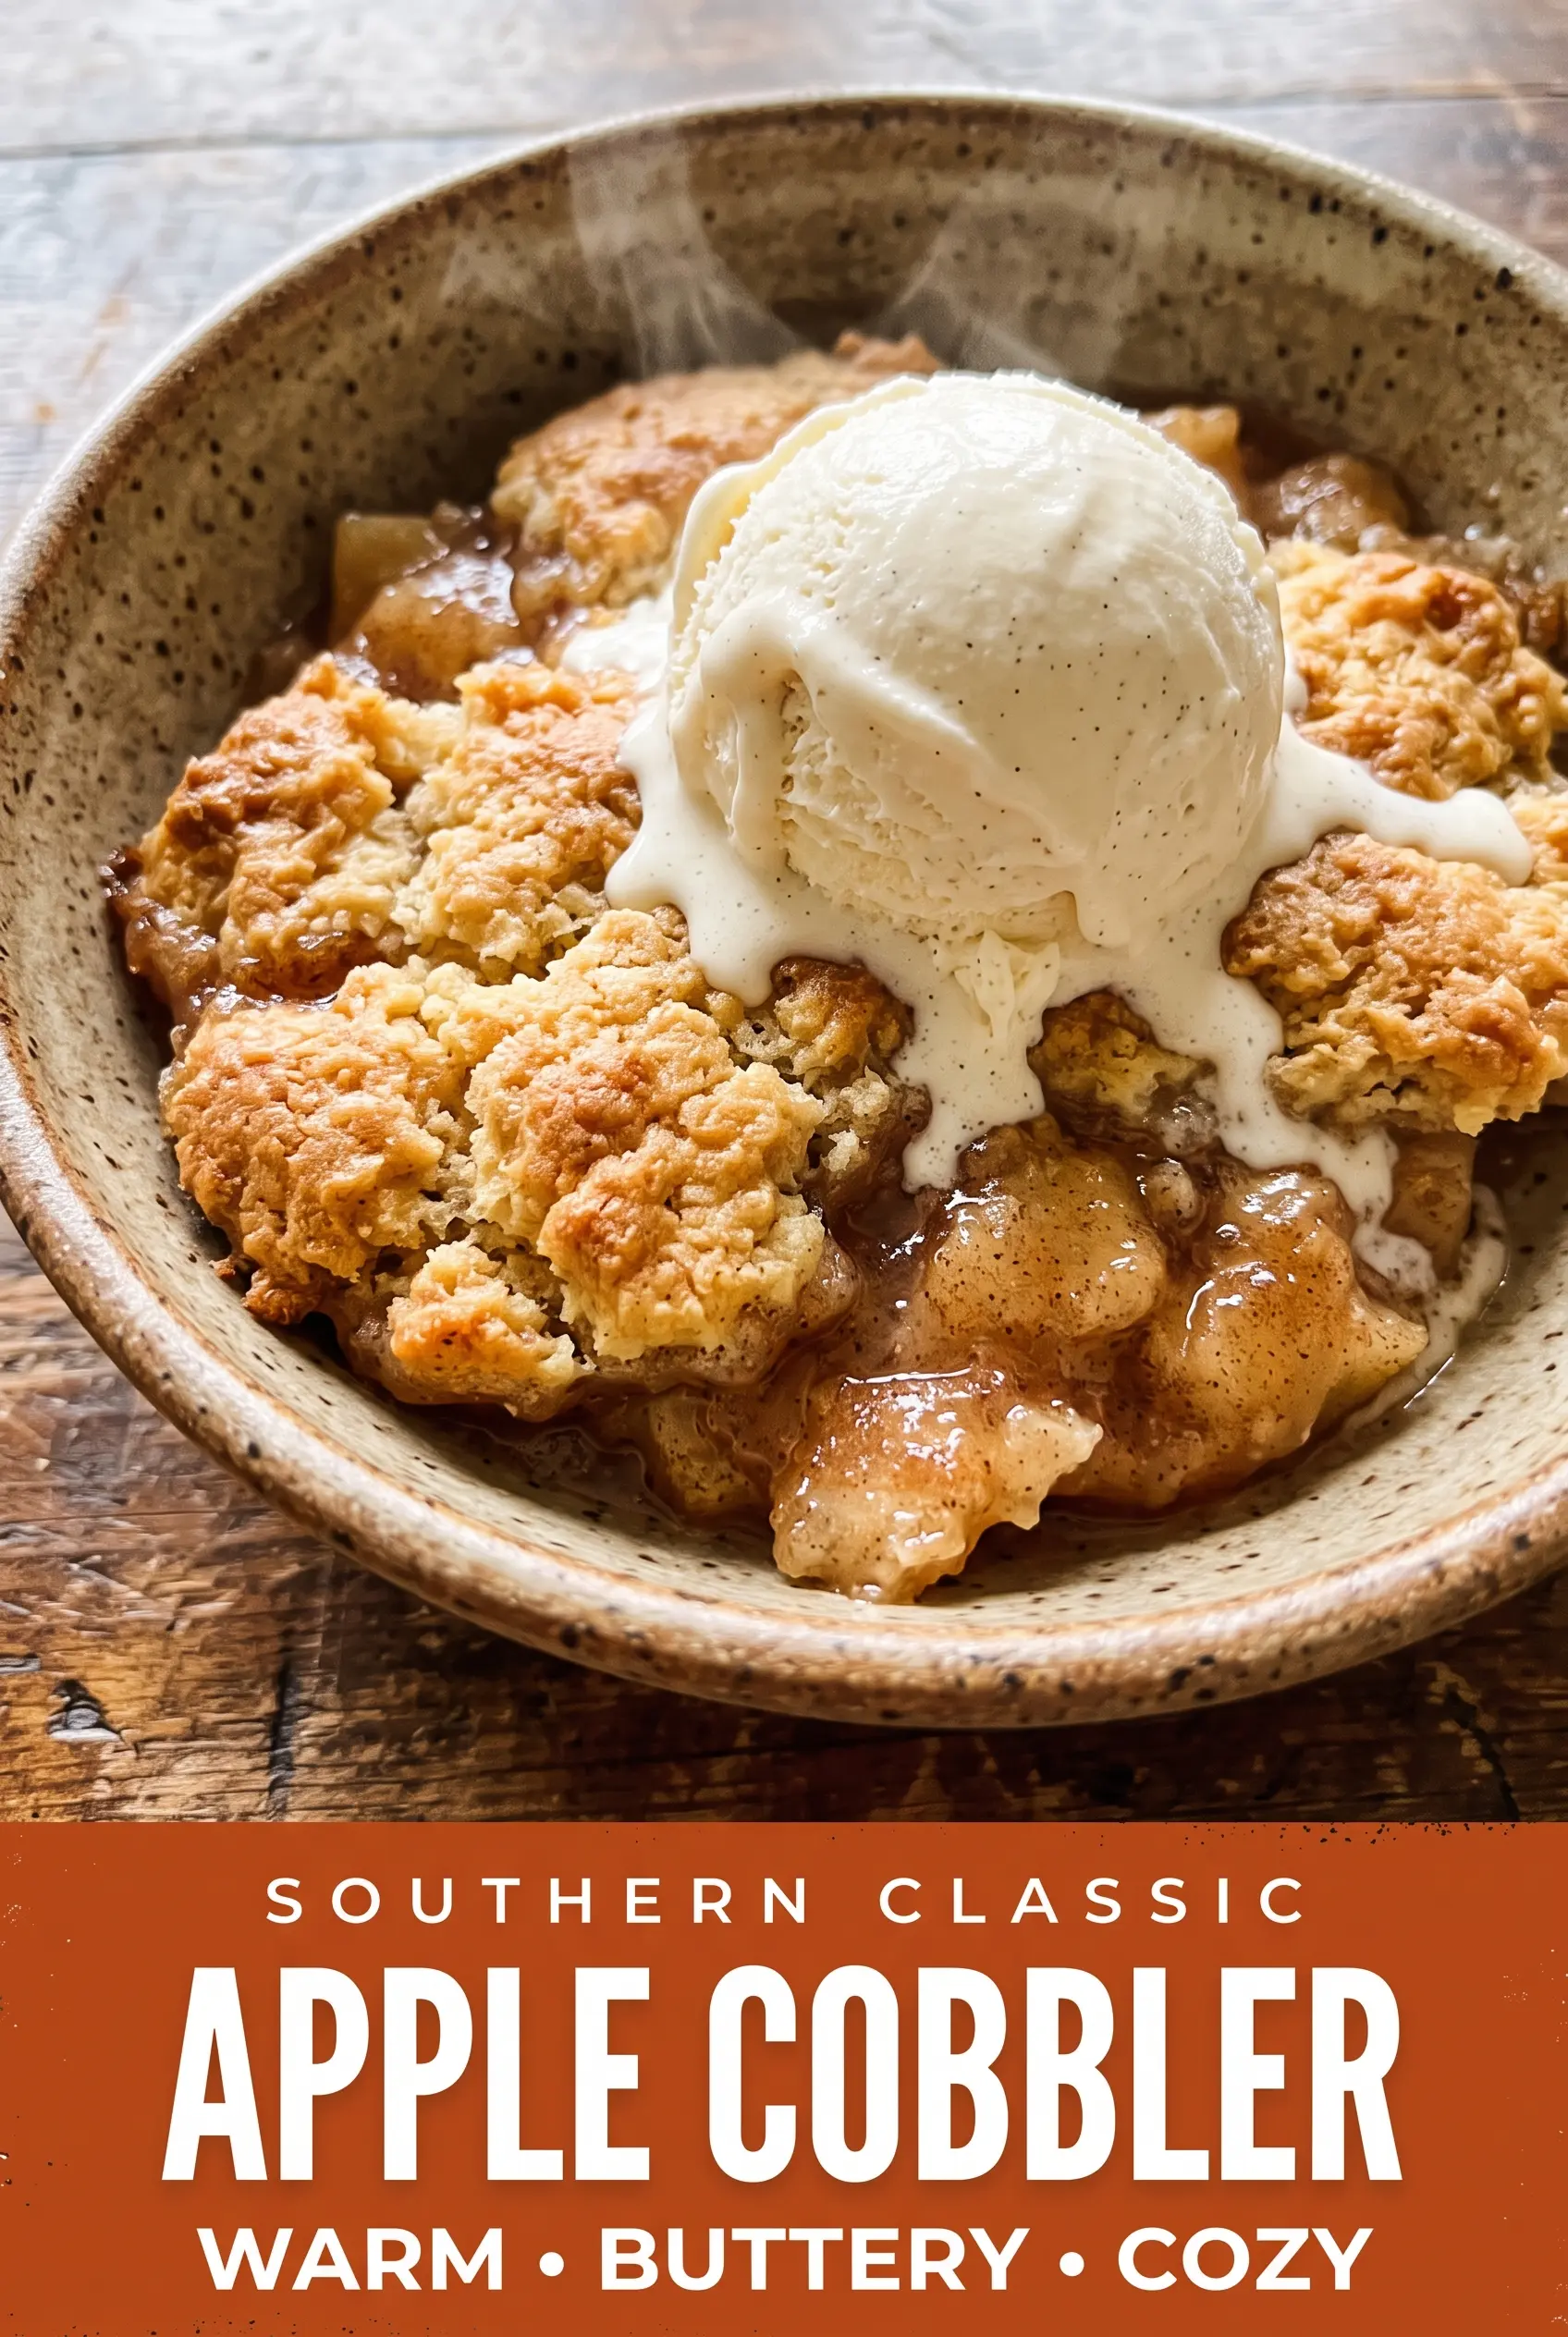
Apple Cobbler
Ingredients
Equipment
Method
- Preheat the oven to 375°F (190°C). Toss the sliced apples with granulated sugar, brown sugar, lemon juice, ground cinnamon, ground nutmeg, and all-purpose flour, then spread into a 9x13-inch baking dish.
- Keep the apple mixture evenly distributed in the dish. Make sure there are no large dry pockets of flour so the filling thickens as it bakes.
- Whisk all-purpose flour, granulated sugar, baking powder, and salt in a bowl. Cut in the cold butter until the mixture looks crumbly.
- Stir in the milk and vanilla extract just until combined into a thick, biscuit-like batter. Stop as soon as no dry flour remains to keep the topping tender.
- Dollop the batter evenly over the apples, leaving some gaps for the fruit to peek through. Tap the dish lightly if needed to settle the batter without flattening it.
- Sprinkle coarse sugar over the top. Bake for 40–45 minutes until the topping is golden brown and the filling is bubbling at the edges.
- Let the cobbler cool for 10 minutes. This helps the juices thicken slightly so each scoop holds together.
- Serve warm. Pair with vanilla ice cream so it melts into the bubbling apple filling.
