
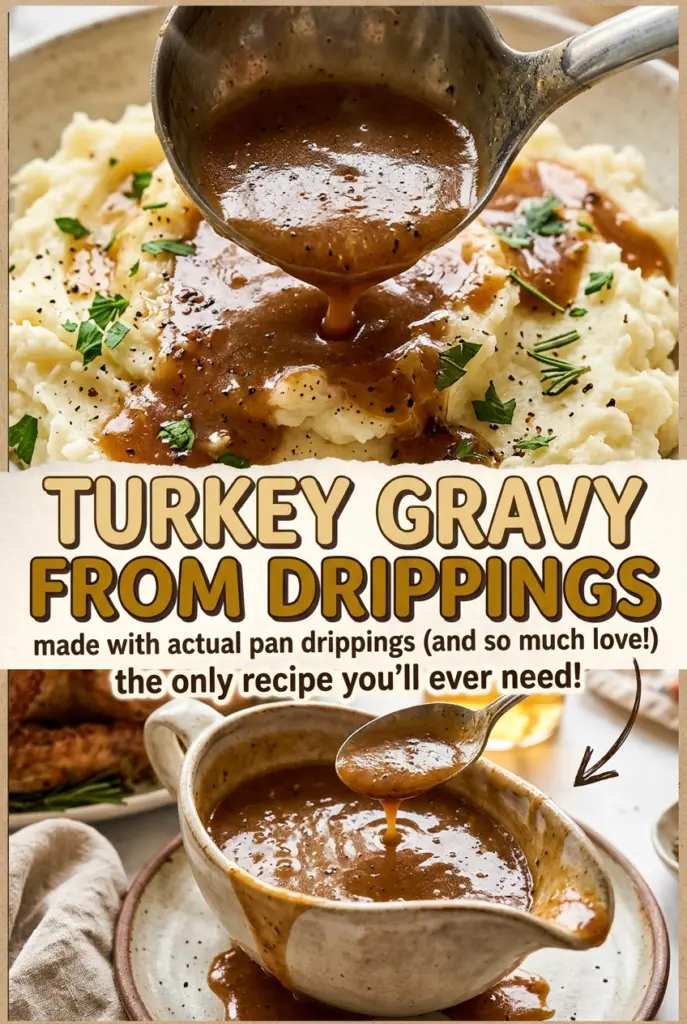
Turkey Gravy from Drippings
The drippings look like one dark, oily puddle when they first hit the measuring cup, and it’s hard to tell what belongs in the gravy until they settle. For turkey…
Tip: save now, cook later.The drippings look like one dark, oily puddle when they first hit the measuring cup, and it’s hard to tell what belongs in the gravy until they settle. For turkey gravy from drippings, I give them a few minutes to separate, then measure the fat and the juices on their own. That small pause makes the roux much easier to get right.
I like this method because it uses the browned turkey juices for savory depth without letting excess fat turn the finished gravy greasy. The fat combines with flour first, then the liquid goes in gradually while I whisk. If the drippings don’t provide enough fat or juice, unsalted butter and low-sodium turkey broth fill in the gaps.
Keep the roux lightly golden and let the gravy simmer until it coats the back of a spoon. The result is smooth, savory gravy with a proper sheen and enough body to settle over every slice of turkey.
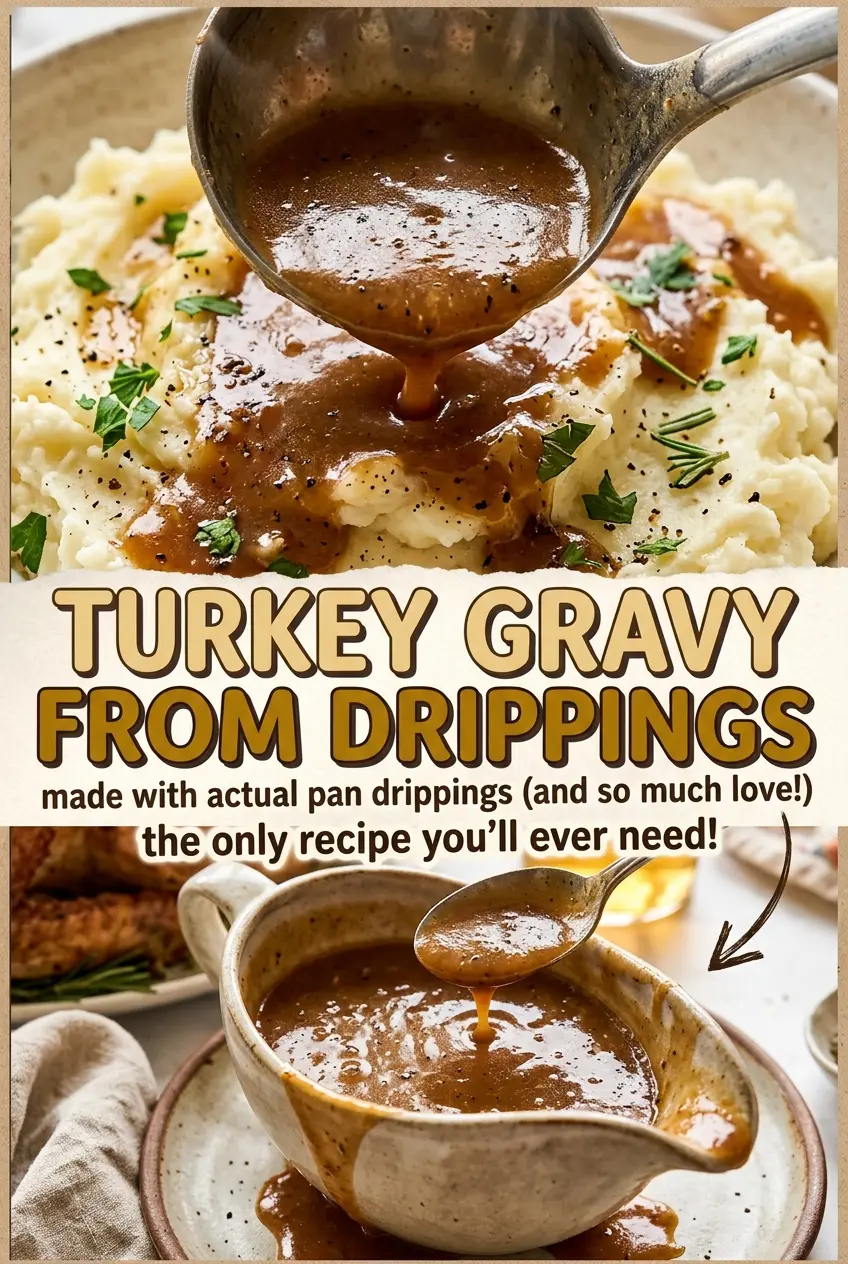
Kitchen Note
The 2-quart saucepan gives you useful room to whisk as the liquid goes in. In a smaller pan, it’s easier to splash gravy over the sides while you’re trying to keep it smooth.
Save this turkey gravy from drippings for a smooth, spoon-coating gravy that makes the most of your turkey pan juices.
Why Turkey Gravy Needs Two Separate Measurements
Turkey drippings contain two things gravy needs, but they do different jobs. The fat combines with flour to form the roux that thickens the gravy; the defatted juices bring the concentrated flavor. Pouring the drippings straight from the pan into the saucepan makes those roles harder to control, because the amount of fat and liquid in a roast pan can vary.
Separating and measuring each part gives you a dependable starting point. You’re building the roux with a measured amount of fat, then adding enough defatted juices and broth to reach the measured liquid total. That balance matters more than whether your pan produced a generous amount of drippings. Butter can fill a shortfall in the fat, and low-sodium turkey broth can make up for limited pan juices without changing the basic gravy method.
It also helps explain two common disappointments. Too much fat can leave a slick layer on top, while too much liquid for the flour can leave the gravy thin. Measuring both components separately makes it easier to get the smooth, spoon-coating texture you want instead of guessing from whatever collected in the roasting pan.
What the Drippings, Butter, and Broth Each Bring
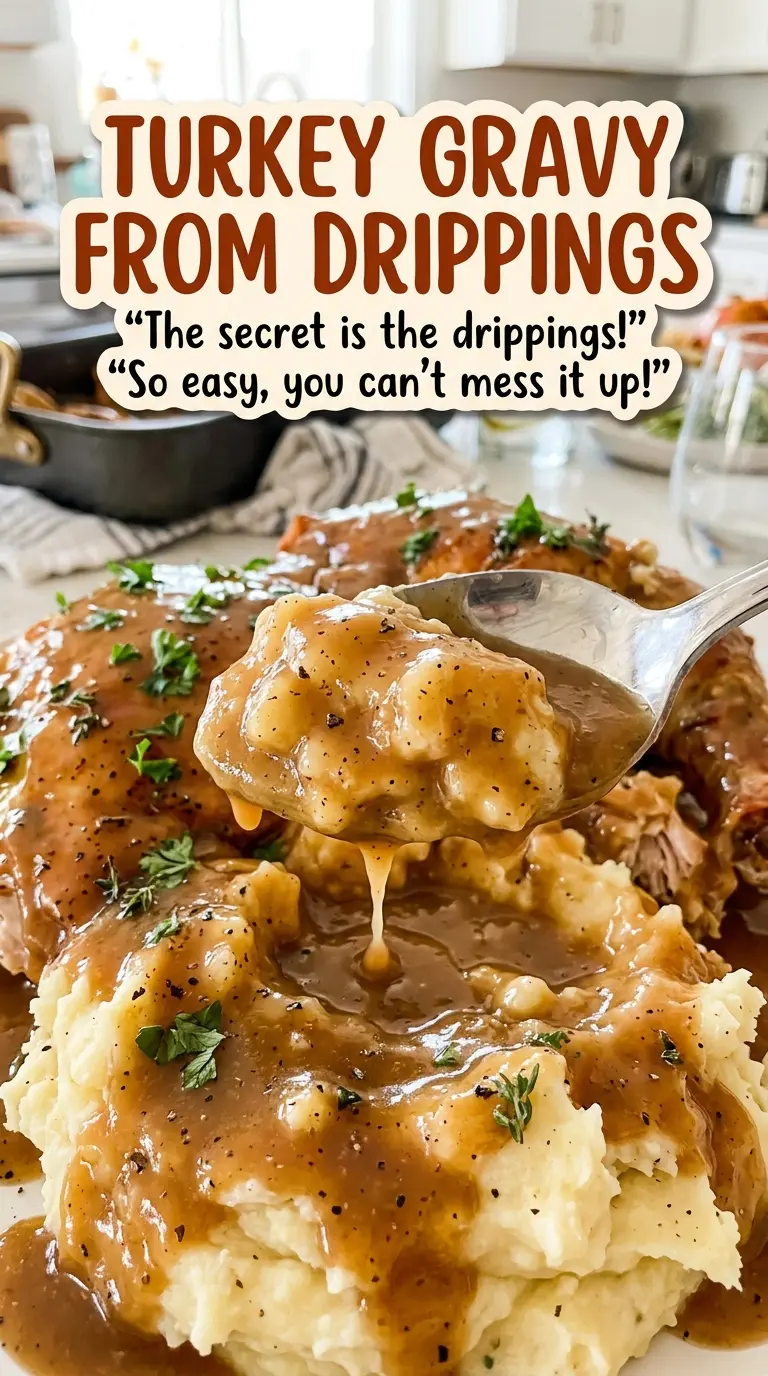
- Turkey drippings fat — This gives the roux savory turkey character. Strain the drippings and let the fat separate before measuring; if there isn’t enough, unsalted butter works as the listed fill-in. There’s no need for specialty butter here.
- All-purpose flour — Flour thickens the fat into a roux before the liquid is added, which helps the gravy turn smooth rather than watery. Stick with all-purpose flour for this formula; another thickener would need a different amount or method, so it isn’t a straight swap.
- Defatted pan juices and low-sodium turkey broth — The pan juices bring the roasted turkey flavor, and broth lets you reach the needed liquid total when the pan doesn’t yield much. Low-sodium broth is useful because the pan juices and added salt also season the gravy. A basic low-sodium turkey broth is a sensible choice; the pan juices supply the distinctive roast flavor.
- Kosher salt and black pepper — These season the finished liquid without competing with the turkey. Freshly ground black pepper gives a more pronounced aroma, but ordinary ground black pepper works just fine here.
Building a Smooth Roux and Letting the Gravy Thicken
Separate the Fat from the Pan Juices
Strain the turkey drippings into a heatproof measuring cup, then let the cup stand until the fat and juices form distinct layers. Give them time to separate rather than trying to estimate the fat while the drippings are still mixed. Once the upper fat layer is clear, you can measure each part for its own purpose. This first pause makes the next measurements more reliable.
Measure the Fat and Liquid Separately
Measure the drippings fat, then add unsalted butter as needed to reach one-quarter cup total fat. Separately measure the defatted pan juices and add low-sodium turkey broth until you have three cups total liquid. Keep the fat and liquid in separate measures; combining them before this point makes it much harder to build the right roux. Having both ready before you start cooking keeps the whisking stage calm.
Cook the Roux Until Lightly Golden
Melt the measured fat in a 2-quart saucepan over medium heat. Whisk in the flour and keep whisking as it cooks for two minutes. Look for a lightly golden color, not a dark brown one, and don’t leave the roux unattended while it’s on the heat. If flour gathers in dry patches, keep whisking until the mixture looks even.
Whisk in the Liquid and Simmer
Gradually whisk in the measured pan juices and broth, keeping the whisk moving as the liquid meets the roux. Bring the gravy to a simmer over medium-high heat, then whisk in the salt and pepper. Simmer for five to eight minutes, whisking often so the gravy thickens evenly and doesn’t catch on the bottom of the saucepan. It’s ready when it coats the back of a spoon.
Two Useful Ways to Adjust the Turkey Flavor
Use butter when the pan yields little fat
If you don’t have enough turkey fat, use unsalted butter to make up the shortfall in the measured total fat. The roux still follows the same method, though the finished gravy will have a milder roasted-turkey note than one made with more drippings fat.
Make the pan juices a bigger part of the liquid
For a more pronounced roasted-turkey taste, use a larger share of the defatted pan juices and less low-sodium broth, while keeping the combined liquid at three cups. When the pan gives you only a little juice, let broth provide more of the liquid for a gentler turkey flavor.
Storage and Reheating
- Refrigerator: Refrigerate in a covered container within two hours and use within three to four days. The gravy will thicken as it chills.
- Freezer: Freeze in an airtight, freezer-safe container for up to three months. Thaw it in the refrigerator; the texture may look separated at first, but whisking as it reheats helps bring it back together.
- Reheating: Warm it gently in a saucepan, stirring or whisking often, until it reaches 165°F. High heat can scorch the bottom before the gravy is hot throughout.
Questions That Come Up When Making Turkey Gravy
Turkey Gravy from Drippings
Ingredients
Equipment
Method
- Strain the turkey drippings into a heatproof measuring cup.
- Let the drippings stand until the fat separates from the juices.
- Measure 1/4 cup of the drippings fat, adding unsalted butter as needed to reach 1/4 cup total.
- Measure the defatted pan juices and add turkey broth to make 3 cups total liquid.
- Melt the fat in a 2-quart saucepan over medium heat.
- Whisk in the flour and cook for 2 minutes, whisking, until the roux is lightly golden.
- Gradually whisk in the liquid, then bring the gravy to a simmer over medium-high heat.
- Whisk in the salt and pepper and simmer for 5 to 8 minutes, whisking often, until thickened enough to coat the back of a spoon.
