
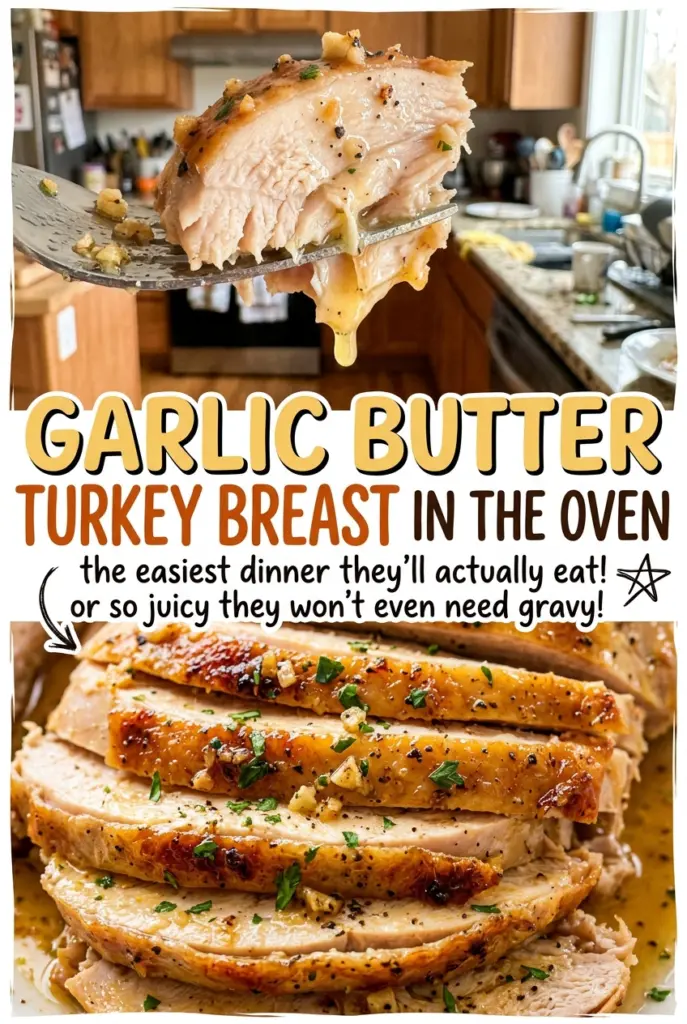
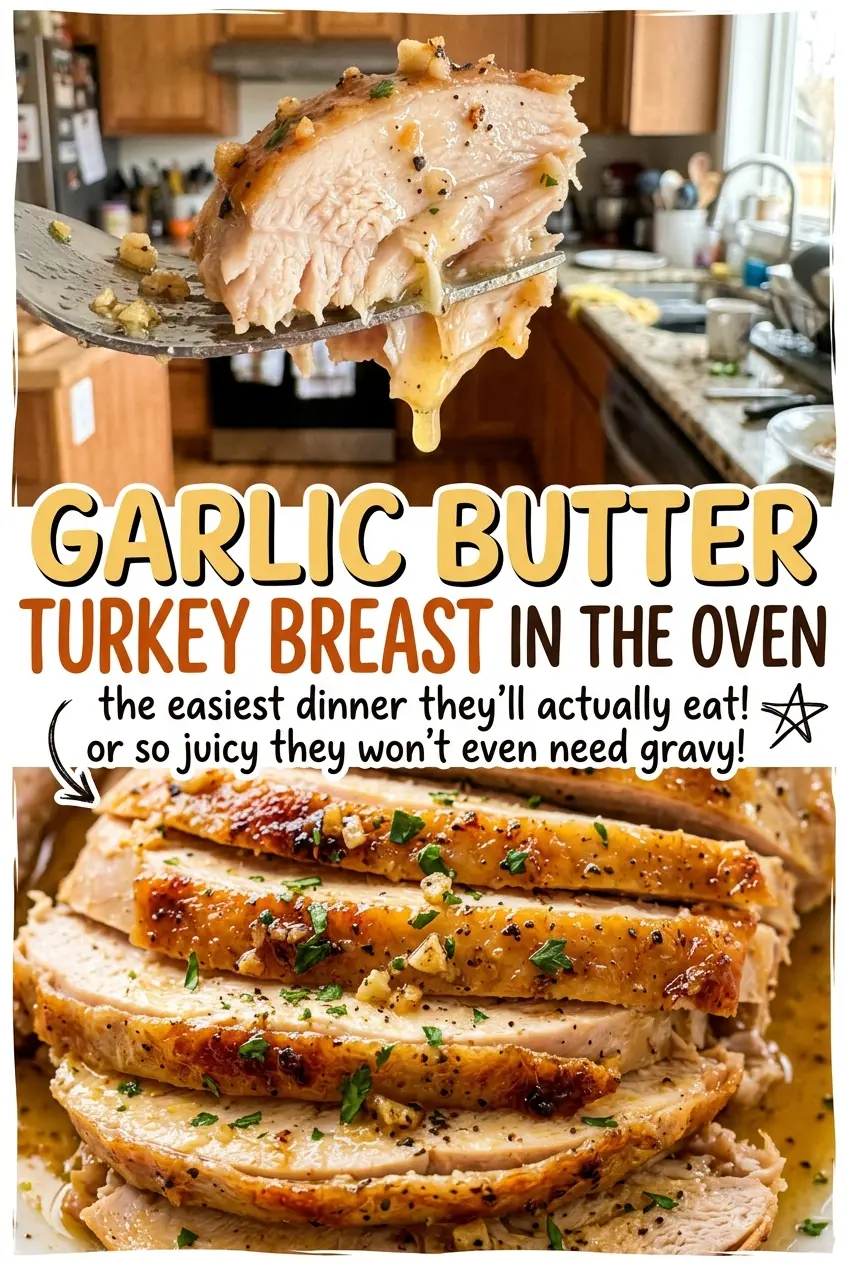
Garlic Butter Turkey Breast in the Oven
As the turkey roasts, the garlic butter turns glossy on the skin and the thyme starts to perfume the kitchen. I like this method for a bone-in breast because the…
Tip: save now, cook later.As the turkey roasts, the garlic butter turns glossy on the skin and the thyme starts to perfume the kitchen. I like this method for a bone-in breast because the butter goes beneath the skin as well as over it, so the meat gets seasoned without needing a complicated marinade. This garlic butter turkey breast comes out tender and deeply savory, with enough for six and a straightforward carving rest before it hits the board.
The part that takes a little care is loosening the skin without tearing it. I work slowly with my fingers, then spread the softened butter right over the breast meat; the reserved portion goes on top. Drying the skin first also helps the butter cling instead of sliding off. Once the turkey is in the oven, the thermometer—not the clock—is what tells me it’s ready: the thickest part should read 165°F without the probe touching bone. Rested for 20 minutes, the breast is much easier to carve into neat slices.
Kitchen Note
Give the turkey its full 20-minute rest under a loose foil tent. Carving too soon lets the juices run onto the board instead of staying in the slices.
Save this garlic butter turkey breast for a dependable roast with thyme-scented meat and golden, buttery skin.
Why the Garlic Butter Belongs Under the Skin, Not Just on Top
Turkey breast is lean, and its broad surface can cook past tender while you wait for the thickest center to finish. Putting some of the seasoned butter directly against the meat gives the garlic and thyme contact with the breast instead of leaving all that flavor on the skin. The butter doesn’t soak deep into the meat, but it coats the outside of the breast and seasons the slices as you carve.
There’s a useful division of labor here: most of the butter goes underneath, while a smaller reserved portion coats the skin. That top layer adds flavor and helps the surface brown, while the butter below keeps the aromatic mixture close to the meat. A rack lets hot air circulate around the turkey rather than leaving it sitting in its drippings. The result is a roast with seasoned breast meat and a flavorful skin, without stuffing the cavity or building a separate pan sauce.
Because turkey breasts vary in shape, don’t expect the clock to land on one exact finish. A smaller or more compact breast may be ready sooner than a larger one; start checking as it approaches the shorter end of the roasting window. The temperature at the thickest part is the dependable cue, and the probe should sit in the meat rather than against bone.
The Ingredients That Give This Breast Its Garlic-and-Thyme Character
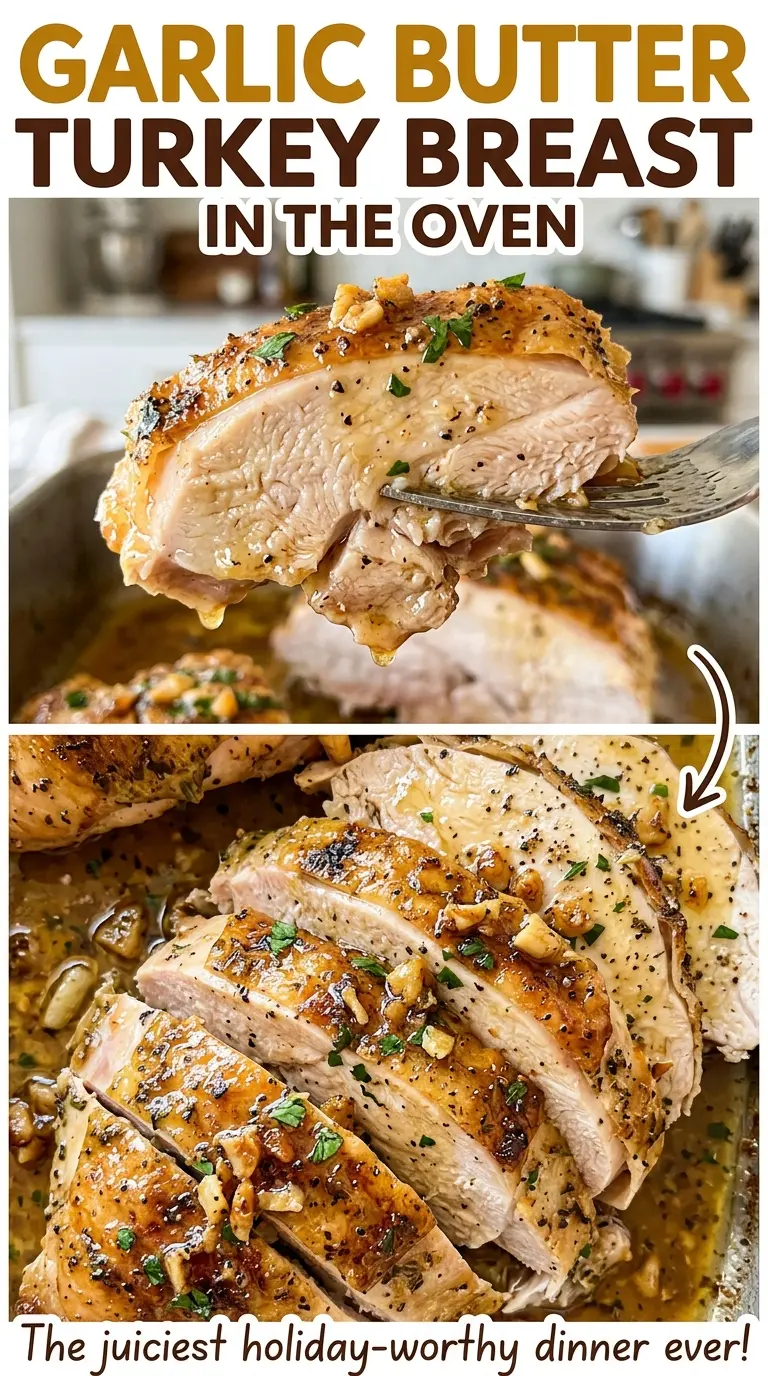
- Bone-in, skin-on turkey breast — The bone and skin are part of this roast’s shape and cooking behavior, so choose a fully thawed breast in the stated size range. The skin also gives the butter a surface to coat and brown. A boneless cut won’t follow the same timing or method.
- Unsalted butter — Softened butter is easy to mash with the seasonings and spread beneath the skin. Unsalted butter lets the kosher salt provide the seasoning without relying on the salt level of a salted brand. A basic grocery-store butter works well here; it doesn’t need to be a specialty brand.
- Fresh garlic — Minced garlic disperses through the butter so each area gets some of its pungent, savory flavor. Fresh cloves give a brighter garlic taste than a dried seasoning. Mince them finely so larger pieces don’t clump in one spot beneath the skin.
- Fresh thyme — Chopped thyme leaves bring an earthy, savory note that suits turkey without taking over. Strip the leaves from the stems before chopping, since the woody stems don’t belong in the butter mixture. Dried thyme is a workable pantry substitute; the variation below gives the swap.
From Softened Butter to a Rested, Carvable Turkey Breast
Set Up the Pan and Dry the Skin
Heat the oven to 350°F with a rack in the lower-middle position. Pat the thawed turkey breast dry with paper towels, then set it skin side up on a rack in a 9×13-inch roasting pan. Dry skin gives the butter a better surface to cling to, while the rack keeps the breast lifted above the pan. Handle the skin gently so it stays intact for the butter layer.
Mash the Garlic-Thyme Butter
In a small bowl, mash together the softened butter, minced garlic, chopped thyme, kosher salt, and black pepper until the seasonings are spread throughout. The butter should be pliable enough to mash, not melted and runny. Measure out and reserve 2 tablespoons before you start spreading; that portion is for the outside of the skin. Keeping it separate avoids carrying raw-turkey contact back into the bowl.
Season Beneath and Over the Skin
Gently loosen the skin over the breast with your fingers, working carefully so it doesn’t tear. Spread the remaining butter mixture underneath the skin, over the breast meat, then spread the reserved butter over the skin. If the skin resists, ease it loose a little at a time rather than pulling hard. Aim for an even layer so one area doesn’t get all the garlic and another none.
Roast, Check the Center, and Rest
Roast for 1 1/2 to 2 1/4 hours, checking with an instant-read thermometer as the breast nears the shorter end of that range. Insert the thermometer into the thickest part without touching bone; the turkey is ready when it reads 165°F. If it hasn’t reached that reading, return it to the oven and check again rather than relying on color or time alone. Transfer the breast to a cutting board, tent it loosely with foil, rest for 20 minutes, and then carve.
Easy Swaps for the Garlic Butter Without Losing the Point
Make the butter dairy-free
Replace the unsalted butter with the same amount of unsalted plant-based butter, softened enough to mash. Choose a firm baking-style product rather than a pourable spread so the garlic and thyme mixture stays easy to spread beneath the skin. The result keeps the savory herb coating, though its richness and browning may differ by brand.
Use dried thyme from the pantry
Swap the fresh thyme for 1 teaspoon dried thyme. Dried leaves have a more concentrated, less bright character, but they blend into the butter easily and still pair well with the garlic. Crush them lightly between your fingers as you add them to help release their aroma.
Soften the garlic flavor
Use 2 minced garlic cloves instead of 4 for a gentler, less assertive butter. The thyme will come through more clearly, while the mixture still seasons both the meat beneath the skin and the skin itself.
Storage and Reheating
- Refrigerator: Carve and refrigerate in a shallow airtight container within 2 hours; use within 3 to 4 days. The chilled slices will be firmer than freshly carved turkey.
- Freezer: Freeze carved portions in airtight freezer-safe packaging, removing as much air as you can. For best quality, use within 3 months; thaw in the refrigerator before reheating.
- Reheating: Put slices in an oven-safe dish, cover, and warm at 325°F until hot throughout. Reheat only the amount you plan to eat, since repeated warming dries out lean breast meat.
Questions That Come Up When Roasting a Turkey Breast
Garlic Butter Turkey Breast in the Oven
Ingredients
Equipment
Method
- Heat the oven to 350°F with a rack in the lower-middle position.
- Pat the turkey breast dry with paper towels.
- Place it skin side up on a rack in a 9x13-inch roasting pan.
- In a small bowl, mash together the butter, garlic, thyme, salt, and pepper.
- Reserve 2 tablespoons of the mixture.
- Gently loosen the skin over the breast.
- Spread the remaining butter mixture underneath the skin.
- Spread the reserved mixture over the skin.
- Roast for 1 1/2 to 2 1/4 hours, until an instant-read thermometer inserted into the thickest part of the breast without touching bone reads 165°F.
- Transfer the turkey to a cutting board.
- Tent loosely with foil and rest for 20 minutes before carving.
