
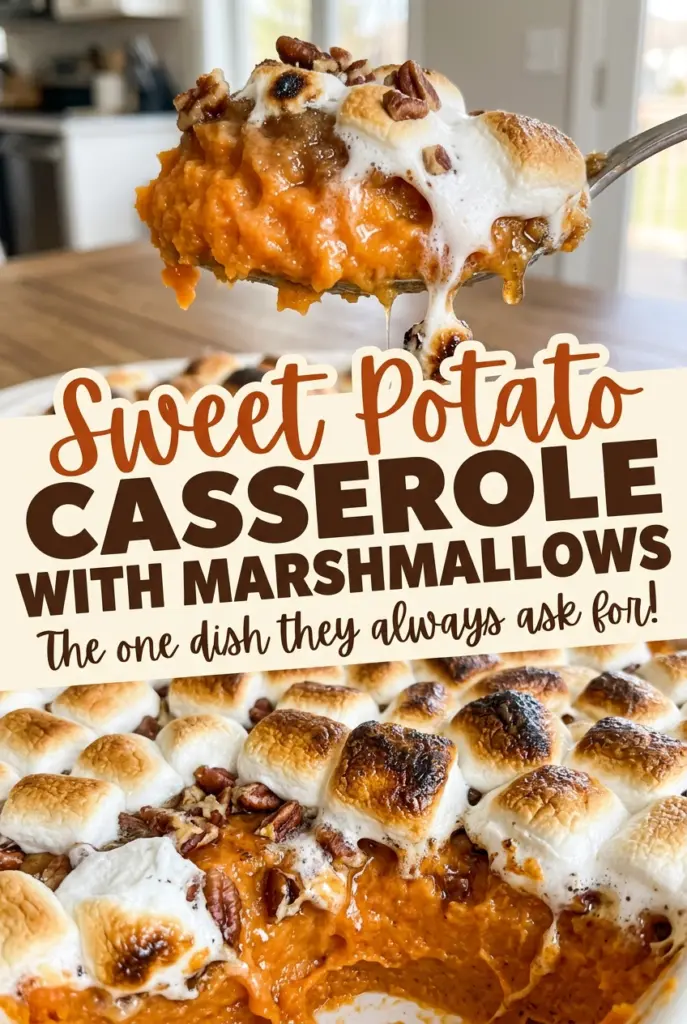
Sweet Potato Casserole with Marshmallows
The potatoes look ready when a fork slides through them, but the water clinging to the cubes can leave the mash looser than you want. I learned to drain them…
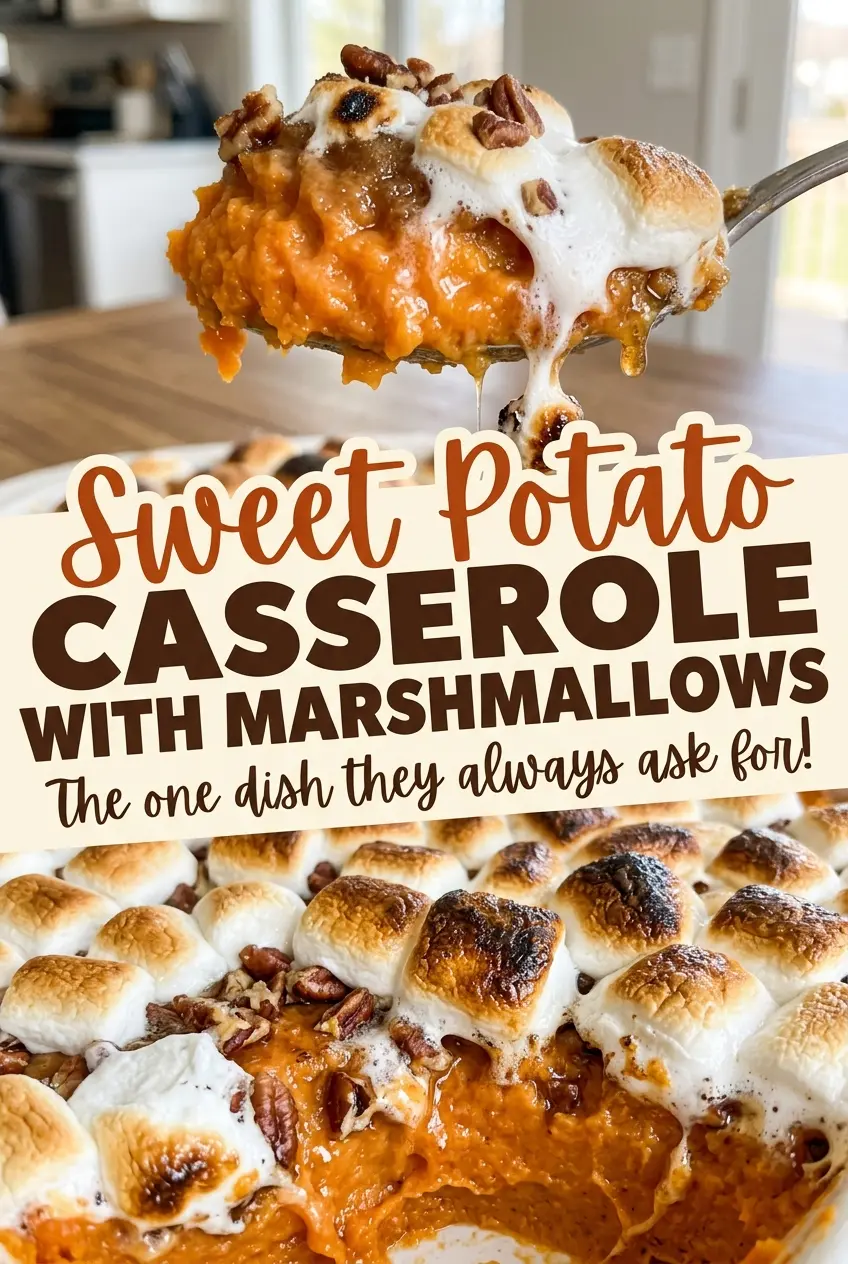
Tip: save now, cook later.The potatoes look ready when a fork slides through them, but the water clinging to the cubes can leave the mash looser than you want. I learned to drain them well before mashing; it makes a difference once the eggs and milk go in. This sweet potato casserole with marshmallows bakes up soft and rich underneath, with a layer of mini marshmallows that turns puffed and golden at the end.
I keep the filling simple: butter and brown sugar go into the hot potatoes first, so the butter melts right into the mash. Then the milk and eggs help it bake into a casserole rather than stay like a bowl of mashed sweet potatoes. The filling gets its own time in the oven before the marshmallows go on, which gives you a soft center and a toasted top without asking the marshmallows to sit through the whole bake.
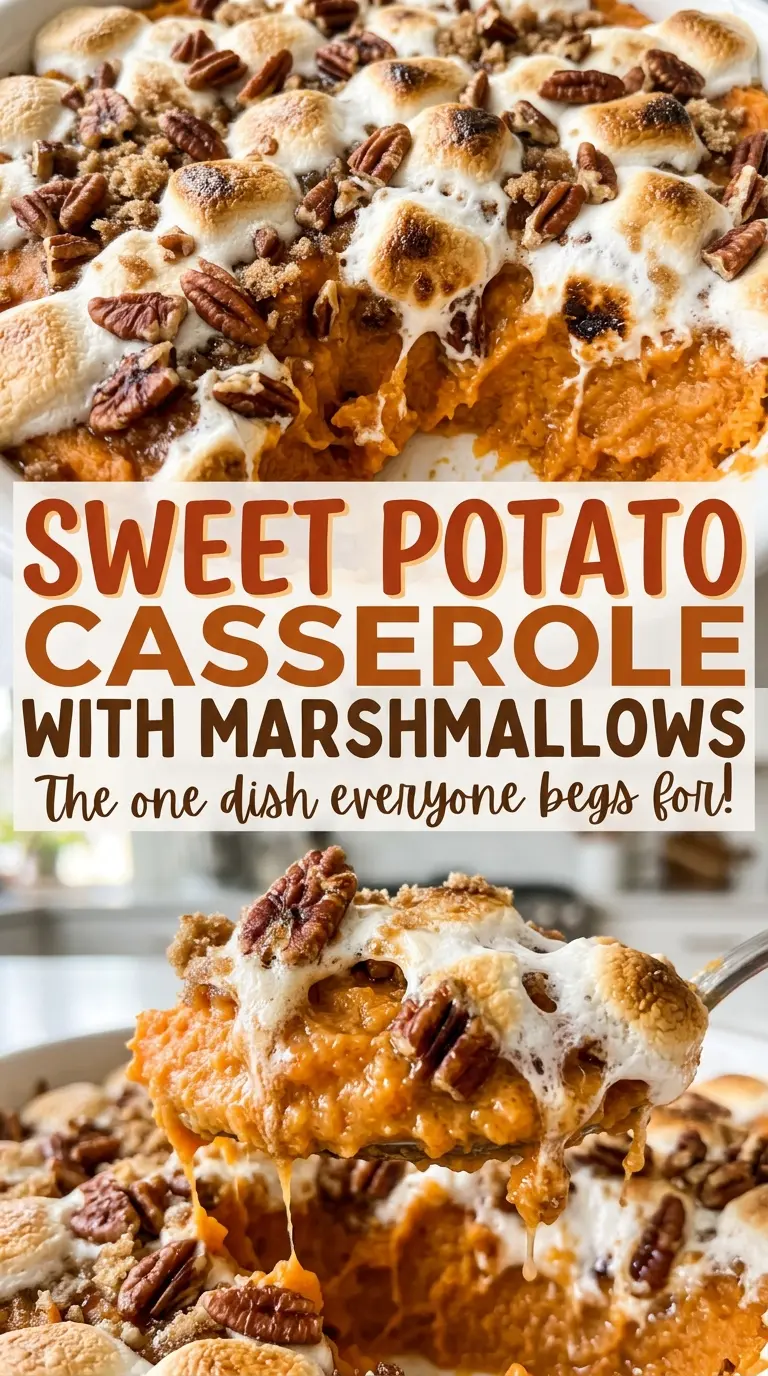
After a short rest, the center is set enough to scoop neatly while staying tender. That contrast—warm sweet potato underneath and lightly toasted marshmallows on top—is what makes each spoonful feel complete.
Kitchen Note
Drain the sweet potatoes well before you mash them. Water left in the pot can make the filling loose, and the butter and milk add all the moisture it needs.
Save this sweet potato casserole with marshmallows for its smooth, buttery filling and puffed golden top.
Eggs Turn the Sweet Potatoes into a Casserole, Not Just a Topped Mash
Mashed sweet potatoes and sweet potato casserole can look nearly identical before they go into the oven. The eggs are what change the texture. Once mixed into the mash and baked, they help the filling hold together, so it feels cohesive when you scoop it instead of collapsing into a loose pile beneath the marshmallows.
That also explains why I bake the filling by itself before adding the topping. The sweet potato mixture needs time to heat through and set; the marshmallows need only a short finish to puff and color. Putting them on at the start would leave them in the oven for the full bake, long after they’ve reached the soft, golden finish you want.
Think of the first bake as setting the base, not browning the top. The marshmallows are the final layer, added when the filling is ready. Keeping those jobs separate gives the center time to cook without sacrificing the light, toasted finish.
What Butter, Eggs, and Mini Marshmallows Each Bring to the Dish
- Sweet potatoes — Fresh sweet potatoes are the foundation here, and cutting them into even cubes helps them soften at a similar rate. Choose firm potatoes without soft spots. Peeling before cooking means you can mash the tender cubes straight away without working around the skins.
- Butter and brown sugar — Butter melts into the hot mash and gives the filling a rounded, rich taste; packed light brown sugar brings sweetness with a gentle molasses note. Unsalted butter lets the salt in the filling stay balanced. Dark brown sugar would bring a stronger molasses flavor, so light brown is the closer match.
- Milk and eggs — Milk loosens the mash enough to spread, while eggs help it set in the oven. Large eggs are important for keeping the filling’s proportions consistent. Stir them in after the potatoes have been mashed and the butter has melted, so they blend evenly through the warm mixture.
- Vanilla and mini marshmallows — Vanilla rounds out the sweet potato filling without making it taste like dessert batter. Mini marshmallows cover the surface more evenly than large ones and toast quickly in the final bake. Fresh marshmallows are easier to scatter in a loose, even layer.
From Fork-Tender Cubes to a Set Center
Simmer the Cubes Until a Fork Slides In Easily
Heat the oven to 350°F and grease a 9×13-inch baking dish. Put the peeled, 1-inch sweet potato cubes in a large pot, cover them with cold water by 1 inch, and bring the pot to a boil. Lower the heat and simmer for 15–20 minutes, until the cubes are very tender when pierced with a fork. Drain them well and return them to the pot.
Mash Smooth, Then Blend the Filling
Mash the hot potatoes until smooth; a few firm pieces will stand out once the casserole is baked. Stir in the butter and brown sugar until the butter has melted, then add the milk, eggs, vanilla, and salt. Mix until combined, without leaving streaks of egg or pockets of unmixed sugar. Spread the filling evenly in the prepared baking dish so the center and edges bake at a similar pace.
Bake the Filling Before Adding the Topping
Bake the casserole for 25–30 minutes, until the center reaches 160°F. The surface may look set while the middle still needs a little time, so check the center rather than relying on the edges alone. If the middle hasn’t reached that temperature, keep baking and check again. This first bake is for the sweet potato filling; the marshmallows come afterward.
Toast the Marshmallows and Let the Casserole Rest
Scatter the mini marshmallows evenly over the baked filling, then return the dish to the oven for 5–8 minutes. Watch for marshmallows that have puffed and turned golden; they can go from pale to too dark quickly near the end. Take the casserole out and let it rest for 10 minutes before serving. That brief rest gives the filling time to settle for easier scooping.
Two Simple Changes That Keep the Casserole’s Soft Center
Make It Dairy-Free
Use dairy-free butter in place of the butter and unsweetened oat milk in place of the milk; choose dairy-free mini marshmallows for the topping. The filling stays creamy, though the butter flavor will be a little less rich. The eggs remain in the recipe, so this is a dairy-free adaptation, not an egg-free one.
Add a Hint of Cinnamon
Stir 1/2 teaspoon ground cinnamon into the mashed sweet potatoes along with the butter and brown sugar. It adds a warm spice note that makes the filling taste less simply sweet, without changing the bake. Keep the marshmallow topping as it is so the cinnamon stays in the filling.
Storage and Reheating
- Refrigerator: Refrigerate leftovers within 2 hours, covered, for 3–4 days. The marshmallows soften as they sit, but the filling keeps well.
- Freezer: Freeze the baked sweet potato base before adding marshmallows for the best texture. Cool it, wrap the dish tightly, and freeze for up to 2 months; thaw overnight in the refrigerator, then reheat and add fresh marshmallows for the finish.
- Reheating: Warm leftovers covered in a 325°F oven until heated through, uncovering near the end if you want the topping to soften. A large microwave portion heats unevenly and can turn the marshmallows sticky.
Questions That Come Up Before the Casserole Goes in the Oven
Sweet Potato Casserole with Marshmallows
Ingredients
Equipment
Method
- Heat the oven to 350°F.
- Grease a 9x13-inch baking dish.
- Put the sweet potatoes in a large pot and cover with cold water by 1 inch.
- Bring to a boil, then simmer for 15–20 minutes, until very tender when pierced with a fork.
- Drain the potatoes well and return them to the pot.
- Mash the potatoes until smooth.
- Stir in the butter and brown sugar until the butter has melted.
- Stir in the milk, eggs, vanilla, and salt until combined.
- Spread the mixture evenly in the prepared baking dish.
- Bake for 25–30 minutes, until the center reaches 160°F.
- Scatter the marshmallows evenly over the casserole.
- Bake for 5–8 minutes, until puffed and golden.
- Let the casserole rest for 10 minutes before serving.
