

Sticky Honey Garlic Chicken
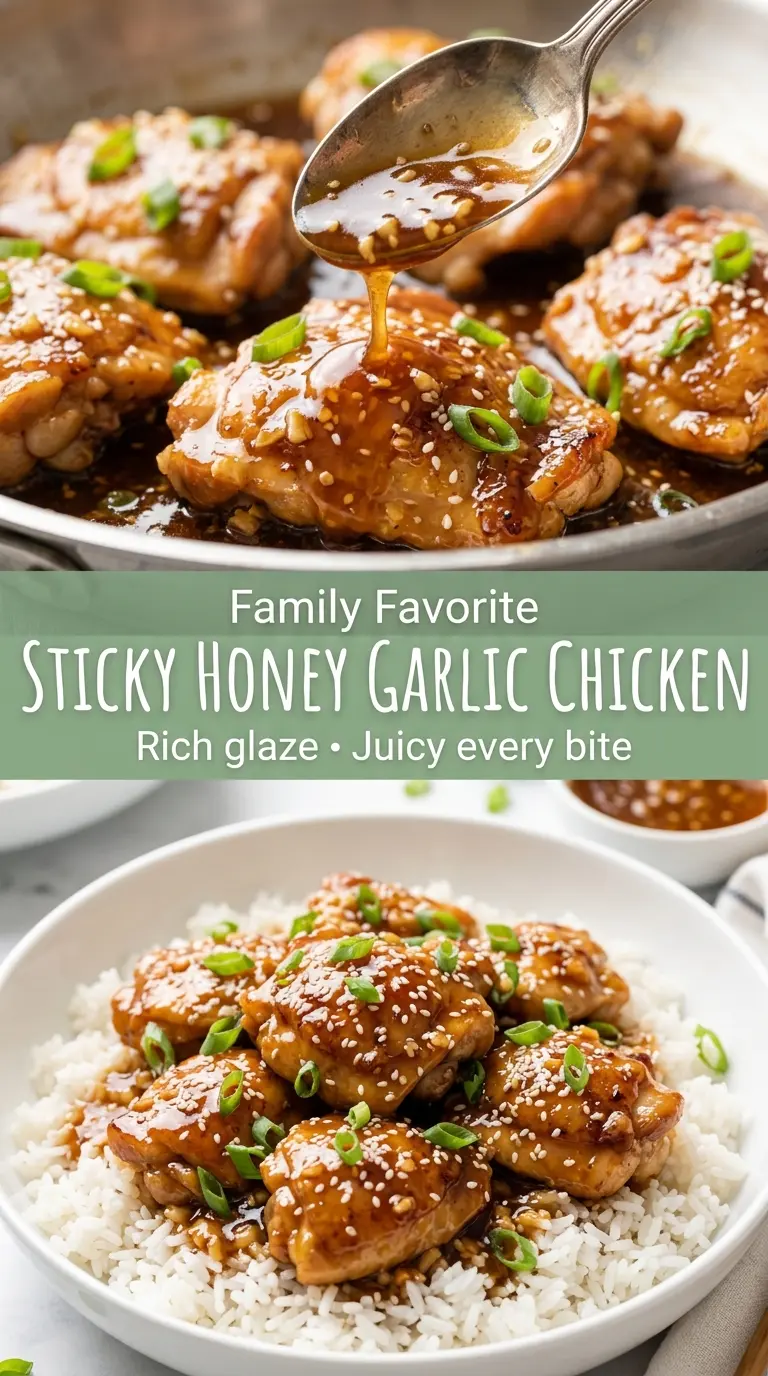
Sticky honey garlic chicken lands on the plate with that glossy, lacquered finish that makes people reach for seconds before they finish the first serving. The chicken stays juicy inside,…
Tip: save now, cook later.Sticky honey garlic chicken lands on the plate with that glossy, lacquered finish that makes people reach for seconds before they finish the first serving. The chicken stays juicy inside, the edges pick up a little caramelization, and the sauce clings instead of pooling at the bottom of the pan. It’s the kind of dinner that tastes like you worked harder than you did, which is exactly why it earns a permanent spot in the weeknight rotation.
The trick here is a light cornstarch coating on the chicken before it hits the skillet. That gives you better browning and helps the sauce grab onto every piece later. The sauce itself gets balanced with soy sauce, vinegar, sesame oil, and just enough ketchup to round out the edges and keep the glaze from tasting flat or one-note.
Below, I’ve included the timing that keeps the garlic from burning, the swap that makes this work with chicken breasts, and the storage notes that keep leftovers from turning soggy. If your usual honey garlic chicken has ever come out thin or watery, this version fixes that.
The glaze thickened up exactly right and coated every piece instead of sliding off, and the chicken stayed juicy even after simmering in the sauce. My husband asked if I could put this on next week’s menu before dinner was even over.
This sticky honey garlic chicken is the kind of glossy skillet dinner that actually coats the chicken and keeps the sauce from turning thin.
The Secret to Sticky Chicken Instead of Watery Sauce
Most honey garlic chicken goes wrong in one of two places: the chicken doesn’t brown, or the sauce gets watered down and never quite clings. The cornstarch coating solves the first problem by drying the surface enough to sear, and it helps the sauce thicken later without needing a long simmer. That matters because a long simmer over high heat is how you end up with overcooked chicken and a sauce that tastes cooked out.
The other key is adding the garlic after the chicken comes out of the pan, not before. Garlic burns fast, especially in a hot skillet with a little oil left behind. Once it turns bitter, there’s no fixing it. A quick 30-second sauté in the residual heat gives you the aroma without the harsh edge.
- Chicken thighs stay juicy under high heat and hold up better than breasts in this style of sauce. If you use breasts, cut them into even pieces and pull them the second they hit 165°F.
- Cornstarch on the outside does two jobs here: it helps with browning and gives the sauce something to grip. Arrowroot can work in a pinch, but it won’t brown quite the same way.
- Low-sodium soy sauce keeps the glaze savory without tipping it into overly salty territory. Regular soy sauce works, but cut back a little on the added salt.
- Rice vinegar keeps the sauce from tasting heavy. If you don’t have it, use apple cider vinegar, but start with a little less because it’s sharper.
Building the Glaze So It Clings to Every Piece
Coating the Chicken First
Pat the chicken dry before anything else. Moisture on the surface fights browning, and that’s the difference between golden edges and pale steamed pieces. Tossing the chicken with cornstarch gives you a light coating, not a thick crust, so don’t overdo it. You want each piece dusted and evenly covered, with no clumps sitting in the bowl.
Getting the Sear Before the Sauce
Heat the oil until it shimmers, then add the chicken in a single layer. If you crowd the pan, the chicken steams and the coating turns gummy instead of crisping. Let the pieces sit long enough to develop color before flipping them. You’re looking for deep golden edges and a release from the pan, not pale chicken that needs constant stirring.
Cooking the Garlic Without Burning It
Once the chicken is out, lower the heat before the garlic and ginger go in. The pan still holds enough heat to wake them up fast, and that’s all they need. If the garlic starts to brown in spots, move immediately to the sauce. Bitter garlic will overpower the honey and flatten the whole dish.
Thickening and Finishing the Sauce
Pour in the mixed sauce and let it bubble for a couple of minutes until it turns glossy and slightly thicker. The sauce should coat the back of a spoon and leave a trail when stirred, but it shouldn’t become paste-like in the pan. Add the chicken back in and toss until every piece is lacquered. The final minute in the pan is what turns a thin glaze into that sticky finish you want.
How to Adapt This for Different Kitchens and Different Eaters
Use Chicken Breasts Instead of Thighs
Chicken breasts work if that’s what you have, but they dry out faster, so cut them into evenly sized pieces and watch the clock closely. Pull them as soon as they reach 165°F, then toss them in the sauce just long enough to coat. You lose a little richness compared with thighs, but the glaze still carries the dish.
Make It Gluten-Free
Swap the soy sauce for a gluten-free tamari or coconut aminos. Tamari gives you the closest flavor to the original; coconut aminos run a little sweeter, so you may want to reduce the brown sugar a touch. The texture stays the same as long as you keep the cornstarch in place.
Dial Back the Sweetness
If you prefer a less sweet glaze, cut the brown sugar to 1 tablespoon and keep the honey as written. That gives the sauce a cleaner honey-forward finish without making it sharp or salty. Don’t reduce the honey too far or the sauce loses the sticky texture that makes the dish work.
Storage and Reheating
- Refrigerator: Store leftovers in an airtight container for up to 4 days. The sauce thickens as it chills, which is normal.
- Freezer: It freezes well for up to 2 months, though the glaze may loosen slightly after thawing. Freeze in portions for the best texture.
- Reheating: Warm it gently in a skillet over medium-low heat with a splash of water to loosen the sauce. Microwaving works, but use short bursts and stir between each one so the sauce doesn’t separate and the chicken doesn’t turn rubbery.
Answers to the Questions Worth Asking

Sticky Honey Garlic Chicken
Ingredients
Equipment
Method
- Pat the chicken dry and season with salt and black pepper, then toss with cornstarch until lightly coated.
- Whisk honey, low-sodium soy sauce, brown sugar, rice vinegar, sesame oil, ketchup, 1 tsp cornstarch, and 2 tbsp water until smooth.
- Heat vegetable oil in a large skillet over medium-high heat.
- Cook the chicken for 4–5 minutes per side until golden brown and the internal temperature reaches 165°F, then transfer to a plate.
- Reduce heat to medium and add minced garlic and grated ginger, sautéing for 30 seconds until fragrant.
- Pour in the honey garlic sauce and simmer for 2–3 minutes until glossy and slightly thickened.
- Return the chicken to the skillet and toss until every piece is coated in the sticky glaze, then cook for 2 more minutes until the sauce caramelizes slightly.
- Sprinkle with sliced green onions and sesame seeds.
- Serve immediately over steamed jasmine rice.
