
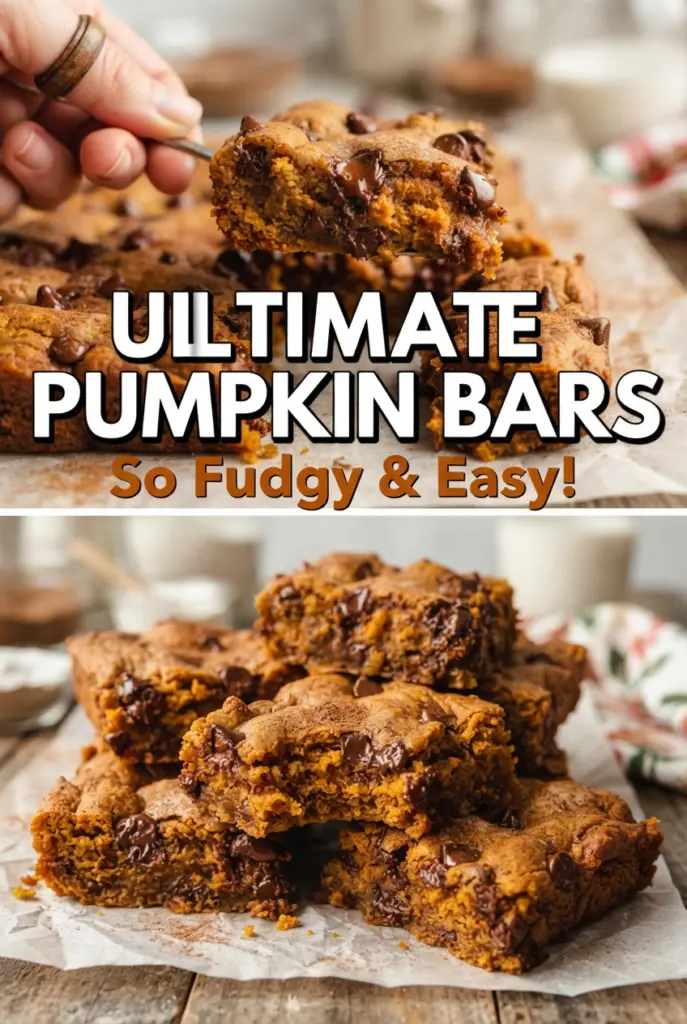
Soft One-Bowl Pumpkin Chocolate Chip Bars
Soft pumpkin bars with chocolate chips are the kind of bake that disappears fast because they hit that sweet spot between cake and brownie. The crumb stays tender and cakey,…
Tip: save now, cook later.Soft pumpkin bars with chocolate chips are the kind of bake that disappears fast because they hit that sweet spot between cake and brownie. The crumb stays tender and cakey, the pumpkin brings a mellow earthy sweetness, and the chocolate melts into little pockets that keep each bite interesting. They slice cleanly once cooled, which makes them just as good for lunchboxes as they are for a dessert tray.
The trick here is starting with melted butter and whisking it with the sugars until glossy before adding the egg and pumpkin. That keeps the batter easy to mix by hand and helps the bars bake up soft instead of dense. A light hand matters once the flour goes in; overmixing is what turns a tender bar into something tougher and more bready than it should be. The extra chips on top are worth it, too, since they give you that bakery-style finish without any extra work.
Below, you’ll find the one texture cue that matters most in the oven, plus a few smart swaps if you want to adjust the chocolate, spice, or make these fit a different pantry.
The bars came out incredibly soft and the chocolate chips stayed melty even after cooling. I loved that the center set up without drying out, and the parchment overhang made lifting the whole slab out a breeze.
Save these soft pumpkin chocolate chip bars for the days when you want a one-bowl dessert that bakes up cakey, spiced, and packed with melty chocolate.
The Pan Bakes Better Than the Batter Looks
This batter is thicker than a cake batter and that can make people second-guess it. Don’t. Pumpkin adds moisture without the structure you get from a full egg-heavy cake, so the mix should spread with a little encouragement rather than pour like brownie batter. If it looks smooth and scoopable, you’re on track.
The other mistake is pulling them the moment the center looks set. These bars finish as they cool, and the toothpick should come out with a few moist crumbs, not a clean skewer. If you bake until the center looks completely dry, the bars will lose that soft, cakey middle that makes them worth making.
- The edges should turn golden first. That’s your cue that the middle is close.
- A few moist crumbs on the tester mean the bars will stay tender after cooling.
- If the top starts cracking heavily before the center is done, the oven is running a little hot.
- Cooling in the pan helps the structure set so you can lift and slice clean squares.
What Each Ingredient Is Actually Doing in This Pan
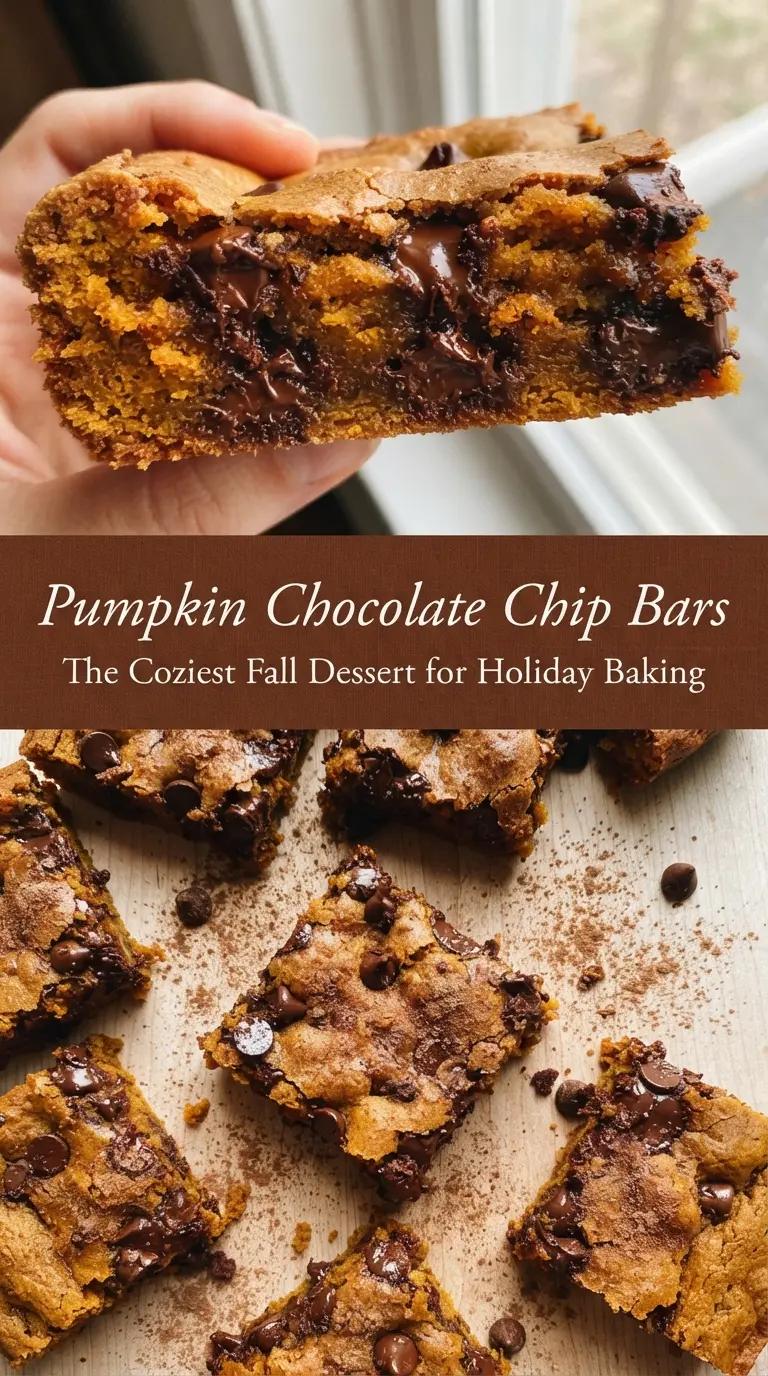
- Unsalted butter — Melted butter gives these bars a soft, dense-tender crumb and keeps the batter mixable by hand. Slightly cooling it before you whisk in the sugars helps keep the egg from scrambling.
- Pumpkin puree — Use pure pumpkin puree, not pie filling. Pie filling is already sweetened and spiced, which throws off both texture and flavor balance here.
- Brown sugar plus granulated sugar — Brown sugar adds moisture and a little caramel depth, while granulated sugar helps the bars bake with a lighter texture. Swapping in all brown sugar makes them a bit heavier and stickier.
- Pumpkin pie spice and cinnamon — This combination gives the bars their warm spice without overpowering the pumpkin. If your pumpkin pie spice blend is fresh, the bars taste much more fragrant.
- Semi-sweet chocolate chips — Semi-sweet chips balance the sweetness of the batter and hold their shape in the oven. You can use milk chocolate, but the bars will taste sweeter and a little less balanced.
Building the Batter Without Turning It Tough
Whisk the Base Until It Looks Glossy
Start with the melted butter and both sugars, whisking until the mixture looks shiny and a little thickened. That step helps dissolve some of the sugar so the bars bake with a finer crumb instead of a grainy one. Once the egg, pumpkin, and vanilla go in, the batter will look looser and slightly creamy, which is exactly what you want.
Fold, Don’t Beat, Once the Flour Goes In
As soon as the dry ingredients hit the bowl, switch to a spatula and fold just until the flour disappears. If you keep stirring after the streaks are gone, the bars can turn bready and tight. The batter will be thick, so scrape the bottom of the bowl; flour likes to hide there.
Watch the Center, Not the Clock Alone
Spread the batter evenly in the pan and bake until the edges are golden and the center gives back a little when touched. A toothpick should come out with a few moist crumbs, not wet batter. If your oven runs hot, check a few minutes early because pumpkin bars go from tender to dry faster than you’d expect.
Cool Before You Slice
These need at least an hour in the pan so the crumb can set. If you cut them too soon, they’ll squish and smear instead of slicing into neat squares. The chocolate chips on top also stay prettier once the bars have had time to settle.
Three Ways to Adjust These Bars Without Losing the Good Part
Dairy-Free Bars That Still Stay Soft
Swap the butter for a neutral dairy-free baking stick and use dairy-free chocolate chips. The texture stays close to the original because the recipe relies more on fat and moisture balance than on dairy flavor. Just avoid coconut oil in the batter itself, since it can make the bars feel a little waxy once cooled.
A Bigger Chocolate Hit
If you want these closer to a dessert bar than a snack cake, replace half the chips with chopped chocolate. Chopped chocolate melts into streaks and pools, which gives you richer pockets than chips alone. Keep the extra chips on top for the same finished look.
Gluten-Free Version
Use a 1:1 gluten-free flour blend that contains xanthan gum. The bars will still be soft and sliceable, though they may be a touch more delicate when warm. Let them cool completely before lifting them from the pan so the crumb has time to set.
Skip the Drizzle for a Less-Sweet Finish
The drizzle is optional, and leaving it off gives you a cleaner pumpkin-spice bar that works especially well for breakfast-style snacking or lunchboxes. If you do add it, let the bars cool fully first or the chocolate will slide right off instead of setting in place.
Storage and Reheating
- Refrigerator: Store in an airtight container for 4 to 5 days. They stay soft, though the chocolate chips will firm up a bit when cold.
- Freezer: These freeze well. Wrap individual bars and freeze for up to 2 months, then thaw at room temperature.
- Reheating: Warm a bar in the microwave for 10 to 15 seconds if you want the chips soft again. Don’t overheat it or the crumb turns dry fast.
Answers to the Questions Worth Asking
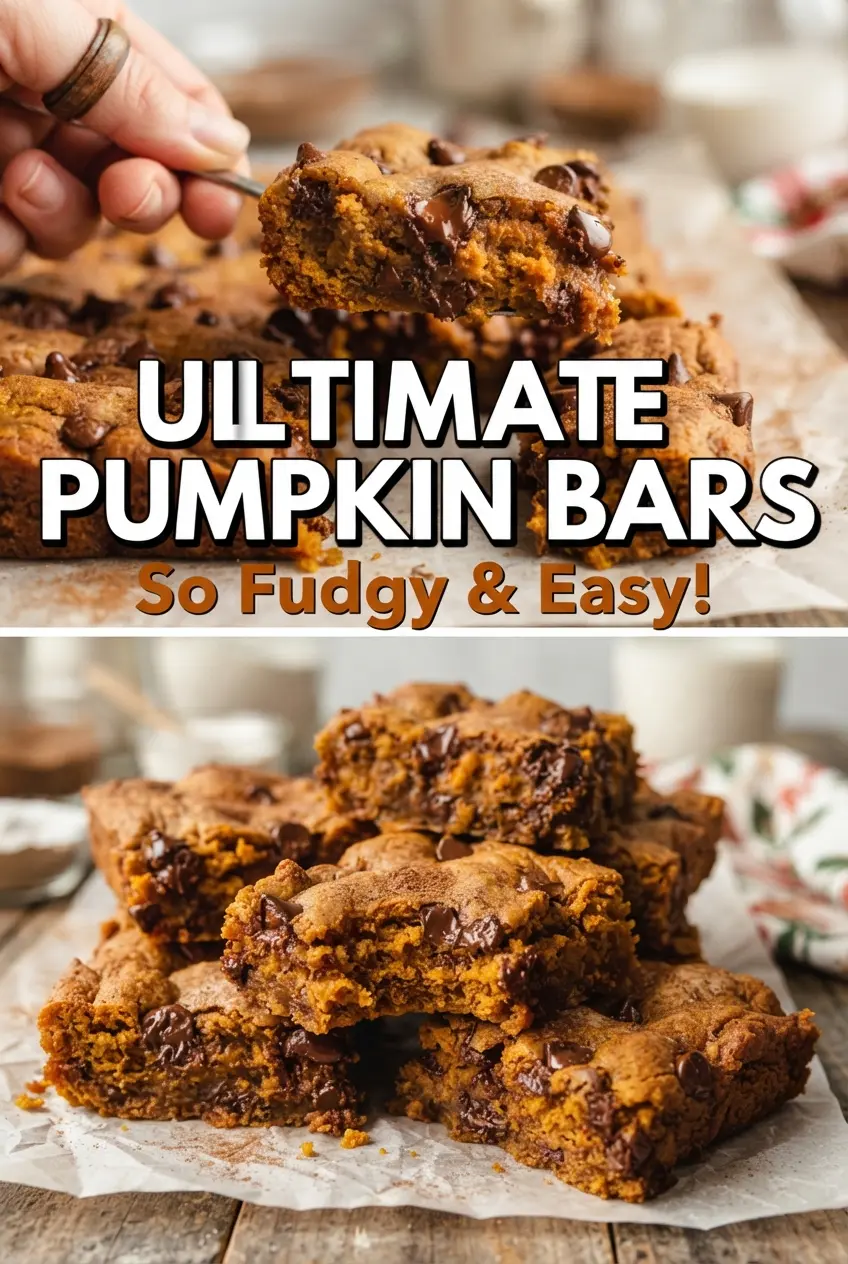
Soft One-Bowl Pumpkin Chocolate Chip Bars
Ingredients
Equipment
Method
- Heat the oven to 350°F and line a 9x13-inch pan with parchment, leaving an overhang on the long sides. This helps you lift the bars out cleanly after baking.
- Whisk together the flour, baking soda, salt, pumpkin pie spice, and ground cinnamon in a small bowl. Set aside so it’s ready to fold into the wet batter.
- Whisk the melted unsalted butter with the light brown sugar and granulated sugar until glossy, about 1 minute. Look for a shiny, slightly thickened mixture before adding the next ingredients.
- Whisk in the large egg, pure pumpkin puree, and vanilla extract until smooth. Keep mixing just until no streaks remain.
- Fold the dry ingredients into the wet with a spatula until just combined, with no dry streaks. Stop as soon as the batter looks uniform so the bars stay soft.
- Fold in the chocolate chips until evenly distributed. The batter should look speckled with chips throughout.
- Spread the batter evenly in the pan and scatter the remaining chocolate chips over the top. Aim for even coverage so every square has melty spots.
- Bake at 350°F for 25–30 minutes, until the edges are golden and a toothpick in the center comes out with a few moist crumbs. The center should look set but not dry.
- Cool in the pan for at least 1 hour, then lift the slab out by the parchment. Letting it cool fully keeps the squares from breaking.
- Microwave the semi-sweet chocolate chips and coconut oil in 20-second bursts, stirring between each, until smooth. The drizzle should be glossy enough to ribbon over the bars.
- Drizzle over the bars, let it set, and cut into 24 squares. Wait until the coating firms up before slicing.
