
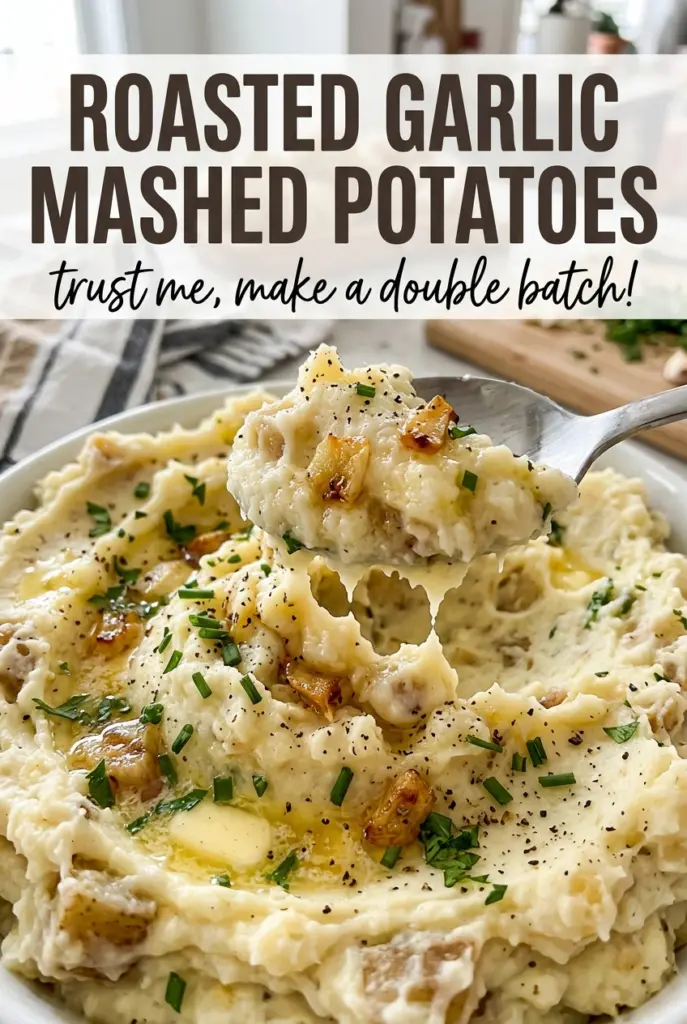
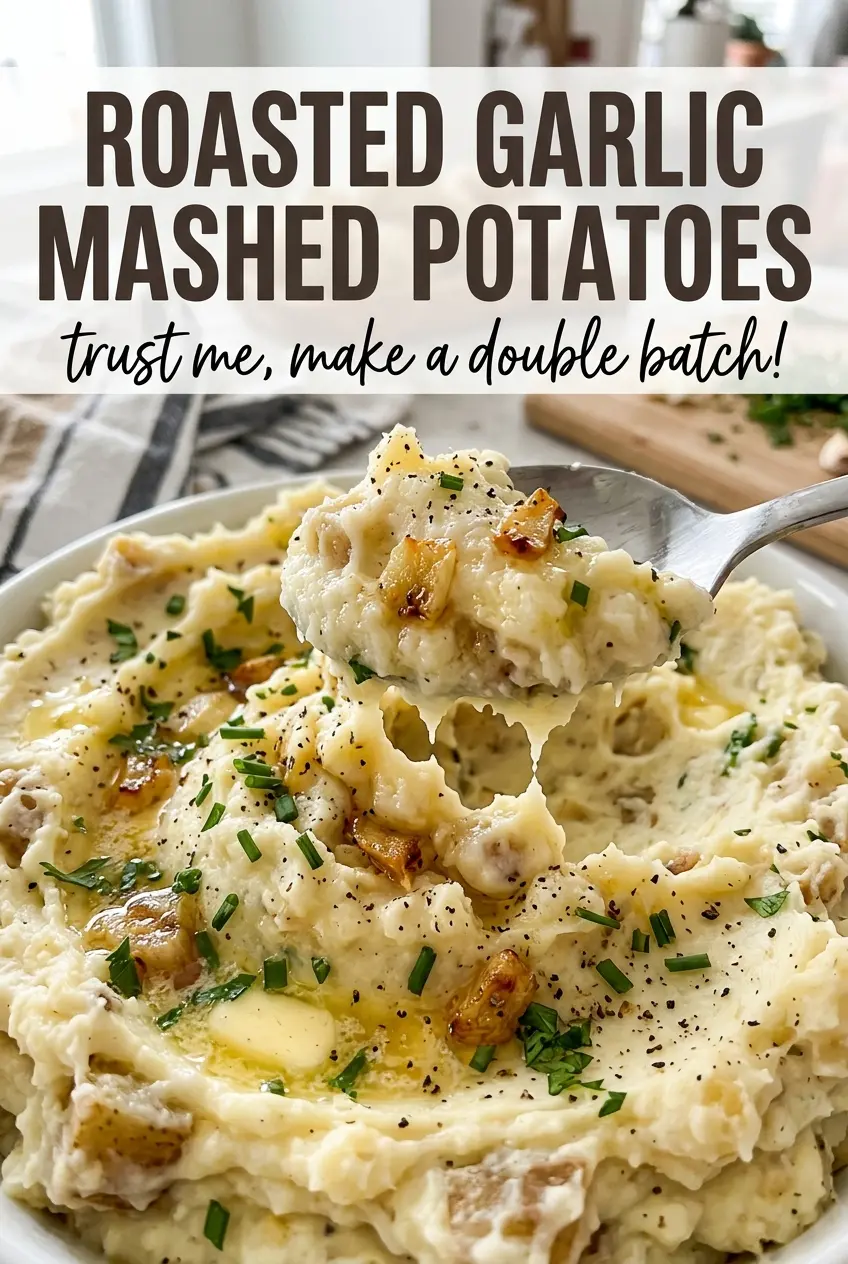
Roasted Garlic Mashed Potatoes
The potatoes are tender, the butter is melting, and then one cold splash of milk makes the whole pot feel stiff. I warm the milk while the potatoes cook, so…
Tip: save now, cook later.The potatoes are tender, the butter is melting, and then one cold splash of milk makes the whole pot feel stiff. I warm the milk while the potatoes cook, so it blends in smoothly instead of cooling everything down. That small timing choice makes these roasted garlic mashed potatoes creamy without masking the mellow sweetness of the garlic.
Yukon Golds are a good fit here because they mash into a naturally buttery texture, while roasted garlic turns soft enough to fold through the potatoes without a sharp raw bite. I cut the potatoes into even chunks so they cook at about the same pace, then add the warm milk gradually. The finished mash should be creamy with a little body, not loose or gluey, and each spoonful carries gentle roasted garlic.
Kitchen Note
Don’t judge the garlic by the clock alone. It should be very soft and lightly golden before it comes out of the oven; if the cloves still feel firm, give them more time within the roasting window.
Save these roasted garlic mashed potatoes for a holiday table or a cozy dinner side—creamy Yukon Golds with mellow, oven-roasted garlic.
Why Yukon Golds Make This Mash Creamy Without Turning Heavy
Potatoes don’t all behave the same way once they’re mashed. Yukon Golds have a naturally creamy, buttery texture, which makes them especially suited to a mash that gets richness from butter and whole milk. They give you a soft, cohesive result without needing to push the potatoes until they turn pasty.
Chunk size matters just as much as variety. Pieces cut to a similar 1 1/2-inch size soften evenly in the simmering water. If some pieces are much smaller, they’ll be tender before the larger ones and can break down while you wait. Drain the potatoes well, too: water clinging to the pieces thins the dairy and dulls the potato flavor. Once drained, return them to the warm pot, where the butter can melt into the potatoes as you mash.
This isn’t a fluffy, dry mash that depends on a pile of add-ins. The potatoes themselves carry the texture, and the milk goes in gradually so you can stop when the mash looks creamy. That balance lets the roasted garlic come through without making every bite taste sharp or overly rich.
What the Yukon Golds, Roasted Garlic, and Warm Milk Each Bring

- Yukon Gold potatoes — Their creamy texture is what gives this mash its body. Choose firm potatoes without soft spots; the standard bag is fine, since the texture matters more here than buying a specialty variety. Peeling and cutting them evenly helps each chunk cook through together.
- Roasted garlic — A whole head becomes mellow and soft in the oven, unlike raw garlic, which would taste much sharper in a simple mash. A fresh, firm head is best; there isn’t a direct swap that gives the same rounded roasted flavor. Slice off the top so the cloves are exposed and the olive oil can reach them.
- Unsalted butter — Butter adds richness and helps carry the garlic through the potatoes. Unsalted butter also lets you control the salt in the finished mash. Cut it into pieces before adding it, so it melts readily as you mash.
- Whole milk — Whole milk brings creaminess without overwhelming the potato flavor. Warming it before stirring it in helps it incorporate easily; cold milk can make the hot potatoes feel stiff. Whole milk is the best match for the texture here, rather than a thinner milk.
- Olive oil and black pepper — The olive oil coats the exposed garlic during roasting, while freshly ground black pepper adds a gentle savory bite. Use a mild everyday olive oil; there is no need for a costly finishing oil because it roasts with the garlic.
Roast the Garlic First, Then Build the Mash While It’s Hot
Roast Until the Cloves Turn Soft and Golden
Heat the oven to 400°F. Slice the top off the garlic head to expose the cloves, drizzle them with olive oil, and wrap the head in foil. Set it on a small baking sheet and roast for 40 to 50 minutes. The cloves should be very soft and lightly golden; a head that comes out pale and firm needs more oven time.
Simmer the Potato Chunks Until a Knife Slides In Easily
Put the peeled, cut potatoes in a 6-quart pot with the water and 1 1/2 teaspoons of the kosher salt. Bring the pot to a boil over high heat, then lower the heat and simmer for 15 to 20 minutes. Check a chunk with a knife rather than relying only on the timer. When the blade slides in easily, the potatoes are ready to drain.
Warm the Milk While the Potatoes Cook
Set the milk in a small saucepan over low heat for 3 to 4 minutes. Watch for steam rising from the surface; it should be steaming but not boiling. Boiling isn’t needed, and it can make the milk harder to handle as you pour it into the potatoes. Keeping it warm means it can blend in without cooling the mash.
Mash the Garlic and Butter Before Adding Milk
Drain the potatoes well and return them to the pot. Let the roasted garlic cool until it’s easy to handle, then squeeze the cloves from their skins into the potatoes. Add the butter and mash until mostly smooth. Stir in the warm milk gradually with the remaining salt and black pepper, stopping when the potatoes look creamy.
Three Small Changes That Shift the Texture or Fit the Table
Leave a Little More Texture
For a more rustic bowl, stop mashing when the potatoes are mostly smooth but still have a few small pieces. The garlic will be distributed through the mash, while the potato itself keeps a bit more texture. This uses the same ingredients and gives up some silkiness for a more substantial spoonful.
Make the Mash Smoother
For a smoother finish, mash the potatoes and roasted garlic thoroughly before you start stirring in the milk. Add the milk in stages so you can judge the texture as it changes. The result is more uniform and creamy, with less potato texture left in each bite.
Keep the Side Naturally Gluten-Free
The ingredients in this potato mash don’t include wheat or a flour-based thickener, so there’s no need to change the potatoes or add a substitute to serve it as a gluten-free side. The texture comes from the Yukon Golds, butter, and milk rather than a thickening ingredient.
Storage and Reheating
- Refrigerator: Store leftovers in a covered container and use within 3 to 4 days. The potatoes will firm up as they chill.
- Freezer: Mashed potatoes can be frozen in an airtight freezer-safe container for up to 1 month. Thaw them in the refrigerator before reheating; the texture may be a little less smooth after freezing.
- Reheating: Warm them gently in a saucepan over low heat, stirring often until hot throughout. High heat can make the bottom catch before the center warms, so avoid rushing them over a strong flame.
Questions That Come Up While Making Roasted Garlic Mashed Potatoes
Roasted Garlic Mashed Potatoes
Ingredients
Equipment
Method
- Preheat the oven to 400°F.
- Slice the top off the large garlic head to expose the cloves.
- Drizzle the garlic with olive oil and wrap it in foil.
- Roast the garlic on a small baking sheet for 40 to 50 minutes, until the cloves are very soft and lightly golden.
- Put the potatoes in a 6-quart pot with the water and 1 1/2 teaspoons of the salt.
- Bring to a boil over high heat, then reduce the heat and simmer for 15 to 20 minutes, until a knife slides easily into the chunks.
- While the potatoes cook, warm the milk in a small saucepan over low heat for 3 to 4 minutes, until steaming but not boiling.
- Drain the potatoes well and return them to the pot.
- Let the garlic cool until easy to handle, then squeeze the cloves from their skins into the potatoes.
- Add the butter and mash until mostly smooth.
- Gradually stir in the warm milk, remaining 1/2 teaspoon salt, and black pepper until the potatoes are creamy.
- Serve hot.
