Red White and Blue Cookies
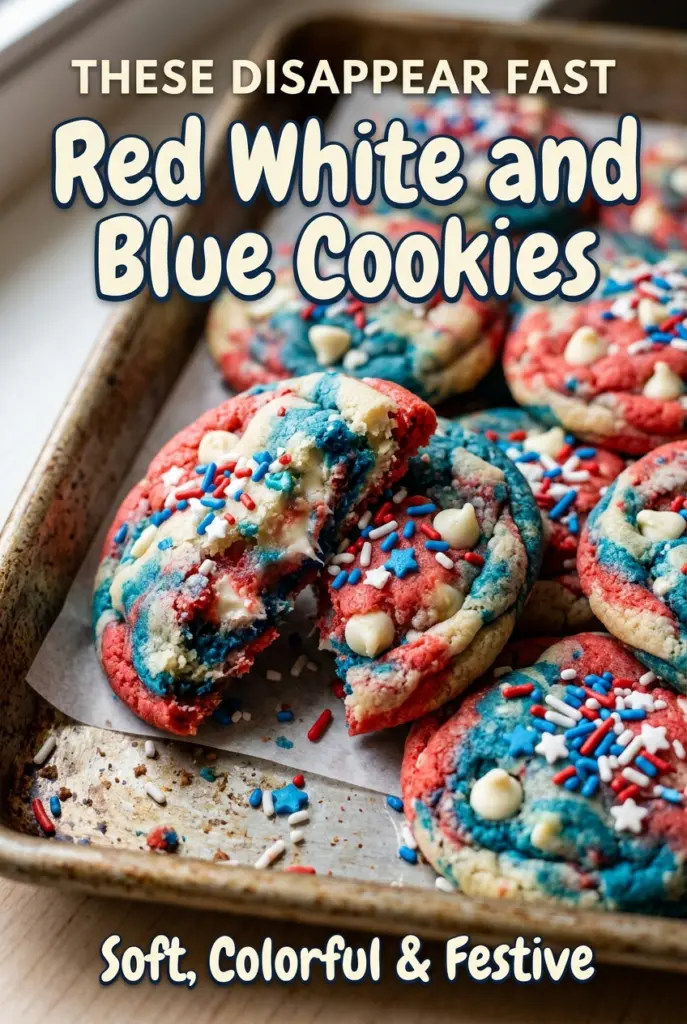
Red White and Blue Cookies bake up soft in the middle with just enough edge to hold their shape, and the swirls of patriotic color make them look festive without…
Tip: save now, cook later.Red White and Blue Cookies bake up soft in the middle with just enough edge to hold their shape, and the swirls of patriotic color make them look festive without turning the dough dry or crumbly. The white chocolate chips melt into little sweet pockets, while the sprinkles give each cookie a playful bite and keep every tray looking a little different from the last.
What makes these work is the balance between a sturdy sugar-cookie base and a gentle hand when the colors go in. If you overmix after tinting the dough, the swirls disappear and the cookies lose that fun marbled look. Gel food coloring does the job without thinning the dough, which matters here because extra liquid can spread the cookies too much and dull the color.
Below, I’ve included the easiest way to keep the colors distinct, plus the small detail that keeps the cookies soft instead of dry at the center. If you’ve ever had holiday cookies bake into one bland shade of beige, this batch fixes that problem fast.
I loved how the dough stayed soft and the colors baked into pretty swirls instead of blending into one shade. The white chocolate chips kept them extra tender, and they were still chewy the next day.
Save these soft, swirled Red White and Blue Cookies for the next patriotic dessert table.
The Trick to Keeping the Colors Distinct Instead of Muddy
The biggest mistake with layered or swirled holiday cookies is mixing the dough too much after the color goes in. Once the red and blue portions start to blend, you lose the contrast that makes these cookies fun in the first place, and the dough can pick up a dense, overworked texture. The goal is a few visible streaks, not a fully uniform dough.
Another thing that matters here is the type of coloring. Gel food coloring gives you strong color with only a tiny amount, which keeps the dough thick enough to scoop and prevents extra spread in the oven. Liquid coloring can work in a pinch, but you’ll need more of it, and that can soften the dough enough to flatten the cookies before they set.
- Butter — Use softened butter, not melted butter. Softened butter traps air when creamed with sugar, which is what helps the cookies bake up tender instead of greasy.
- All-purpose flour — This gives the cookies enough structure to hold the swirls and the mix-ins. Spoon it into the measuring cup and level it off so the dough doesn’t get dry and heavy.
- Gel food coloring — This is the ingredient that gives you bold red and blue without thinning the dough. A small amount goes a long way, and that’s exactly what you want here.
- White chocolate chips — They add little creamy pockets that soften the cookie’s sweetness. If you use chunks instead, expect bigger melty spots and a slightly richer bite.
- Sprinkles — Stir them in at the very end so they stay bright and don’t bleed into the dough. Jimmies hold their color better than nonpareils, which can dissolve and streak.
How to Build the Dough So the Swirls Stay Pretty
Creaming the Butter and Sugar
Beat the butter and sugar until the mixture turns pale and fluffy, not just combined. That extra minute or two adds air, which gives the cookies lift and keeps the centers soft. If the butter is too cold, the mixture stays clumpy; if it’s melted, the cookies spread before they set.
Adding the Dry Ingredients
Mix the flour, baking soda, baking powder, and salt in a separate bowl before adding them to the wet ingredients. This keeps the leavening even, so you don’t get one batch of cookies that puffs oddly or tastes salty in spots. Stop mixing as soon as the flour disappears, because going past that point starts building toughness.
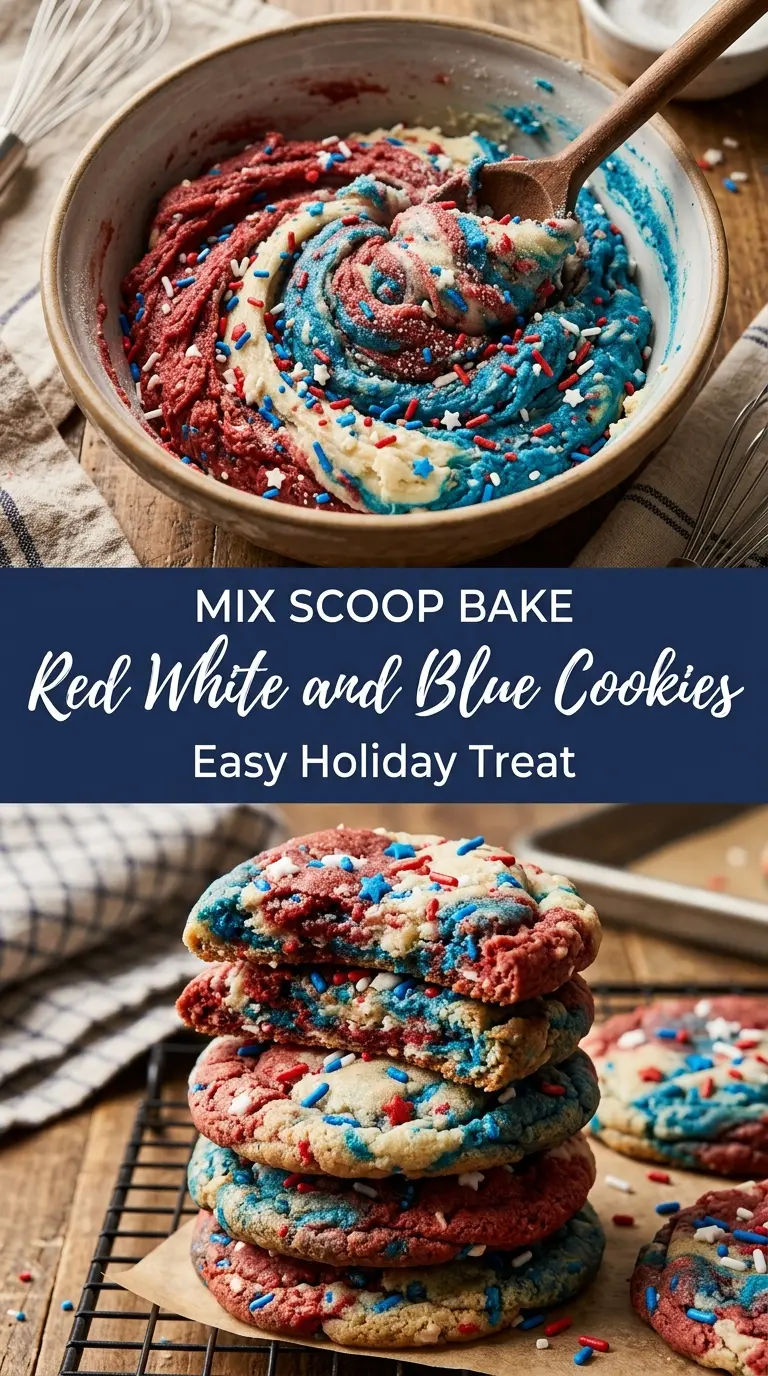
Coloring and Marbling
Divide the dough into three portions, leave one plain, tint one red, and tint one blue. Use a light hand and stop as soon as the color is even in each portion. Then bring the doughs back together in a few folds; the streaks should still be visible when you scoop it. If you knead it like bread dough, the final cookies will bake into a flat, blended color instead of distinct ribbons.
Baking Until Just Set
Scoop the dough onto parchment-lined baking sheets and bake until the edges are set and the centers still look a little soft. They finish firming on the hot pan after you pull them out, so don’t wait for the tops to look completely dry. Overbaking is the fastest way to lose the soft middle that makes these worth repeating.
Three Ways to Make These Cookies Fit the Moment
Skip the White Chocolate for a Cleaner Sugar Cookie Bite
Leave out the white chocolate chips if you want the cookie base to taste more like a classic bakery sugar cookie. You’ll lose a little richness and creaminess, but the color swirls will stand out even more and the texture will stay a touch lighter.
Make Them Gluten-Free
Use a cup-for-cup gluten-free flour blend that includes xanthan gum. The dough may feel a little softer, so chill it for 20 to 30 minutes before baking if it seems sticky. The cookies will still spread a bit, but the flavor and festive look hold up well.
Swap in Different Holiday Colors
The same dough works with any two or three gel colors, which makes it easy to match school events, team colors, or Christmas trays. Keep the dough portions separate as you tint them, and you’ll get the same marbled effect without changing the texture.
Storage and Reheating
- Refrigerator: Store in an airtight container for up to 5 days. The cookies stay soft, though the sprinkles may lose a little of their shine.
- Freezer: Freeze baked cookies for up to 2 months, or freeze scooped dough balls and bake from frozen with 1 to 2 extra minutes.
- Reheating: Warm baked cookies for 8 to 10 seconds in the microwave if you want the white chocolate soft again. Don’t overheat them or they’ll turn dry fast.
Answers to the Questions Worth Asking

Red White and Blue Cookies
Ingredients
Equipment
Method
- Preheat the oven to 350°F (175°C) and line baking sheets with parchment paper.
- Whisk together the all-purpose flour, baking soda, baking powder, and salt until evenly combined.
- In a separate bowl, cream the unsalted butter and granulated sugar until fluffy.
- Beat in the large egg and vanilla extract until smooth.
- Gradually add the dry ingredients to the wet ingredients, mixing just until no dry streaks remain.
- Fold in the white chocolate chips.
- Divide the dough into three portions.
- Leave one portion plain.
- Color one portion red with Red gel food coloring.
- Color one portion blue with Blue gel food coloring.
- Gently combine the three doughs without fully mixing so streaks remain.
- Fold in the red, white, and blue sprinkles.
- Scoop the dough onto the prepared baking sheets, spacing them evenly.
- Bake at 350°F (175°C) for 10–12 minutes, until the edges are set and the centers look slightly soft.
- Cool completely on the baking sheets.
- Drizzle with melted white chocolate if desired using White chocolate drizzle.
- Decorate with additional sprinkles using Extra patriotic sprinkles.
