

Pumpkin Whoopie Pies
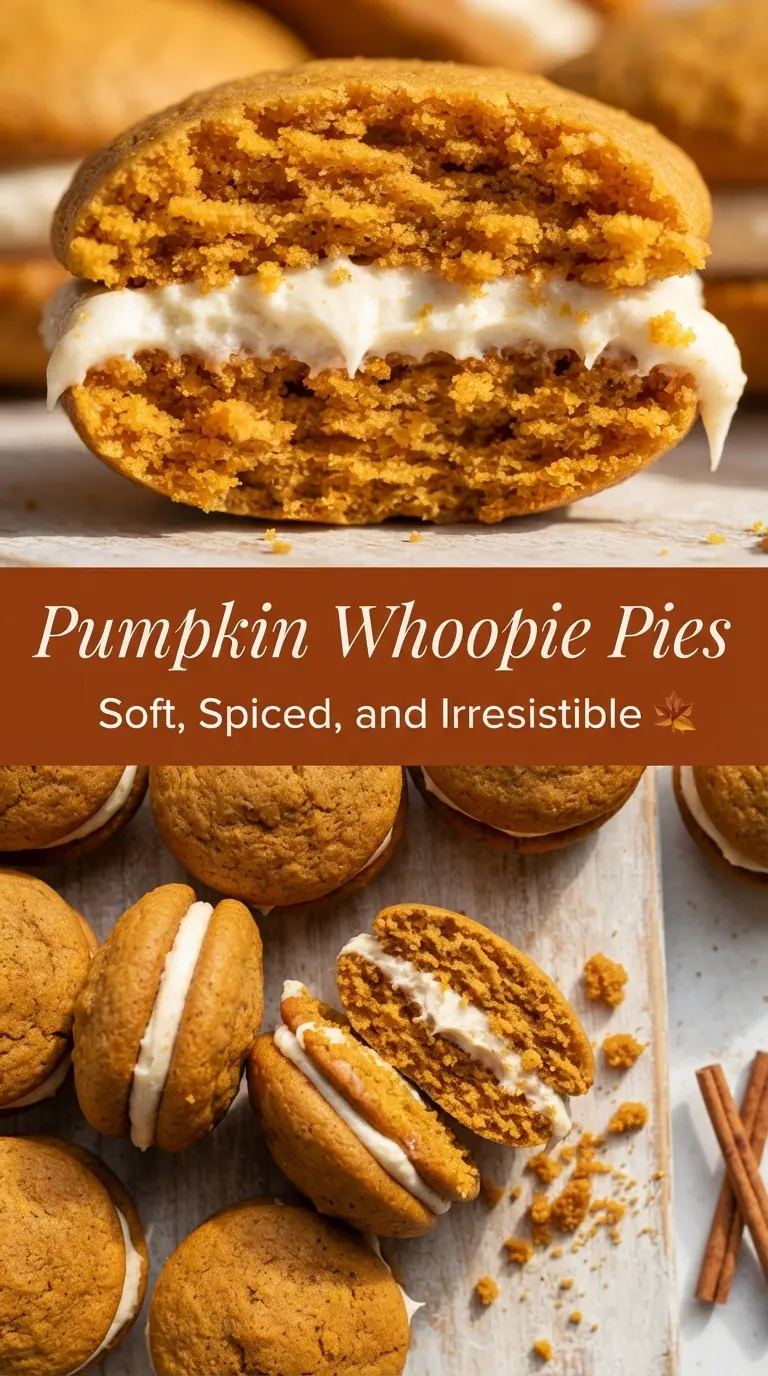
Pumpkin whoopie pies hit the sweet spot between a soft cookie and a frosted cake. The cakes stay tender and plush, with a little spring at the edges, and the…
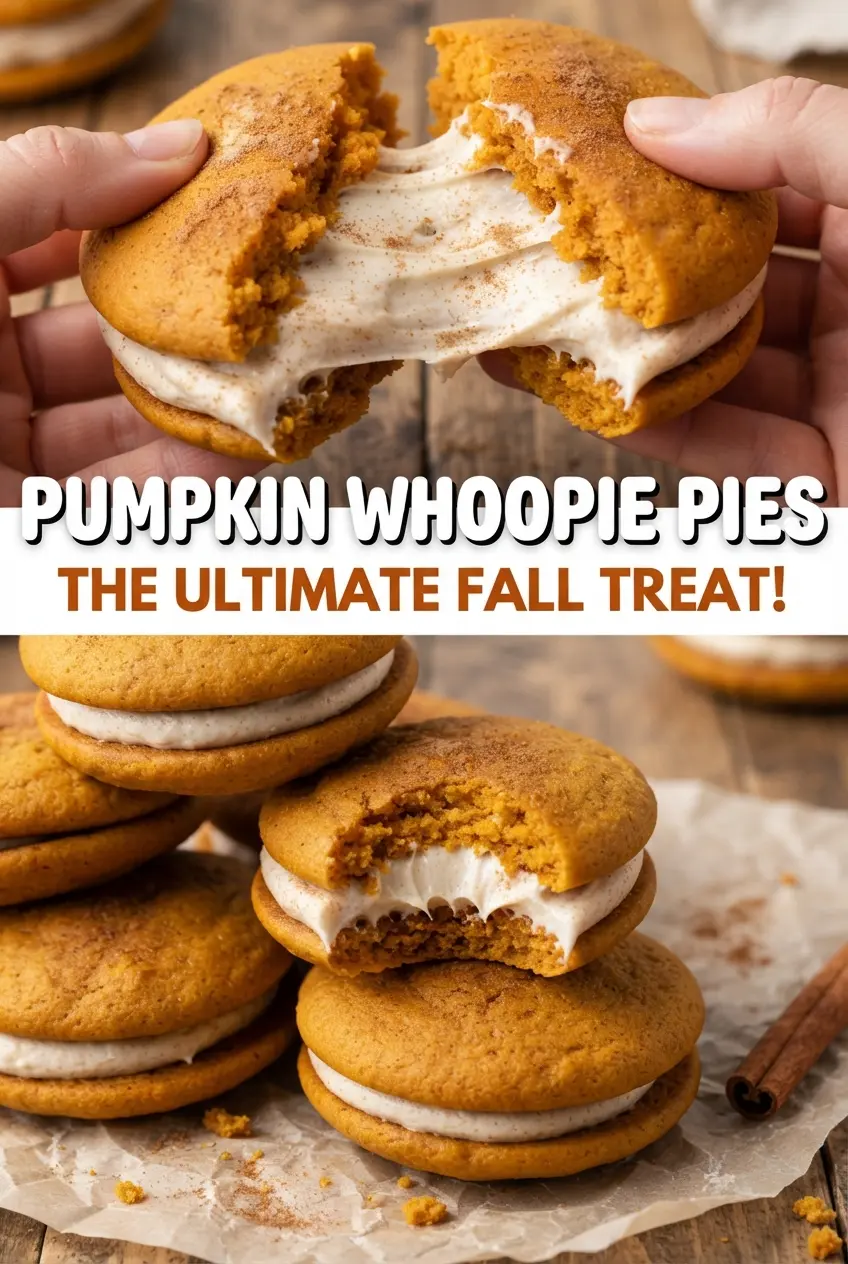
Tip: save now, cook later.Pumpkin whoopie pies hit the sweet spot between a soft cookie and a frosted cake. The cakes stay tender and plush, with a little spring at the edges, and the cream cheese filling gives each bite that cool, tangy contrast that keeps you reaching for a second one. They’re the kind of dessert that disappears fast because they eat like something special without being fussy to assemble.
The trick is keeping the batter thick enough to scoop cleanly, but not overmixing once the flour goes in. Pumpkin puree brings moisture, so the spice mix has to be bold enough to come through after baking. Brown sugar and oil keep the cakes soft for days, which matters here because whoopie pies taste even better after they’ve had a little time for the filling to settle into the crumb.
Below, you’ll find the timing that keeps these from turning dry, plus the exact texture to look for in the filling so it stays fluffy instead of runny. I’ve also included a few swaps and storage notes, because these are the kind of treats people like to bake ahead.
The cakes baked up so soft and didn’t spread all over the pan, and the cream cheese filling was thick enough to pipe without sliding out the sides. I chilled them like you said and they held together perfectly for my son’s school bake sale.
Pumpkin whoopie pies with fluffy cream cheese filling are the kind of fall bake that vanishes fast — save this one for your next cookie tray or bake sale.
The Difference Between Soft Cakes and Flat, Greasy Whoopie Pies
The biggest failure point with whoopie pies is batter that’s too loose. Pumpkin puree adds a lot of moisture, and if you overmix after adding the flour, the cakes can bake up dense instead of tender. You want the batter just combined and still thick enough to mound on the sheet; that thickness is what helps them rise in a rounded shape instead of spreading into thin, chewy rounds.
Another place people run into trouble is oven timing. These should spring back when lightly touched, but they should not look dry or browned all over. Pull them the moment the tops set. They keep cooking from residual heat, and overbaking is what turns a soft pumpkin cake into something crumbly and dull.
What Each Ingredient Is Actually Doing in This Dish
- All-purpose flour — Gives the cakes enough structure to hold a generous filling without collapsing. Weighing it is best if you can, because packing too much flour makes the cakes dry and bready.
- Brown sugar — This does more than sweeten. It brings moisture and a little caramel note that works naturally with pumpkin and spices, and it helps the cakes stay soft after chilling.
- Vegetable oil — Oil keeps the crumb tender in a way butter doesn’t here. Butter would set firmer once cool, while oil keeps the pies plush and cake-like even straight from the fridge.
- Pumpkin puree — Use plain pumpkin puree, not pumpkin pie filling. Pie filling already contains sugar and spices, which throws off both the flavor and the texture.
- Cream cheese and butter — The filling needs both. Cream cheese gives the tang, butter gives body, and the combination beats up into a pipeable filling that holds its shape between the cakes.
- Powdered sugar — This thickens the filling without graininess. If the filling looks loose, add a little more powdered sugar; if it gets too stiff, beat in a teaspoon of milk at a time.
Mix, Scoop, Bake, and Chill: The Part That Makes Them Work
Building the Dry Base
Whisk the flour, leaveners, salt, and spices together first so the cinnamon, ginger, and nutmeg distribute evenly. That step matters more than it seems, because uneven spices can leave one bite flat and the next one sharp. A quick whisk also breaks up any baking soda or baking powder clumps that would otherwise create little bitter pockets in the cakes.
Making the Pumpkin Batter
Stir the brown sugar, oil, pumpkin, eggs, and vanilla until the mixture looks smooth and glossy. When the flour goes in, mix only until no dry streaks remain. If you keep stirring past that point, the batter tightens and the baked cakes lose that soft, cakey texture that makes whoopie pies worth making.
Baking for a Soft Center
Scoop the batter into even mounds so every cake finishes at the same time. They should puff slightly and spring back when touched, but the tops should still look tender, not cracked and dry. Let them cool completely before filling them; if they’re warm, the cream cheese filling softens and slides.
Whipping the Filling and Assembling
Beat the cream cheese and butter until smooth before adding the powdered sugar. If you dump the sugar in too soon, the filling can turn lumpy and heavy. Once it’s fluffy, pipe or spread it on the flat side of one cake and sandwich it with another, then chill the finished pies for about 30 minutes so the filling sets and the cakes firm up enough to handle cleanly.
Three Ways to Make Pumpkin Whoopie Pies Fit What You Need
Gluten-Free Version
Use a good 1:1 gluten-free baking blend in place of the all-purpose flour. The cakes will still be soft and cakey, though they may be a touch more delicate when you move them from the pan, so let them cool fully before lifting. That extra cooling time helps them set enough to sandwich without breaking.
Dairy-Free Filling
Swap in dairy-free cream cheese and a stick-style plant butter. The filling won’t have quite the same tang as the original, but it will still whip into a smooth, pipeable layer. Chill it for a few minutes before assembling if your kitchen is warm, since some dairy-free alternatives soften faster.
Make Them Smaller for a Party Tray
Use 1-tablespoon scoops instead of 2-tablespoon mounds and shorten the baking time a little. The flavor stays the same, but the smaller size gives you more pieces for a dessert tray or bake sale table, and they’re easier for people to grab and eat in one or two bites.
Storage and Reheating
- Refrigerator: Store in an airtight container for up to 4 days. The cakes stay soft, and the filling firms up a little, which helps them hold together.
- Freezer: Freeze assembled whoopie pies on a lined tray, then wrap individually once firm. They thaw well in the fridge, though the filling may lose a little of its whipped texture after freezing.
- Reheating: These are best served cold or at cool room temperature rather than reheated. If they’ve been chilled hard, let them sit out for 15 to 20 minutes so the filling softens slightly and the cakes taste tender again.
Answers to the Questions Worth Asking
Pumpkin Whoopie Pies
Ingredients
Equipment
Method
- Preheat the oven to 350 F (175 C) and line sheet pans with parchment paper. Visual cue: parchment should lie flat with no wrinkles for even baking.
- Whisk the all-purpose flour, baking soda, baking powder, salt, ground cinnamon, ground ginger, and ground nutmeg until evenly combined. Visual cue: the spices should be uniformly dispersed through the flour.
- In a large bowl, whisk the packed light brown sugar, vegetable oil, pumpkin puree, large eggs, and vanilla extract until smooth. Visual cue: the mixture should look glossy and free of streaks.
- Stir the dry ingredients into the pumpkin mixture until just combined. Visual cue: stop as soon as no dry flour remains to keep the batter tender.
- Scoop 2-tablespoon mounds of batter onto the sheet pans, spacing them 2 inches apart. Visual cue: each mound should hold its shape and not spread into a thin layer.
- Bake for 10 to 12 minutes, until the tops spring back when touched. Visual cue: a light press should rebound rather than leave an indentation.
- Cool completely on a wire rack. Visual cue: cakes should feel set and no longer warm at the centers.
- Beat the cream cheese softened and unsalted butter softened until creamy. Visual cue: mixture should look smooth with no lumps.
- Beat in the powdered sugar and vanilla extract for filling until fluffy. Visual cue: filling should lighten slightly and hold soft peaks.
- Pipe or spread the filling onto the flat side of half the cakes and top with the remaining cakes. Visual cue: sandwich edges should align and filling should reach near the perimeter.
- Chill for 30 minutes to set. Visual cue: filling should firm up so the pies stack cleanly.
