
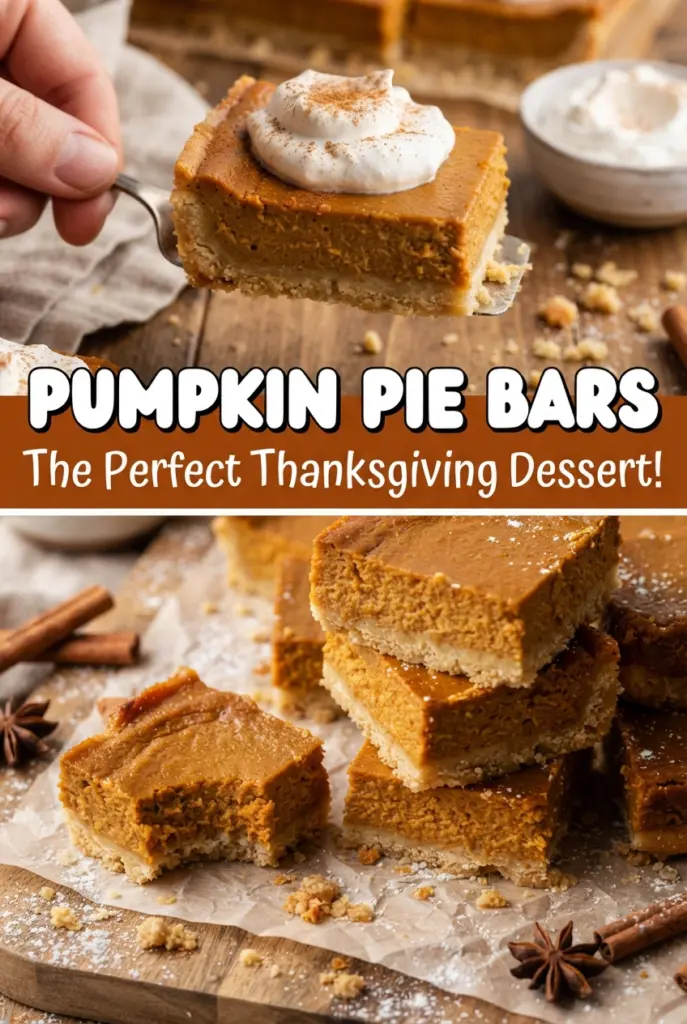
Pumpkin Pie Bars
Silky pumpkin filling, a buttery graham cracker base, and clean little squares that slice without the drama of a full pie — that’s what makes pumpkin pie bars worth baking.…
Tip: save now, cook later.Silky pumpkin filling, a buttery graham cracker base, and clean little squares that slice without the drama of a full pie — that’s what makes pumpkin pie bars worth baking. You get all the warm spice and creamy texture people expect from pumpkin pie, but the pan does the heavy lifting, so there’s no crust to roll, crimp, or patch if it tears.
The crust matters here because it needs to stay crisp under a custard-style filling. Baking it first gives the butter time to set the crumbs before the pumpkin mixture goes on top, which keeps the bottom from turning soggy. Sweetened condensed milk does the same kind of quiet work in the filling: it adds sweetness and body at the same time, so the bars set up with a smooth, sliceable texture instead of baking up dry or grainy.
Below you’ll find the exact bake cues that keep the center creamy, plus the one chilling step that makes these bars cut cleanly into neat squares. If you’ve ever had pumpkin bars slump when you tried to serve them, this version fixes that.
The filling set up perfectly and the bars sliced clean after chilling overnight. The graham crust stayed crisp, and the pumpkin spice flavor was exactly right — not too sweet, not too heavy.
Save these pumpkin pie bars for the dessert table when you want classic pumpkin pie flavor in neat, make-ahead squares.
The Trick to a Bar That Slices Clean Instead of Smearing
Pumpkin bars fail for two predictable reasons: the crust never gets firm enough, or the filling is pulled from the oven before it has enough structure to hold its shape. The graham crust needs that short pre-bake so the butter can lock the crumbs together. Skip it and the base turns sandy the second you cut into it.
The filling should come out when the edges are set and the center still has a slight wobble. That wobble matters. If the middle is already firm in the oven, it usually means the eggs have gone too far and the bars will bake up dry instead of creamy. The chill time finishes the job, so don’t rush the cooling step just because the top looks done.
One more thing: line the pan with parchment and leave a little overhang. That’s what lets you lift the whole slab out in one piece, which is the difference between clean squares and a messy first slice.
What Each Ingredient Is Doing in These Pumpkin Pie Bars
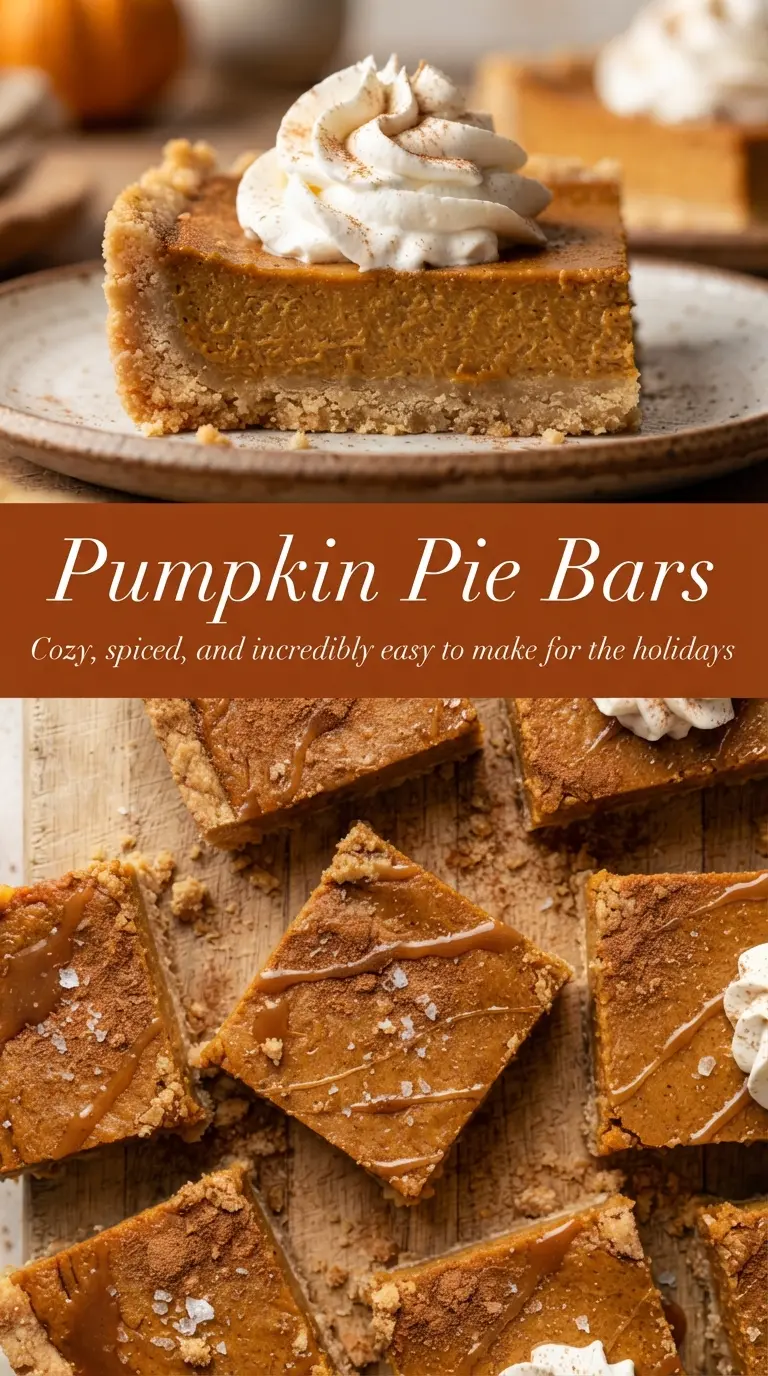
- Graham cracker crumbs — They give you that classic pie-crust flavor without any rolling. Finely crushed crumbs pack tighter, so if yours are coarse, pulse them a few extra times for a firmer base.
- Unsalted butter — Melted butter binds the crust and helps it bake into a solid layer. Salted butter works in a pinch, but the filling is already salted, so the final flavor can lean a touch sharper.
- Pumpkin puree — Use plain pumpkin puree, not pumpkin pie filling. Pie filling already contains sugar and spices, which throws off both the sweetness and the texture.
- Sweetened condensed milk — This is what gives the bars their smooth, custardy body. There isn’t a true one-to-one substitute here; evaporated milk won’t give the same sweetness or thickness, and the bars won’t set the same way.
- Eggs — They’re the setting agent in the filling. Whisk them in until the mixture looks completely smooth so you don’t get streaks of cooked egg in the baked bars.
- Spices and vanilla — Cinnamon, ginger, nutmeg, and vanilla build the warm pumpkin pie flavor without needing a long ingredient list. Fresh spices matter most here, especially the nutmeg, because the filling is simple enough that stale spice shows up fast.
Building the Crust and Filling Without Breaking the Texture
Pressing and Pre-Baking the Crust
Mix the graham crumbs, sugar, and melted butter until every crumb looks damp, then press the mixture firmly into the parchment-lined pan. Use the bottom of a measuring cup to compress it into an even layer, especially into the corners where loose crumbs like to collect. Bake it just until it smells toasty and looks set at the edges. If it still looks pale and loose, it will crumble when you cut the bars.
Mixing the Pumpkin Base
Whisk the pumpkin puree, sweetened condensed milk, eggs, spices, salt, and vanilla until the mixture is completely smooth. Scrape the bowl so no pockets of spice hide at the bottom. Don’t whip a lot of air into it; too much foam can create puffy bubbles on top and a less even set. You want a thick, pourable filling that spreads on its own.
Baking to the Right Jiggle
Pour the filling over the warm crust and smooth the surface, then bake until the edges are set and the center has only a slight wobble when you nudge the pan. The top should look matte, not wet, but it shouldn’t be fully firm. If the middle cracks or rises high in the oven, it’s gone too far. Pull it when it still has a little movement in the center; the residual heat finishes the set as it cools.
Cooling and Chilling for Clean Squares
Let the pan cool to room temperature before moving it to the fridge. If you cut into it while it’s warm, the filling smears and the crust falls apart. Chill for at least two hours, then lift the slab out with the parchment and slice with a sharp knife wiped clean between cuts. That gives you the neatest edges and the cleanest layers.
How to Adapt These Pumpkin Pie Bars for Different Tables and Diets
Dairy-Free Version
Use a dairy-free butter substitute for the crust, then swap the sweetened condensed milk for a coconut-based condensed milk. The bars will still set, but the filling picks up a faint coconut note, which actually works well with the spices.
Gluten-Free Crust
Use gluten-free graham-style crumbs if you can find them, or substitute a gluten-free cookie crumb that tastes mildly spiced and not overly sweet. The texture stays close to the original, but the flavor will depend on the crumb you choose.
Extra-Spiced Pumpkin Bars
If you want a stronger spice finish, add a pinch of cloves or a little extra ginger. Keep the balance in check; pumpkin bars should taste warm and layered, not like a spice cake.
Storage and Reheating
- Refrigerator: Store covered for up to 4 days. The crust stays best in the first two days, and the filling firms up a little more after chilling.
- Freezer: These freeze well. Cut into bars, wrap tightly, and freeze in a single layer before moving them to a container. Thaw in the refrigerator so the filling doesn’t sweat.
- Reheating: Serve these cold or let them sit at room temperature for 15 to 20 minutes. Don’t microwave them if you want clean layers; the filling softens fast and the crust loses its crisp edge.
Answers to the Questions Worth Asking
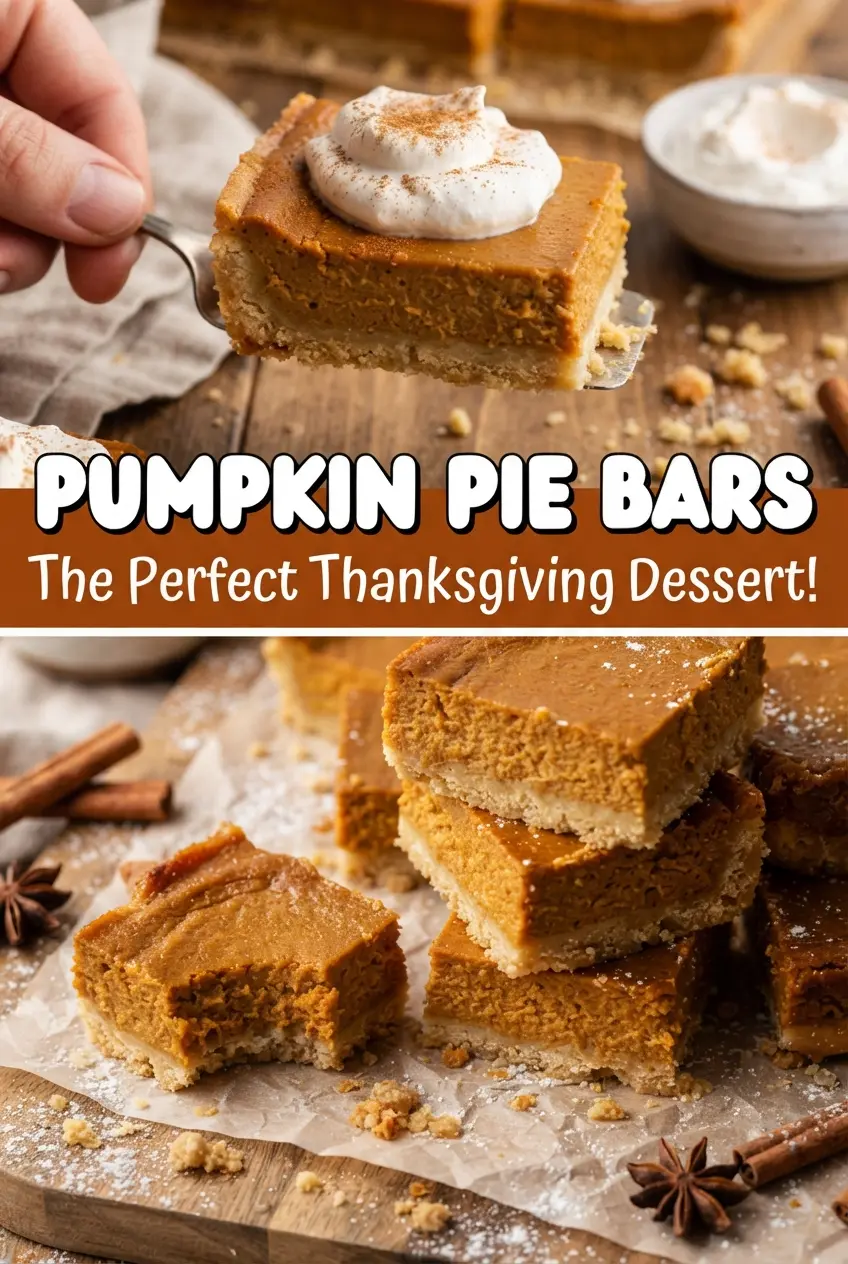
Pumpkin Pie Bars
Ingredients
Equipment
Method
- Preheat the oven to 350 F (175 C) and line a 9x13-inch pan with parchment paper. Set it aside so it’s ready for pressing the crust.
- Mix the graham cracker crumbs, granulated sugar, and melted unsalted butter, then press firmly into the bottom of the pan. Press with steady pressure to create an even, compact crust layer.
- Bake the crust for 10 minutes at 350 F (175 C). Look for the edges to look slightly set and lightly fragrant.
- Whisk the pumpkin puree, sweetened condensed milk, eggs, ground cinnamon, ground ginger, ground nutmeg, salt, and vanilla extract until smooth. Stop when the mixture looks glossy with no streaks.
- Pour the filling over the warm crust and smooth the top. Gently tap the pan to help level the surface.
- Bake at 350 F (175 C) for 30 to 35 minutes, until the edges are set and the center has only a slight jiggle. Don’t overbake—the center should wobble just a bit when nudged.
- Cool the bars to room temperature. Letting them cool helps prevent condensation before chilling.
- Chill for at least 2 hours to firm up the filling. For clean slices, keep them cold until ready to cut.
- Lift out with the parchment, cut into bars, and top with whipped cream. Slice with a sharp motion for neat edges and serve chilled.
