
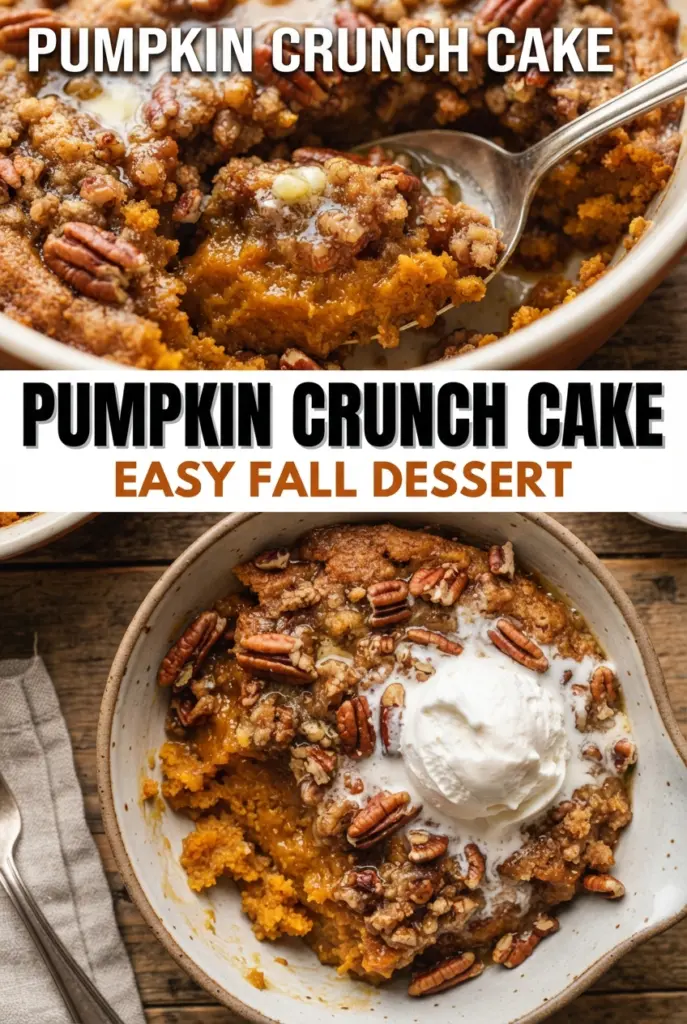
Pumpkin Crunch Cake
Pumpkin crunch cake lands somewhere between pumpkin pie, a sheet cake, and a buttery pecan cobbler, and that’s exactly why it disappears fast at a crowded table. The bottom bakes…
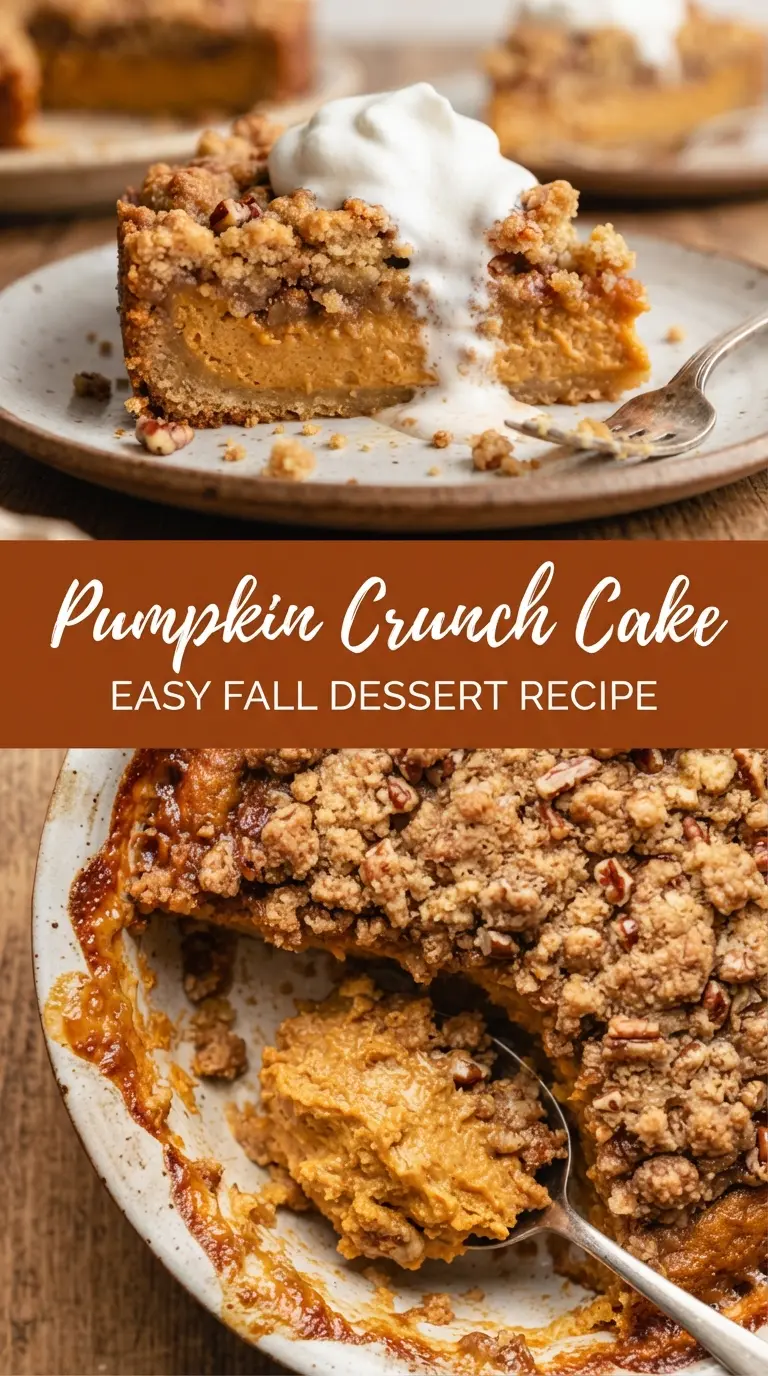
Tip: save now, cook later.Pumpkin crunch cake lands somewhere between pumpkin pie, a sheet cake, and a buttery pecan cobbler, and that’s exactly why it disappears fast at a crowded table. The bottom bakes into a soft, spiced pumpkin layer, while the top turns into a crisp, golden crust that cracks under a fork. Add the cool cream cheese whipped topping and every bite gets that contrast of warm spice, crunch, and creamy finish that keeps people going back for a second square.
The trick is in the layering. The pumpkin mixture needs to go in smooth and even so it bakes into a custardy base, while the dry cake mix stays on top and absorbs the melted butter in patches as it bakes. That uneven butter coverage is a good thing here. It’s what creates those craggy, crisp spots instead of a uniform cake top, and the pecans add a toasted bite that keeps the texture from feeling one-note.
Below you’ll find the step that keeps the layers distinct, why chilling before cutting matters, and the small detail that makes the topping spread like a dream instead of tearing the surface underneath.
The pumpkin layer set up beautifully and the top baked into the perfect crunchy crust. I chilled it like you said, and it cut into clean squares with the cream cheese topping staying fluffy instead of sliding off.
Save this pumpkin crunch cake for the holiday table when you want a creamy pumpkin base, a crisp pecan top, and a dessert that feeds a crowd without fuss.
The Shortcut Most People Miss: Keep the Cake Mix Dry
The dry cake mix is doing two jobs here: it thickens the pumpkin layer underneath and bakes into the crisp top everyone comes back for. The mistake that ruins this dessert is stirring the mix into the filling like batter. That turns the whole pan dense and cakey instead of giving you those separated layers and crunchy ridges on top.
Butter matters too, but not in the way people expect. You don’t need it whisked into the filling. It gets drizzled over the dry cake mix so the top can brown unevenly and form those crisp spots. If you pour it in one stream, you’ll get dry patches. If you scatter it across the surface, the whole top bakes up with better texture.
What Each Ingredient Is Actually Doing in This Dish
- Pumpkin puree — Use plain pumpkin puree, not pumpkin pie filling. Pie filling already has sugar and spices mixed in, and it throws off the balance here. The puree gives you that thick, custardy base that tastes like pumpkin pie filling once it bakes.
- Evaporated milk — This is what gives the pumpkin layer its smooth, creamy texture without making it watery. Regular milk works in a pinch, but it won’t set as richly. Evaporated milk brings body that keeps the filling sliceable after chilling.
- Yellow cake mix — This is the crunch layer, so use it dry right from the box. Don’t prepare it according to the package directions. If you do, you lose the whole point of the dessert.
- Pecans — Chop them small enough to toast in the butter, but not so fine that they disappear. Toasty pecans give the top its nutty snap and help the crust feel less sweet.
- Cream cheese and whipped topping — The cream cheese adds tang and structure, while the whipped topping keeps the frosting light enough to spread over the cooled cake. If you swap in freshly whipped cream, it won’t hold as long and will soften faster at room temperature.
Building the Layers So the Top Stays Crunchy
Whisk the pumpkin base until it looks silky
Start by mixing the pumpkin puree, evaporated milk, eggs, sugar, spices, and salt until the bowl looks smooth and a little glossy. If you still see streaks of egg white, those will bake into uneven pockets, so keep whisking until the mixture is uniform. Pour it into the lined pan and level it with a spatula so the layers bake evenly from edge to edge.
Scatter, don’t stir, the cake mix and pecans
Sprinkle the dry cake mix over the pumpkin layer in an even blanket. Don’t press it down hard; you want it to sit on top so it can absorb the butter and bake into a craggy crust. Add the pecans next, then drizzle the melted butter over the surface slowly, moving all around the pan so you don’t leave dry islands of mix.
Bake until the center sets and the top turns deep gold
The cake is done when the edges look set, the top is deeply golden, and the center only has the faintest wobble. If it still sloshes in the middle, it needs more time. Pulling it too early leaves you with a loose pumpkin layer that won’t slice cleanly, and the topping won’t firm up as it cools.
Cool, chill, and invert with care
This dessert needs a full cool-down before you invert it. If you flip it while it’s warm, the pumpkin layer can slide and the crust can break apart. Chill it for an hour after cooling so the layers firm up, then invert it onto a tray and peel away the parchment slowly. That reversal puts the crunch layer on the bottom, where it belongs, and gives you a clean surface for the frosting.
Three Ways to Work With What You Have
Make it dairy-free with the right swap
Use full-fat canned coconut milk in place of the evaporated milk and a dairy-free whipped topping for the frosting. The filling will taste a little richer and less neutral, but it still sets well because the eggs do most of the structure work. Skip dairy-free butter sticks for the topping if they’re very soft, since you want the surface to crisp instead of turning greasy.
Gluten-free version with a box mix that behaves
Swap in a gluten-free yellow cake mix that’s meant for baking as a dry topping. The texture will be slightly more delicate, but the same butter-drizzle method still gives you a crisp finish. Check that the mix doesn’t require extra ingredients before using it; here, it stays dry.
Nut-free topping for school events or allergies
Leave out the pecans and add a light sprinkle of coarse sugar over the buttered cake mix for a little extra crunch. You’ll lose the toasted nut flavor, but the top still bakes into distinct crispy patches. If you want more texture, add a handful of toasted pumpkin seeds instead.
Storage and Reheating
- Refrigerator: Store covered for up to 4 days. The topping stays fluffy, but the crust softens a bit after the first day.
- Freezer: Freeze the baked cake without the topping for up to 2 months. Wrap it tightly once cooled, then thaw in the refrigerator before frosting.
- Reheating: This dessert is best served chilled or at cool room temperature. If you want to warm a slice, do it without the topping for 10 to 15 seconds in the microwave, then add the frosting after.
Answers to the Questions Worth Asking
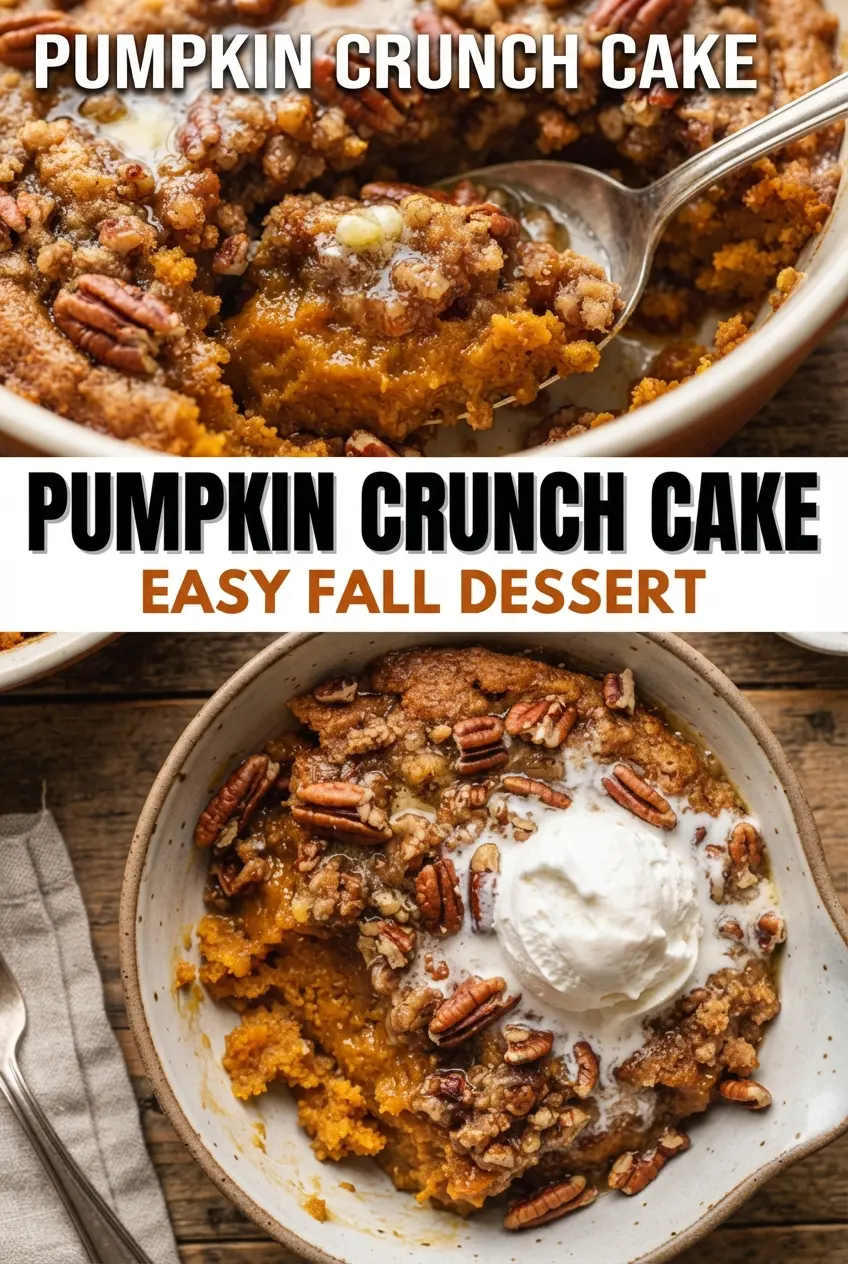
Pumpkin Crunch Cake
Ingredients
Equipment
Method
- Preheat the oven to 350 F (175 C) and line a 9x13-inch pan with parchment paper, leaving an overhang.
- Whisk the pumpkin puree, evaporated milk, eggs, granulated sugar, ground cinnamon, ground ginger, ground nutmeg, and salt until smooth, then pour into the pan.
- Sprinkle the yellow cake mix evenly over the pumpkin filling.
- Press the chopped pecans lightly into the cake mix so they adhere.
- Drizzle the melted unsalted butter evenly over the top to moisten the crunch layer.
- Bake for 50 to 55 minutes at 350 F (175 C), until golden and set.
- Cool completely, then chill for 1 hour.
- Invert the cake onto a serving tray so the pecan crunch layer is on the bottom, then peel off the parchment.
- Beat the cream cheese and powdered sugar until smooth.
- Fold in the whipped topping until the frosting is light and combined.
- Spread the frosting over the cake and chill until ready to serve.
