
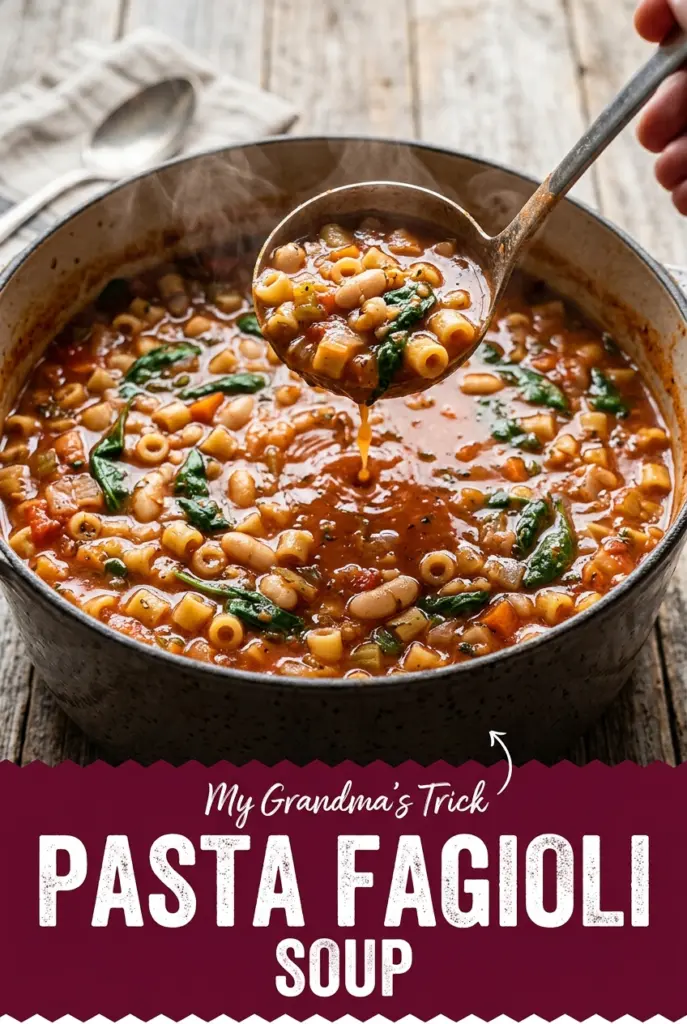
Pasta Fagioli Soup
Hearty beans, tender pasta, and a tomato-rich broth are what make pasta fagioli worth putting on repeat. This version lands in that sweet spot between rustic and comforting: thick enough…
Tip: save now, cook later.Hearty beans, tender pasta, and a tomato-rich broth are what make pasta fagioli worth putting on repeat. This version lands in that sweet spot between rustic and comforting: thick enough to feel like dinner, brothy enough to spoon up, and layered with enough onion, garlic, and Parmesan to keep every bite tasting full and savory.
What makes it work is building the base slowly before the broth goes in. The vegetables soften first, the tomato paste gets a minute to darken and round out, and the beans simmer long enough to take on the flavor of the pot instead of tasting like they were just dumped in. Adding the pasta near the end keeps it from turning soft and swollen, which is the fastest way to ruin a soup like this.
Below you’ll find the one step that keeps the broth balanced, plus a few smart swaps if you need to use what you already have. It’s the kind of soup that tastes even better the next day, so leftovers are a bonus, not an afterthought.
The broth thickened up beautifully and the ditalini stayed perfectly tender. I used vegetable broth and still got that rich, cozy taste without it turning bland.
Save this hearty Pasta Fagioli Soup for the nights when you want a one-pot dinner with rich tomato broth, tender beans, and pasta that still has bite.
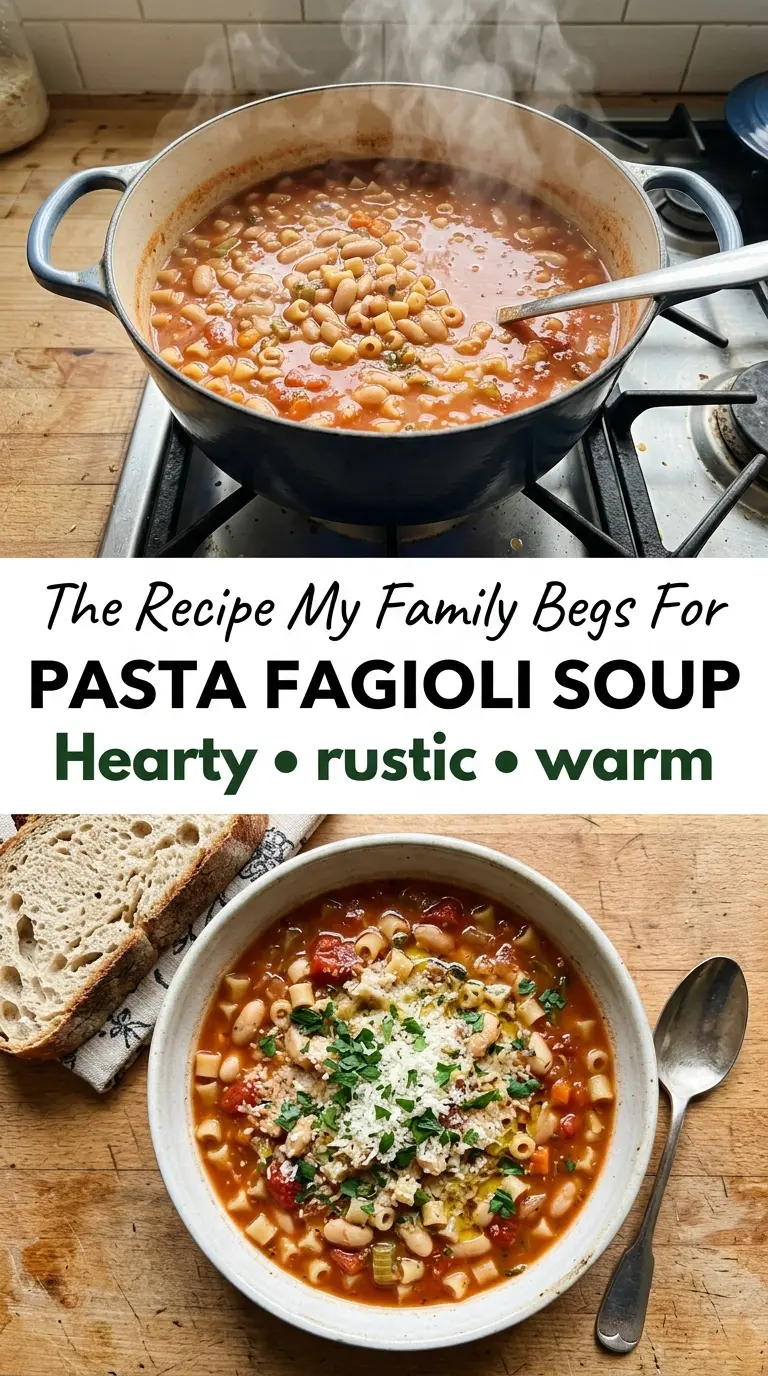
The Trick to Keeping Pasta Fagioli Brothy Instead of Mushy
The biggest mistake with pasta fagioli is letting the pasta sit in the soup too long. Ditalini keeps cooking in hot broth, and by the time you come back for seconds, it can go from pleasantly tender to swollen and soft. That’s why the timing matters more here than the ingredient list. Cook it at the end, and stop as soon as it turns al dente.
The other thing that makes this soup fall flat is adding everything at once and hoping it tastes developed after fifteen minutes. It won’t. Onion, carrot, and celery need time to soften and sweeten. Tomato paste needs a brief cook in the oil so it loses that raw edge. Those small steps are what turn a basic bean soup into something with depth.
- Tomato paste — This is the flavor anchor. Let it cook for about a minute with the garlic so it darkens slightly and tastes round instead of sharp. If you skip that step, the broth can lean acidic.
- Cannellini beans — Their creamy texture thickens the soup without flour or cream. Great northern beans work too, but cannellini stay softer and give a more classic finish.
- Parmesan — Grated Parmesan melts into the broth and adds saltiness plus body. Use the real stuff here if you can; the shelf-stable shaker version won’t melt the same way. A Parmesan rind simmered with the soup is a nice bonus if you have one.
- Spinach — It goes in at the very end because it only needs a minute to wilt. Kale works if that’s what you have, but it needs a few extra minutes and gives a heartier, less delicate bowl.
Building the Pot in the Right Order
Softening the Vegetables First
Start with the onion, carrots, and celery in olive oil and let them cook until the onion turns translucent and the carrots lose their raw crunch. This is where the soup gets its base flavor. If the vegetables are still firm when the broth goes in, they’ll taste blunt instead of sweet and savory.
Cooking Out the Tomato Paste
Add the garlic and tomato paste together and stir until the paste turns a shade darker and smells sweet rather than tinny. That short cook makes a huge difference in the finished broth. If the garlic starts browning fast, lower the heat right away so it doesn’t turn bitter.
Simmering Before the Pasta Goes In
Once the tomatoes, broth, beans, and herbs are in the pot, let everything simmer long enough for the liquid to settle into a unified flavor. The broth should taste like soup already before the pasta ever touches it. If it tastes thin at this stage, keep it simmering uncovered for a few extra minutes rather than trying to fix it with more salt alone.
Finishing With Pasta, Greens, and Cheese
Stir in the ditalini and cook just until al dente, then add the spinach and Parmesan off a lively boil. The pasta should still have a little firmness when you taste it, because it will keep softening in the hot broth. Parmesan goes in last so it melts smoothly instead of clumping or turning grainy.
How to Adapt Pasta Fagioli Without Losing the Comfort
Gluten-Free Version
Swap the ditalini for a gluten-free small pasta and cook it separately if possible. Gluten-free pasta can go soft faster in broth, so keeping it apart until serving protects the texture. Stir it into each bowl right before eating so the soup stays brothy instead of starchy.
Dairy-Free Bowl
Leave out the Parmesan and add a little extra salt at the end, then finish with a drizzle of olive oil for richness. You’ll lose the cheesy depth, but the tomato, herbs, and beans still give you a full-bodied soup. A Parmesan-style dairy-free topper works only as a garnish; it won’t melt into the broth the same way.
Using Another Bean
Great northern beans or navy beans work if that’s what’s in the pantry. They’re a little firmer and less creamy than cannellini, so the soup won’t thicken quite as much on its own. If you want the same body, mash a few spoonfuls of beans against the side of the pot before adding the pasta.
Storage and Reheating
- Refrigerator: Keeps for 4 days. The pasta will keep absorbing broth, so the soup thickens as it sits.
- Freezer: Freezes well, but the pasta softens. For best texture, freeze the soup without the pasta and cook fresh ditalini when you reheat it.
- Reheating: Warm it slowly on the stove over medium-low heat with a splash of broth or water. Microwaving it hard can make the pasta go mushy before the center heats through.
Answers to the Questions Worth Asking
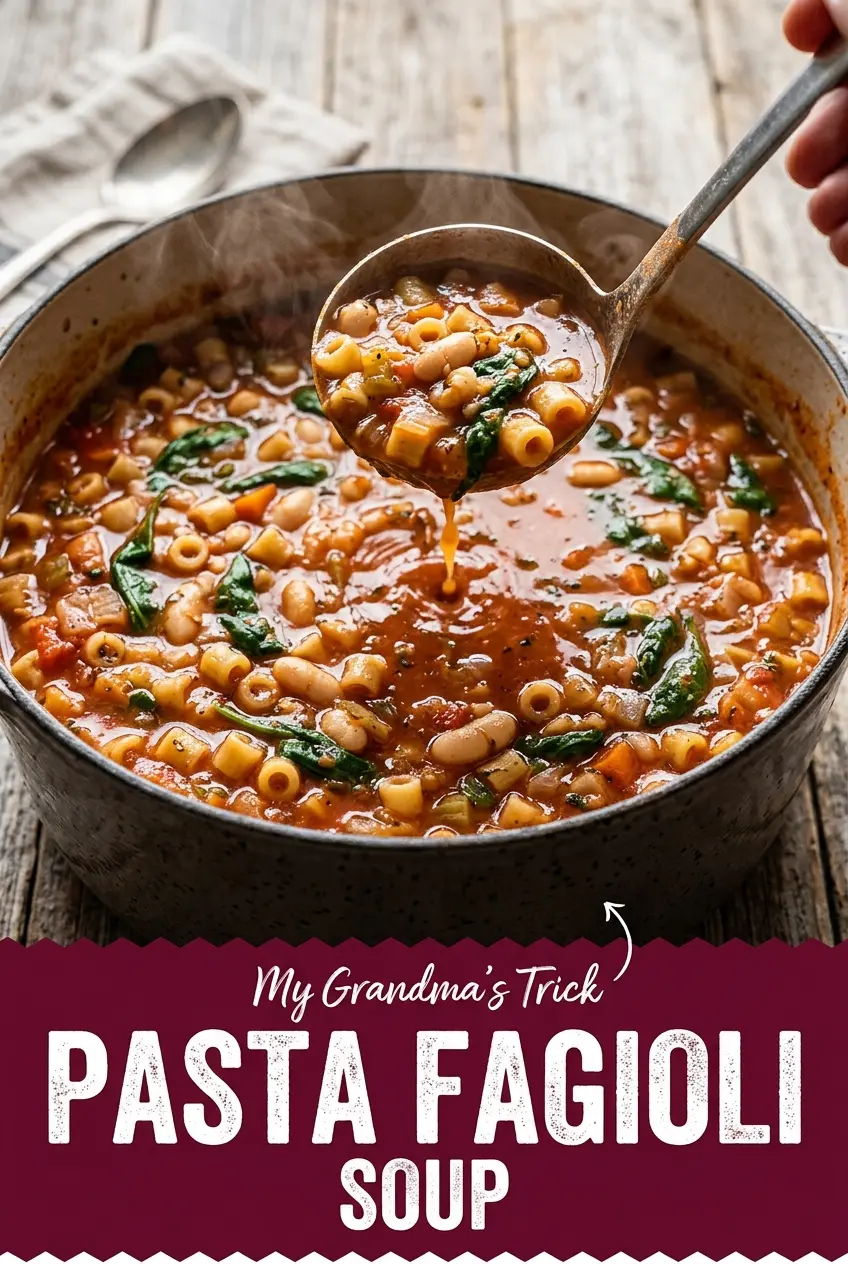
Pasta Fagioli Soup
Ingredients
Equipment
Method
- Heat the olive oil in a large pot over medium heat. Add the onion, carrots, and celery and cook until softened, about 6-7 minutes.
- Add the garlic and tomato paste and cook until fragrant, about 1 minute. Stir to coat the vegetables.
- Stir in the crushed tomatoes, broth, cannellini beans, oregano, basil, red pepper flakes, salt, pepper, and bay leaves. Bring the mixture to a boil.
- Reduce the heat and simmer, partially covered, for 15 minutes to let the flavors meld. Keep it at a gentle simmer, with small bubbles around the edges.
- Stir in the ditalini pasta and cook until al dente, about 9-10 minutes. Check for tenderness while maintaining a firm bite.
- Stir in the spinach and cook just until wilted, about 1-2 minutes. The greens should turn bright and collapse into the broth.
- Remove the bay leaves. Skim them out before adding the cheese.
- Stir in the Parmesan cheese until melted into the broth. The soup should look slightly thickened and glossy.
- Ladle the soup into bowls. Top with extra Parmesan and fresh parsley, and serve hot.
