
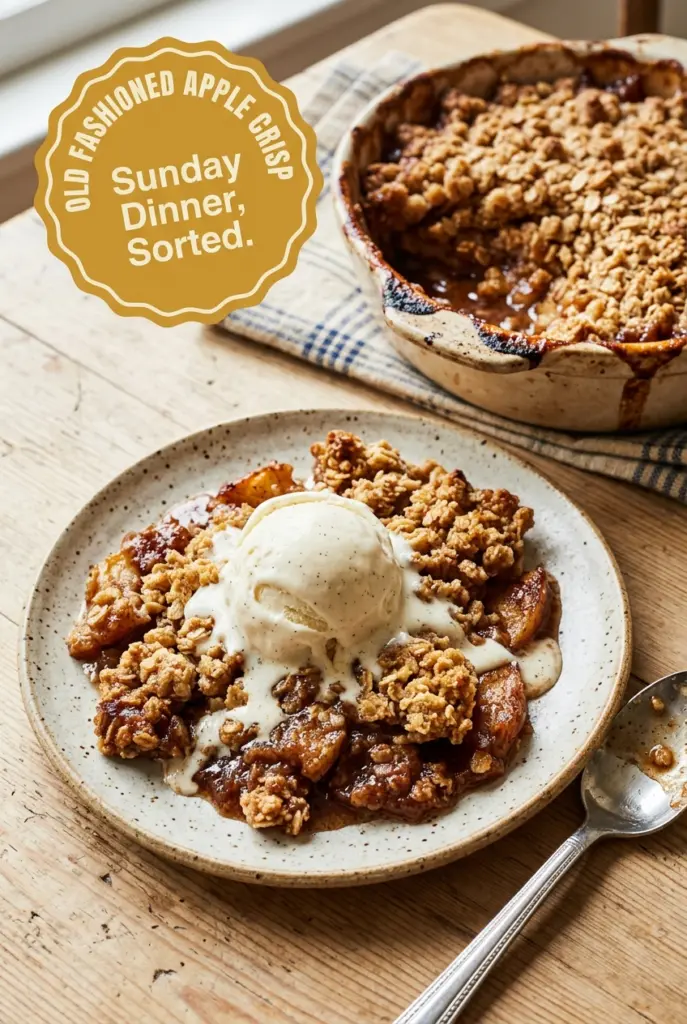
Old Fashioned Apple Crisp
Tender baked apples tucked under a buttery oat crumble are one of those desserts that never need a special occasion to earn their place at the table. This old fashioned…
Tip: save now, cook later.Tender baked apples tucked under a buttery oat crumble are one of those desserts that never need a special occasion to earn their place at the table. This old fashioned apple crisp lands in that sweet spot between simple and memorable: the fruit softens into a cinnamon-scented filling, while the topping stays nubbly and crisp instead of turning sandy or bready. It’s the kind of dessert that comes out of the oven bubbling at the edges and disappears fast once ice cream hits the warm topping.
What makes this version work is the mix of apples and the way the topping is built. Granny Smith gives the filling enough sharpness to keep it from tasting flat, while Honeycrisp adds a little sweetness and keeps some texture after baking. The filling also needs just a spoonful of flour, not enough to turn it gluey, just enough to catch the juices so the crisp serves up neatly instead of sliding into a puddle.
Below, I’ll walk through the little details that keep the topping crumbly and the apples tender without going mushy. I’ve also added a few smart swaps and storage notes so you can bake it ahead or adjust it to what you have on hand.
The topping stayed crisp even after sitting for a bit, and the apples baked down soft without turning to applesauce. I used half Granny Smith and half Honeycrisp like suggested, and the balance was perfect with the cinnamon and caramel sauce.
Save this old fashioned apple crisp for the nights when you want bubbling cinnamon apples and a buttery oat topping without any fuss.
The Part That Keeps Apple Crisp from Turning Watery
Apple crisp falls apart when the fruit releases too much juice before the topping has time to brown. The fix is a mix of the right apples and just enough thickener. You want apples that soften without collapsing completely, and you want the sugar amount low enough that the fruit cooks into syrup instead of soup. That small spoonful of flour in the filling is doing more than it looks like; it helps the juices turn glossy and spoonable around the apples instead of pooling at the bottom of the pan.
The topping has its own trap. If the butter is too soft, you get a greasy paste instead of crumbs. If it’s melted, the oat mixture bakes into a dense lid. Cold butter cut into the dry ingredients gives you those uneven clumps that brown at different rates, which is exactly why the top turns crisp while the middle stays tender.
What Each Ingredient Is Actually Doing in This Dish
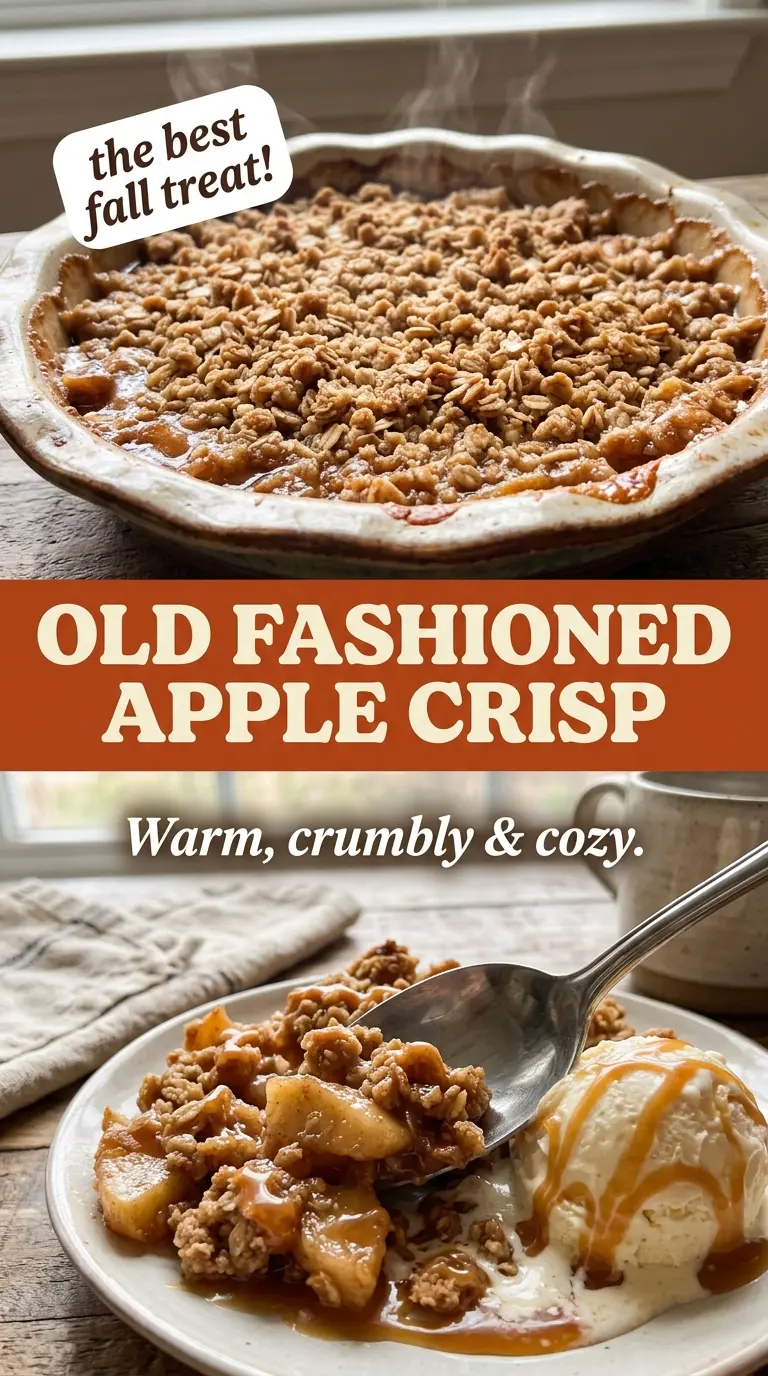
- Apples — A mix of tart and sweet apples gives you the best texture and flavor. Granny Smith holds its shape and keeps the filling bright, while Honeycrisp adds sweetness and softens in a way that still tastes like apple instead of jam. If you only have one variety, use a firmer baking apple and expect a little less contrast in flavor.
- Brown sugar — This belongs in the topping because its molasses note tastes deeper than white sugar and helps the crumble bake into a golden, caramel-like crust. You can swap in dark brown sugar for a stronger flavor, though the topping will taste a touch richer and darker.
- Old-fashioned rolled oats — These give the crisp its nubby, toasty texture. Quick oats can work in a pinch, but the topping will be finer and less craggy. Steel-cut oats won’t soften properly here and should stay out of this recipe.
- Cold butter — The butter is what turns the dry topping into crumbs. Cut it in while it’s still cold so it stays in little pockets and melts in the oven, creating crisp bits instead of a uniform paste. If you’re using your hands, work fast so the butter doesn’t warm up too much.
- Lemon juice — This keeps the apples from tasting flat and helps the filling stay bright. It doesn’t make the crisp taste lemony; it just wakes up the fruit. If your apples are very sweet, that acid matters even more.
Building the Crisp So the Topping Stays Crunchy
Coating the Apples First
Toss the sliced apples with the sugar, flour, cinnamon, nutmeg, and lemon juice until every piece looks lightly coated. That even coating matters because the flour needs to catch the juices as they release. Spread the apples in the baking dish in a fairly even layer so they cook at the same pace; a mound in the center tends to leave you with uneven soft spots.
Making the Crumbly Topping
Mix the oats, flour, brown sugar, cinnamon, and salt first, then cut in the cold butter until the mixture looks like coarse crumbs with some pieces the size of peas. Those bigger butter bits are a good thing; they melt and leave little gaps that crisp up in the oven. If the mixture starts looking like wet dough, the butter got too warm, and the topping will bake up heavy instead of crumbly.
Baking Until the Edges Bubble
Scatter the topping evenly over the apples and bake until the top is deep golden and the filling is bubbling around the edges. Don’t pull it just because the topping looks brown in the center; the bubbling at the sides tells you the apples have released their juices and the flour has had time to thicken them. Let it rest for 10 to 15 minutes before serving so the juices settle instead of running all over the plate.
Three Ways to Make This Apple Crisp Fit Your Kitchen
Dairy-Free Crisp Topping
Swap the butter for a solid plant-based baking stick with a similar fat content. You’ll still get a crumbly topping, though the flavor will be a little less rich and buttery. Avoid soft tub margarine here; it melts too fast and can make the topping greasy.
Gluten-Free Version
Use a cup-for-cup gluten-free flour blend in place of the all-purpose flour, both in the filling and the topping, and choose certified gluten-free oats. The texture stays very close to the original, though the topping may brown a little faster, so start checking near the end of the bake time.
Less Sweet, More Tart
Cut the granulated sugar in the filling back to 2 tablespoons if your apples are very sweet or if you want a sharper, fruit-forward dessert. The crisp will still bake properly because the topping carries most of the sweetness. This version is especially good with extra caramel sauce on the side.
Storage and Reheating
- Refrigerator: Store covered for up to 4 days. The topping softens a bit in the fridge, but the flavor stays good.
- Freezer: Freeze after baking if you want to keep it longer, tightly wrapped. The topping won’t stay quite as crisp after thawing, but it still reheats well for a make-ahead dessert.
- Reheating: Warm individual portions in a 325°F oven until the filling is hot and the topping perks back up. The microwave works in a pinch, but it softens the crumble fast and turns the top steamy.
Answers to the Questions Worth Asking
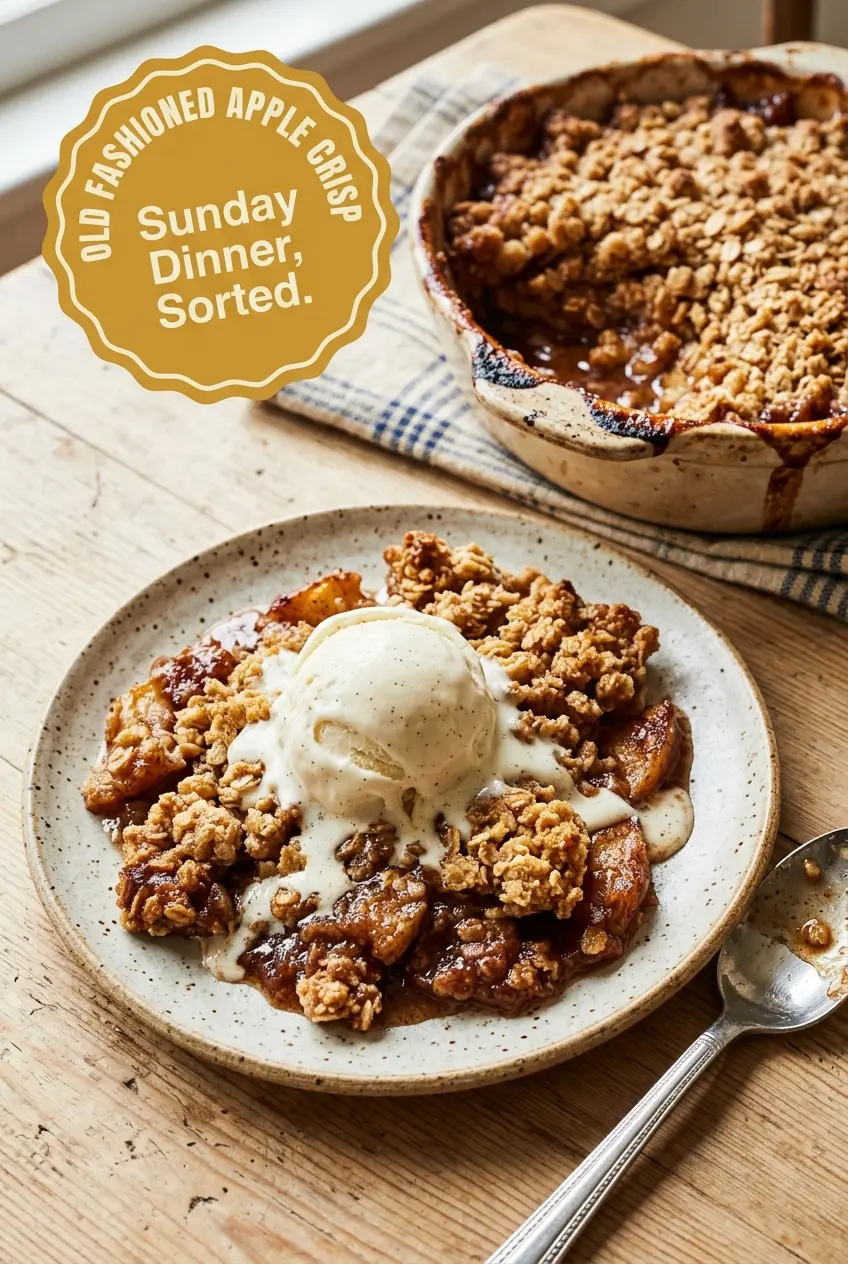
Old Fashioned Apple Crisp
Ingredients
Equipment
Method
- Preheat the oven to 350°F and grease a 9x13-inch baking dish.
- Toss the sliced apples with granulated sugar, all-purpose flour, ground cinnamon, ground nutmeg, and lemon juice until evenly coated, then spread into the prepared baking dish.
- Whisk together the old-fashioned rolled oats, all-purpose flour, brown sugar, ground cinnamon, and salt in a separate bowl.
- Cut the cold cubed unsalted butter into the oat mixture using a pastry cutter or your fingers until it forms coarse, pea-sized crumbs.
- Sprinkle the crisp topping evenly over the apples.
- Bake for 40-45 minutes at 350°F, until the topping is golden brown and the apples are bubbling around the edges.
- Let cool for 10-15 minutes, then serve with vanilla ice cream and a drizzle of caramel sauce.
