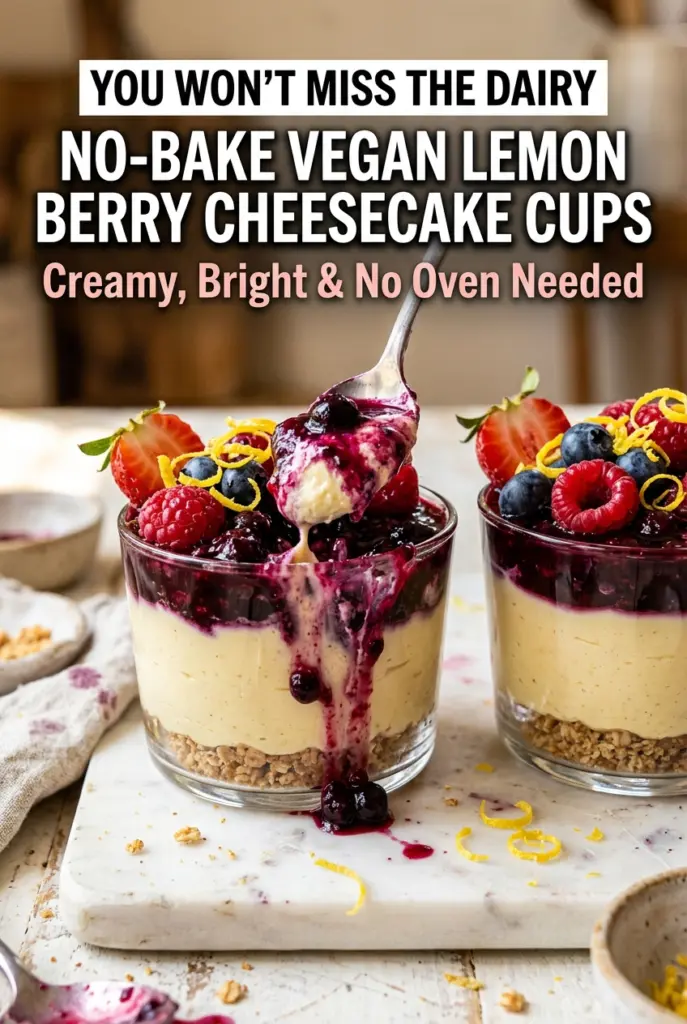
No-Bake Vegan Lemon Berry Cheesecake Cups
Creamy lemon filling, a sticky date-nut crust, and a glossy berry topping give these no-bake vegan lemon berry cheesecake cups the kind of finish that feels a little special without…
Tip: save now, cook later.Creamy lemon filling, a sticky date-nut crust, and a glossy berry topping give these no-bake vegan lemon berry cheesecake cups the kind of finish that feels a little special without asking for much from the kitchen. The filling sets up silky and light, not heavy or chalky, and the berries bring just enough sharpness to keep each bite bright. You get all the contrast you want in a dessert: cool, creamy, tart, jammy, and a little crunchy at the bottom.
The part that makes these work is the texture balance. Cashews need to be soaked long enough to blend into something completely smooth, and the filling needs enough lemon to taste lively once it chills. The berry layer also matters more than it looks like it should; cooking it down briefly with a little cornstarch keeps it spoonable instead of watery, so it sits neatly on top instead of sinking into the cream.
Below, I’ve included the little details that keep the crust from turning oily, the filling from tasting flat, and the topping from going runny. If you’ve ever had a no-bake dessert split, soften too much, or taste oddly dull after chilling, this version avoids those traps.
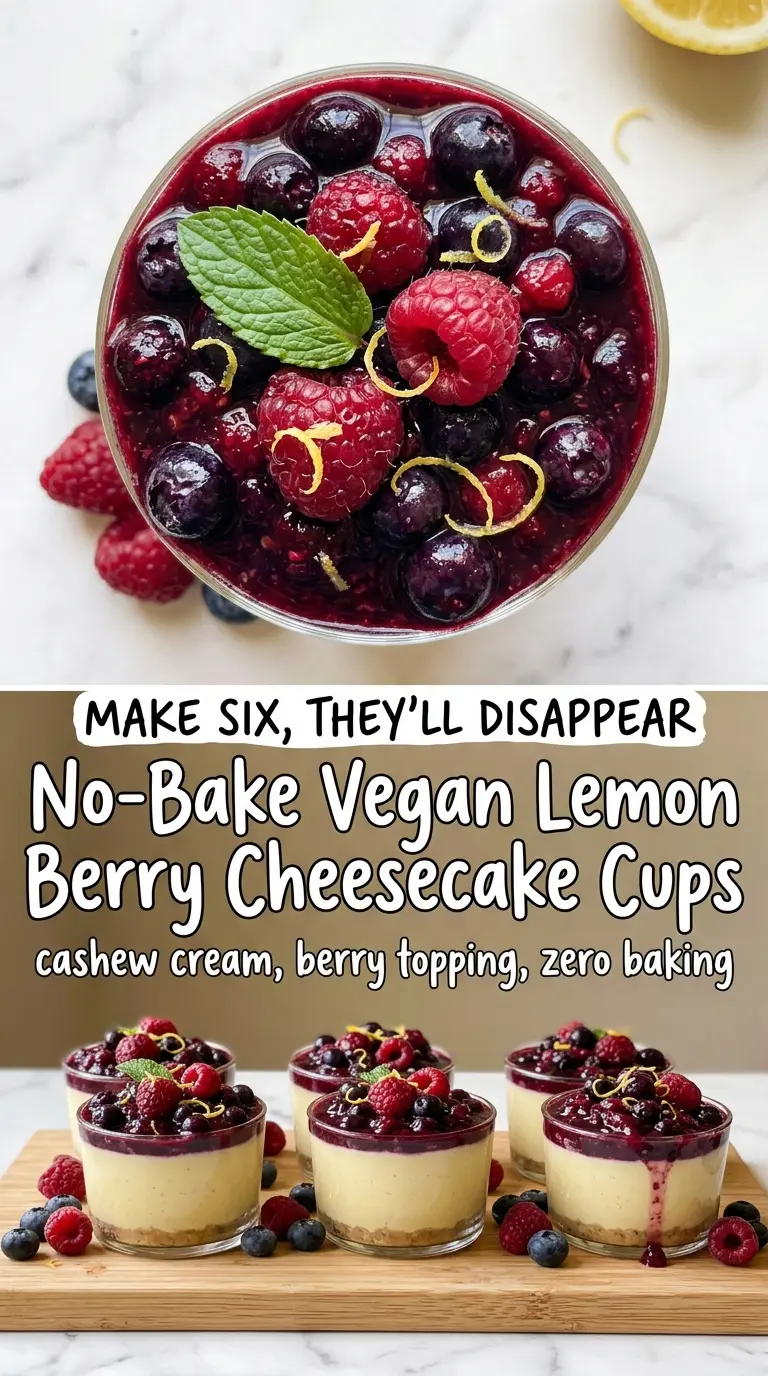
The cashew filling blended up completely smooth and the berry topping thickened just enough to stay on top without running everywhere. I made them the night before and they held their shape beautifully in the fridge.
Save these lemon berry cheesecake cups for the dessert that turns out creamy, bright, and oven-free every single time.
The Reason These Cheesecake Cups Stay Creamy Instead of Grainy
The biggest mistake with vegan cheesecake filling is under-blending the cashews. If the mixture still looks faintly speckled or feels even a little sandy on your tongue, it needs more time in the blender. A powerful blender helps, but the real key is soaking long enough for the cashews to soften all the way through. That step is what gives the filling its smooth, cheesecake-like body.
The second place people lose the texture is with the lemon. Too little, and the filling tastes heavy after chilling. Too much, and it starts to read sharp instead of creamy. The maple syrup and coconut cream round it out, but the lemon zest carries the fresh citrus aroma that keeps each cup bright even after it’s cold.
- Soaked cashews — These are the base of the filling. You can use the quick-soak method with boiling water if you’re short on time, but the full soak gives the smoothest result.
- Coconut cream — Use the thick part from a chilled can. Coconut milk won’t thicken the same way, and the filling will be looser.
- Fresh lemon juice and zest — Bottled juice works in a pinch, but fresh lemon is what makes the filling taste clean and vivid instead of flat.
- Medjool dates — Soft dates blend into the crust without needing extra syrup. If yours feel dry, soak them in hot water for 5 minutes and drain well before processing.
- Mixed berries — Fresh or frozen both work. Frozen berries often make a better compote because they release juice quickly and cook down evenly.
Building the Layers Without Smudging the Finish
Making the Date-Nut Crust
Pulse the dates, nuts, coconut oil, and salt until the mixture clumps when pressed between your fingers. Stop before it turns into paste; that’s the point where the crust gets greasy instead of pleasantly chewy. When you press it into the cups, use firm pressure so it holds together cleanly under the filling.
Blending the Lemon Filling
Add the soaked cashews, lemon juice, zest, maple syrup, coconut cream, vanilla, and salt to a high-speed blender and let it run long enough to lose every bit of grit. Scrape the sides once or twice if needed. The filling should look glossy and thick, almost like a soft frosting, before you spoon it in.
Cooking the Berry Topping
Warm the berries with maple syrup and lemon juice until they collapse and turn juicy, then stir in the cornstarch slurry. The compote should go from loose and saucy to lightly jammy in about a minute or two. If you add it too early and the cups are warm, it can slide off, so cool it completely before layering.
Chilling and Finishing
Let the filled cups chill until the centers feel set when nudged gently, not sloshy. The freezer speeds things up, but the fridge gives the filling the best creamy texture. Spoon the cooled compote on top, then finish with zest curls, mint, or a few fresh berries right before serving so the garnish stays lively.
How to Adapt These for Different Diets and Make-Ahead Plans
Nut-Free Version
Swap the walnuts or almonds in the crust for sunflower seeds or pumpkin seeds. The flavor gets a little earthier, but the crust still binds well with the dates. For the filling, the cashews are harder to replace without changing the texture, so this swap works best for the crust only.
Lower-Sugar Topping
Cut the maple syrup in the berry compote down to 1 tablespoon if your berries are very ripe. The topping will taste a little tarter, but the citrus keeps it balanced. Don’t skip the cornstarch slurry, since sugar is not what thickens it here.
Gluten-Free and Naturally Vegan
The recipe already fits both of these diets as written. The only thing worth checking is that your cornstarch is pure and your vanilla extract is labeled gluten-free if that matters for your kitchen. Everything else is naturally plant-based.
Storage and Reheating
- Refrigerator: Store covered for up to 3 days. The crust softens a little by day two, but the filling stays smooth.
- Freezer: You can freeze the cups without the berry topping for up to 1 month. Thaw in the fridge so the filling doesn’t turn icy at the edges.
- Reheating: No reheating needed. These are best served chilled, and warming them breaks the texture of the filling and makes the topping run.
Answers to the Questions Worth Asking

No-Bake Vegan Lemon Berry Cheesecake Cups
Ingredients
Equipment
Method
- Soak raw cashews in cold water for at least 4–6 hours, then drain and rinse well before using (or pour boiling water over them and soak for 1 hour for a quicker option).
- Keep cashews covered while soaking so they soften evenly throughout the soak time.
- Add pitted dates, walnuts or almonds, coconut oil, and sea salt to a food processor and pulse until the mixture sticks together when pressed, forming a damp crumbly dough (do not over-process).
- Divide the crust evenly between 6 small cups or ramekins (about 2 tablespoons per cup) and press firmly with the back of a spoon or your fingers to form an even base layer.
- Blend the drained cashews, lemon juice, lemon zest, maple syrup, coconut cream, vanilla extract, and sea salt in a high-speed blender on high for 60–90 seconds until completely smooth and creamy.
- Scrape down the sides as needed, then blend again briefly if any pockets of cashew remain.
- Spoon or pipe the lemon cheesecake filling over each crust layer, filling about ⅔ of each cup, and smooth the tops gently.
- Refrigerate for at least 2 hours or freeze for 45 minutes until set.
- Combine mixed berries, maple syrup, and lemon juice in a small saucepan over medium heat and cook for 4–5 minutes, stirring occasionally, until berries soften and release juices.
- Stir in the cornstarch slurry and continue cooking for 1–2 minutes until the compote thickens, then remove from heat and cool completely.
- Spoon the cooled berry compote over each chilled cheesecake cup.
- Top each cup with fresh berries, lemon zest curls, and a small mint leaf, then serve immediately or return to the fridge for up to 3 days.
