
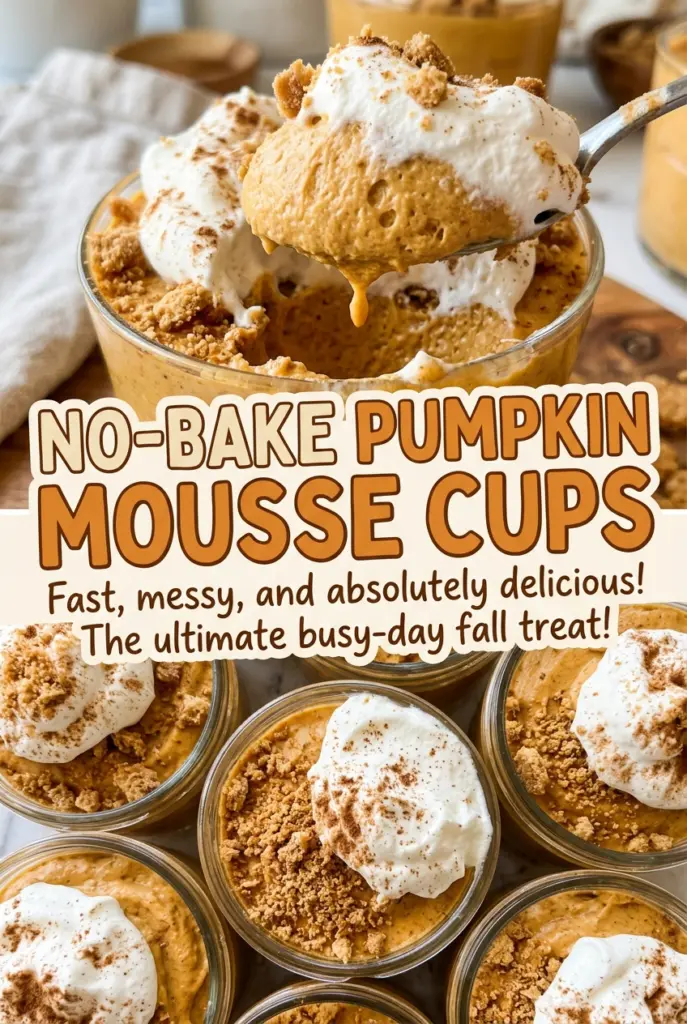
No-Bake Pumpkin Mousse Cups
The crumb mixture can look loose in the bowl, but it should hold together once you press it into the bottoms of the cups. I learned not to rush that…
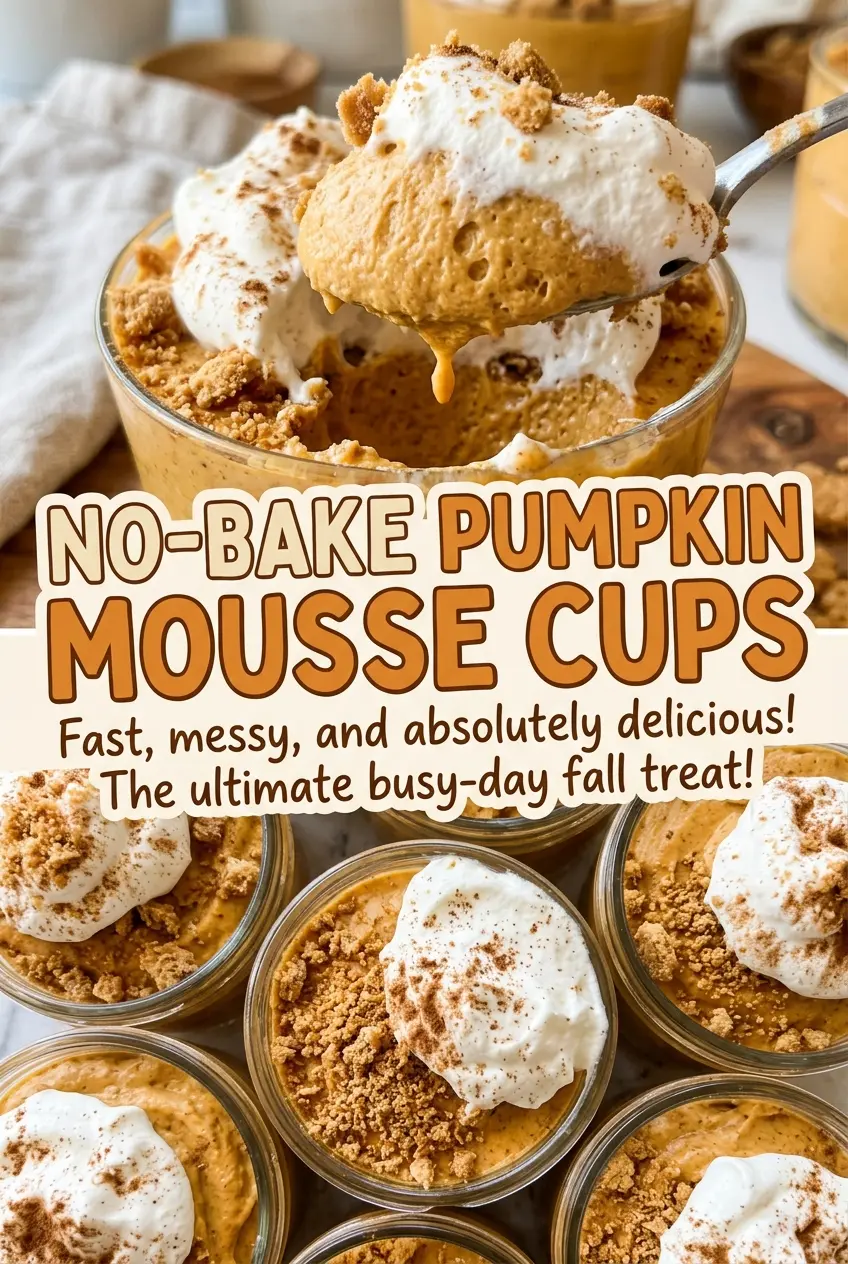
Tip: save now, cook later.The crumb mixture can look loose in the bowl, but it should hold together once you press it into the bottoms of the cups. I learned not to rush that part: a firm, even crust gives each spoonful a little crunch beneath the soft pumpkin layer. These no-bake pumpkin mousse cups are portioned into eight 8-ounce cups, so there’s no slicing or worrying about a delicate dessert holding its shape on a plate.
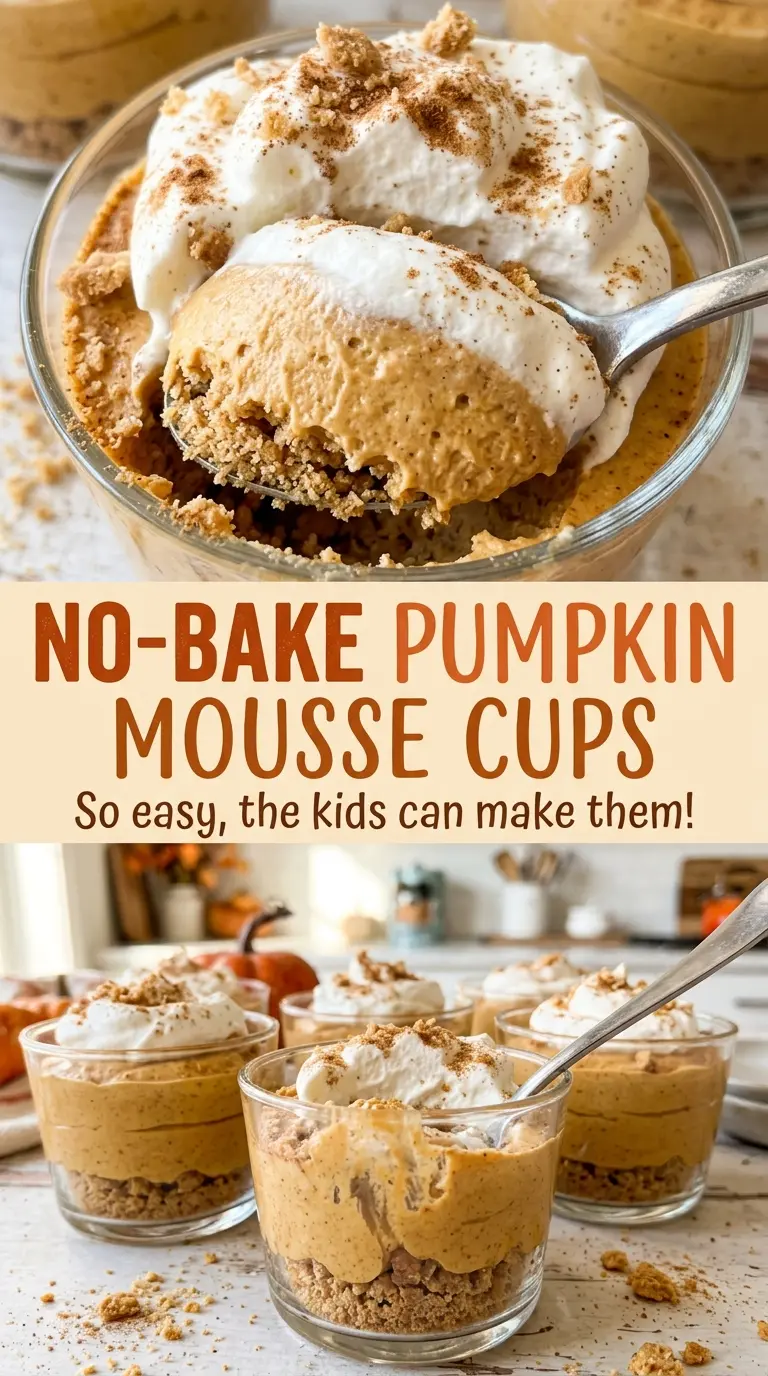
The pumpkin mixture starts with cream cheese beaten smooth before anything else goes in. Then whipped cream gets folded in gently, which keeps the mousse light instead of dense. I like that the cups can be assembled ahead and chilled until the layers feel cool and set, with a cloud of softly whipped cream on top. Each bite has a buttery crumb base, a mellow pumpkin center, and a light finish.
Kitchen Note
Keep the heavy cream chilled until you’re ready to whip it. Warm cream takes longer to build volume and is less likely to hold the distinct peaks this mousse needs.
Save these no-bake pumpkin mousse cups for a make-ahead dessert with a buttery graham crust and a soft, spiced pumpkin center.
Why These Pumpkin Cups Set Without Gelatin
A no-bake mousse needs enough structure to feel creamy on a spoon without turning stiff or rubbery. Here, softened cream cheese gives the pumpkin mixture body, and whipped cream lightens it. Chilling brings those parts together, but the finished texture is still a spoon dessert—not a firm mousse meant to be unmolded and cut into neat slices. Serving it in individual cups works with that delicate texture instead of asking it to do something it wasn’t built for.
The separate whipped cream on top also keeps the dessert from feeling heavy. The mousse gets cream whipped to stiff peaks, while the topping is whipped to medium-stiff peaks so it stays soft enough to spoon or pipe. That difference gives you a defined pumpkin layer and a lighter finish, without relying on gelatin or baking to set the cups.
What Gives the Crust and Mousse Their Texture
- Graham cracker crumbs — They make a crisp, slightly sandy base that contrasts with the mousse. For a gluten-free version, use gluten-free graham-style crumbs in their place; chocolate graham crumbs also work when you want a cocoa note.
- Unsalted butter — Melted butter coats the crumbs and helps them pack into a base. Unsalted butter lets you control the seasoning; salted butter works too, though the crust will taste a little saltier.
- Cream cheese — A block gives the pumpkin layer its creamy body. Let it soften before beating so it blends smoothly; whipped cream cheese from a tub can make the mousse softer, so stick with the block for the most reliable texture.
- Canned pumpkin puree — Pure pumpkin brings moisture and earthy pumpkin flavor without changing the sugar balance. Use plain pumpkin puree rather than pumpkin pie filling, which is already sweetened and spiced.
- Powdered sugar — It sweetens the mousse and topping while dissolving smoothly into both. Granulated sugar can leave a gritty feel here, so powdered sugar is the better choice.
- Vanilla and pumpkin pie spice — Vanilla rounds out the tang of the cream cheese, and pumpkin pie spice gives the mousse its warm, familiar flavor. If you’re out of the spice blend, cinnamon can stand in one-for-one for a simpler, less layered spice note.
- Heavy cream — This is what makes the mousse airy and gives the topping enough body to sit on top. Half-and-half won’t whip into peaks, so it isn’t a direct replacement; use heavy cream for both layers.
Building the Cups Without Crushing the Mousse
Pack a compact graham base
Stir the graham cracker crumbs with the melted butter and granulated sugar until the crumbs look evenly moistened, with no dry patches. Divide the mixture among eight 8-ounce cups, using about 2 tablespoons per cup, then press it firmly into each bottom. A small spoon or the bottom of a narrow glass makes it easier to reach the edges. The crust should sit in a level layer rather than a loose pile of crumbs.
Beat the pumpkin mixture until smooth
Beat the softened cream cheese in a large bowl until it looks smooth, then add the pumpkin puree, powdered sugar, vanilla, and pumpkin pie spice. Keep mixing until the color is even and there are no visible streaks of cream cheese. If you add the pumpkin before the cream cheese has softened, small lumps are harder to work out. Scrape the bowl as needed so the mixture is consistent from top to bottom.
Fold in the whipped cream gently
In a separate bowl, whip 1 cup of the heavy cream to stiff peaks. Add it to the pumpkin mixture in two additions, folding gently after each one rather than stirring hard; the mousse should look lighter and hold soft ridges, not deflate into a thin mixture. Divide it among the cups over the crust. A spoon works well for an even layer, and wiping the inside edges of the cups keeps the layers tidy.
Finish with cream and chill until set
Whip the remaining heavy cream with the remaining powdered sugar to medium-stiff peaks. Spoon or pipe it over the pumpkin mousse, then refrigerate the cups for at least 2 hours, until thoroughly chilled and set. The topping should hold its shape but still look soft, not dry or curdled. Give the center time to chill through before serving; a cold surface alone doesn’t tell you whether the mousse has set.
Three Easy Ways to Change the Crust
Make the crust gluten-free
Replace the graham cracker crumbs with gluten-free graham-style crumbs and keep the butter and sugar in the crust the same. The base stays crisp and buttery, with only a small change in crumb texture depending on the brand.
Use chocolate graham crumbs
Swap the regular graham crumbs for chocolate graham crumbs in the crust. The chocolate gives the pumpkin a gentle cocoa contrast without changing the mousse or topping.
Try a ginger-snap base
Use finely crushed ginger snaps instead of graham crumbs for a sharper spice note and a darker, more assertive crust. Keep the rest of the crust mixture the same; the cookies bring their own spice and sweetness.
Storage and Reheating
- Refrigerator: Cover the cups and refrigerate for up to 3 days. The crust softens gradually as it sits beneath the mousse.
- Freezer: I don’t recommend freezing the assembled cups; thawing can make the whipped topping lose its shape and the mousse less smooth.
- Reheating: Not applicable—serve these cups cold from the refrigerator. Letting them warm on the counter softens the mousse and topping.
Questions That Come Up When Making Pumpkin Mousse Cups
No-Bake Pumpkin Mousse Cups
Ingredients
Equipment
Method
- Stir the graham cracker crumbs, melted butter, and granulated sugar in a medium bowl until evenly moistened.
- Divide the mixture among eight 8-ounce cups, about 2 tablespoons per cup.
- Press the crust firmly into the bottoms of the cups.
- Beat the cream cheese in a large bowl with an electric mixer until smooth.
- Beat in the pumpkin, 1/2 cup powdered sugar, vanilla, and pumpkin pie spice until evenly combined.
- Whip 1 cup of the heavy cream in a separate bowl to stiff peaks.
- Gently fold the whipped cream into the pumpkin mixture in two additions.
- Divide the mousse among the cups.
- Whip the remaining 3/4 cup heavy cream with the remaining 1 tablespoon powdered sugar to medium-stiff peaks.
- Spoon or pipe the whipped cream over the mousse.
- Refrigerate the cups for at least 2 hours, until thoroughly chilled and set.
