
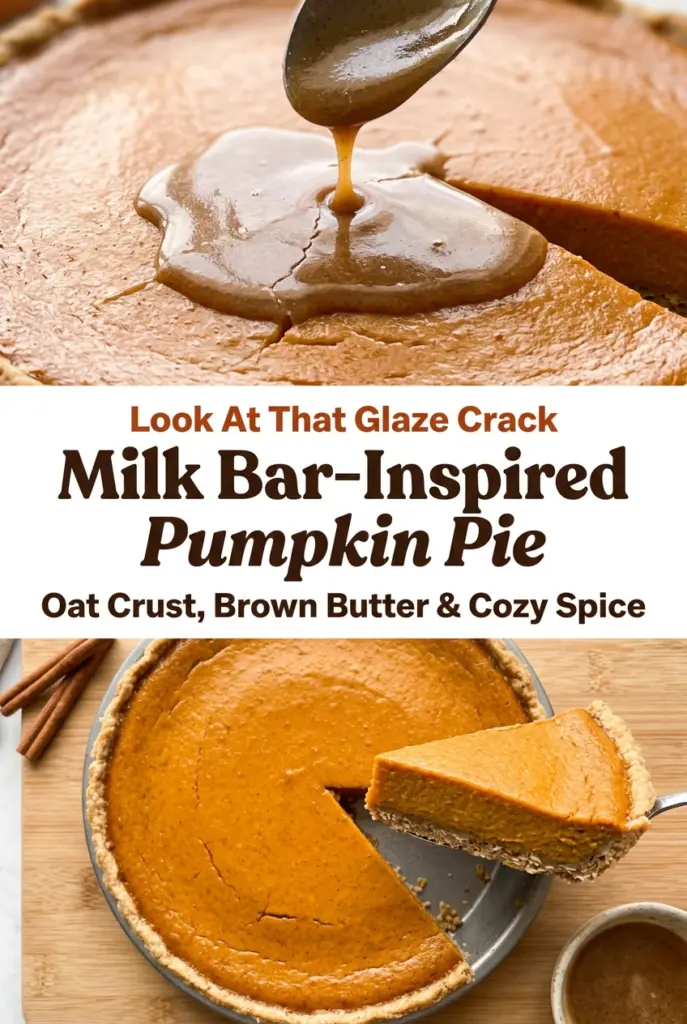
Milk Bar-Inspired Pumpkin Pie
Brown-butter pumpkin pie hits a little differently than the standard version. The filling stays silky and warmly spiced, but the oat crust changes the whole experience: it bakes up nutty,…
Tip: save now, cook later.Brown-butter pumpkin pie hits a little differently than the standard version. The filling stays silky and warmly spiced, but the oat crust changes the whole experience: it bakes up nutty, sturdy, and just chewy enough to stand up to the custard without going soggy. Then the brown-butter glaze cracks across the top with a sweet, toasty finish that makes each slice taste a little more intentional than a plain dusting of whipped cream ever could.
The part that makes this version work is balance. Oats add texture and a deeper, almost cookie-like note, while the partially baked crust gives the filling a head start so the bottom stays set. The pumpkin mixture itself is whisked smooth and baked only until the center still has a slight wobble, which is what keeps it creamy after chilling instead of grainy or overbaked. The glaze goes on after the pie is cold, not warm, so it stays on top in those thin crackly ribbons instead of melting away.
Below, I’ve laid out the small details that matter most — how to get the crust firmly packed, when the filling is actually done, and what to do if you want to swap in a different dairy or make the pie a little less sweet.
The oat crust baked up firm and a little chewy, and the brown butter glaze gave it that bakery-style finish. I chilled it overnight and the slices were clean and gorgeous the next day.
Save this Milk Bar-Inspired Pumpkin Pie for the holiday dessert table — the oat crust and brown-butter glaze make it stand out from a standard pumpkin pie.
The Part That Keeps the Crust from Turning Soggy
The oat crust needs a partial bake before the filling goes in. That short head start does two things at once: it dries the crust enough to hold its shape, and it gives the oats time to toast so they taste nutty instead of raw. If you skip that step, the bottom layer tends to soften under the pumpkin custard and the whole slice loses contrast.
Press the crust in firmly and evenly, especially where the bottom meets the sides. Loose packing is the fastest way to get a crumbly edge that slumps during baking. You want the mixture to look like damp sand when it’s pressed into the pie dish, then turn lightly golden at the edges before you add the filling.
What Each Ingredient Is Actually Doing in This Pie
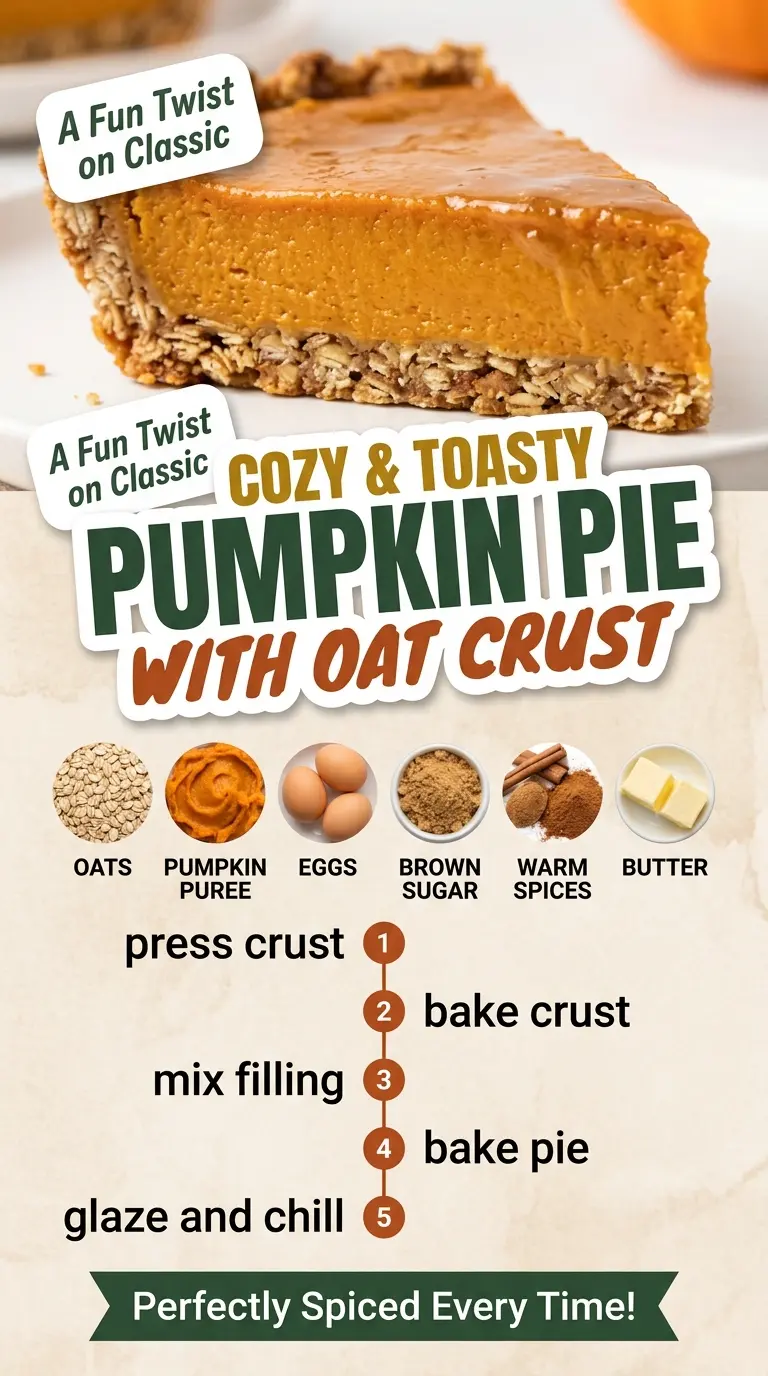
- Old-fashioned oats — These give the crust its signature texture and toasted flavor. Quick oats will work in a pinch, but they make the crust tighter and less interesting.
- All-purpose flour — Just enough to bind the oats so the crust slices cleanly. You need it here; swapping in a nut flour changes the structure and makes the crust more delicate.
- Heavy cream — This is what keeps the pumpkin filling lush and smooth. Half-and-half will work, but the pie sets a little less richly and can taste thinner.
- Pumpkin puree — Use canned puree, not pumpkin pie filling. The canned version gives you control over the sugar and spice, which matters when you’re also adding a glaze.
- Brown sugar — This deepens the filling and echoes the caramel note in the glaze. You can use all white sugar, but you’ll lose some of that cozy molasses edge.
- Brown butter — The glaze depends on it. Once the butter turns golden and smells nutty, it adds the bakery-style finish that makes this pie memorable.
How to Build the Pie So the Custard Stays Silky
Mix the crust until it just comes together
Stir the oats, flour, brown sugar, and salt first, then add the melted butter and work it through until every dry bit is moistened. You’re looking for a crumb that holds together when pinched, not a wet paste. If the mixture looks oily, the butter was too hot or the dry ingredients weren’t mixed evenly.
Press and pre-bake with purpose
Press the crust firmly into the pie dish, pushing it up the sides in an even layer. Bake it until it smells toasted and the edges turn lightly golden, about 12 to 15 minutes. Underbaked crust is the reason the bottom turns soft once the pumpkin goes in.
Whisk the filling until it’s completely smooth
Combine the pumpkin, cream, sugars, eggs, spices, salt, and vanilla until the mixture looks glossy and uniform. Stop whisking once it’s smooth; overworking the eggs adds air bubbles that can leave a pocked top. Pour slowly into the warm crust so you don’t disturb the edge.
Watch for the center wobble, then stop baking
Bake the pie until the edges are set and the center still has a slight jiggle when you nudge the pan. That wobble is your cue to pull it. If you wait until the middle looks completely firm in the oven, it will overbake as it cools and turn dry around the edges.
Finish with the glaze after chilling
Brown the butter until it’s fragrant and speckled with golden bits, then whisk it into the powdered sugar with just enough milk to make it pourable. The pie needs to be fully chilled before you drizzle it on, or the glaze will melt and soak into the surface instead of setting in those thin cracks.
How to Adapt This for a Different Crowd
Make it dairy-free
Use a rich canned coconut cream in the filling and swap the butter in the crust and glaze for a plant-based baking stick. The pie will still set and slice cleanly, though the glaze will taste a little less nutty unless you brown the dairy-free butter carefully.
Make it gluten-free
Use certified gluten-free oats and a 1:1 gluten-free flour blend in place of the all-purpose flour. The crust will be a little more delicate, so press it in firmly and let it cool before filling it.
Make it less sweet
Cut the granulated sugar in the filling by 2 tablespoons and keep the glaze thin instead of heavily drizzled. The pumpkin spice still comes through, but the pie reads more toasted and less dessert-candy sweet.
Storage and Reheating
- Refrigerator: Keeps well for 4 days, covered. The crust softens a little over time, but the slices still hold.
- Freezer: Freeze the pie without the glaze for best results, tightly wrapped for up to 1 month. Thaw overnight in the refrigerator before glazing.
- Reheating: This pie is best served cold or cool, not warm. If you want to take the chill off, let a slice sit at room temperature for 15 to 20 minutes instead of microwaving it, which can make the custard weep.
Answers to the Questions Worth Asking
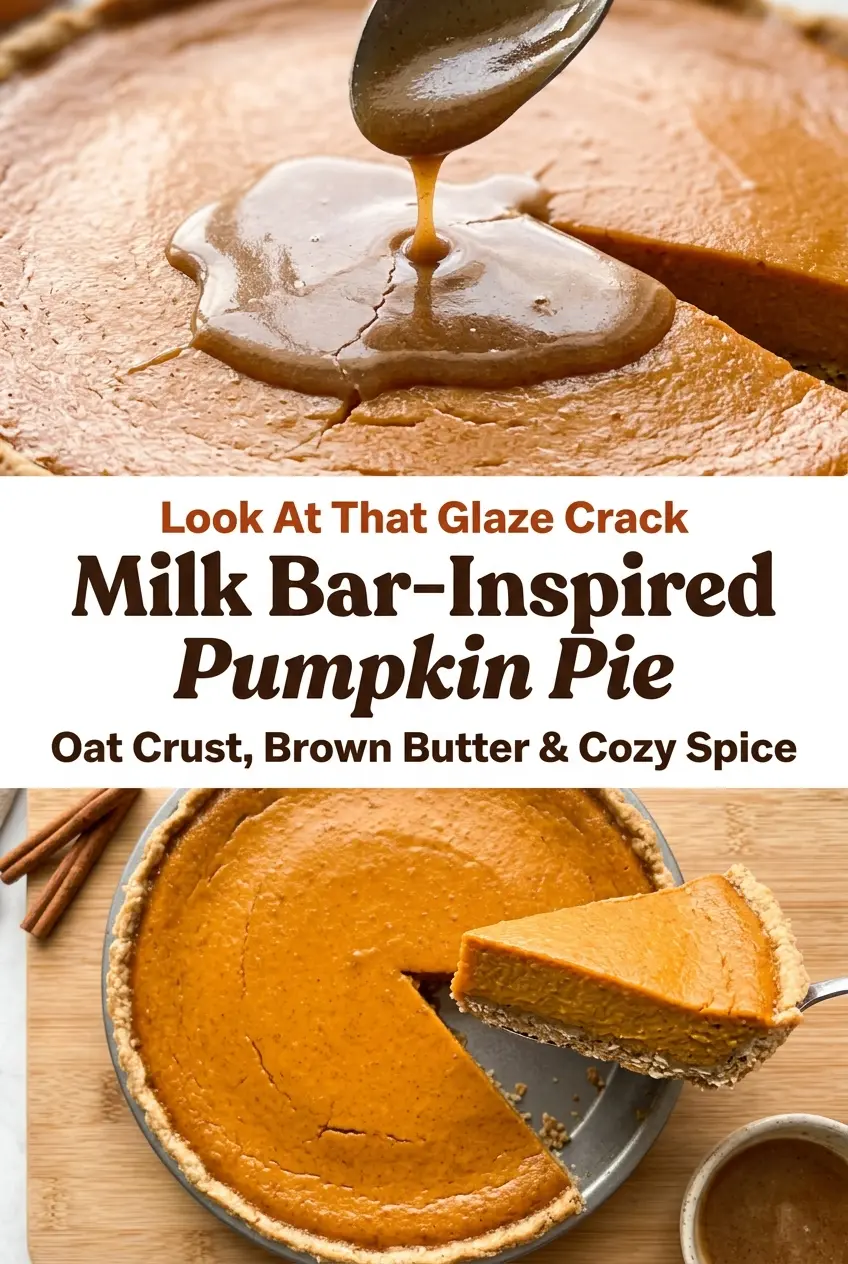
Milk Bar-Inspired Pumpkin Pie
Ingredients
Equipment
Method
- Preheat oven to 350°F. Lightly set out a 9-inch pie dish so it’s ready for packing the crust.
- Stir together old-fashioned oats, all-purpose flour, brown sugar, and salt in a bowl. Mix until the dry ingredients look evenly combined.
- Pour in melted unsalted butter and mix until evenly moistened and crumbly. The mixture should clump when pressed between your fingers.
- Press the oat mixture firmly into the bottom and up the sides of a 9-inch pie dish. Pack it tightly for a sturdy, chewy crust.
- Bake 12–15 minutes until lightly golden, then set aside to cool slightly. Keep the crust partially baked while you make the filling.
- Whisk canned pumpkin puree, heavy cream, granulated sugar, brown sugar, eggs, ground cinnamon, ground ginger, ground cloves, ground nutmeg, salt, and vanilla extract in a large bowl until smooth. Stop when no streaks of pumpkin remain.
- Pour the filling into the partially baked crust. Fill to the top without leaving big gaps.
- Bake 40–45 minutes until the center is just set with a slight jiggle. Watch for gentle movement in the middle when you nudge the pie.
- Cool completely on a wire rack, then chill at least 2 hours. Cover after cooling if needed to prevent fridge odors.
- Melt unsalted butter in a small saucepan over medium heat, swirling until it turns golden brown and smells nutty, about 3–4 minutes. Remove from heat as soon as it reaches a deep golden color.
- Whisk the brown butter into powdered sugar with a pinch of salt. Mix until thick and smooth.
- Add milk a teaspoon at a time until pourable. Aim for a drizzle consistency that will set into crackly streaks.
- Drizzle the glaze over the chilled pie in a loose crackled pattern, then slice and serve. Let the glaze set briefly before cutting for cleaner slices.
