
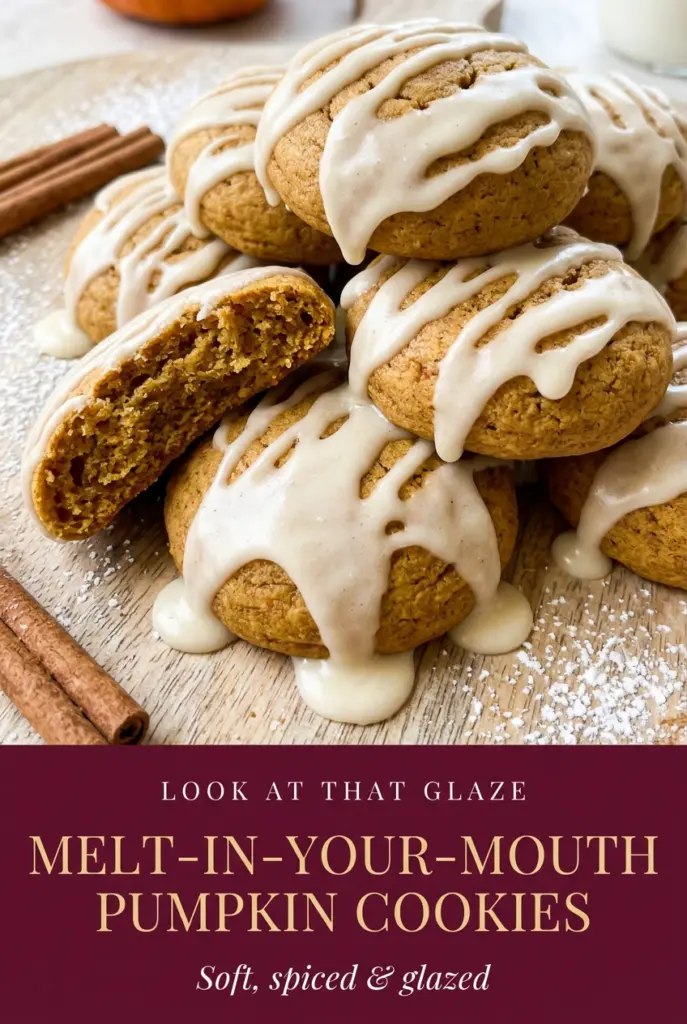
Melt-In-Your-Mouth Pumpkin Cookies
Soft pumpkin cookies should collapse the second you bite into them, with a tender crumb that tastes like cinnamon, nutmeg, and brown-spice warmth without turning dense or gummy. That balance…
Tip: save now, cook later.Soft pumpkin cookies should collapse the second you bite into them, with a tender crumb that tastes like cinnamon, nutmeg, and brown-spice warmth without turning dense or gummy. That balance is what makes these worth keeping around: they bake up cakey in the best way, then get finished with a cream cheese glaze that lands sweet, tangy, and just rich enough to make each cookie feel special.
The texture comes from a dough built with real pumpkin puree and a careful hand. Pumpkin brings moisture, but it also brings weight, so the flour amount matters here. Too little and the cookies spread into soft puddles; too much and they turn bready. The mixing method matters too. Once the dry ingredients go in, stop as soon as the flour disappears. Overmixing tightens the crumb and takes away that melt-away texture.
Below you’ll find the small details that keep the cookies soft, the glaze smooth, and the spice level balanced. There’s also a note on how to handle pumpkin puree if yours looks especially watery, because that one little thing can change the whole batch.
The cookies stayed soft for days and the glaze set up just enough that they didn’t get sticky in the container. I loved how the pumpkin and spices came through without tasting too sweet.
Love these soft pumpkin cookies with cream cheese glaze? Save them to Pinterest for the days when you want a tender, spice-forward cookie that stays melt-in-your-mouth soft.

The Trick to Cookies That Stay Soft Instead of Turning Dense
Pumpkin cookies go wrong in one of two ways: they bake up heavy from too much flour, or they spread into flat, sticky rounds because the dough was too wet. This version avoids both by leaning on the natural structure already inside pumpkin puree and using just enough flour to hold the dough together without turning it stiff. The batter will look soft. That’s correct. A firm dough here usually means the cookies will lose that tender, cakey bite.
The other thing that matters is the bake itself. These cookies should come out when the edges are set and the centers still look slightly domed and pale. If you wait for deep browning, you’ve gone past the point where they stay plush. They finish setting as they cool on the pan, which is why the five-minute rest matters. Skip that rest and they can tear when you move them. Leave them too long on the hot sheet and they dry out faster than they should.
- Pumpkin puree — Use plain canned pumpkin, not pumpkin pie filling. Pie filling already has sugar and spices mixed in, which throws off both the texture and the flavor balance. If your pumpkin looks watery, blot it lightly with paper towels before mixing so the dough doesn’t get slack.
- Butter — Softened butter creams with the sugar and gives the cookies their light, tender crumb. Melted butter won’t trap air the same way, and the cookies will bake up flatter and denser.
- Flour — All-purpose flour gives these cookies enough structure to hold the pumpkin without turning cakey in a dry, crumbly way. Measure it carefully. Too much flour is the fastest route to thick, bread-like cookies.
- Cream cheese — The glaze needs the tang and body of real cream cheese. It’s what keeps the topping from tasting like plain powdered sugar icing. Let it soften first so the glaze whisks smooth instead of staying lumpy.
Mixing the Dough Without Losing the Light Texture
Creaming the Butter and Sugar
Beat the softened butter and granulated sugar for about two minutes, until the mixture looks lighter in color and a little fluffy around the edges. That step gives the cookies their lift before the pumpkin goes in. If the butter is too cold, it won’t cream properly; if it’s greasy and soft, the dough can turn loose and spread more than it should.
Bringing in the Pumpkin
Mix in the pumpkin puree, egg, and vanilla until the bowl looks uniform, with no streaks of yellow or deep orange clinging to the sides. The mixture may look a little loose at this point, and that’s fine. Pumpkin carries a lot of moisture, so don’t keep beating it once it’s combined or the dough can thin out even more.
Adding the Dry Ingredients
Whisk the flour, baking powder, baking soda, spices, and salt together first, then add them gradually. Stop mixing as soon as the flour disappears. If you keep going, the cookies can bake up tougher and less tender, especially because this dough starts out soft. A short rest on the counter for a few minutes can help if the dough feels extra sticky, but it should still be scoopable.
Baking and Glazing
Scoop rounded tablespoons onto parchment-lined baking sheets and leave room between each one. The cookies need space because the edges relax a little as they bake. Pull them when the tops spring back lightly and the centers no longer look wet. Cool them fully before glazing, or the cream cheese icing will melt and slide off instead of sitting in a neat drizzle.
Three Small Changes That Still Keep the Cookies Worth Making
Dairy-Free Version
Swap the butter for a good plant-based baking stick and replace the cream cheese in the glaze with a dairy-free cream cheese that’s meant to be softened and mixed. The cookies will still be soft and spiced, though the glaze may set a little softer depending on the brand.
Less Sweet, More Spice
If you want the pumpkin and spice to stand out more, skip the glaze or drizzle only half of it over the tops. The cookie itself already has enough sweetness to stand on its own, and reducing the topping makes the warm spices taste sharper and less dessert-heavy.
Gluten-Free Swap
A cup-for-cup gluten-free flour blend can work here if it includes xanthan gum. The cookies may spread a touch less and bake up a little more delicate, so let them cool completely on the pan before moving them. That extra time helps them set without breaking.
Storage and Reheating
- Refrigerator: Store glazed cookies in an airtight container for up to 5 days. They stay soft, though the glaze may firm up more than it did on day one.
- Freezer: Freeze the unglazed cookies for up to 2 months. The glaze can get a little grainy after thawing, so add it fresh after the cookies come back to room temperature.
- Reheating: If you want a just-baked feel, warm an unglazed cookie for 8 to 10 seconds in the microwave. Don’t heat glazed cookies too long or the topping will melt and soak into the top.
Answers to the Questions Worth Asking
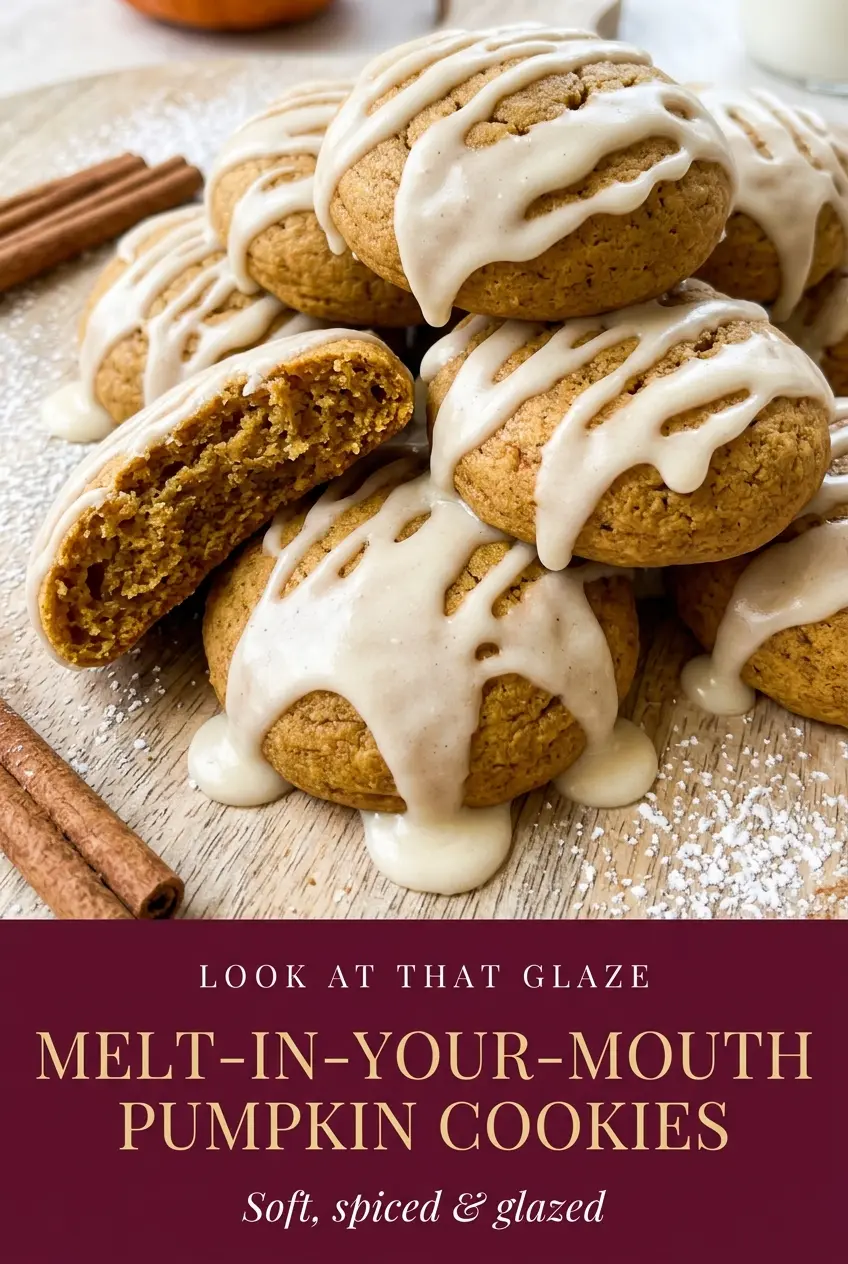
Melt-In-Your-Mouth Pumpkin Cookies
Ingredients
Equipment
Method
- Preheat the oven to 350°F and line two baking sheets with parchment paper, keeping the sheets ready for quick loading.
- In a large bowl, cream the unsalted butter and granulated sugar until light and fluffy, about 2 minutes, so the mixture turns paler and aerated.
- Beat in the pumpkin puree, large egg, and vanilla extract until fully combined, with no visible streaks of puree or egg.
- Whisk together the all-purpose flour, baking powder, baking soda, ground cinnamon, ground nutmeg, ground cloves, and salt in a separate bowl.
- Gradually mix the dry ingredients into the wet ingredients until just combined; the dough should look soft and slightly sticky rather than smooth.
- Drop rounded tablespoons of dough onto the prepared baking sheets, spacing them about 2 inches apart so they have room to spread.
- Bake at 350°F for 12-14 minutes, until the edges are set and the tops spring back lightly when touched.
- Let the cookies cool on the pan for 5 minutes, then transfer them to a wire rack so they firm up before glazing.
- Whisk together the powdered sugar, cream cheese, milk, and vanilla extract until smooth, stopping when the glaze looks glossy and pourable.
- Drizzle the glaze over the cooled cookies before serving, using a steady motion so it sets on top instead of running off.
