
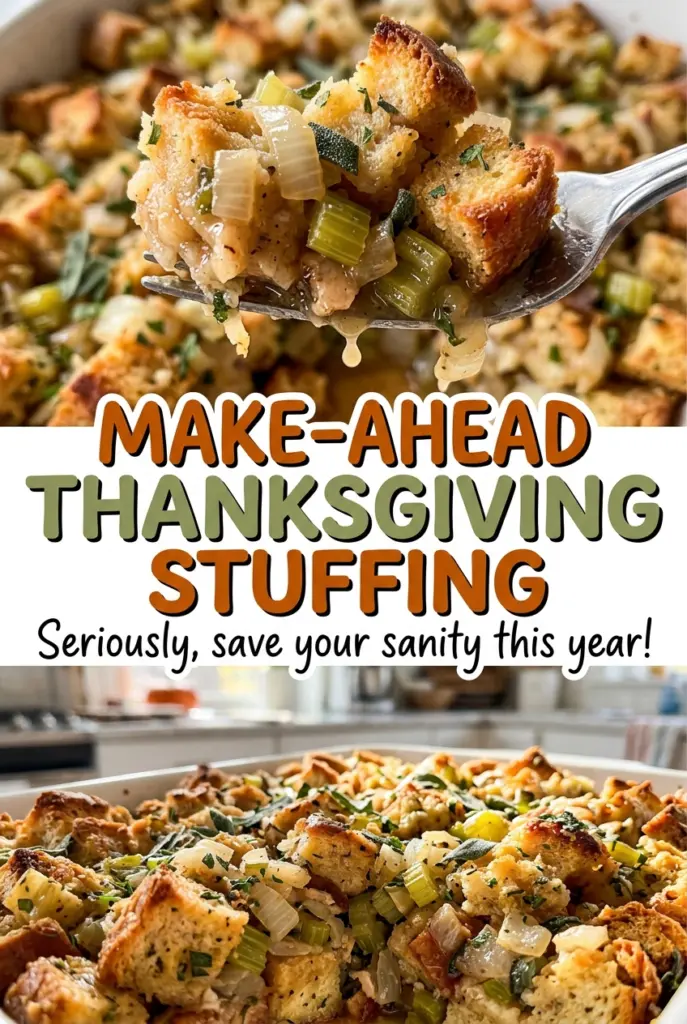
Make-Ahead Thanksgiving Stuffing
When bread cubes come out of the oven, they should feel dry and crisp rather than toasted brown. That dry texture gives them room to take in the broth and…
Tip: save now, cook later.When bread cubes come out of the oven, they should feel dry and crisp rather than toasted brown. That dry texture gives them room to take in the broth and eggs without collapsing into a heavy, wet layer. I learned to let the cubes cool completely before I start the vegetables; the result is a Make-Ahead Thanksgiving Stuffing that holds its shape and still has a golden top.
The useful part of making stuffing ahead is that the assembled pan can wait in the refrigerator while you handle the rest of the meal. I build it in a 9×13-inch metal pan, cover it tightly, and bake it straight from the refrigerator when it’s time. The center stays tender, while the uncovered finish gives the top time to turn golden and crisp. Set it on the table after a short rest, with those buttery bread edges still showing.
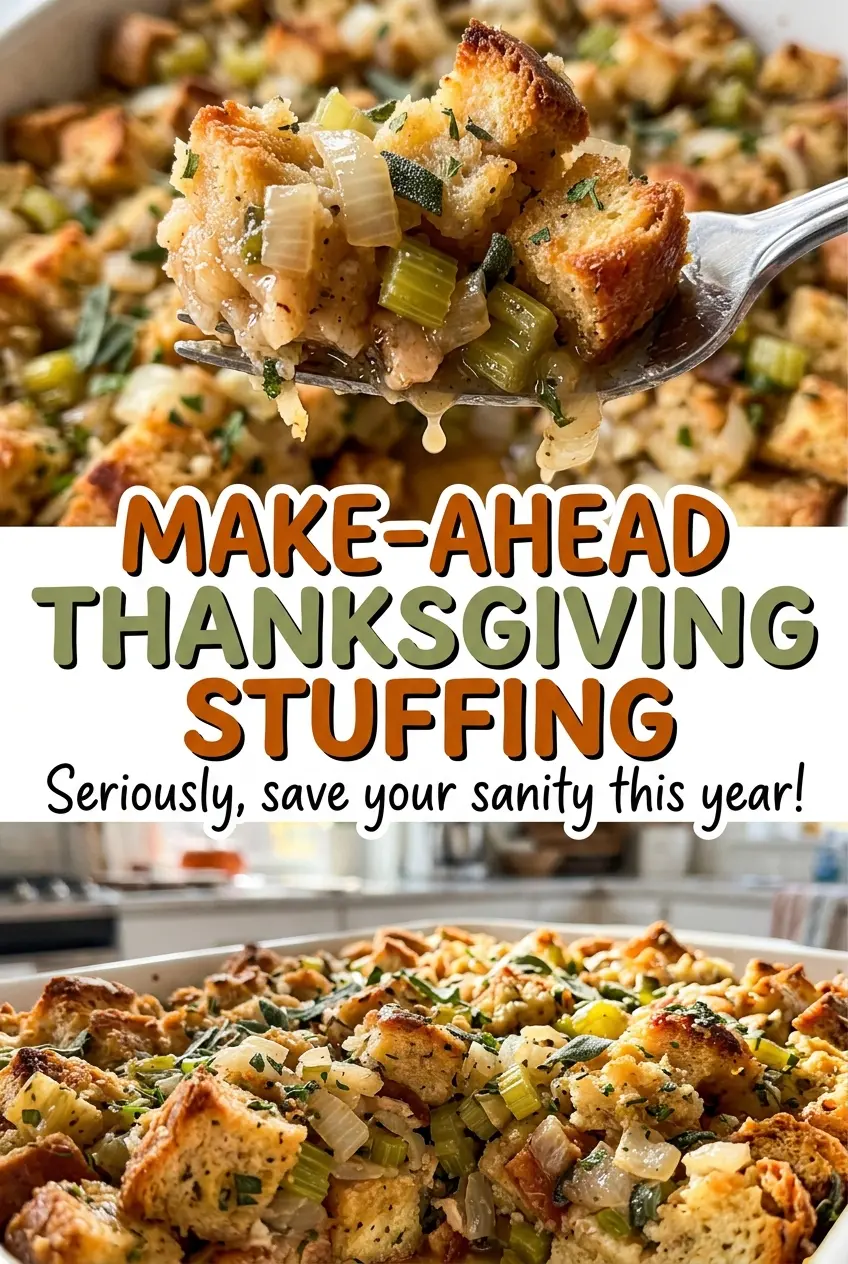
Kitchen Note
Let the dried bread cubes cool completely before you add them to the broth mixture. Warm cubes soften faster and can turn unevenly soggy before the pan even reaches the oven.
Save this Make-Ahead Thanksgiving Stuffing for a calmer holiday meal: buttery vegetables, savory herbs, and a golden top after a make-ahead chill.
Why This Stuffing Goes Into the Oven Cold, Not Warm
The assembled pan gets its make-ahead advantage from being covered and chilled, then baked straight from the refrigerator. That cold start gives you a useful buffer: the foil protects the top while the center heats, and uncovering the pan later lets the surface brown. Taking the foil off too early would expose the bread before the middle has had time to warm through.
The order matters just as much before the pan is chilled. First, the bread takes in the broth mixture; then it stands for 10 minutes so the liquid can spread through the cubes instead of pooling at the bottom. After that, the vegetables and bread go into the pan together, and the tight foil cover keeps the surface from drying out in the refrigerator. You get a more even bake without having to start the stuffing from scratch on serving day.
What the Bread, Broth, and Eggs Each Bring to the Pan
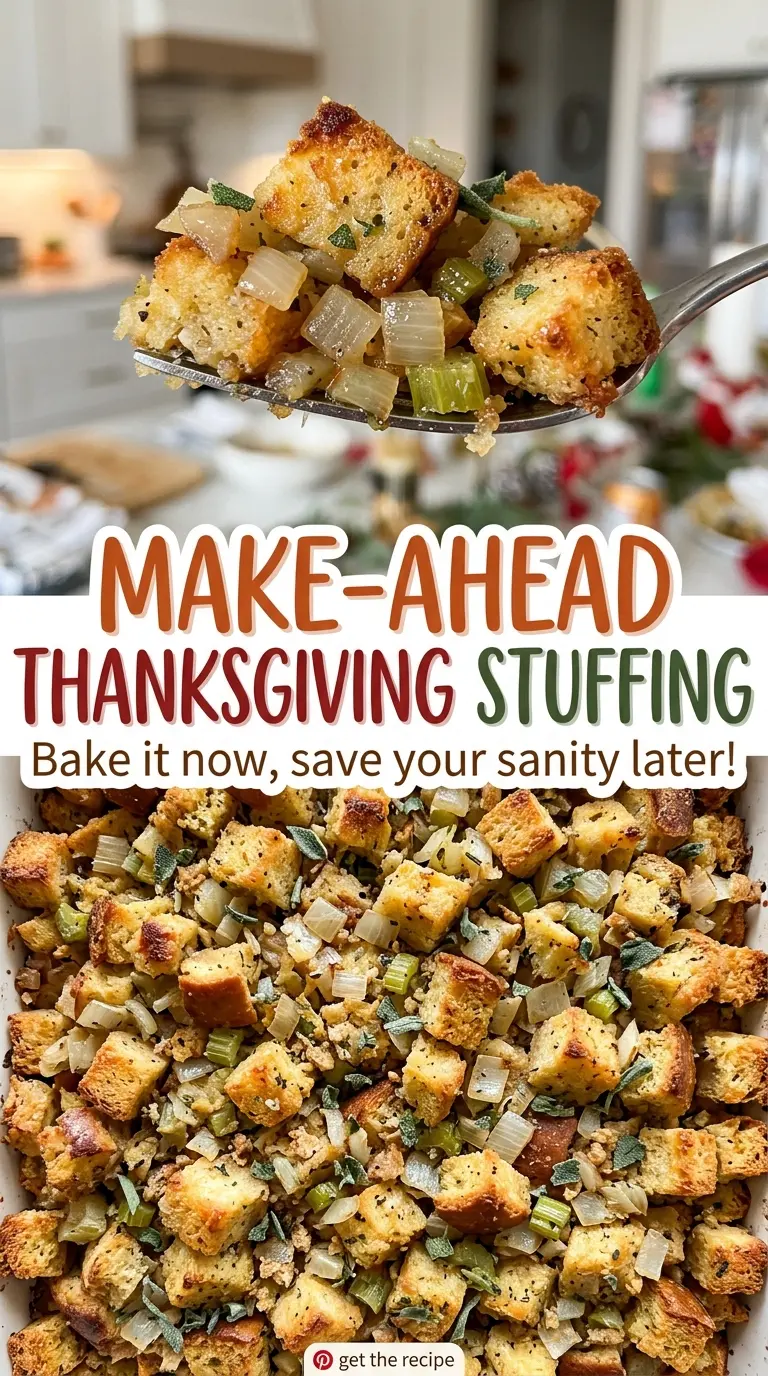
- Sturdy white bread — The loaf needs enough structure to hold its cube shape after it absorbs the broth. A plain, sturdy supermarket loaf is fine; what matters most is that the cubes dry until crisp. The stated cup yield is approximate, so use the full loaf rather than judging the recipe by volume alone.
- Unsalted butter, onion, and celery — Butter carries the softened vegetables through the bread and gives the stuffing its rich base. Finely chopping the onion and celery helps them distribute through the pan instead of leaving large bites. Unsalted butter also lets the seasoning stay balanced alongside the broth and kosher salt.
- Low-sodium chicken broth and eggs — The broth moistens the dried bread and brings savory flavor; low-sodium broth keeps the finished seasoning from becoming too salty. Eggs help hold the mixture together as it bakes. Whisk them thoroughly into the broth before adding the cubes so they don’t collect in one spot.
- Parsley, sage, and thyme — Fresh parsley gives the mixture a green, fresh note, while rubbed sage and dried thyme bring the familiar savory herb character. Chop the parsley just before mixing, and break up any clumps of rubbed sage as you whisk the liquid ingredients.
Build the Stuffing in Four Stages
Dry the bread until crisp
Heat the oven to 300°F and spread the 1-inch bread cubes across two rimmed baking sheets. Bake for 45–55 minutes, stirring once halfway through, until the cubes feel dry and crisp rather than soft in the center. Watch the texture more closely than the color; the bread should dry without becoming deeply browned. Let it cool completely before moving on.
Soften the onion and celery in butter
Melt the butter in a large skillet over medium heat, then add the finely chopped onion and celery. Cook for 8–10 minutes, stirring occasionally, until both vegetables have softened. If the onion starts browning before the celery is tender, lower the heat so the vegetables soften without taking on too much color. Set the skillet aside while you prepare the broth mixture.
Coat the cubes evenly
In a large bowl, whisk together the broth, eggs, parsley, sage, thyme, kosher salt, and black pepper. Add the cooled bread cubes and cooked vegetables, then toss until the cubes look evenly moistened. Let the mixture stand for 10 minutes; a few gentle turns during tossing help distribute the liquid without crushing the bread. If liquid gathers at the bottom, toss again so it doesn’t stay in one damp pocket.
Chill, then bake until the center is set
Coat a 9×13-inch metal baking pan with nonstick cooking spray and transfer the stuffing to it. Cover tightly with foil and refrigerate for up to 24 hours. When it’s time to bake, heat the oven to 350°F and bake the covered pan straight from the refrigerator for 35 minutes, then remove the foil and bake for 20–30 minutes more. Look for a golden top and a center temperature of 165°F, then let the pan rest for 10 minutes before serving.
Two Bread Choices That Change the Bite
Choose a tighter-crumb sturdy white loaf
A sturdy white loaf with a closer crumb gives you a more cohesive, even interior. Keep the cubes at the specified size and dry them until crisp; if they still feel soft inside, they’ll take up liquid less evenly.
Choose a crustier sturdy white loaf
A sturdy white loaf with more crust gives the finished stuffing a little more contrast between the tender middle and firmer edges. Keep the crust on when cutting the cubes so those browned, chewy bits are spread throughout the pan.
Storage and Reheating
- Refrigerator: Refrigerate baked leftovers within 2 hours and keep them covered for 3–4 days. The top will soften as it sits.
- Freezer: Freeze cooled portions in an airtight container for up to 2 months for best texture. Thaw in the refrigerator before reheating; the bread may be a little softer than when freshly baked.
- Reheating: Reheat individual portions covered in the microwave until hot throughout. Leaving them uncovered can dry the edges before the middle warms.
Questions I Get Asked About Make-Ahead Stuffing
Make-Ahead Thanksgiving Stuffing
Ingredients
Equipment
Method
- Preheat the oven to 300°F.
- Spread the bread cubes on two rimmed baking sheets and bake for 45–55 minutes, stirring once halfway through, until dry and crisp.
- Cool the bread cubes completely.
- Melt the butter in a large skillet over medium heat.
- Add the onion and celery and cook for 8–10 minutes, stirring occasionally, until softened.
- Whisk the broth, eggs, parsley, sage, thyme, salt, and pepper in a large bowl.
- Add the bread cubes and cooked vegetables and toss until evenly moistened.
- Let the mixture stand for 10 minutes.
- Coat a 9x13-inch metal baking pan with nonstick cooking spray.
- Transfer the stuffing to the pan and cover tightly with foil.
- Refrigerate for up to 24 hours.
- When ready to bake, heat the oven to 350°F.
- Bake the covered stuffing straight from the refrigerator for 35 minutes.
- Remove the foil.
- Bake for 20–30 minutes, until the top is golden and the center reaches 165°F.
- Let the stuffing rest for 10 minutes before serving.
