
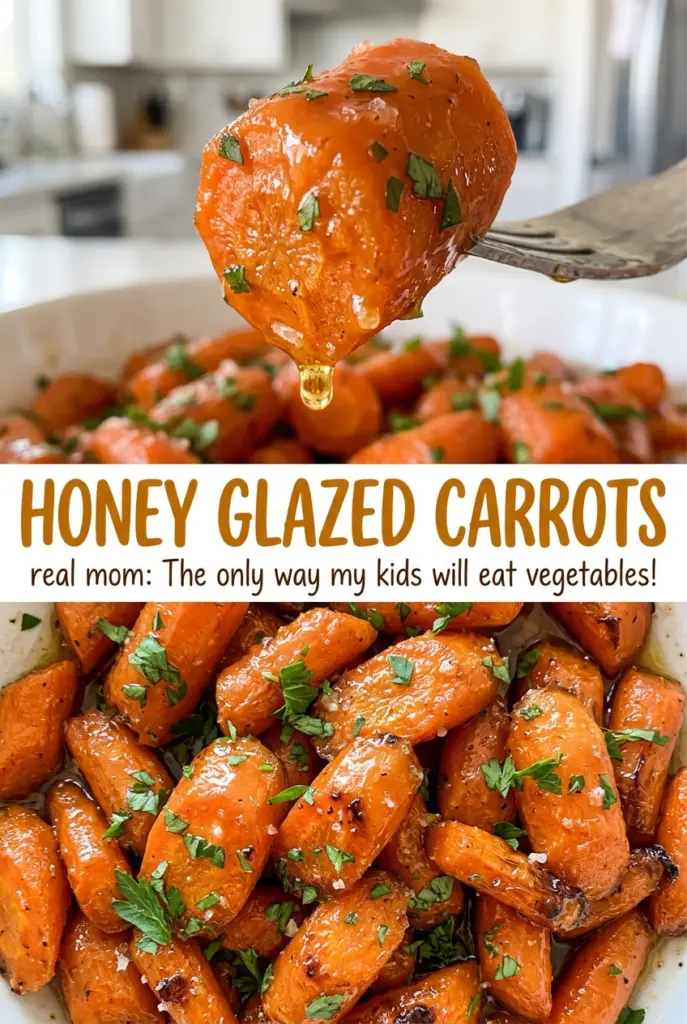
Honey Glazed Carrots
The carrots look plain when they come out of the pot, then a few minutes in the skillet turn them glossy and warmly sweet. I like this two-part method for…
Tip: save now, cook later.The carrots look plain when they come out of the pot, then a few minutes in the skillet turn them glossy and warmly sweet. I like this two-part method for honey glazed carrots because the carrots get tender in water first, while the butter and honey become a quick coating rather than a watery sauce.
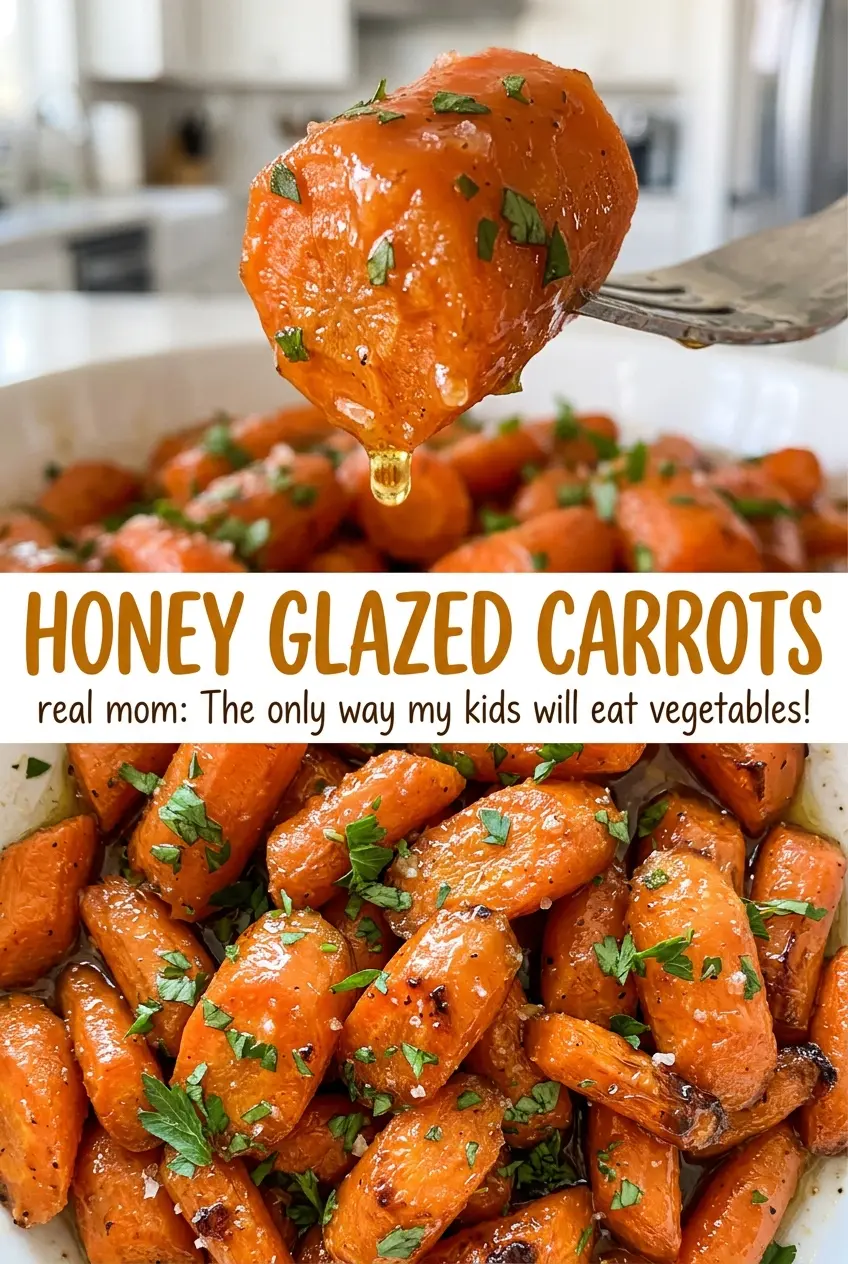
Cutting the carrots into even, thin diagonal slices helps them cook at the same pace, and the fork test keeps them from going soft before they reach the skillet. Once they’re drained, toss them with the honey mixture just long enough to coat each slice. The finished carrots should glisten, with a little buttery glaze clinging to the edges.
Kitchen Note
The skillet stage is quick, so stay close and keep the carrots moving. I take them off the heat as soon as they look glossy and lightly coated; waiting for a thick syrup can make the glaze too sticky.
Save these honey glazed carrots for a side dish with tender slices and a buttery honey coating that comes together in minutes.
Why the Carrots Need to Be Drained Before They Meet the Honey
It’s easy to think the honey belongs in the saucepan with the carrots, but that would leave the glaze fighting the cooking water. The carrots simmer uncovered until tender, then get drained before they go into the skillet. Removing that water gives the butter and honey a chance to coat the slices instead of thinning out around them.
The order also gives you control over the texture. You can check the carrots with a fork before they reach the glaze, so they don’t have to simmer until the honey mixture is ready. If the slices are still firm after the first check, keep simmering and test again; if they’re already tender, drain them promptly. In the skillet, the glaze only needs a couple of minutes to become shiny and cling to the carrots. It’s a small distinction, but it’s what separates lightly glazed slices from carrots sitting in a puddle of sweetened butter.
What Makes the Carrots and Honey Work Together
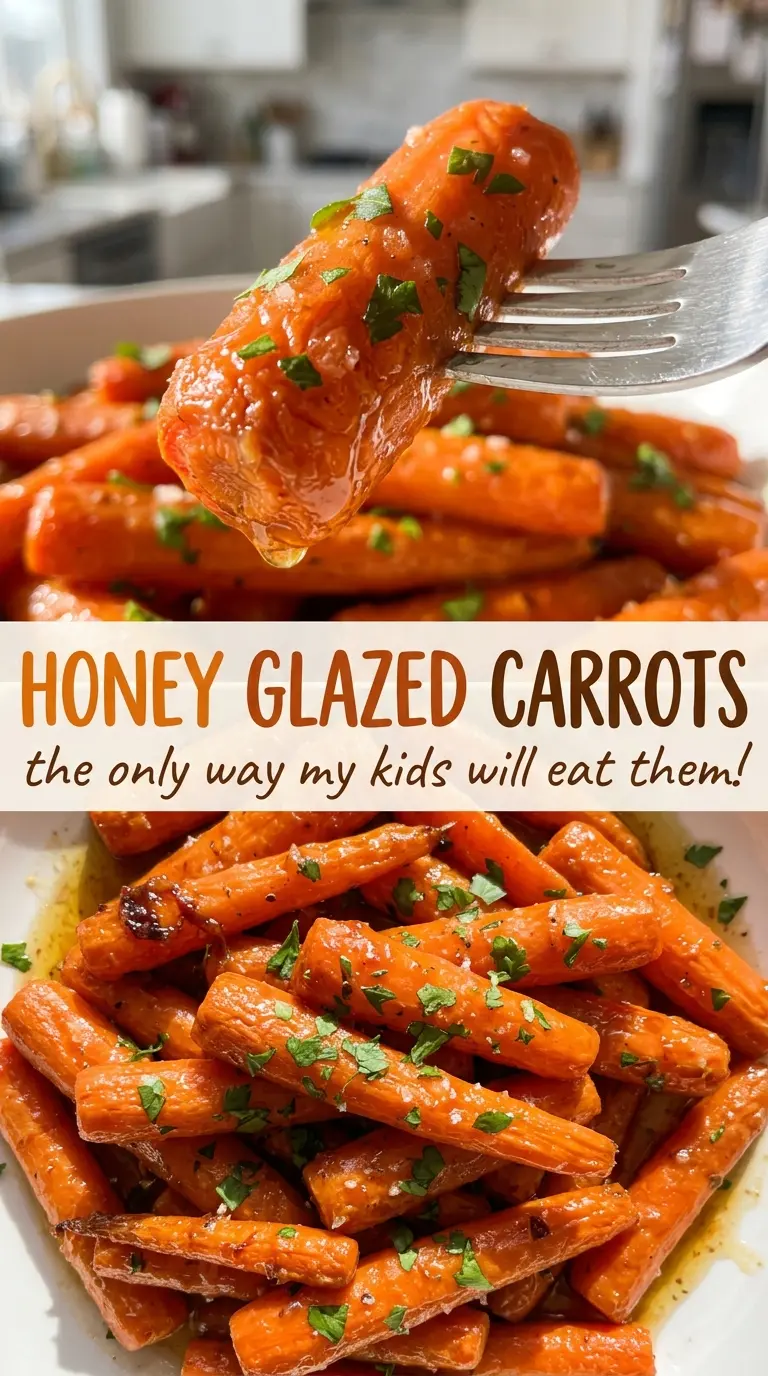
- Carrots — Firm carrots with smooth skin are easiest to peel and slice evenly. The uniform 1/4-inch diagonal cut matters more than choosing a particular variety: slices of similar thickness soften on a similar schedule. If the carrots are especially thick, keep the slices consistent rather than leaving a few chunky pieces beside thin ones.
- Honey — Honey brings the clean sweetness that defines this glaze and gives the butter something to cling to. A mild, familiar honey keeps the carrot flavor forward; a stronger-tasting honey will be more noticeable. Use what you have, and avoid crystallized honey if you want it to stir smoothly into the melted butter.
- Unsalted butter — Butter rounds out the honey and makes the coating taste rich without overwhelming the carrots. Unsalted butter lets the divided kosher salt season the vegetables and glaze predictably. The source recipe uses unsalted; salted butter can make the finished dish saltier, so it isn’t a one-for-one flavor match.
- Kosher salt and black pepper — The salt is divided between the simmering water and the skillet glaze, seasoning the carrots at two stages. Ground black pepper adds a quiet savory edge that keeps the honey from tasting one-note. Keep the pepper ground so it disperses through the butter instead of landing in isolated bites.
Two Stages, One Glossy Skillet Finish
Simmer the Slices Until Just Tender
Put the sliced carrots, water, and 1/4 teaspoon of the kosher salt in a 3-quart saucepan, then bring everything to a boil over high heat. Reduce the heat to medium and simmer uncovered for 7 to 10 minutes. Start checking with a fork before the end of that window; it should pierce a slice easily, but the carrot shouldn’t collapse. Drain the carrots well once they’re just tender.
Stir Together the Butter and Honey
Melt the butter in a 12-inch skillet over medium heat. Stir in the honey, the remaining 1/4 teaspoon kosher salt, and the ground black pepper. The mixture should look fluid and evenly combined, not browned or bubbling hard. If the butter starts to brown, lower the heat so the honey has a gentle base rather than a scorched one.
Toss Until the Glaze Clings
Add the drained carrots to the skillet and toss them for 2 to 3 minutes. Use a spatula to turn the slices through the butter and honey, scraping across the skillet so the coating reaches the carrots throughout. Watch for a glossy surface and a light, even sheen rather than a deep pool of glaze. Take the pan off the heat once the slices are coated.
Two Simple Ways to Change the Honey Glaze
Make a Dairy-Free Honey Glaze
Replace the unsalted butter with the same amount of olive oil for a dairy-free version. The carrots will still take on the honey’s sweetness, though the coating will taste less buttery and feel a little lighter. Keep the skillet over medium heat and toss until the oil and honey coat the slices.
Give the Butter a Nutty Edge
For a deeper, toasted note, let the butter cook until it smells nutty and turns lightly golden before stirring in the honey, salt, and pepper. Watch it closely, since browned butter can go from fragrant to burnt quickly. This version has a more savory, toasty finish alongside the honey’s sweetness.
Storage and Reheating
- Refrigerator: Store leftovers in an airtight container for 3 to 4 days. The chilled butter glaze will firm up, and the carrots will be softer after reheating.
- Freezer: Freeze in an airtight freezer-safe container for up to 2 months for best texture. Thawed carrots will be softer than freshly cooked ones, but they’re still suitable for a warm side dish.
- Reheating: Warm gently in a skillet over low heat, stirring until hot; a small splash of water helps loosen the chilled glaze. Avoid high heat, which can scorch the honey before the carrots warm through.
Questions That Come Up While Making Honey Glazed Carrots
Honey Glazed Carrots
Ingredients
Equipment
Method
- Combine the carrots, water, and 1/4 teaspoon of the salt in a 3-quart saucepan.
- Bring the mixture to a boil over high heat.
- Reduce the heat to medium and simmer uncovered for 7 to 10 minutes, until the carrots are just tender when pierced with a fork.
- Drain the carrots well.
- Melt the butter in a 12-inch skillet over medium heat.
- Stir in the honey, remaining 1/4 teaspoon salt, and ground black pepper.
- Add the carrots and toss for 2 to 3 minutes, until glossy and lightly coated with the glaze.
