
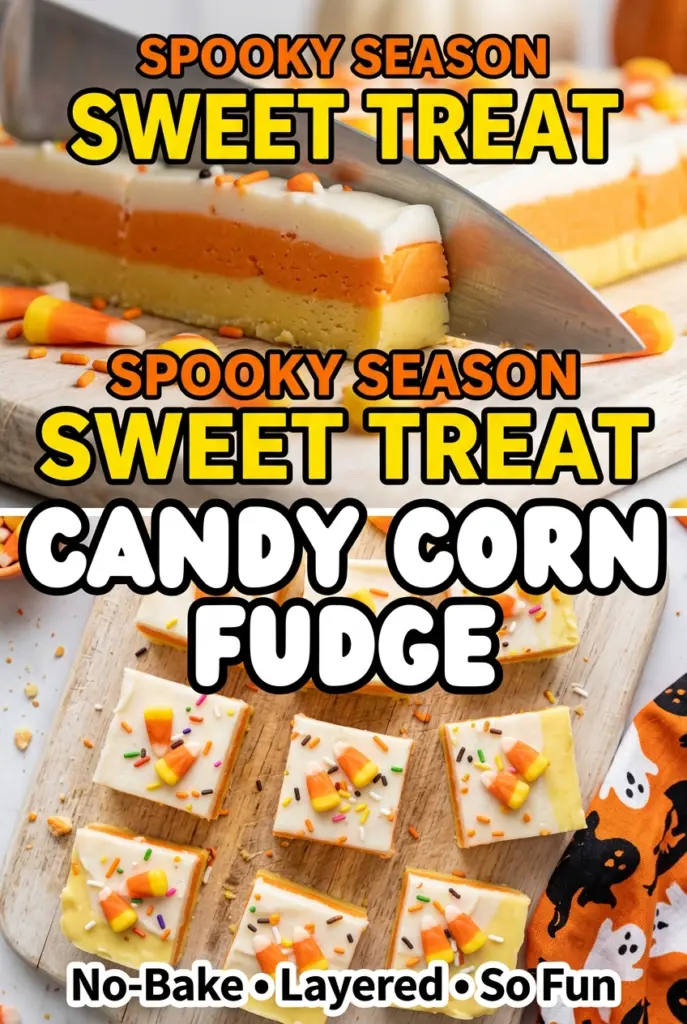
Halloween Candy Corn Fudge
Creamy layers of Halloween Candy Corn Fudge give you the same nostalgic hit as the classic candy, but in a soft, melt-in-your-mouth square that cuts cleanly and looks sharp on…
Tip: save now, cook later.Creamy layers of Halloween Candy Corn Fudge give you the same nostalgic hit as the classic candy, but in a soft, melt-in-your-mouth square that cuts cleanly and looks sharp on a platter. The three colors do all the visual work, but the texture is what keeps people coming back: smooth, dense, and just firm enough to hold its shape without tasting dry or chalky.
What makes this version work is the low heat and the short chill between layers. White chocolate seizes or scorches fast, so the pan never needs a hard boil or a candy thermometer — just gentle melting and steady stirring. The condensed milk keeps the fudge silky, while the butter gives it enough richness to slice without crumbling. The quick freeze between layers matters too, because it keeps the stripes distinct instead of muddying into one another.
Below, I’ve included the one trick that keeps the colors clean, plus a few ways to adapt the fudge if you want a different candy-topped finish or need a dairy-free swap.
The layers stayed crisp and the fudge set up perfectly after chilling. I was worried it would be too sweet, but the candy corn on top gave just enough crunch and my kids thought it was the coolest thing on the dessert table.
These candy corn fudge layers are the kind of Halloween treat that vanishes fast, so keep this one handy for party trays and edible gifts.
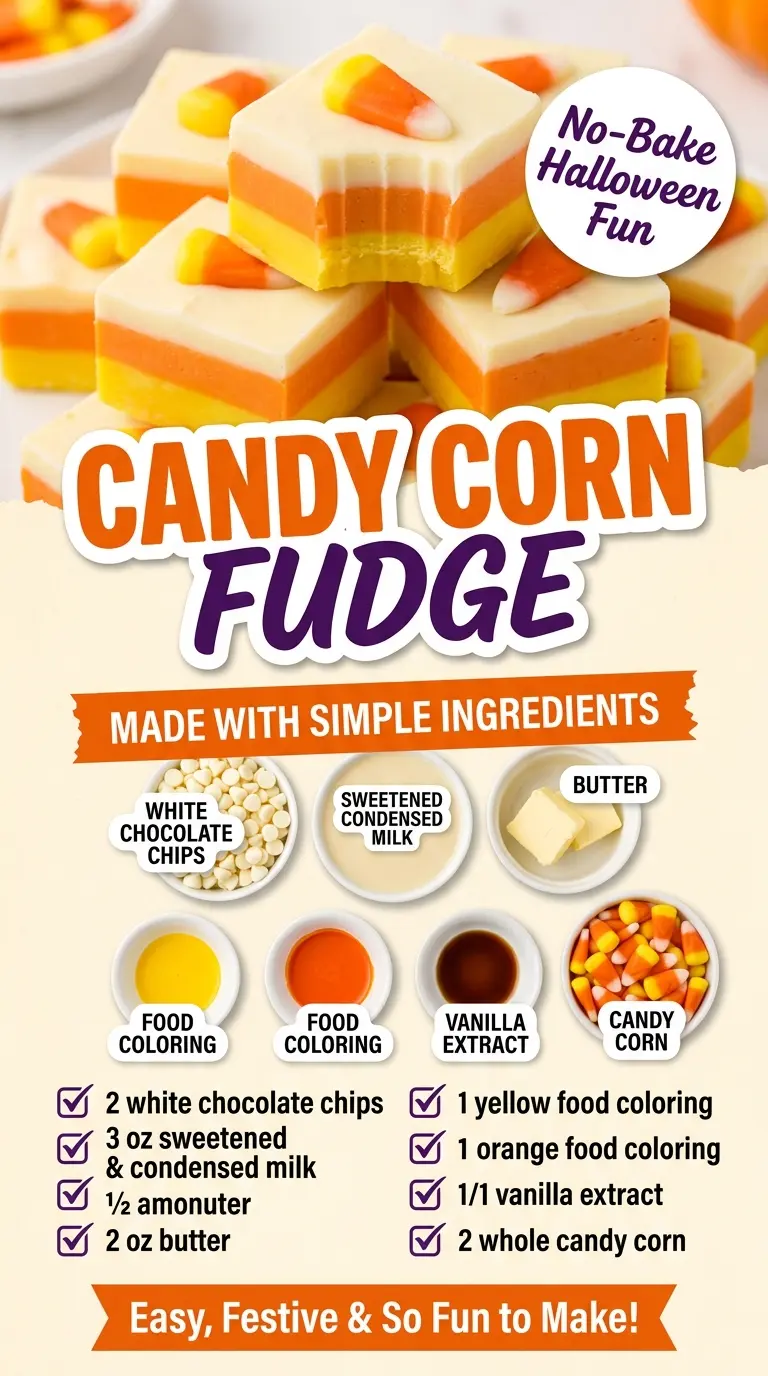
The Trick to Clean Candy Corn Layers Is Chilling in Between
The biggest mistake with layered fudge is rushing the next color on top before the previous one has enough structure. When that happens, the layers sink, smear, or blend at the edges, and you lose the whole candy corn effect. A short freeze between pours gives each layer a stable surface, which is what keeps the stripes sharp when you slice into the pan.
Another detail that matters is heat control. White chocolate does not forgive high heat, and once it starts to look grainy or thick, the damage is usually done. Low heat and constant stirring keep the mixture glossy, and taking it off the burner as soon as it melts keeps the texture smooth instead of greasy.
- White chocolate chips — These are the base of every layer, so use a brand that melts smoothly rather than one that stays stubbornly thick. If you only have white chocolate bars, chop them fine so they melt evenly.
- Sweetened condensed milk — This gives the fudge its soft set and keeps it creamy without needing a candy thermometer. Evaporated milk won’t work here; it doesn’t have the same sweetness or body.
- Butter — Adds richness and helps the fudge set with a smoother slice. Salted butter works in a pinch, but the flavor is cleaner with unsalted.
- Gel food coloring — Gel color is the move because it gives bold orange and yellow without thinning the mixture. Liquid food coloring can throw off the texture and takes more of it to get a bright color.
- Candy corn — This is for the top, so it’s less about flavor and more about the final look. Press it in after the top layer is spread so it stays visible and doesn’t sink.
How to Build Each Layer Without Blending the Colors
Start With the Bottom Layer
Melt the white chocolate, condensed milk, and butter over low heat, stirring until the mixture looks smooth and glossy with no lumps left behind. Pull the pan off the heat before stirring in the vanilla and yellow gel color, because extra heat is what turns white chocolate pasty. Spread the mixture into the pan right away and get it into the freezer while it still has some movement. If you wait too long, it starts setting in the saucepan and won’t level out cleanly.
Keep the Middle Layer From Disturbing the First
The orange layer goes on only after the yellow layer feels firm to the touch, not just cool. Pour it gently over the back of a spoon if you want extra insurance against digging into the layer below, then nudge it to the corners with an offset spatula. If the first layer is still soft, the orange will sink and the stripes will blur. A 10-minute freeze is usually enough, but if your freezer runs warm, give it a few minutes longer.
Finish With a Smooth White Top
The last layer should look thick and pourable, not stiff. Spread it carefully so the top stays even, then press the candy corn into the surface before chilling so the decorations stay anchored. Once the fudge is fully set, lift it out using the parchment and cut with a sharp knife wiped clean between slices. That clean blade matters; a sticky knife drags the layers and makes the bars look messy.
How to Adapt This for Different Diets and Party Needs
Dairy-Free Version
Use dairy-free white chocolate and a thick coconut-based condensed milk substitute. The texture will be slightly softer and the flavor will pick up a faint coconut note, but it still slices well if you chill it fully before cutting.
No Candy Corn on Top
Swap the candy corn for orange and yellow sprinkles or chopped white chocolate. You’ll keep the festive look without adding another layer of sweetness, and the top will stay a little cleaner for wrapping or stacking.
Making It for a Crowd
Double the recipe and use a 9×13-inch pan, but keep the layers a little thinner than you would in an 8×8. The chill times stay about the same, though the larger pan may need a few extra minutes in the freezer before the next layer goes on.
Storage and Reheating
- Refrigerator: Store in an airtight container for up to 1 week. The texture stays firm and creamy, though the candy corn topping can soften a little.
- Freezer: Freezes well for up to 2 months if you layer parchment between the pieces. Thaw it in the refrigerator so the top doesn’t sweat.
- Reheating: No reheating needed. If the fudge gets too hard straight from the fridge, let it sit at room temperature for 10 to 15 minutes before serving so the texture turns creamy again.
Questions I Get Asked About This Recipe
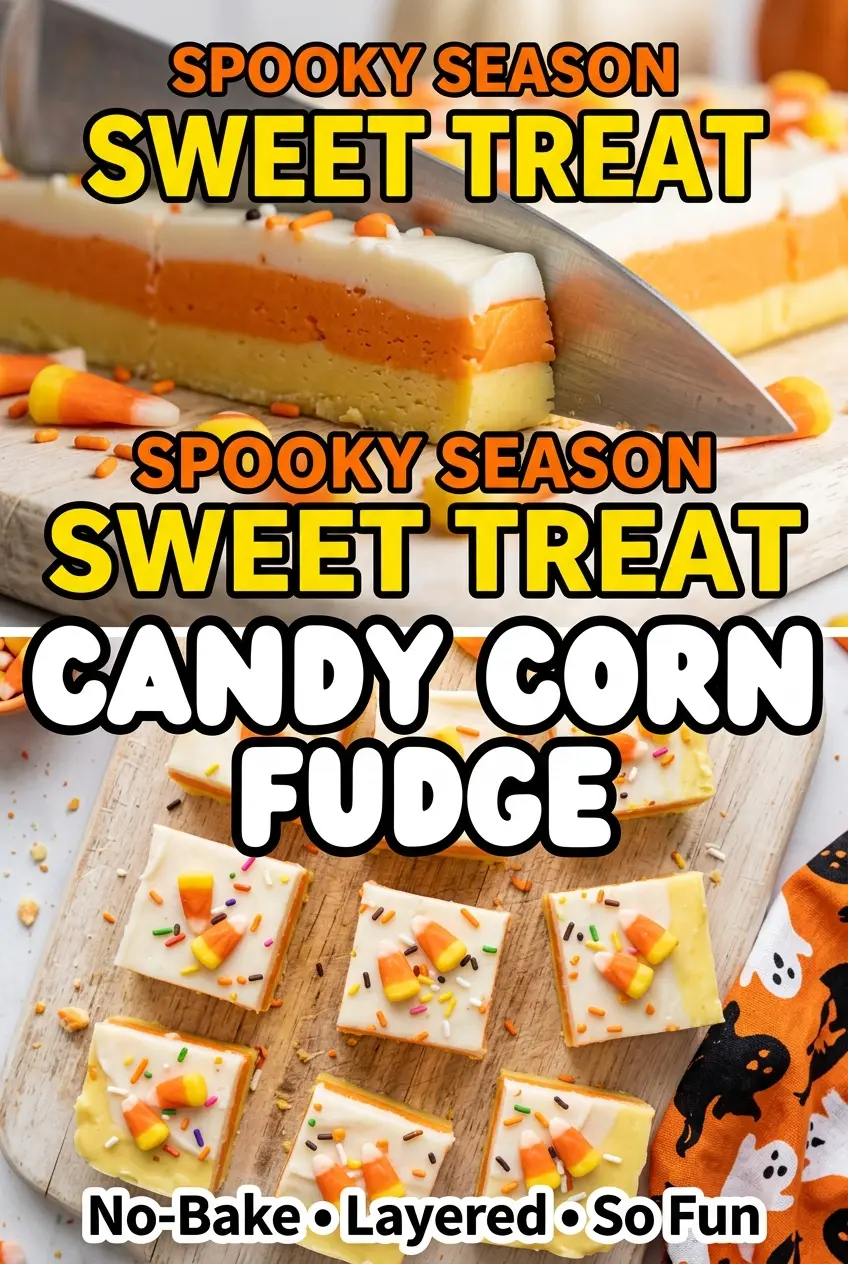
Halloween Candy Corn Fudge
Ingredients
Equipment
Method
- Line an 8x8-inch baking pan with parchment paper, leaving overhang on two sides, so you can lift the fudge out easily later.
- In a saucepan, melt the white chocolate chips, sweetened condensed milk, and butter together over low heat, stirring constantly until smooth.
- Remove from heat, then stir in the vanilla extract and yellow gel food coloring until evenly colored.
- Pour the yellow mixture into the prepared pan and spread into an even layer, then freeze for 10 minutes to set.
- Repeat the melting process for the orange layer in the saucepan over low heat, stirring constantly until smooth.
- Remove from heat, stir in the vanilla extract and orange gel food coloring until evenly colored.
- Pour the orange mixture over the chilled yellow layer, spread evenly, then freeze for 10 minutes to set.
- Repeat the melting process once more for the white layer over low heat, stirring constantly until smooth.
- Remove from heat, stir in the vanilla extract (leave it uncolored), and keep the mixture smooth.
- Pour the white layer over the orange layer and spread into a smooth, even top.
- Press candy corn pieces gently into the top layer for decoration.
- Chill the fudge at least 2 hours until fully set, then lift out using the parchment overhang and slice into squares.
