
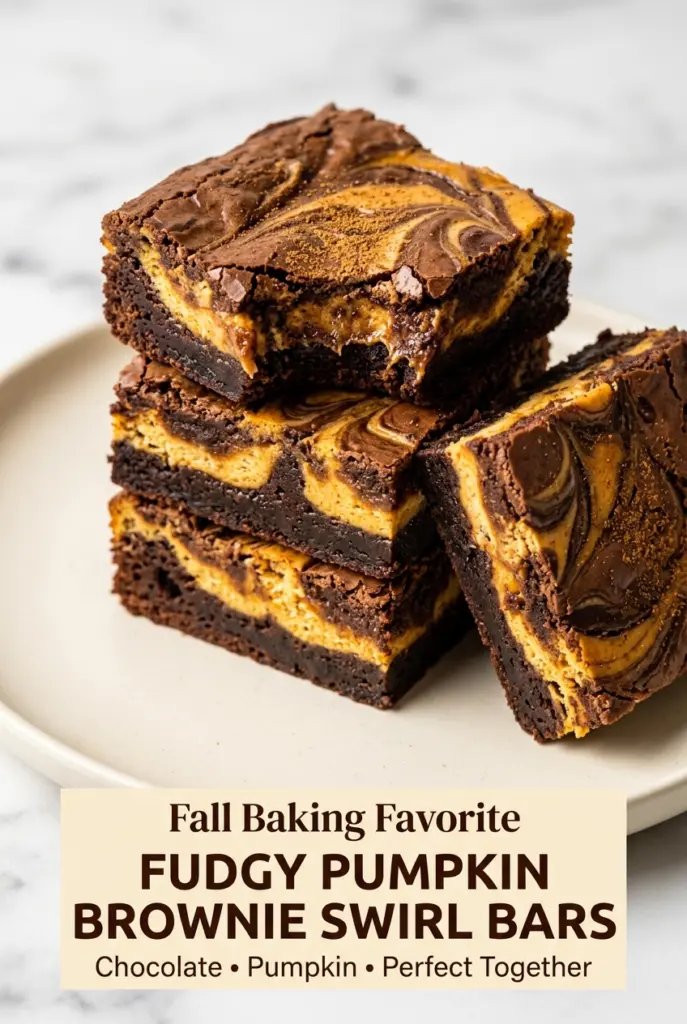
Fudgy Pumpkin Brownie Swirl Bars
Fudgy Pumpkin Brownie Swirl Bars hit that sweet spot between rich chocolate dessert and spiced pumpkin cheesecake bar, with a crackly top and a center that stays dense and plush…
Tip: save now, cook later.Fudgy Pumpkin Brownie Swirl Bars hit that sweet spot between rich chocolate dessert and spiced pumpkin cheesecake bar, with a crackly top and a center that stays dense and plush instead of turning cakey. The brownie layer bakes up deeply chocolatey, then the pumpkin swirl cuts through with just enough tang and spice to keep each bite from feeling heavy.
What makes this version work is the balance of fat, sugar, and restraint. Melted chocolate plus butter gives the brownie base that glossy, fudgy texture, while the pumpkin layer uses cream cheese and an egg yolk to set into a silky swirl without turning watery. The key is not overmixing either batter and not over-swilling the pan; you want ribbons, not a fully blended batter.
Below, I’ll show you the visual cues that matter most, the swap that keeps the pumpkin layer smooth, and the chilling step that gives you those clean bakery-style squares instead of crumbly edges.
The brownie stayed fudgy all the way through and the pumpkin layer baked up smooth, not wet. I chilled them like you said and got neat squares that held together perfectly for my bake sale.
Love the fudgy brownie base and pumpkin spice swirl? Save these bars to Pinterest for the holidays, bake sales, or anytime you want a marbled chocolate-pumpkin dessert.
The Reason These Bars Stay Fudgy Instead of Turning Cakey
The biggest trap with brownie swirl bars is treating them like cake batter. Once flour goes in, the mixing has to stop. Overworking the batter builds structure, and structure is exactly what steals the dense, fudgy bite these bars need.
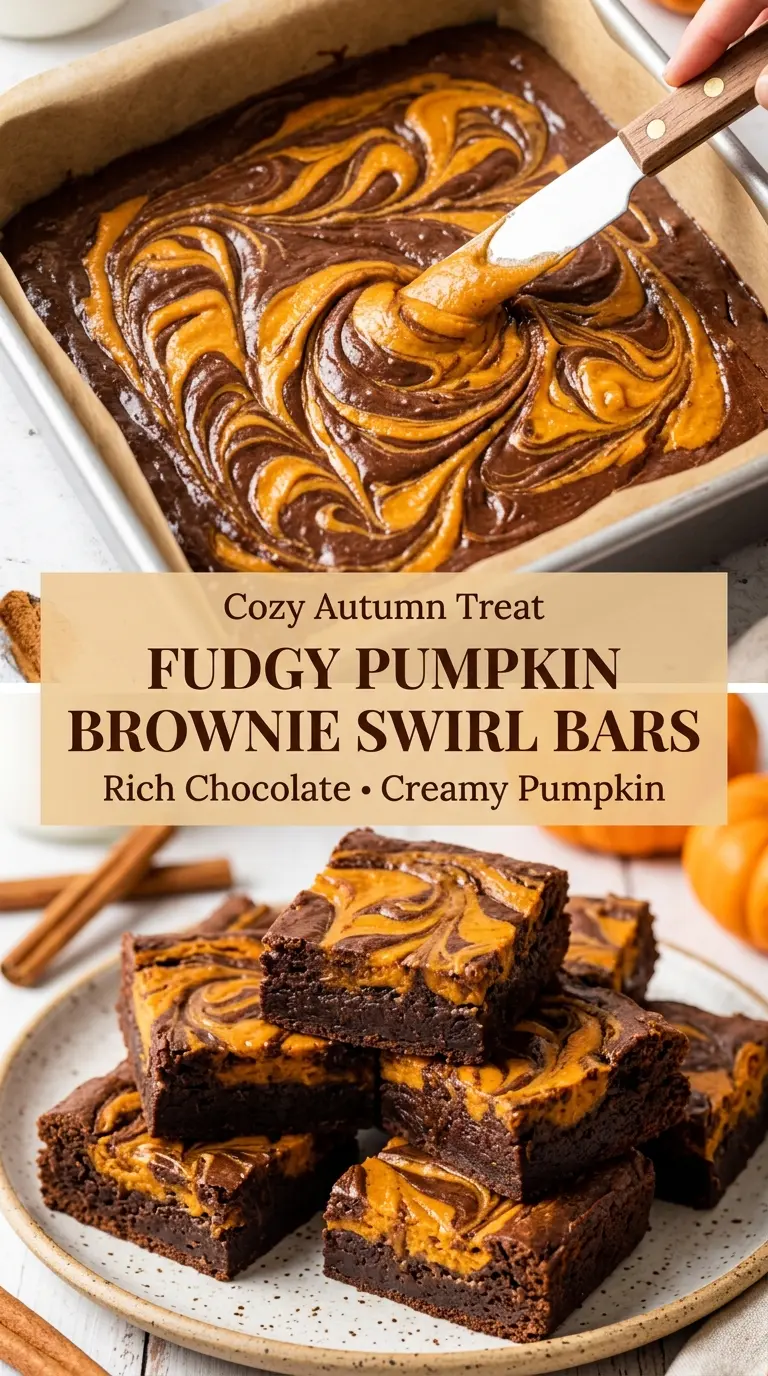
The other place these go wrong is in the swirl. If you drag a knife through the whole pan too many times, the pumpkin layer disappears into the brownie base and you lose the contrast. Two or three gentle passes are enough. You want distinct marbling and a few patches of pumpkin showing on top.
- Melted butter and chopped chocolate — This gives the brownie base its glossy top and dense texture. Chocolate chips alone won’t melt as smoothly, so use real chopped chocolate here if you want the richest result.
- Brown sugar — It adds moisture and a little chew. If you swap it for all granulated sugar, the bars still work, but they bake up a touch drier.
- Cream cheese — This is what turns the pumpkin swirl from plain spiced pumpkin purée into something silky and sliceable. Full-fat cream cheese matters most here; low-fat versions can loosen the swirl.
- Pumpkin purée — Use pure pumpkin, not pumpkin pie filling. Pie filling already contains sugar and spice, which throws off the balance and can make the swirl too sweet and loose.
- Egg yolk in the pumpkin layer — It helps the swirl set without making it bouncy. A whole egg would add too much structure and push the filling toward custardy instead of smooth.
- Semi-sweet chocolate chips — These keep the brownie layer extra rich and create little pockets of melted chocolate. If you only have milk chocolate, the bars will taste sweeter and a little softer.
Building the Swirl Without Losing the Fudge
Mixing the Brownie Base
Melt the butter and chopped chocolate together until the mixture looks smooth and glossy, then let it cool for a minute before adding the eggs. If it’s too hot, the eggs can turn streaky or partially cook, and that ruins the texture. When you add the flour and cocoa, fold just until no dry streaks remain. A few tiny flour specks are better than an overmixed batter.
Making the Pumpkin Layer Smooth
Beat the pumpkin purée, softened cream cheese, egg yolk, sugar, vanilla, pumpkin pie spice, and cinnamon until the mixture is completely smooth. Lumps here will show up in the finished bars, so scrape the bowl and keep mixing until the swirl looks silky. The cream cheese needs to be soft enough to blend without force; cold cream cheese leaves little bits behind that don’t melt out cleanly in the oven.
Layering and Swirling
Spread about two-thirds of the brownie batter into the pan first. That thick base keeps the pumpkin from sinking. Spoon the pumpkin mixture across the surface, then drop the remaining brownie batter in uneven dollops so the knife can pull those dark ribbons through the light filling. Stop swirling as soon as the pattern looks marbled. If the top starts looking muddy, you’ve gone too far.
Baking to the Right Center Set
Bake until the edges look set and the center still has a slight jiggle when you nudge the pan. That wobble is your cue to pull it out; the bars keep cooking as they cool. If you wait until the middle is firm in the oven, the brownies will end up dry by the time they’re sliced. Cool them completely, then chill for at least an hour before cutting so the layers clean up neatly.
Make Them Gluten-Free
Swap the all-purpose flour for a 1:1 gluten-free baking blend with xanthan gum already included. The bars keep the same fudgy texture, though they may need an extra minute or two in the oven because gluten-free flour holds moisture a little differently.
Dairy-Free Version
Use a good dairy-free butter and a dairy-free cream cheese that’s meant for baking. The brownie base will still be rich, but the pumpkin swirl may be a little softer, so chilling matters even more before slicing.
More Pumpkin Spice, Less Chocolate
If you want the pumpkin layer to stand out more, add an extra 1/4 teaspoon pumpkin pie spice and reduce the chocolate chips slightly. The bars will taste warmer and spicier, but the chocolate base still anchors the dessert.
Storage and Reheating
- Refrigerator: Store covered for up to 5 days. The bars actually slice cleaner after a day in the fridge.
- Freezer: They freeze well for up to 2 months. Wrap individual bars tightly and thaw in the refrigerator so the pumpkin layer doesn’t weep.
- Reheating: These are best served chilled or at cool room temperature, not warm. If you want a softer bite, let a bar sit out for 15 to 20 minutes; microwaving can make the pumpkin layer greasy and the brownie layer dry around the edges.
Questions I Get Asked About This Recipe
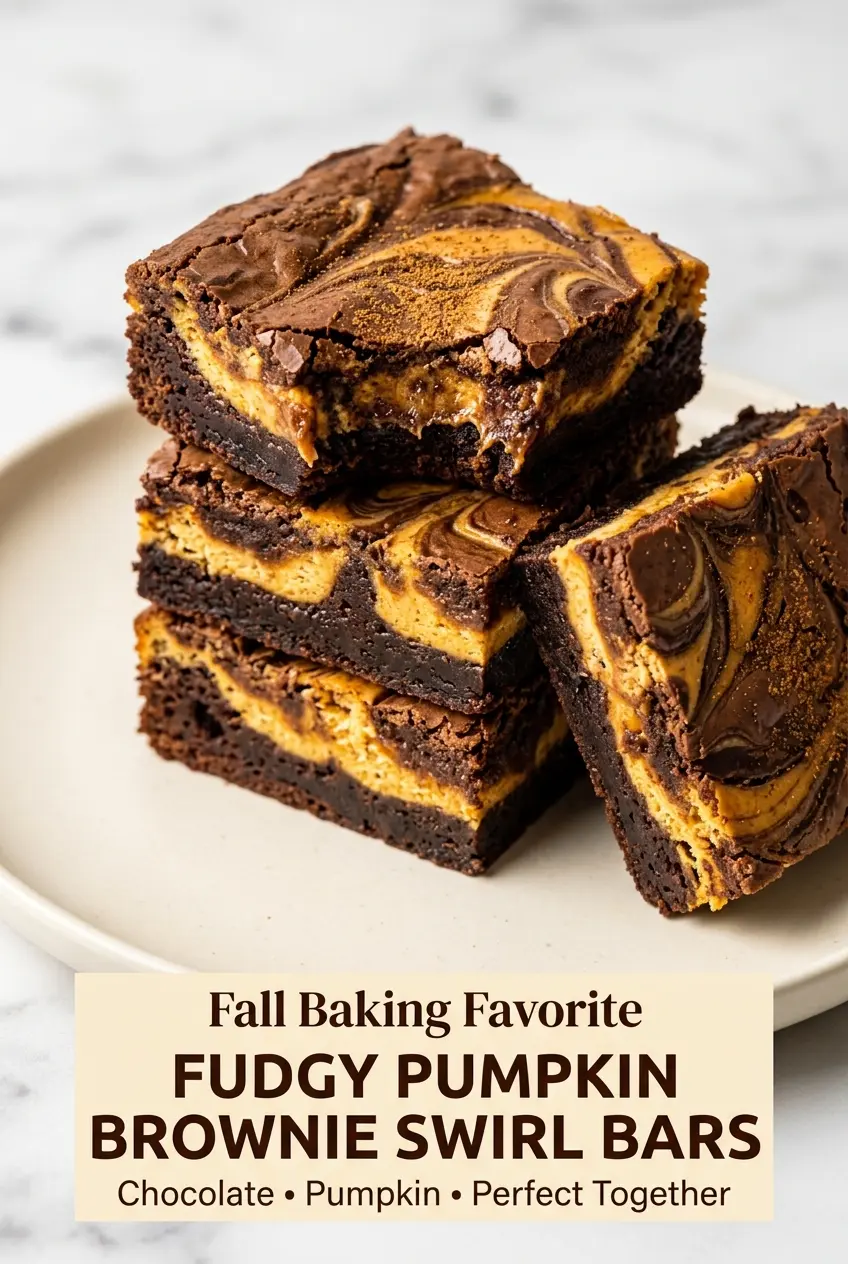
Fudgy Pumpkin Brownie Swirl Bars
Ingredients
Equipment
Method
- Preheat oven to 350°F (175°C). Line an 8×8-inch baking pan with parchment paper.
- Melt the butter and chopped semi-sweet chocolate together until smooth. Let cool slightly.
- Whisk in granulated sugar and light brown sugar until combined. Mix until glossy and fully incorporated.
- Add eggs one at a time, then stir in vanilla extract. Stir just until the batter looks uniform.
- Fold in all-purpose flour, unsweetened cocoa powder, and salt just until incorporated. Stop mixing as soon as no dry streaks remain.
- Stir in semi-sweet chocolate chips. The batter should be thick and fudgy.
- In a separate bowl, beat pumpkin purée, cream cheese, egg yolk, granulated sugar, vanilla extract, pumpkin pie spice, and ground cinnamon until smooth. Scrape the sides as needed for a silky texture.
- Spread about two-thirds of the brownie batter into the prepared pan. Press into an even layer.
- Spoon the pumpkin mixture evenly over the brownie layer. Use the back of the spoon to level the surface.
- Dollop the remaining brownie batter over the pumpkin mixture. Distribute it to cover most of the pumpkin layer.
- Use a butter knife to gently swirl the two batters together into a marbled pattern. Avoid overmixing so streaks stay distinct.
- Bake at 350°F (175°C) for 35–42 minutes, until the edges are set and the center has a slight jiggle. Look for a crackly top.
- Cool completely at room temperature before chilling for at least 1 hour. This helps the marbling set for clean slices.
- Cut into 16 bars and serve. Wipe the knife between cuts for sharper edges.
