
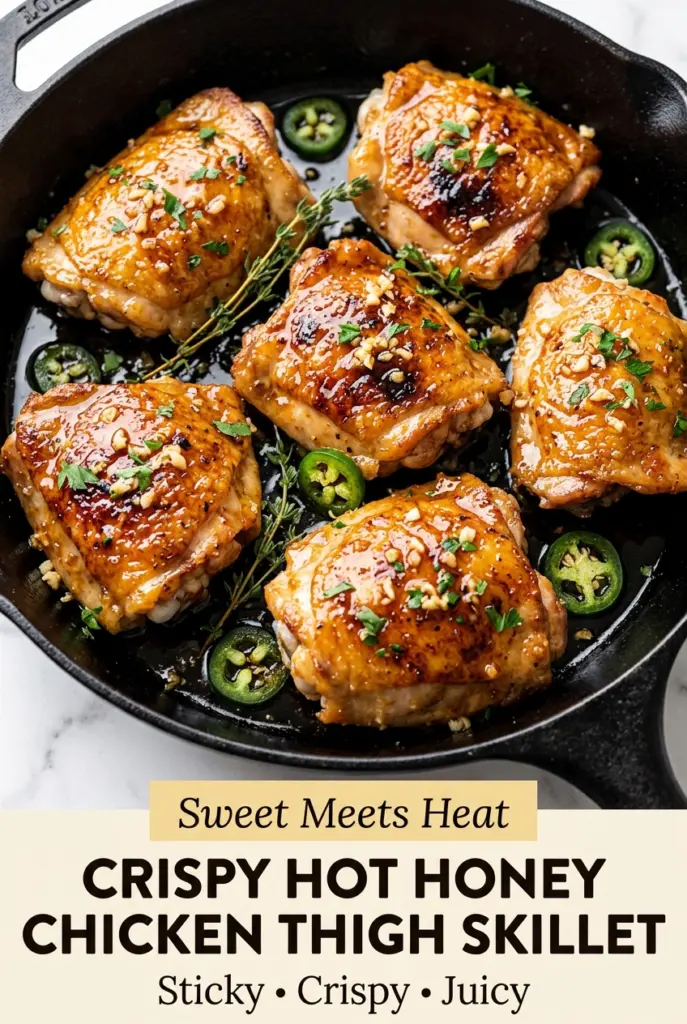
Crispy Hot Honey Chicken Thigh Skillet
Crispy chicken thighs with a sticky hot honey glaze hit that sweet spot between weeknight practical and restaurant-level satisfying. The skin turns deeply golden in the skillet, then the sauce…
Tip: save now, cook later.Crispy chicken thighs with a sticky hot honey glaze hit that sweet spot between weeknight practical and restaurant-level satisfying. The skin turns deeply golden in the skillet, then the sauce clings to every ridge with a glossy finish that tastes like it took more effort than it did. Bone-in thighs earn their keep here because they stay juicy while the skin has time to render and crisp without drying out.
The trick is starting with very dry chicken and letting it sit skin-side down long enough to do its thing. If you rush that first sear, the skin steams and you lose the crackly texture that makes this dish worth repeating. The glaze also goes in at the right moment — after the garlic has bloomed in butter, but before the chicken is fully finished — so it thickens around the meat instead of turning thin and watery.
Below, I’ve laid out the part that matters most: how to keep the skin crisp, how to build the sauce without burning the garlic, and a few smart swaps if you want to adjust the heat or make it work with what you already have.
The skin stayed crisp even after I spooned the sauce over it, and the glaze thickened up right in the skillet. My husband kept picking at the sticky bits around the pan and asked when I was making it again.
Save this crispy hot honey chicken thigh skillet for the nights when you want sticky glaze, crackly skin, and one-pan cleanup.

The Crispy Skin Comes First, Not the Sauce
The biggest mistake with hot honey chicken is treating the glaze like the star from the start. If the pan is crowded, the chicken releases moisture and the skin never gets past pale and rubbery. You need direct contact with the skillet and enough time for the fat to render before you touch it.
Bone-in, skin-on thighs are the right cut here because they tolerate that longer sear and still stay tender while the sauce finishes. If you use boneless thighs, the cook time drops, but you lose some of the insurance that keeps this dish juicy. Cast iron helps because it holds heat when the chicken hits the pan, which is exactly what keeps the skin crisp instead of soggy.
- Chicken thighs — Bone-in, skin-on thighs give you crisp skin and a forgiving center. Boneless thighs will work, but they cook faster and won’t give you the same rendered, shattering skin.
- Honey — This is what makes the glaze sticky enough to cling. Use a smooth, pourable honey; if it has crystallized, warm it gently before mixing so it doesn’t seize in the pan.
- Hot sauce — A vinegar-forward hot sauce like Frank’s keeps the glaze bright and cuts the sweetness. If you swap in a thicker, sweeter sauce, add a little more vinegar so the glaze doesn’t turn flat.
- Apple cider vinegar and Dijon — These keep the sauce from tasting like straight honey. The mustard also helps emulsify the glaze so it coats the chicken instead of breaking into oily streaks.
- Smoked paprika, chili powder, and red pepper flakes — These build heat in layers instead of all at once. If you want less burn, cut the pepper flakes first, not the paprika.
- Fresh thyme and parsley — Thyme goes into the glaze for a subtle herbal note, while parsley at the end lifts the whole dish. Dried thyme can step in if needed, but use half as much because it reads stronger once it simmers.
Building the Glaze Without Burning the Garlic
Seasoning and Drying the Chicken
Pat the thighs dry until the skin feels tacky instead of damp. That step matters more than the spice mix because moisture is what blocks browning. Season both sides generously, then let the chicken sit while the skillet heats so the salt starts pulling the seasoning into the meat. If the skin still looks wet when it hits the pan, keep blotting.
Rendering the Skin
Lay the chicken skin-side down in a hot skillet and leave it alone. It should sizzle immediately and stay there, with the skin turning deep golden at the edges before it lifts easily from the pan. If it sticks hard, it needs more time. Pulling early tears the skin and leaves the fat behind instead of rendering it into crispness.
Finishing the Sauce
Once the chicken is flipped, drop the heat before you add the butter and garlic. Garlic burns fast in a hot skillet, and burnt garlic turns the glaze bitter. Stir in the honey mixture and spoon it over the chicken as it bubbles; the sauce should look slightly thicker and clingy by the time the chicken reaches 165°F, with glossy streaks trailing behind the spoon.
Make It Milder Without Losing the Sticky Glaze
Cut the red pepper flakes in half and use a mild hot sauce with more vinegar than raw heat. You’ll still get that sweet-heat balance, but the sauce will read more tangy than fiery.
Use Boneless Thighs When You Need a Faster Dinner
Boneless thighs cook faster and are easier to serve, but they brown more quickly and won’t hold as much sauce on the skin. Reduce the sear time and start checking temperature early so they stay juicy.
Make It Dairy-Free or Gluten-Free Without Changing the Method
This recipe already fits both of those needs as written, as long as your hot sauce and Dijon are labeled gluten-free. The butter can be replaced with olive oil, but you’ll lose a little richness and the glaze won’t taste quite as round.
Scale It Up for a Crowd
Work in batches so the skillet never gets crowded, then return all the chicken to the pan for the glaze. Crowding lowers the heat and steals the crisp skin you worked for.
Storage and Reheating
- Refrigerator: Store leftovers in an airtight container for up to 4 days. The skin softens, but the flavor holds up well.
- Freezer: The chicken freezes well for up to 2 months, though the skin won’t stay crisp. Freeze with extra sauce in a sealed container and thaw in the refrigerator overnight.
- Reheating: Warm in a 350°F oven, uncovered, until hot. Microwaving softens the skin and makes the glaze greasy, so use the oven if you want anything close to the original texture.
Answers to the Questions Worth Asking
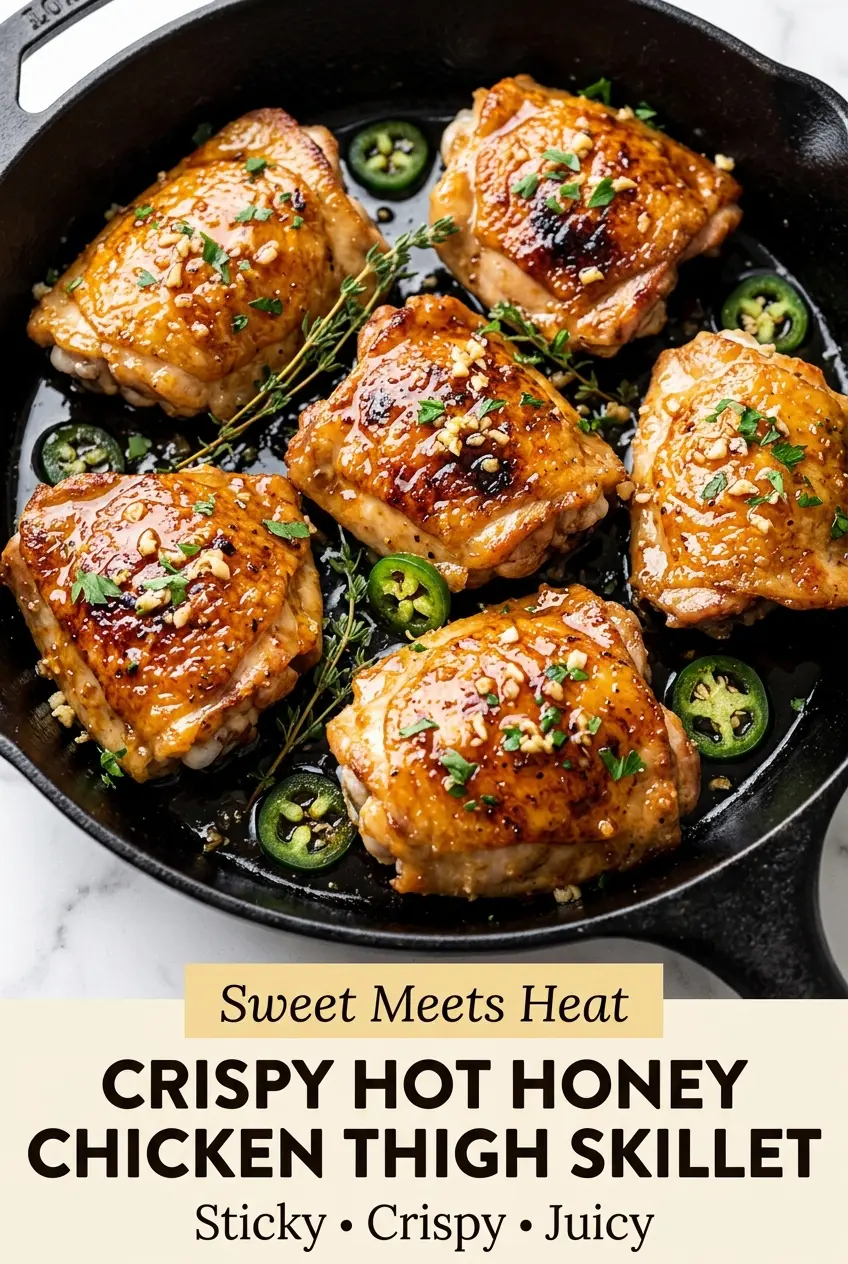
Crispy Hot Honey Chicken Thigh Skillet
Ingredients
Equipment
Method
- Pat the chicken thighs completely dry with paper towels. Season both sides with the kosher salt, black pepper, garlic powder, onion powder, smoked paprika, and chili powder.
- Heat the olive oil in a large cast-iron skillet over medium-high heat. Place the chicken skin-side down and cook undisturbed for 8–10 minutes until the skin is deeply golden and crispy.
- Flip the chicken and cook for another 5 minutes. Continue cooking until the underside has browned and the chicken is mostly cooked through.
- Reduce the heat to medium. Add the unsalted butter and minced garlic to the skillet and cook for about 30 seconds until fragrant.
- Whisk together the honey, hot sauce, apple cider vinegar, Dijon mustard, crushed red pepper flakes, and fresh thyme leaves. Pour the mixture into the skillet around the chicken.
- Continue cooking for 8–10 minutes on medium, frequently spooning the bubbling glaze over the chicken, until it reaches an internal temperature of 165°F (74°C).
- Allow the chicken to rest for 5 minutes. Spoon the remaining hot honey sauce over each piece.
- Sprinkle with the chopped fresh parsley and garnish with sliced jalapeños if desired. Serve immediately.
