
Crispy Beef and Cheese Chimichangas
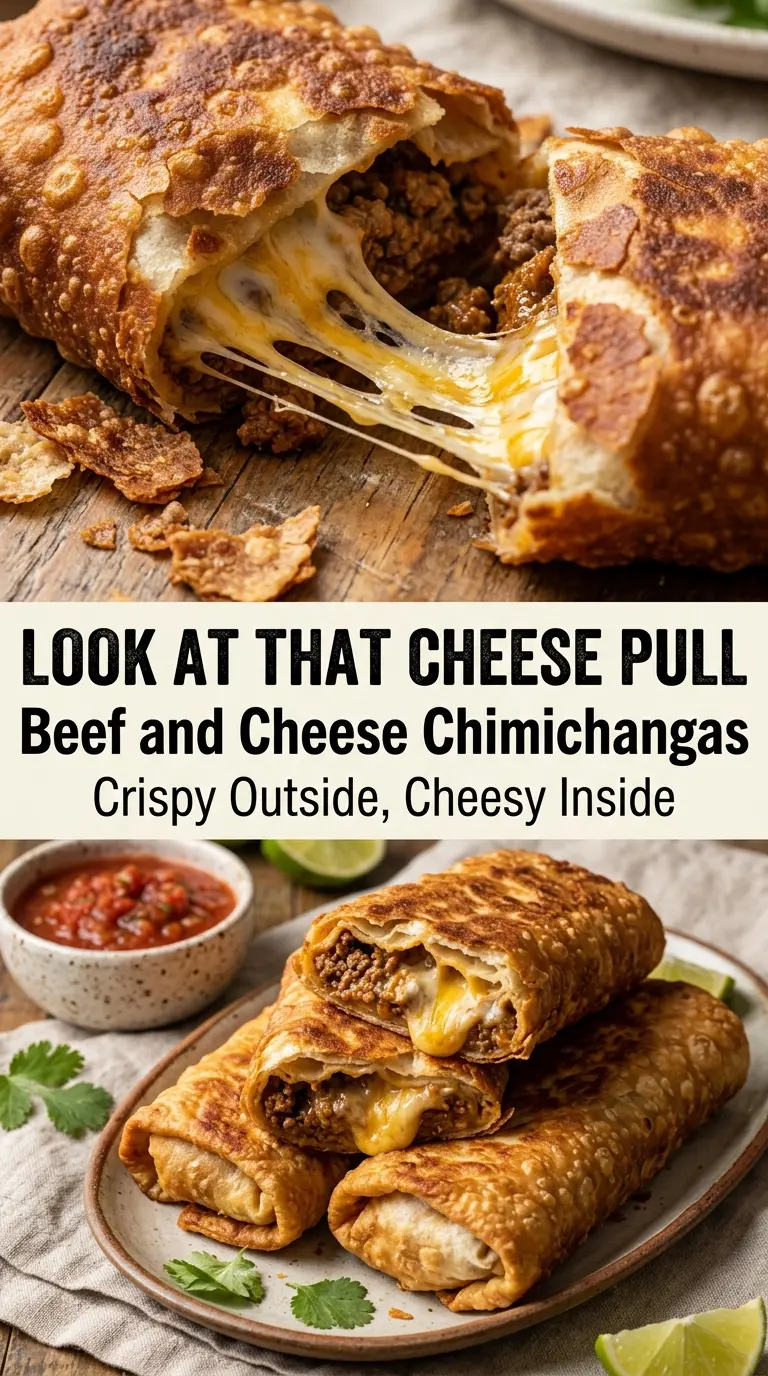
Crispy beef and cheese chimichangas hit that sweet spot between sturdy weeknight food and the kind of dinner people hover around the pan for. The tortilla bakes up shatteringly crisp…
Tip: save now, cook later.Crispy beef and cheese chimichangas hit that sweet spot between sturdy weeknight food and the kind of dinner people hover around the pan for. The tortilla bakes up shatteringly crisp at the edges while the filling stays savory, melty, and just a little messy in the best way. You get all the comfort of a restaurant-style chimichanga without deep-frying or a long ingredient list.
The trick is in the filling. The beef gets seasoned and reduced until it’s thick enough to hold its shape, which keeps the tortillas from turning soggy in the oven. Shredded cheddar brings sharpness, Monterey Jack gives the filling that stretchy melt, and a quick brush of butter or oil helps the outside turn deep golden instead of dry and pale.
Below, I’ll walk through the part that matters most: how to keep the filling from leaking, how to roll them so they stay sealed, and the easiest way to make a batch ahead for the freezer.
The filling thickened up just like you said and the tortillas got crisp in the oven without drying out. My husband kept going back for “just one more” and the seams stayed sealed the whole time.
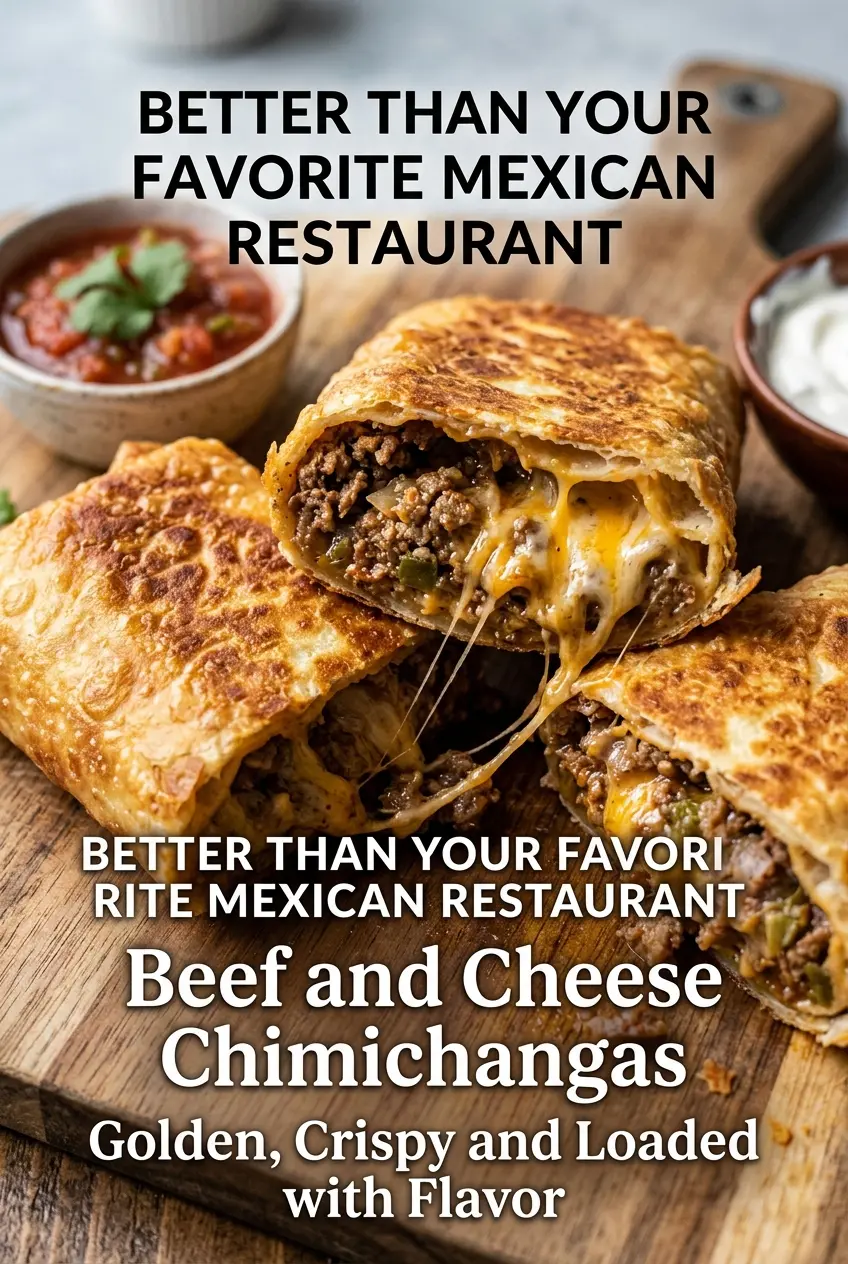
Crispy Beef and Cheese Chimichangas are the kind of baked dinner that still gives you that crunchy, golden finish.
The Reason Baked Chimichangas Stay Crisp Instead of Blowing Out
The difference between a crisp chimichanga and a soggy one starts before they ever hit the oven. The filling needs to be thick and relatively dry, because loose beef mixture turns into steam inside the tortilla and makes the whole thing soft. If you’ve ever pulled chimichangas from the oven with split seams or wet bottoms, the problem usually wasn’t the baking time — it was the filling.
Another small but important detail is where the seam lands. A tightly rolled chimichanga with the seam side down has a chance to set before you move it, and that keeps the filling locked in. The brush of butter or oil matters too. It’s what gives the tortilla that fried-looking crust without a fryer.
- Lean ground beef — A leaner grind keeps the filling from becoming greasy. If all you have is regular ground beef, drain off the excess fat after browning so the seasoning can cling instead of floating in it.
- Taco seasoning — This does the heavy lifting on flavor and gives the beef that familiar, well-rounded taco-shop taste. A homemade blend works too, but the packet is convenient and consistent.
- Cheddar and Monterey Jack — Cheddar adds sharpness; Monterey Jack melts smoothly and keeps the center creamy. If you swap in only cheddar, the filling tastes a little harder and less stretchy.
- Flour tortillas — Large flour tortillas are the right choice because they fold cleanly without cracking. Use the softest tortillas you can find, and warm them briefly if they feel stiff.
- Butter or olive oil — This is what helps the outside turn evenly browned in the oven. Butter gives the richest flavor; olive oil keeps the finish a little lighter and still crisp.
How to Build the Filling and Roll Chimichangas That Stay Closed
Browning the Beef and Onion
Cook the beef and onion together over medium heat until the meat is no longer pink and the onion has gone soft and translucent. You want the mixture browned, not wet, because any extra moisture will keep the tortillas from crisping. If the skillet looks crowded or watery, keep cooking until the liquid cooks off before adding garlic.
Reducing the Seasoned Filling
Stir in the garlic for just a short burst, then add the taco seasoning and water and let it simmer until the mixture tightens up and looks glossy rather than soupy. The filling should mound on a spoon and hold together when stirred. That’s the texture you’re after. Pull it off the heat before it gets pasty, then stir in the cheese so it melts into the beef without separating.
Rolling and Sealing the Tortillas
Spoon the filling into the center of each tortilla, leaving enough room around the edges to fold. Fold the sides in first, then roll from the bottom up with a snug, even pressure. If you overfill them, the seams will burst in the oven, so it pays to keep the portions modest and the roll tight. Set them seam-side down on the baking sheet so gravity does the sealing for you.
Baking to a Deep Golden Finish
Brush the tops and sides with melted butter or olive oil, then bake until the tortillas are deeply golden and the edges feel crisp when tapped. Watch the color, not just the clock. Ovens vary, and the difference between pale and properly crisp can be just a few minutes. Let them rest for a couple of minutes before serving so the cheese settles and doesn’t run out the second you cut in.
Three Ways to Adjust These Chimichangas Without Losing the Crunch
Make Them Spicier
Add diced jalapeños to the beef with the onion, or stir in a spoonful of chipotle in adobo for a smoky kick. The extra moisture from peppers is small, so it won’t hurt the filling, but don’t add a lot of salsa here or the filling will loosen and the tortillas will soften.
Dairy-Free Version
Swap in your favorite dairy-free shredded cheese and brush the outside with olive oil instead of butter. The tortilla still crisps up well, but the filling won’t have quite the same stretchy melt, so choose a brand that melts well rather than one that just softens.
Use Ground Turkey Instead
Ground turkey works if you want a lighter filling, but it needs a little help because it doesn’t bring the same richness as beef. Add a small splash of oil while cooking and season it carefully so the final flavor doesn’t come across flat.
Freezer-Friendly Batch Prep
Assemble the chimichangas, but freeze them before baking on a lined tray until solid, then wrap them individually. Bake straight from frozen, adding a few extra minutes until the shells are crisp and the centers are hot. This method works better than freezing after baking, when the tortilla loses its edge.
Storage and Reheating
- Refrigerator: Store leftovers in an airtight container for up to 3 days. The tortilla will soften a little, but the filling stays flavorful.
- Freezer: Freeze unbaked chimichangas for the best texture. Once baked, they still freeze, but the crust won’t stay as crisp after thawing.
- Reheating: Reheat in a 375°F oven or air fryer until the outside crisps again and the center is hot. The microwave softens the tortilla and is the fastest way to lose the crunch.
Answers to the Questions Worth Asking
Crispy Beef and Cheese Chimichangas
Ingredients
Equipment
Method
- Preheat the oven to 400°F (200°C) and place a sheet pan inside to heat for better browning.
- Cook the ground beef and onion in a large skillet over medium heat until browned, stirring to break up the meat.
- Add the garlic and cook for 30 seconds, until fragrant.
- Stir in taco seasoning and water, then simmer for 3–4 minutes until the mixture thickens.
- Remove from the heat and stir in both cheeses until fully melted and combined.
- Place the beef mixture in the center of each tortilla, then fold in the sides and roll tightly into chimichangas.
- Arrange the chimichangas seam-side down on the baking sheet so they hold together while crisping.
- Brush the tops with melted butter or olive oil for browning and crunch.
- Bake for 18–22 minutes at 400°F (200°C) until golden brown and crispy, turning the tray if needed for even color.
- Serve hot with sour cream, salsa, and chopped cilantro for a fresh finish.
