

Crispy Baked Garlic Butter Chicken Tenders
Crispy baked chicken tenders need two things to be worth making again: a crust that stays crunchy and chicken that stays juicy. This version gets both right. The panko and…
Tip: save now, cook later.Crispy baked chicken tenders need two things to be worth making again: a crust that stays crunchy and chicken that stays juicy. This version gets both right. The panko and Parmesan bake up into a deep golden shell, then the hot tenders are brushed with garlic butter so every bite tastes rich without turning soggy.
The trick is using a wire rack so air can circulate under the chicken instead of trapping steam underneath it. A little milk in the egg wash helps the coating cling, and the Parmesan in the breadcrumb mix adds both salt and extra browning. The garlic butter goes on after baking, not before, which keeps the coating crisp and lets the garlic stay fragrant instead of bitter.
Below, you’ll find the exact timing that keeps the tenders tender, plus the small ingredient choices that make the crust stick and the butter soak in the right way. If you’ve had baked tenders go pale or limp before, this method fixes both problems.
The coating stayed crispy even after I brushed on the garlic butter, and the chicken was still juicy at 20 minutes. My kids dipped them in ranch and asked for them again the next night.
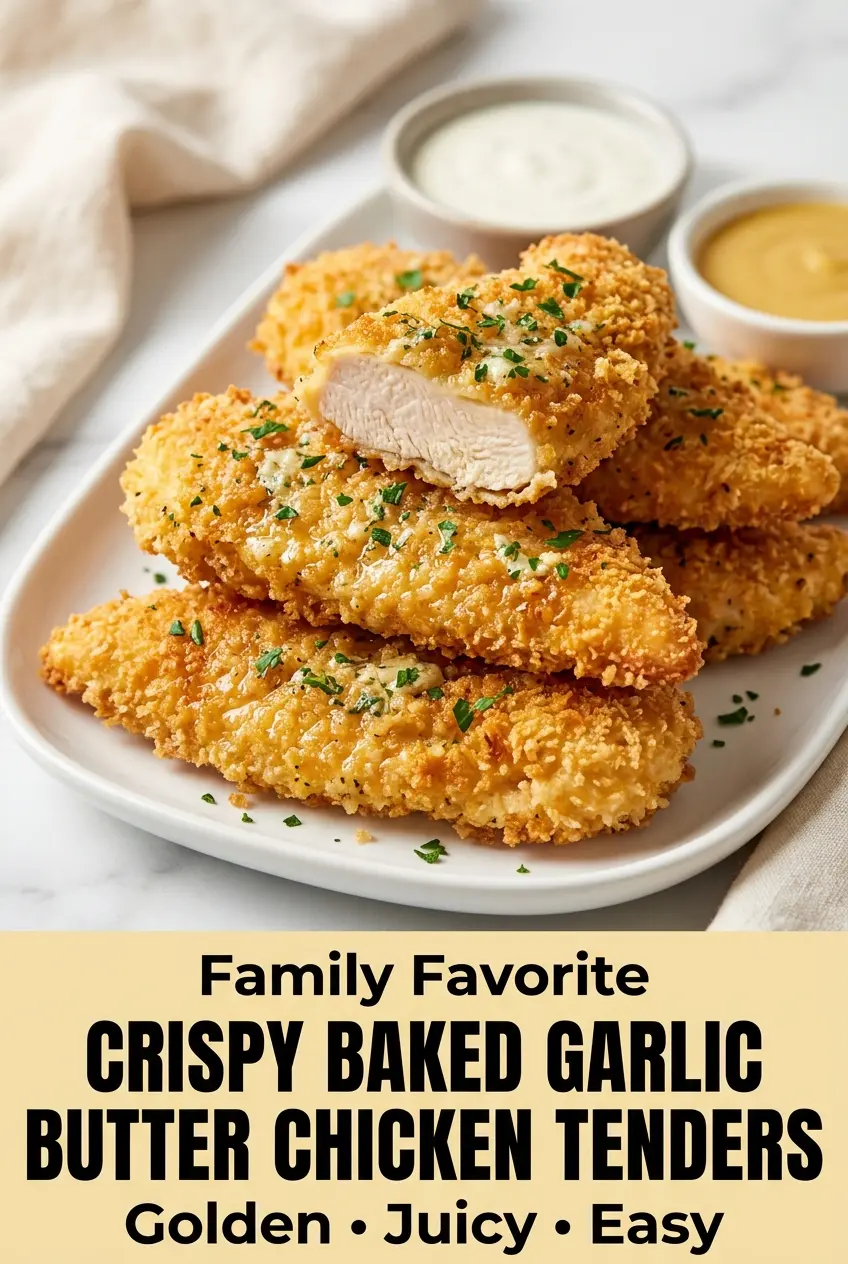
Crispy Baked Garlic Butter Chicken Tenders with crunchy Parmesan coating and that glossy garlic butter finish.

The Crust Stays Crispy Only If You Give It Air
The fastest way to ruin baked tenders is to set them flat on a pan. The bottom softens from trapped steam before the crust has a chance to set, and by the time they hit the plate, the coating has gone from crunchy to dusty. A wire rack fixes that by lifting the chicken up so hot air can move all around each piece.
That extra airflow matters even more here because the garlic butter gets brushed on at the end. If the coating is already weak, the butter will collapse it. If the crust is baked properly first, the butter settles into the cracks and gives you flavor without stealing the crunch.
- Chicken tenders — These cook fast and stay tender if you stop at 165°F. If you use chicken breasts cut into strips, keep the pieces even in size so they finish at the same time.
- Panko breadcrumbs — Regular breadcrumbs won’t give you the same airy crunch. Panko stays lighter and browns better in the oven.
- Parmesan — Use finely grated Parmesan, not thick shreds, so it blends into the coating and helps it crisp instead of falling off.
- Eggs and milk — The milk loosens the egg wash just enough for an even coating. Without it, the breading can go patchy in spots and slide off after baking.
- Butter and garlic — Melted butter carries the garlic flavor across the whole surface. Fresh garlic gives the strongest finish, but it has to go on after baking so it doesn’t scorch.
The 20 Minutes That Matter Most
Preheat Hard, Not Halfway
Set the oven to 425°F and give it time to fully heat before the chicken goes in. A hot oven starts browning the coating right away, which is what locks it onto the tender instead of letting it steam loose. Line the pan and lightly grease the rack so the bottoms release cleanly when you flip them.
Build a Coating That Actually Clings
Pat the chicken dry before seasoning it. Moisture on the surface turns the flourless coating slippery, and that’s when breading starts to slide around in the bowl. Dip each piece in the egg mixture, then press it into the panko-Parmesan mix so the crumbs stick in a thick, even layer.
Bake Until the Crust Turns Deep Gold
Arrange the tenders with space between them and flip once halfway through. You’re looking for a crust that feels dry and crisp to the touch, not pale or soft in the center. If the coating is browning too quickly, the oven is running hot; if it looks blond at 20 minutes, the rack may be too low or the pieces too crowded.
Brush on the Garlic Butter Right Away
Mix the butter while the chicken bakes, then brush it on the second the tenders come out. The heat from the chicken wakes up the garlic and melts the butter into the crust without soaking it through. Let the tenders rest just a minute or two before serving so the juices settle and the coating stays intact.
How to Adapt These Tenders for Different Eaters and Different Nights
Gluten-Free Version With the Same Crunch
Swap in gluten-free panko and keep everything else the same. The texture stays close to the original because the oven does the heavy lifting here, but don’t use fine gluten-free crumbs if you want that same airy crunch.
Dairy-Free Garlic Finish
Use a good dairy-free butter and skip the Parmesan, then add 2 to 3 tablespoons of nutritional yeast to the coating for a savory edge. You’ll lose a little of the cheesy browning, but the tenders still come out crisp and flavorful.
Air Fryer Shortcut
Cook the coated tenders at 400°F in a single layer and flip once halfway through. They brown faster in the air fryer, so watch the last few minutes closely and brush on the garlic butter after cooking, not before.
Storage and Reheating
- Refrigerator: Store in an airtight container for up to 3 days. The coating softens a little, but the flavor holds well.
- Freezer: These freeze well after baking. Freeze in a single layer, then transfer to a bag or container for up to 2 months.
- Reheating: Reheat in a 375°F oven or air fryer until the coating is hot and crisp again. The mistake to avoid is microwaving, which turns the crust soft and steamy.
Questions I Get Asked About This Recipe
Crispy Baked Garlic Butter Chicken Tenders
Ingredients
Equipment
Method
- Preheat the oven to 425°F (220°C). Line a baking sheet with parchment paper and place an oven-safe wire rack on top, then lightly grease the rack.
- Pat the chicken tenders dry, then season with kosher salt, black pepper, garlic powder, smoked paprika, and onion powder.
- In one shallow bowl, whisk together large eggs and milk until combined.
- In another bowl, combine panko breadcrumbs, grated Parmesan cheese, Italian seasoning, and dried parsley.
- Dip each chicken tender into the egg mixture.
- Coat each chicken tender thoroughly in the breadcrumb mixture, pressing gently so the coating adheres.
- Arrange the coated tenders on the prepared wire rack, leaving a little space between each piece.
- Bake for 18–22 minutes, flipping halfway through, until the coating is crisp and the chicken reaches an internal temperature of 165°F (74°C).
- While the chicken bakes, combine melted unsalted butter, finely minced cloves garlic, chopped fresh parsley, garlic powder, and lemon juice.
- Immediately after removing the chicken from the oven, brush each tender generously with the warm garlic butter.
- Garnish with chopped parsley and serve hot with optional dipping sauces (ranch dressing, honey mustard, or marinara sauce) alongside lemon wedges.
