Creamy Salmon Sushi Bake
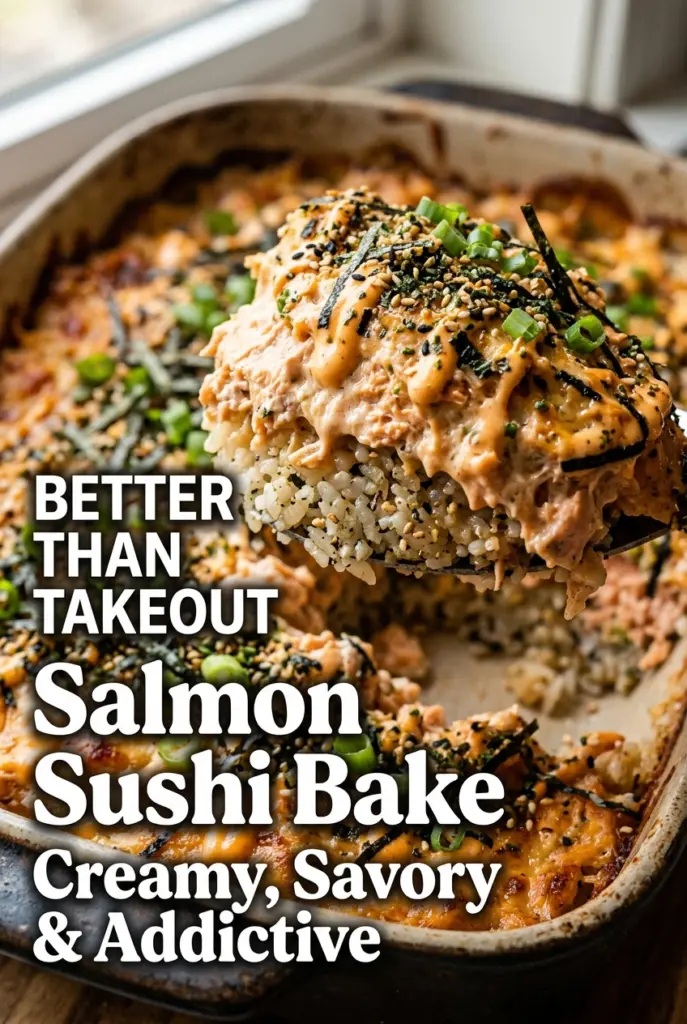
Creamy salmon sushi bake hits the table with the kind of warm, savory comfort that keeps people going back for one more scoop. The rice turns lightly tangy and sticky,…
Tip: save now, cook later.Creamy salmon sushi bake hits the table with the kind of warm, savory comfort that keeps people going back for one more scoop. The rice turns lightly tangy and sticky, the salmon layer bakes into a rich, creamy topping, and the furikake on top gives every bite that salty-sesame crunch you want from sushi flavors without any rolling or fuss.
The trick is building the dish in layers that each pull their weight. Warm sushi rice absorbs the vinegar seasoning better than cold rice, so it tastes balanced instead of sharp. The salmon mixture gets its creaminess from softened cream cheese and mayonnaise, which melt together into a smooth topping instead of drying out in the oven. A short broil at the end adds color fast, but only if you watch it closely — you want bronzed edges, not scorched nori-adjacent bitterness.
Below, I’m walking through the details that matter most: how to season the rice so it tastes like sushi rice, how to keep the salmon layer creamy, and how to serve the bake so every spoonful gets the right mix of warm rice, spicy topping, and cool crisp cucumber.
The rice stayed seasoned and fluffy, and the salmon layer baked up creamy instead of greasy. I loved the furikake on top — it gave the whole dish that real sushi-shop taste, and even my picky kid ate two helpings.
Save this creamy salmon sushi bake for the nights when you want sushi flavors baked into one creamy, crunchy casserole.
The Fastest Way to Ruin a Sushi Bake: Wet Rice and a Dry Top
This dish lives or dies on texture. If the rice is wet, the whole casserole goes gummy under the topping. If the salmon mixture is loose, it can slide around instead of settling into a creamy layer that holds its shape when scooped.
Warm rice mixed with vinegar, sugar, and salt gives you the same balanced flavor you expect from sushi rice, but it needs to be spread evenly before the salmon goes on. Pressing it down lightly helps it bake into a cohesive base without turning dense. The other mistake is overbaking the top layer — the salmon is already cooked, so the oven is here to heat, meld, and slightly brown, not to dry everything out.
- The rice should be warm enough to absorb the seasoning evenly. Cold rice won’t take on the vinegar mixture as well and tends to clump.
- Cooked salmon works best here because it flakes into the sauce cleanly. Leftover baked or roasted salmon is perfect.
- Broiling is optional, but it gives the top a little color and brings out the sesame and furikake. Two minutes is usually enough.
- If the casserole looks loose when it comes out, rest it for 5 minutes before serving. That pause lets the layers settle.
What Each Ingredient Is Actually Doing in This Dish
Sushi rice gives the bake its structure. Short-grain rice is the right choice because it clings together after seasoning; long-grain rice turns too separate and won’t scoop well. If you need a substitute, use another short-grain rice, but don’t skip the vinegar seasoning — that’s what makes the base taste like sushi rice instead of plain rice.
Salmon is the main flavor, so use something you’d happily eat on its own. Leftover cooked salmon, poached salmon, or baked fillets all work. Canned salmon can stand in in a pinch, but drain it well and expect a softer, less flaky texture.
Cream cheese and mayonnaise create the creamy topping. Cream cheese gives body; mayo keeps the mixture spoonable and helps it brown gently in the oven. If the cream cheese is cold, it won’t blend smoothly, so soften it first or you’ll end up with little white lumps in the finished bake.
Furikake, sesame oil, and sriracha carry the signature sushi-bake taste. Furikake brings salt, seaweed, and sesame in one hit. Sesame oil only needs a teaspoon because it’s powerful; too much starts to taste heavy and perfumy. Sriracha adds heat, but it also wakes up the richness of the salmon and cream cheese.
Nori, cucumber, and avocado belong at serving time, not in the casserole. Nori gets limp if it bakes, and the fresh toppings cut through the richness so the dish doesn’t feel heavy after a few bites.
Building the Bake So the Layers Stay Creamy and Distinct
Seasoning the Rice
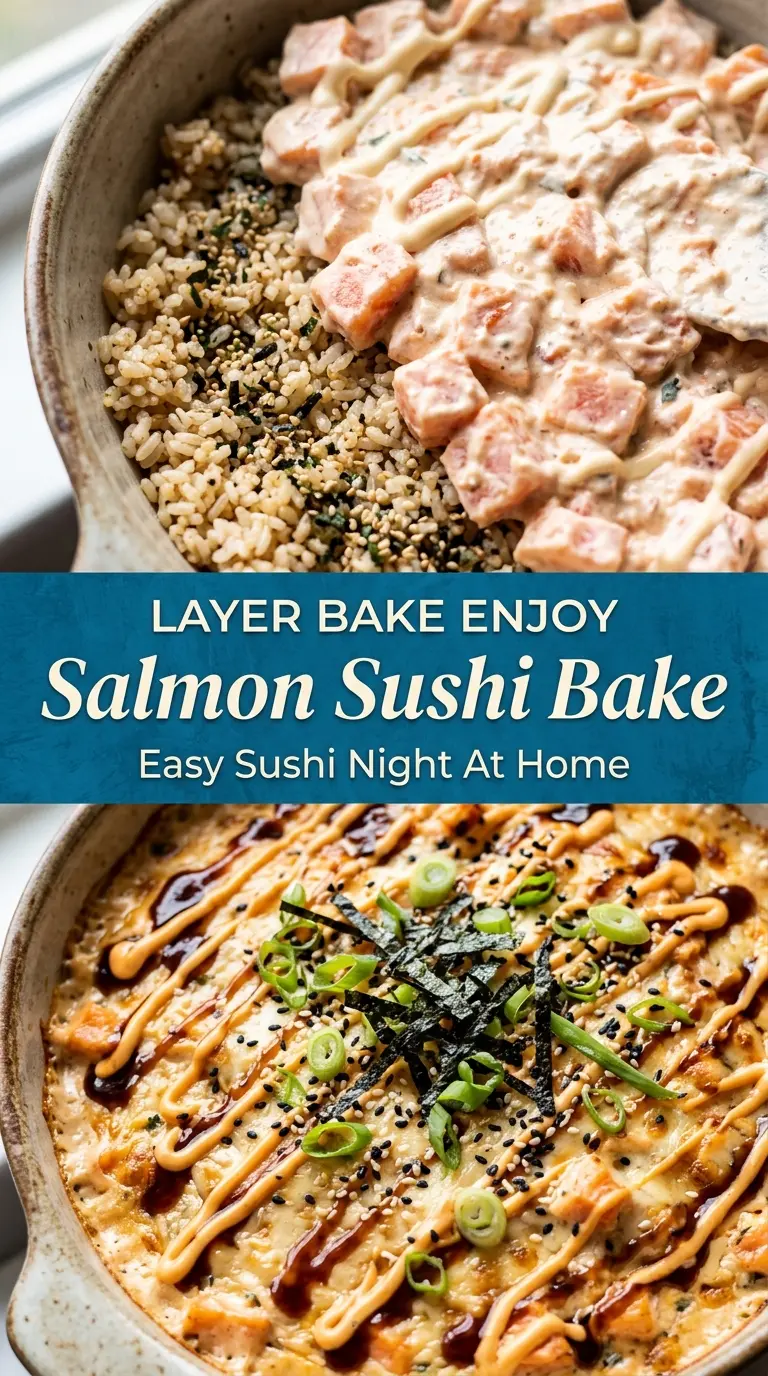
Mix the rice vinegar, sugar, and salt into warm cooked sushi rice until the grains look glossy and smell lightly tangy. Spread it into a greased 9×13-inch dish and level it with the back of a spoon. Don’t pack it down hard; a light press is enough to keep the base together without turning it compact.
Making the Salmon Layer Smooth
Combine the flaked salmon, softened cream cheese, mayonnaise, sriracha, soy sauce, and sesame oil in a bowl until the mixture is creamy and evenly colored. The salmon should still have some visible flakes, not turn into a puree. If the mixture looks stiff, let the cream cheese sit a few more minutes before stirring, because cold cream cheese is the fastest way to get a lumpy topping.
Baking and Finishing with Color
Spread the salmon mixture over the rice in an even layer and top with furikake. Bake until the casserole is hot through and the top looks set, then broil briefly if you want a little color. Watch the broiler the whole time — the line between lightly golden and burnt is short, especially with sesame and nori nearby.
The Final Garnishes
Drizzle the top with spicy mayo and finish with green onions, sesame seeds, and nori strips. Add the nori right before serving so it stays crisp enough to give you that sushi-bar crunch. Serve with cucumber and avocado on the side so each bite can be built at the table.
Three Ways to Make This Sushi Bake Fit Your Table
Dairy-Free Version
Swap the cream cheese for a dairy-free cream cheese that softens well, then use a dairy-free mayo. The texture stays creamy, but the flavor is a little less rich, so the furikake and sesame oil matter even more. Let the mixture sit at room temperature for a few minutes before baking so the dairy-free substitute blends smoothly.
Lower-Carb Serving Style
Skip the rice and build the salmon mixture over a layer of cauliflower rice that has been cooked and well-drained, or serve the bake in lettuce cups with cucumber and avocado. You lose the sticky sushi-rice base, but you keep the creamy salmon topping and the same savory garnish combo. The key is drying the cauliflower rice thoroughly so it doesn’t steam the filling.
Using Canned Salmon
Canned salmon works when you want this fast and pantry-friendly. Drain it well and pick out any large bones if needed, then mix it in exactly the same way. The texture is softer and a little less flaky than fresh-cooked salmon, but the creamy topping hides that difference nicely.
Storage and Reheating
- Refrigerator: Store leftovers covered for up to 3 days. The rice firms up a bit in the fridge, but the flavors hold well.
- Freezer: It freezes, but the texture changes. The creamy salmon layer can separate slightly after thawing, so I don’t freeze it unless I have to.
- Reheating: Reheat covered in a 300°F oven until warmed through, or use short bursts in the microwave. Add the nori after reheating so it stays crisp; putting it on before heating makes it chewy and dull.
Answers to the Questions Worth Asking

Creamy Salmon Sushi Bake
Ingredients
Equipment
Method
- Preheat oven to 375°F (190°C). The oven should reach temperature before you assemble the casserole.
- Mix rice vinegar, sugar, and salt into warm sushi rice. Stir until the rice looks evenly seasoned.
- Spread rice evenly into a greased 9x13-inch baking dish. Press lightly so the layer is smooth and level.
- Sprinkle half the furikake over the rice. You should see a speckled furikake layer across the surface.
- In a bowl, combine flaked salmon, cream cheese, mayonnaise, sriracha, soy sauce, and sesame oil. Mix until the salmon is coated and creamy with no big streaks of cream cheese.
- Spread the salmon mixture evenly over the rice. Smooth it into an even top layer so it bakes uniformly.
- Sprinkle the remaining furikake on top. The top should look lightly dusted before baking.
- Bake at 375°F (190°C) for 20–25 minutes, until heated through. Look for hot, bubbly edges around the casserole.
- Broil for 2 minutes for a lightly golden top. Watch closely so the surface browns without burning.
- Remove from the oven. Let it sit briefly so the layers set before slicing.
- Drizzle generously with spicy mayo. Use a zigzag pattern so every bite gets some.
- Garnish with green onions, sesame seeds, and nori strips. Scatter evenly over the top for a mix of fresh and crunchy textures.
- Serve with cucumber and avocado. Place slices alongside so they stay crisp and cool.
