
Creamy No-Bake Pumpkin Pie
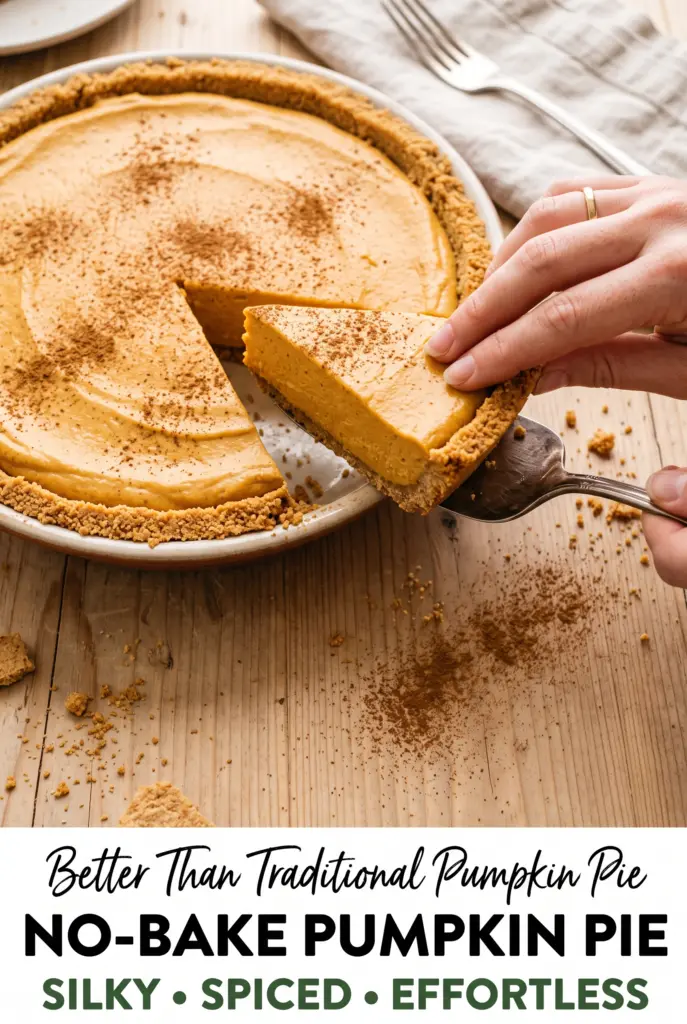
Silky pumpkin filling and a cold, buttery graham cracker crust make this no-bake pumpkin pie the kind of dessert people notice right away. The texture is the real draw: light…
Tip: save now, cook later.Silky pumpkin filling and a cold, buttery graham cracker crust make this no-bake pumpkin pie the kind of dessert people notice right away. The texture is the real draw: light enough to slice cleanly, rich enough to taste like a proper pie, and spiced just enough to feel familiar without turning muddled or heavy. Because the filling sets in the fridge instead of the oven, the pumpkin stays smooth and the cream keeps the whole pie airy.
The trick is in the order of the ingredients. Cream cheese gets beaten first so there are no lumps hiding in the filling, and the whipped cream goes in at the end so it stays fluffy instead of collapsing. A no-bake pie can turn loose fast if the base is too soft or the filling is overmixed, so this version keeps both parts stable without making the final texture dense.
Below, you’ll find the small details that matter most: how firmly to pack the crust, why canned pumpkin works better than pumpkin pie filling here, and what to do if you want to make the pie a day ahead.
The filling set up beautifully after chilling overnight, and the spice level was spot on. Mine sliced cleanly and held its shape without feeling heavy.
Creamy No-Bake Pumpkin Pie with that silky chilled filling is the kind of dessert that disappears fast, so pin it now for your next make-ahead dessert night.
The Secret to a No-Bake Pie That Actually Slices Cleanly
No-bake pies fail for one of two reasons: the filling is too loose, or the crust never gets firm enough to hold it. Cream cheese gives this pie structure, but it only works if you beat it until it’s fully smooth before anything else goes in. If you rush that part, little lumps stay hidden in the filling and the pie never looks clean when sliced.
The other part that matters is the whipped cream. Fold it in gently after the pumpkin mixture is already smooth, because mixing too hard knocks out the air that gives the pie its light texture. Chill time matters here too. Four hours is the minimum, but overnight gives you the kind of firm, tidy slice that lifts out of the pan instead of slumping on the plate.
What Each Ingredient Is Doing in This Pie
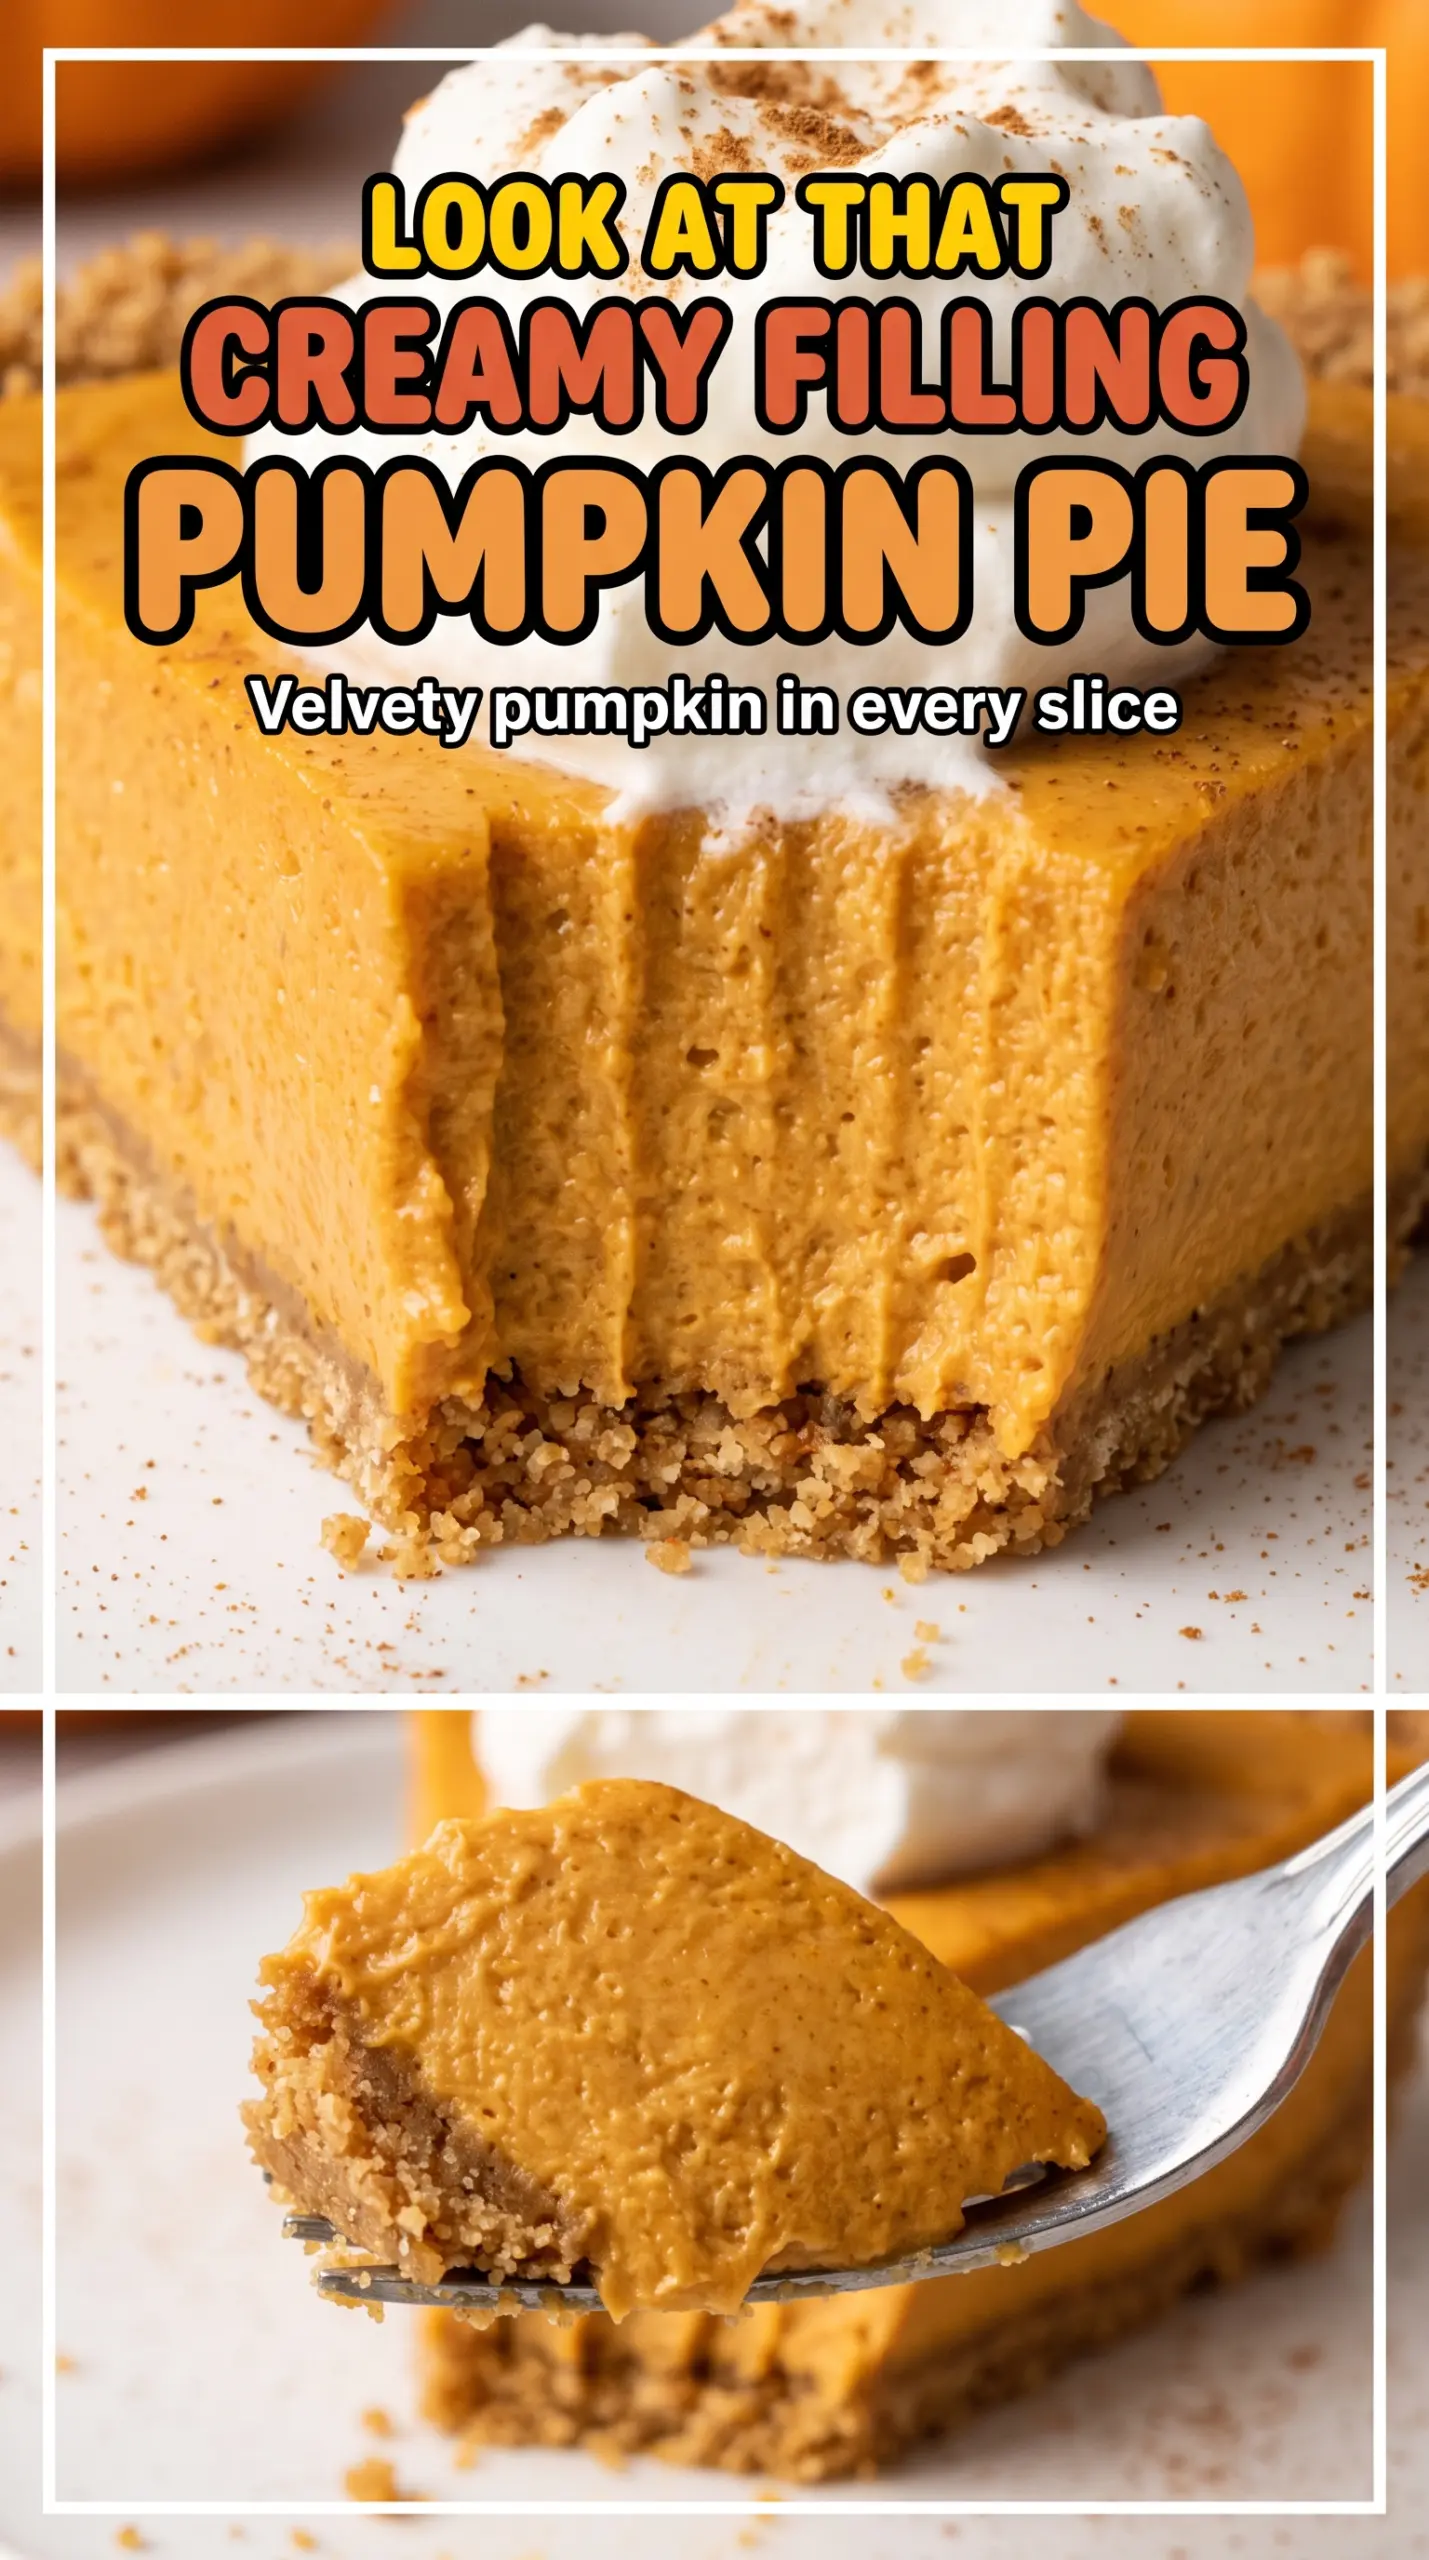
- Graham cracker crumbs — These give the crust its classic sweet, toasty base. You can crush the crackers yourself or buy crumbs; either works as long as the texture is fine and even, because big chunks make the crust fall apart when sliced.
- Unsalted butter — Butter is what turns loose crumbs into a crust that actually holds. Melted butter coats every crumb, and that coating firms back up in the freezer so the base stays stable under the soft filling.
- Cream cheese — This is the ingredient that keeps the pie from tasting like pumpkin mousse with no backbone. Let it soften fully before beating, or you’ll fight lumps that never quite disappear.
- Canned pumpkin puree — Use pure pumpkin, not pumpkin pie filling. Pie filling already has sugar and spice added, which throws off the balance and makes the dessert taste flat instead of clean and creamy.
- Sweetened condensed milk — This adds sweetness and body in one ingredient, and it helps the filling set without needing eggs or baking. There isn’t a true stand-in that behaves the same way, so this is one place where the real thing matters.
- Heavy cream — Whipped to stiff peaks, it lightens the filling and gives the pie that airy finish. If it’s underwhipped, the pie can turn soft and loose; if it’s overwhipped, the texture gets grainy when folded in.
- Pumpkin pie spice and cinnamon — The spice blend gives the pie its warm base note, while the cinnamon sharpens the pumpkin just enough to keep the flavor from tasting muddy. If your pumpkin pie spice is old, it will taste dull, so use a fresh jar if you can.
- Vanilla extract — Vanilla rounds out the filling and keeps the dairy from tasting flat. A good vanilla matters more here than in a heavily baked dessert because nothing else masks it.
Building the Filling Without Losing the Air
Pressing the Crust Hard Enough
Stir the crumbs, sugar, and melted butter until every crumb looks damp, then press the mixture firmly into the pie dish. Use the bottom of a measuring cup to pack the sides and base so the crust feels dense and even, not sandy. If it’s loosely packed, it will crumble the second you cut into it. A quick freeze gives the butter time to set, which keeps the crust from shifting when the filling goes in.
Beating the Base Until It’s Fully Smooth
Start with the cream cheese and beat it until it looks fluffy and no pale lumps remain. That first step does more work than most people think, because once the pumpkin and condensed milk go in, those lumps become much harder to remove. The mixture should look glossy and thick before you add the whipped cream. If it still looks grainy, keep mixing before moving on.
Folding in the Whipped Cream
Add the whipped cream in two or three additions and fold with a spatula instead of beating it in. You want the mixture to turn pale and mousse-like, with no streaks left but still enough volume to hold its shape. Overmixing at this stage knocks out the air and leaves the filling dense. That doesn’t break the pie, but it does flatten the texture and makes it taste heavier than it should.
Chilling Until the Center Sets
Pour the filling into the cold crust and smooth the top with a spatula. Cover the pie and chill it until the center feels firm when you nudge the pan gently; if it wobbles like custard, it needs more time. The filling firms as the cream cheese and condensed milk settle together, so don’t rush the slice. A long chill is what gives you neat wedges instead of a soft spoonable dessert.
How to Adapt This for a Smaller Crowd or Different Diets
Gluten-Free Crust Swap
Use gluten-free graham-style crumbs or gluten-free cookie crumbs in the same amount. The texture stays close to the original, but some gluten-free crumbs need an extra tablespoon of butter to hold together, so watch for a damp-sand feel before pressing it into the pan.
Dairy-Free Version
Use dairy-free cream cheese, coconut whipped topping, and a plant-based butter for the crust. The pie will still set, but the filling will taste a little less rich and a little more coconut-forward if you use canned coconut cream, so choose an unsweetened option if you want the pumpkin to stay in front.
Make It a Little Stronger on Spice
If you like a sharper pumpkin pie flavor, add an extra 1/4 teaspoon cinnamon or a small pinch of ginger. Don’t push the spice too far, because the filling is cold and chilled desserts mute flavor; too much spice can taste harsh instead of warm.
Storage and Reheating
- Refrigerator: Keep the pie covered in the fridge for up to 4 days. The crust softens a little by day two, but the filling stays smooth.
- Freezer: You can freeze slices tightly wrapped for up to 1 month. Thaw them in the refrigerator so the filling doesn’t weep or turn grainy.
- Reheating: This pie is meant to be served cold, not reheated. Let frozen slices thaw in the fridge until they’re soft enough to cut cleanly, then serve straight from there.
Questions I Get Asked About This Recipe
Creamy No-Bake Pumpkin Pie
Ingredients
Equipment
Method
- In a medium bowl, stir together the graham cracker crumbs, melted unsalted butter, and granulated sugar until evenly moistened.
- Press the mixture firmly into the bottom and up the sides of a 9-inch pie dish, then chill in the freezer for 15 minutes.
- In a large bowl, beat the cream cheese until smooth and fluffy, about 2 minutes.
- Add the canned pumpkin puree, sweetened condensed milk, pumpkin pie spice, ground cinnamon, and vanilla extract, then beat until fully combined and smooth.
- Gently fold in the heavy cream until no streaks remain and the filling is light and airy.
- Pour the filling into the chilled crust and smooth the top with a spatula.
- Cover and refrigerate for at least 4 hours, or overnight, until fully set.
- Slice, then top with whipped cream and dust with extra pumpkin pie spice before serving chilled.
