
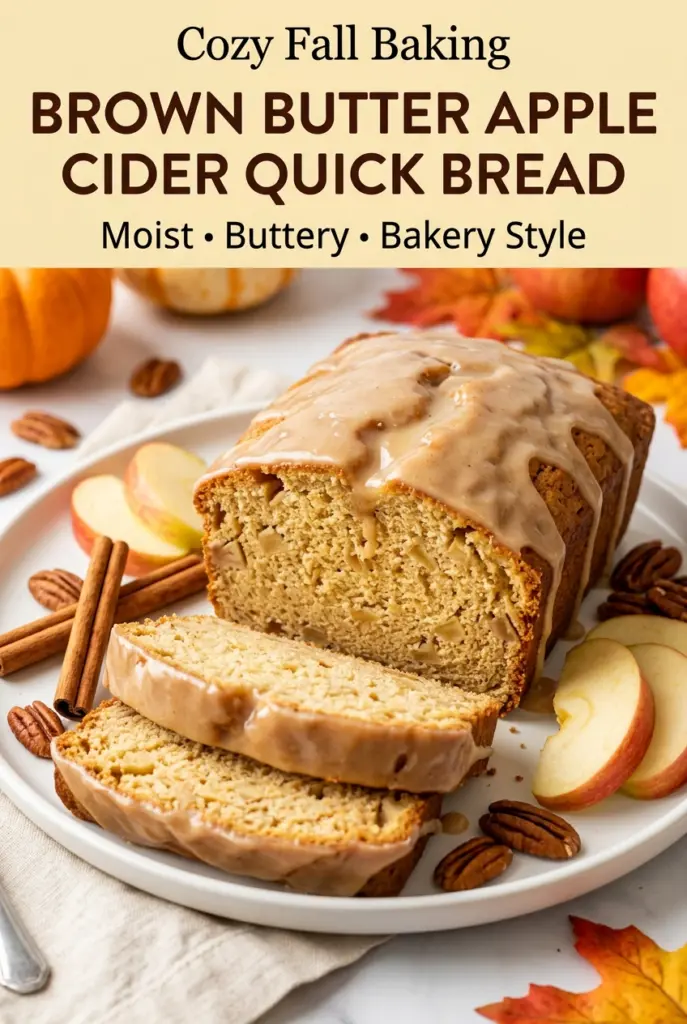
Brown Butter Apple Cider Quick Bread
Brown butter apple cider quick bread bakes up with a tender crumb, a deep apple-cider flavor, and a nutty richness that makes each slice taste a little more special than…
Tip: save now, cook later.Brown butter apple cider quick bread bakes up with a tender crumb, a deep apple-cider flavor, and a nutty richness that makes each slice taste a little more special than the usual loaf. The glaze sinks into the top just enough to give it a sweet finish without turning it soggy, and the diced apples stay soft and juicy instead of disappearing into the batter.
The key is reducing the cider first so the flavor doesn’t get watered down, then browning the butter until it smells like toasted hazelnuts. That combination gives the loaf a deeper, rounder apple flavor and keeps it from tasting flat. Sour cream adds moisture and a little tang, which balances the sweetness and helps the bread stay soft for days.
Below, I’ll walk through the small details that matter most: how brown the butter should get, why the apples need to be finely diced, and how to glaze the loaf so it looks polished instead of heavy.
The brown butter gave this loaf such a rich, nutty flavor, and the glaze soaked into the top just enough without making it wet. Mine baked up with a really tender crumb, and the little apple pieces stayed intact all the way through.
Love the nutty brown butter and sweet cider glaze? Save this apple cider quick bread for the next time you want a soft, bakery-style loaf with real fall flavor.
The Reason This Loaf Stays Moist Without Turning Heavy
The biggest mistake with quick bread is overloading it with flour or overmixing the batter until it bakes up tight and dry. This loaf avoids both. The reduced cider concentrates the apple flavor without adding extra liquid, and the sour cream gives the batter enough richness to stay soft while still slicing cleanly.
Brown butter matters here because it adds flavor without making the loaf greasy. Once the milk solids turn amber and smell nutty, you’ve gone far enough. If you stop too early, you just get melted butter. If you go too far, it turns bitter and throws off the whole loaf.
- Reduced apple cider — This is the flavor backbone. Reducing it to 1/2 cup gives you a stronger apple taste without making the batter thin.
- Brown butter — It adds toasted depth that plain melted butter can’t match. Let it cool slightly before mixing it in so it doesn’t scramble the eggs.
- Sour cream — This keeps the crumb tender and gives the loaf a soft, bakery-style texture. Full-fat plain yogurt works too, but the result is a little less rich.
- Finely diced apples — Smaller pieces distribute evenly and soften without sinking. Honeycrisp and Gala hold their shape well; softer apples can turn mushy.
What Each Ingredient Is Actually Doing in This Loaf
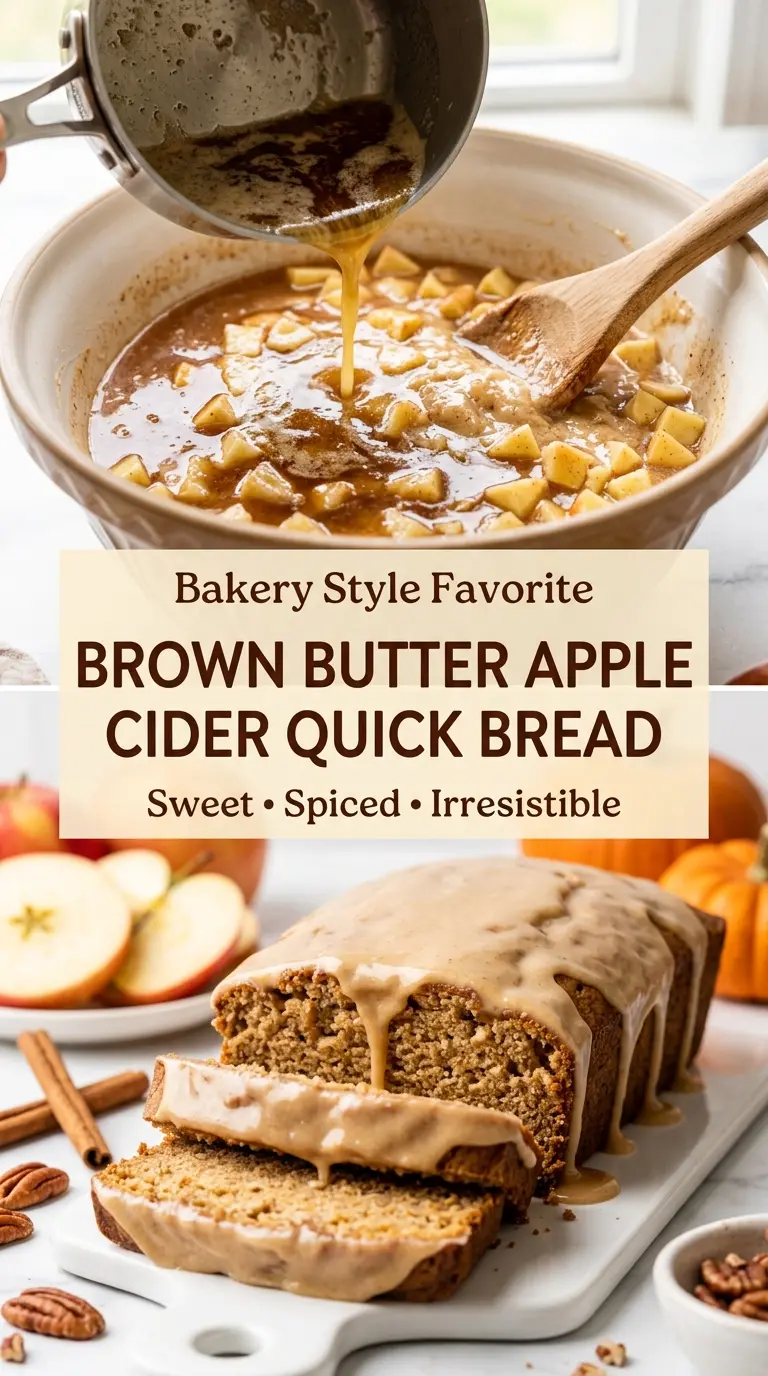
- Apple cider — Reducing it first concentrates the fruit flavor and keeps the loaf from tasting diluted. Apple juice won’t give the same depth, but it works in a pinch if that’s what you have.
- All-purpose flour — Standard flour gives the right structure here. Bread flour makes the loaf tougher, and cake flour can make it too fragile to slice cleanly.
- Brown sugar and granulated sugar — Brown sugar brings molasses notes that pair well with the browned butter, while granulated sugar keeps the crumb from feeling too dense. The mix gives better balance than using one or the other alone.
- Warm spices — Cinnamon, nutmeg, cloves, and ginger build a spiced loaf without overpowering the apple. Freshly ground spices matter most for cinnamon and nutmeg because they carry the aroma.
- Powdered sugar glaze — This sets into a thin, sweet finish instead of a thick frosting. Add the cider slowly so it stays drizzleable, not runny.
Building the Batter So the Crumb Stays Tender
Reduce the cider first
Pour the cider into a small saucepan and simmer it until it’s down to 1/2 cup. The liquid should still smell bright and fruity, just more concentrated. If you rush this and measure too soon, the loaf bakes up with a flatter apple flavor and a looser crumb because the extra liquid throws off the batter.
Brown the butter until it smells nutty
Melt the butter over medium heat and keep it moving as the foam subsides. You’re looking for golden brown specks at the bottom and a toasted, nutty aroma. Pull it off the heat as soon as it reaches that stage; it can go from perfect to burnt in under a minute.
Fold, don’t beat
Once the wet and dry ingredients meet, stir only until the last streaks of flour disappear. A few lumps are fine. Overmixing develops gluten and turns quick bread chewy instead of tender, and it also makes the apples break down more than you want.
Bake until the center springs back
The loaf is done when a toothpick comes out clean or with a few moist crumbs, not wet batter. If the top is browning too fast before the center sets, lay a loose piece of foil over it for the last 15 minutes. Letting it cool in the pan for 15 minutes helps it set up so it doesn’t tear when you lift it out.
How to Adapt This for Different Pans and Pantry Swaps
Dairy-Free Version
Use a plant-based butter that browns well and swap the sour cream for plain dairy-free yogurt. You’ll lose a little of the classic browned-butter richness, but the loaf still comes out moist and spiced.
Gluten-Free Version
A good 1:1 gluten-free flour blend works here as long as it includes xanthan gum. The loaf will be a touch more delicate, so let it cool completely before slicing.
Using a Different Apple
Honeycrisp and Gala keep their shape and give you little pockets of apple in every slice. If you use a softer apple like McIntosh, the pieces will melt into the crumb more, which makes the loaf a little more uniform and less textured.
Storage and Reheating
- Refrigerator: Store covered for up to 4 days. The crumb stays moist, though the glaze will soften a little.
- Freezer: Freeze the loaf, whole or sliced, wrapped tightly in plastic and then foil for up to 2 months. Thaw at room temperature before glazing if you want the top to stay neat.
- Reheating: Warm slices in a low oven or toaster oven for a few minutes. The common mistake is microwaving too long, which makes the crumb rubbery and dulls the brown butter flavor.
Answers to the Questions Worth Asking
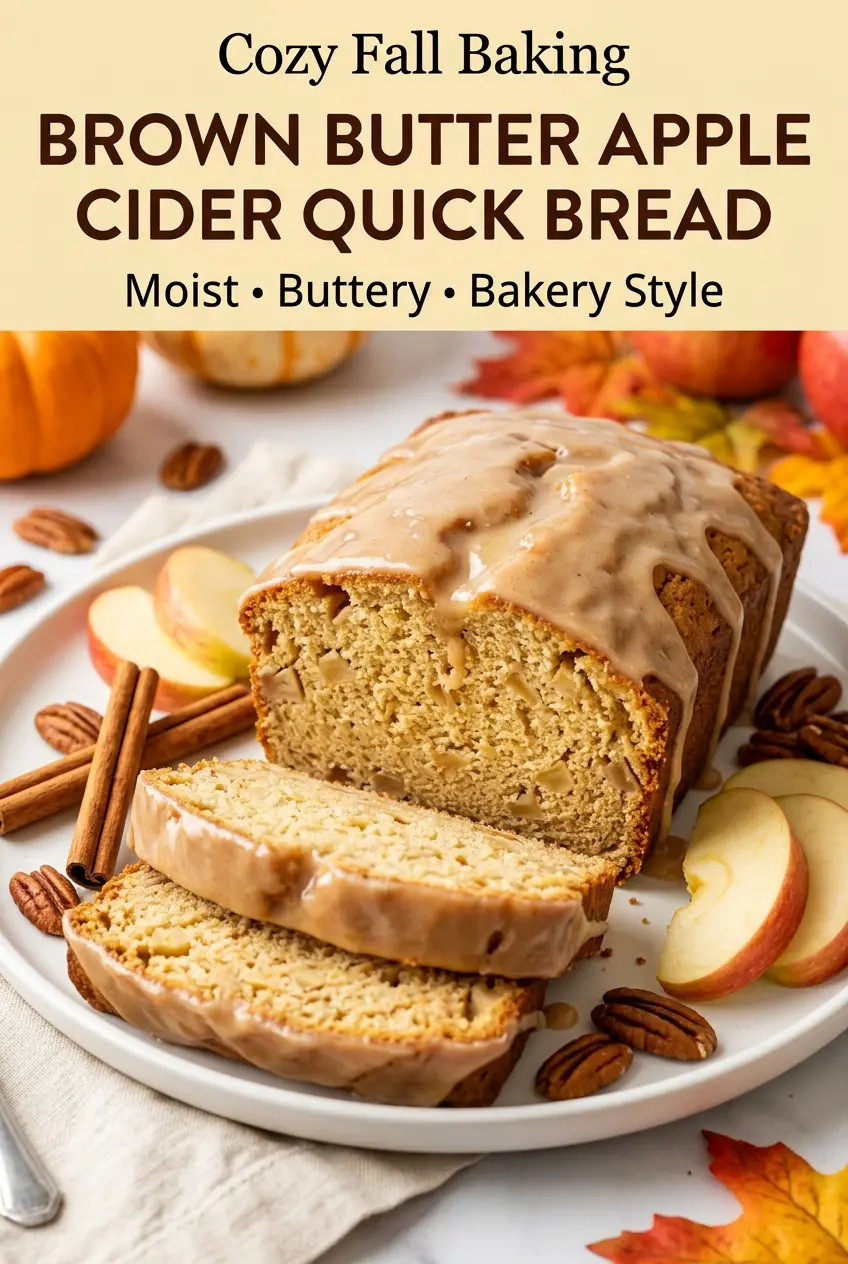
Brown Butter Apple Cider Quick Bread
Ingredients
Equipment
Method
- Preheat the oven to 350°F (175°C), then grease and line a 9×5-inch loaf pan with parchment paper so it lifts out cleanly.
- In a small saucepan, simmer apple cider over medium heat until reduced to 1/2 cup, then let it cool until warm rather than hot (about 10–15 minutes).
- In a saucepan, melt the unsalted butter over medium heat until golden brown with a nutty aroma, about 5–7 minutes, then remove from the heat to cool slightly.
- In a medium bowl, whisk together all-purpose flour, baking soda, baking powder, salt, ground cinnamon, ground nutmeg, ground cloves, and ground ginger until evenly blended.
- In a large bowl, whisk together eggs, light brown sugar, granulated sugar, browned butter, reduced apple cider, sour cream, and vanilla extract until smooth and glossy.
- Fold the dry ingredients into the wet ingredients until just combined, then stop mixing as soon as no dry streaks remain to keep the crumb tender.
- Gently fold in the finely diced apples so they are evenly distributed without overworking the batter.
- Pour the batter into the prepared loaf pan and smooth the top, aiming for an even layer so it bakes uniformly.
- Bake at 350°F (175°C) for 55–65 minutes, until a toothpick inserted into the center comes out clean; if the top browns too fast, loosely tent with foil during the final 15 minutes (look for deep golden edges and a set center).
- Cool the loaf in the pan for 15 minutes before transferring to a wire rack to prevent soggy sides.
- Whisk together powdered sugar, reduced apple cider, and vanilla extract until smooth, thick but drizzle-able, then drizzle over the cooled loaf.
- Garnish with thin apple slices, chopped toasted pecans, and a light sprinkle of cinnamon before slicing.
