Bourbon Maple BBQ Chicken Skewers
Sticky, smoky chicken skewers with charred edges and a lacquered glaze have a way of disappearing before they ever reach the table. These Bourbon Maple BBQ Chicken Skewers hit that…
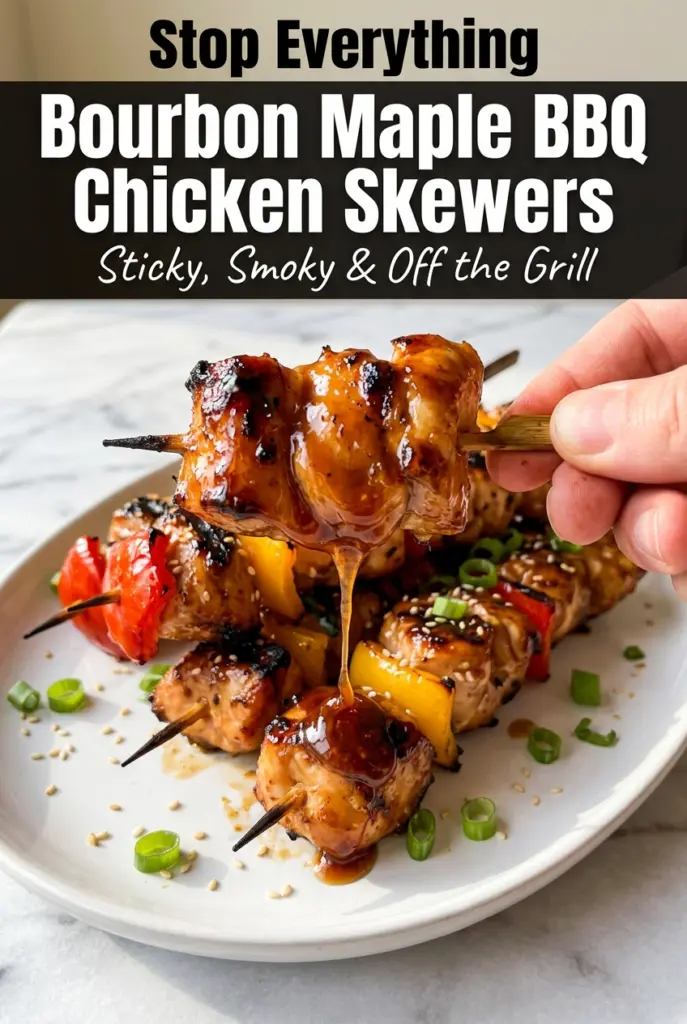
Tip: save now, cook later.Sticky, smoky chicken skewers with charred edges and a lacquered glaze have a way of disappearing before they ever reach the table. These Bourbon Maple BBQ Chicken Skewers hit that sweet spot where the chicken stays juicy, the peppers soften just enough to sweeten, and the glaze cooks down into something glossy and deeply caramelized instead of thin and sugary.
The trick is building flavor in layers. The chicken gets seasoned first so the meat itself tastes like more than just the sauce on top, and the glaze is simmered before it ever hits the grill so the bourbon cooks off a bit and the maple has a chance to thicken with the BBQ sauce. That short simmer matters more than people think; it keeps the coating clingy and helps it char instead of sliding off into the grates.
Below, I’ll walk through the timing that keeps the chicken tender, the point when the glaze should go on, and a few smart swaps if you need to work with what’s already in the kitchen.
The glaze thickened up perfectly on the grill and the chicken stayed juicy instead of drying out. I served these with coleslaw and got zero leftovers.
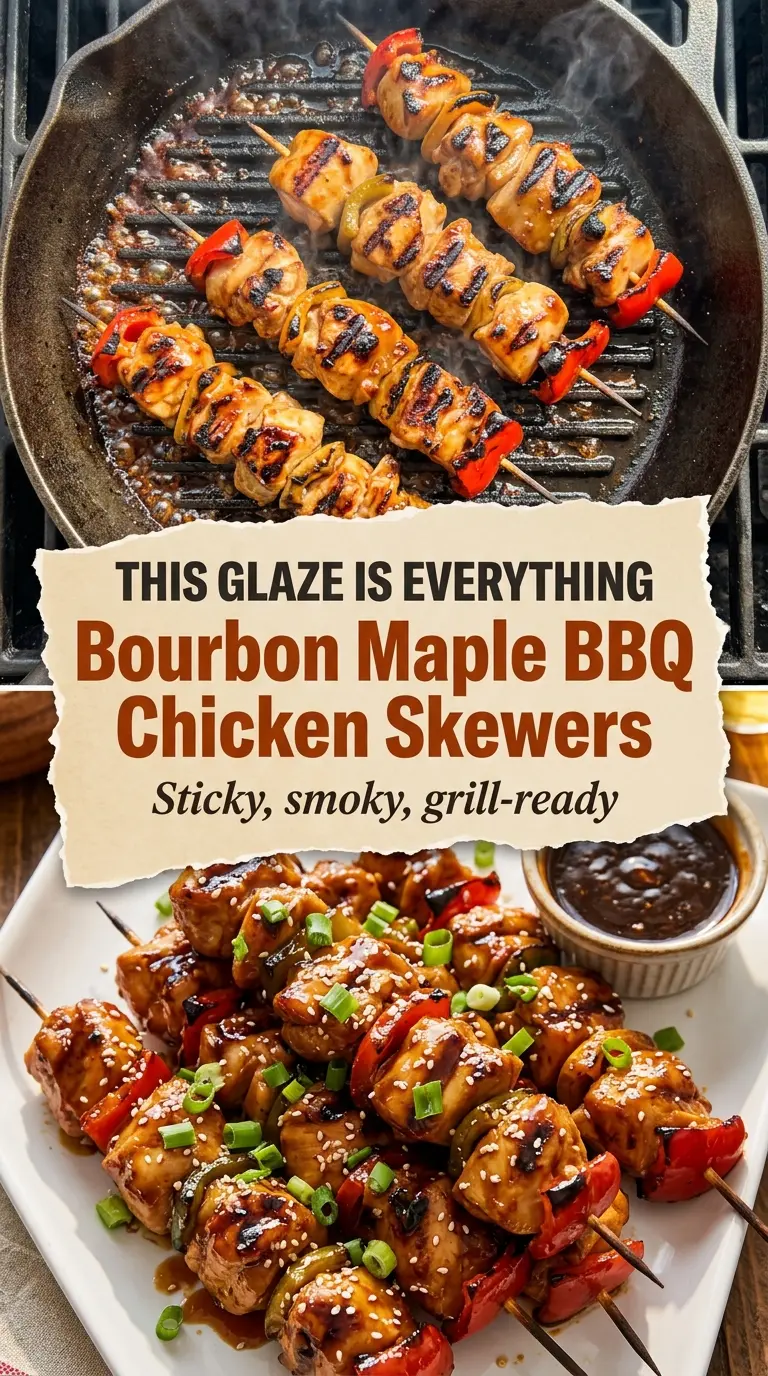
Bourbon Maple BBQ Chicken Skewers bring smoky char, sticky glaze, and juicy grilled chicken together in one bite.
The Secret to a Glaze That Clings Instead of Sliding Off
Most barbecue glazes fail on the grill for one of two reasons: they go on too early, or they never got reduced enough to begin with. Thin sauce turns watery as soon as it meets heat, then burns before it has a chance to lacquer the chicken. This version works because the glaze is cooked separately until it’s slightly syrupy, then brushed on near the end when the chicken is already nearly done.
That timing gives the sugars in the maple and BBQ sauce just enough heat to caramelize without turning bitter. The bourbon adds depth, but it also needs that quick simmer so the raw edge cooks out. If you brush it on during the first few minutes, the glaze will scorch long before the chicken cooks through.
The other piece that matters is spacing. Pack the skewers too tightly and the vegetables steam instead of char. Leave a little room between pieces so the heat can hit every side and the glaze can stick in a thin, glossy layer.
What Each Ingredient Is Doing in These Skewers
- Chicken thighs — Thighs stay juicier than breasts over direct heat, which matters here because the glaze needs a few minutes on the grill to caramelize. If you swap in breasts, cut them a little larger and watch the clock closely so they don’t dry out.
- Real maple syrup — This is what gives the glaze its round sweetness and that sticky finish. Pancake syrup won’t reduce the same way and tends to taste flat once it hits the heat.
- Smoky BBQ sauce — This brings the base flavor and body. Use one you already like on its own, because the bourbon and maple won’t hide a sauce you don’t enjoy.
- Bourbon — Just a small amount adds warmth and depth. It doesn’t make the skewers taste boozy after the simmer, but it does keep the glaze from tasting one-note.
- Apple cider vinegar — The acid keeps the glaze from turning cloying and helps the chicken taste bright after grilling. If you need a substitute, use lemon juice in the same amount, though it will read a little sharper.
- Bell peppers and red onion — These hold up well on the grill and give you sweet, charred bites between the chicken. Cut them large enough that they won’t collapse before the chicken is done.
Building the Skewers So the Chicken Stays Juicy
Seasoning the chicken first
Toss the chicken with oil and spices until every piece looks evenly coated, then let it sit long enough for the salt to start working into the meat. You’re not trying to cure it, just give the seasoning time to cling and start pulling flavor inward. If the chicken goes on the grill bare and only gets flavor from the glaze, the inside will taste plain once you eat past the crust.
Mixing a glaze that can handle heat
Combine the BBQ sauce, maple syrup, bourbon, vinegar, Worcestershire, and spices in a small pan and let it bubble until it lightly coats a spoon. You want it reduced, not jammy. If it gets too thick in the pan, it’ll turn sticky too fast on the grill and can burn before the chicken is cooked through.
Grilling over medium-high heat
Lay the skewers on clean, lightly oiled grates and leave them alone long enough to get color before turning. If they stick when you try to move them, they’re not ready yet. The chicken should lift with a little resistance and show deep grill marks, while the vegetables pick up blistered edges.
Glazing at the end, not the beginning
Brush the skewers during the last couple of minutes only, turning once so the sauce caramelizes on all sides. This is the moment where patience pays off. Pull them when the chicken reaches 165°F and the glaze looks shiny with dark, sticky edges, then let them rest before serving so the juices stay in the meat instead of running out on the platter.
How to Adapt These Skewers for Different Grills and Diets
No bourbon version
Swap the bourbon for apple juice or extra BBQ sauce plus a splash more vinegar. You’ll lose the subtle warmth bourbon brings, but the glaze still reduces well and keeps the same sticky texture.
Gluten-free skewers
Use a certified gluten-free BBQ sauce and Worcestershire sauce. The texture won’t change, but this is where labels matter because those two ingredients are the most common hidden source of gluten in a glaze like this.
Chicken breast instead of thighs
Breasts work, but they need a shorter grill time and a little extra attention because they dry out faster. Cut them into larger chunks and start checking early so they stay tender under the glaze.
Make-ahead for a cookout
Thread the skewers and mix the glaze a few hours ahead, then keep both covered in the fridge until grill time. The chicken can sit in the seasoning for up to 4 hours, which gives you better flavor without making the surface mushy.
Storage and Reheating
- Refrigerator: Store leftovers in an airtight container for up to 4 days. The glaze will set up more firmly in the fridge, and the vegetables will soften a bit.
- Freezer: The cooked chicken freezes well for up to 2 months, though the peppers and onions will lose some texture. Freeze in a single layer first, then pack into a container for the best result.
- Reheating: Warm gently in a covered skillet over low heat or in a 325°F oven until hot. High heat dries out the chicken and can make the glaze burn before the center is warmed through.
Answers to the Questions Worth Asking

Bourbon Maple BBQ Chicken Skewers
Ingredients
Equipment
Method
- If using wooden skewers, soak them in water for at least 30 minutes to prevent burning; keep them submerged while you prep the chicken.
- Cut the chicken thighs into 1.5-inch chunks and set aside so they cook evenly on the grill.
- In a large bowl, toss the chicken with olive oil, garlic powder, smoked paprika, onion powder, black pepper, and kosher salt until evenly coated.
- Let the chicken marinate for at least 20 minutes, or up to 4 hours in the fridge, for deeper flavor.
- In a small saucepan over medium heat, combine BBQ sauce, maple syrup, bourbon, apple cider vinegar, Worcestershire sauce, smoked paprika, and cayenne; stir to combine.
- Simmer for 5–7 minutes until slightly thickened, then remove from heat and set aside, reserving half for serving.
- Preheat your grill (or grill pan) to medium-high heat and lightly oil the grates so the chicken releases cleanly.
- Thread the marinated chicken onto skewers, alternating with red bell pepper, yellow bell pepper, and red onion wedges.
- Place skewers on the grill and cook for 4–5 minutes per side, turning once, until lightly charred and the chicken reaches 165°F.
- During the last 2 minutes, brush skewers generously with bourbon maple BBQ glaze, turning once to coat all sides; let it caramelize and char at the edges.
- Remove skewers from the grill and brush with another layer of glaze, then rest for 2–3 minutes before serving.
- Serve with the reserved glaze on the side for dipping, or spoon over rice (or with crisp coleslaw if desired).
