
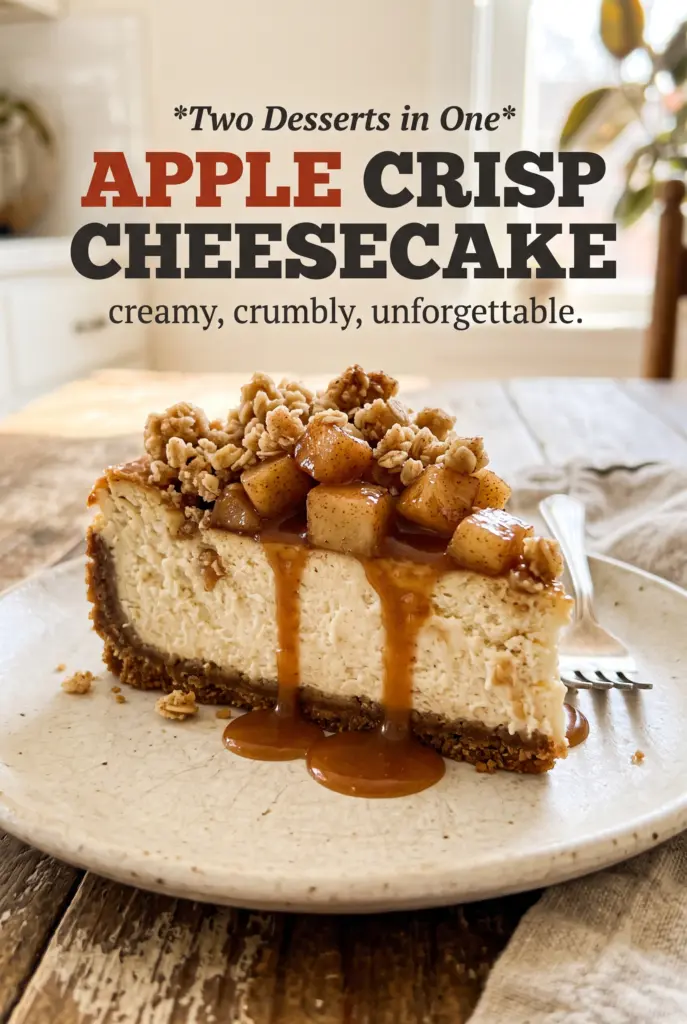
Apple Crisp Cheesecake
Apple crisp cheesecake takes the best part of two desserts and puts them in one neat slice: a buttery graham crust, a smooth vanilla cheesecake layer, tender cinnamon apples, and…
Tip: save now, cook later.Apple crisp cheesecake takes the best part of two desserts and puts them in one neat slice: a buttery graham crust, a smooth vanilla cheesecake layer, tender cinnamon apples, and a crumbly oat topping that bakes into a golden finish. The contrast is what makes it worth making. Each bite goes from creamy to crisp to soft and spiced without feeling heavy or muddled.
What makes this version work is balance. The cheesecake layer stays plain on purpose, so the apples and crumble can carry the warmth. A little sour cream keeps the filling from tasting flat, and the apples are tossed with a touch of flour so their juices thicken instead of leaking into the cheesecake. That small step keeps the top from turning watery after chilling.
The details below walk through the parts that matter most: how to keep the cheesecake smooth, how to bake the apples without sinking the top, and what to do if you want to make it a little more adaptable for your kitchen.
The cheesecake set up beautifully and the apple layer stayed tucked right on top instead of sinking. I loved that the crumble stayed crisp after chilling overnight.
Save this apple crisp cheesecake for the kind of dessert that slices cleanly, chills beautifully, and gives you creamy cheesecake plus a crunchy oat topping in one pan.
The Mistake That Makes Cheesecake Layers Sink and Soupy Toppings Spread
The two things that usually go wrong in a dessert like this are overmixing the cheesecake and overloading the apple layer with liquid. Cheesecake batter doesn’t need to be whipped airy; it needs to be smooth. Once the eggs go in, stop as soon as the mixture looks uniform. Too much mixing traps extra air, and that air rises and falls in the oven, which can leave you with cracks or a puffy center that collapses later.
The apple topping needs a light dusting of flour for a reason. Apples release juice as they bake, and without something to catch that moisture, the top can slide around and the filling can weep. The crumble also works better when the butter is cold and cut into the dry ingredients until you get pebble-sized bits. Those little clumps bake into texture instead of turning into a sandy layer.
- Cream cheese — Full-fat cream cheese gives you the dense, clean slice that this dessert needs. Bring it to room temperature first or you’ll end up with tiny lumps that never fully disappear.
- Sour cream — This softens the richness and keeps the filling from tasting one-note. Plain Greek yogurt works in a pinch, but it will taste a little tangier and slightly less plush.
- Apples — Granny Smith keeps its structure and brings a sharper bite; Honeycrisp is sweeter and a little juicier. If you use a soft apple, the top turns mushy before the cheesecake is set.
- Old-fashioned oats — Quick oats lose too much texture here. Old-fashioned oats hold their shape and give the topping that crisp, nubby finish.
Building the Layers So Each One Keeps Its Own Texture
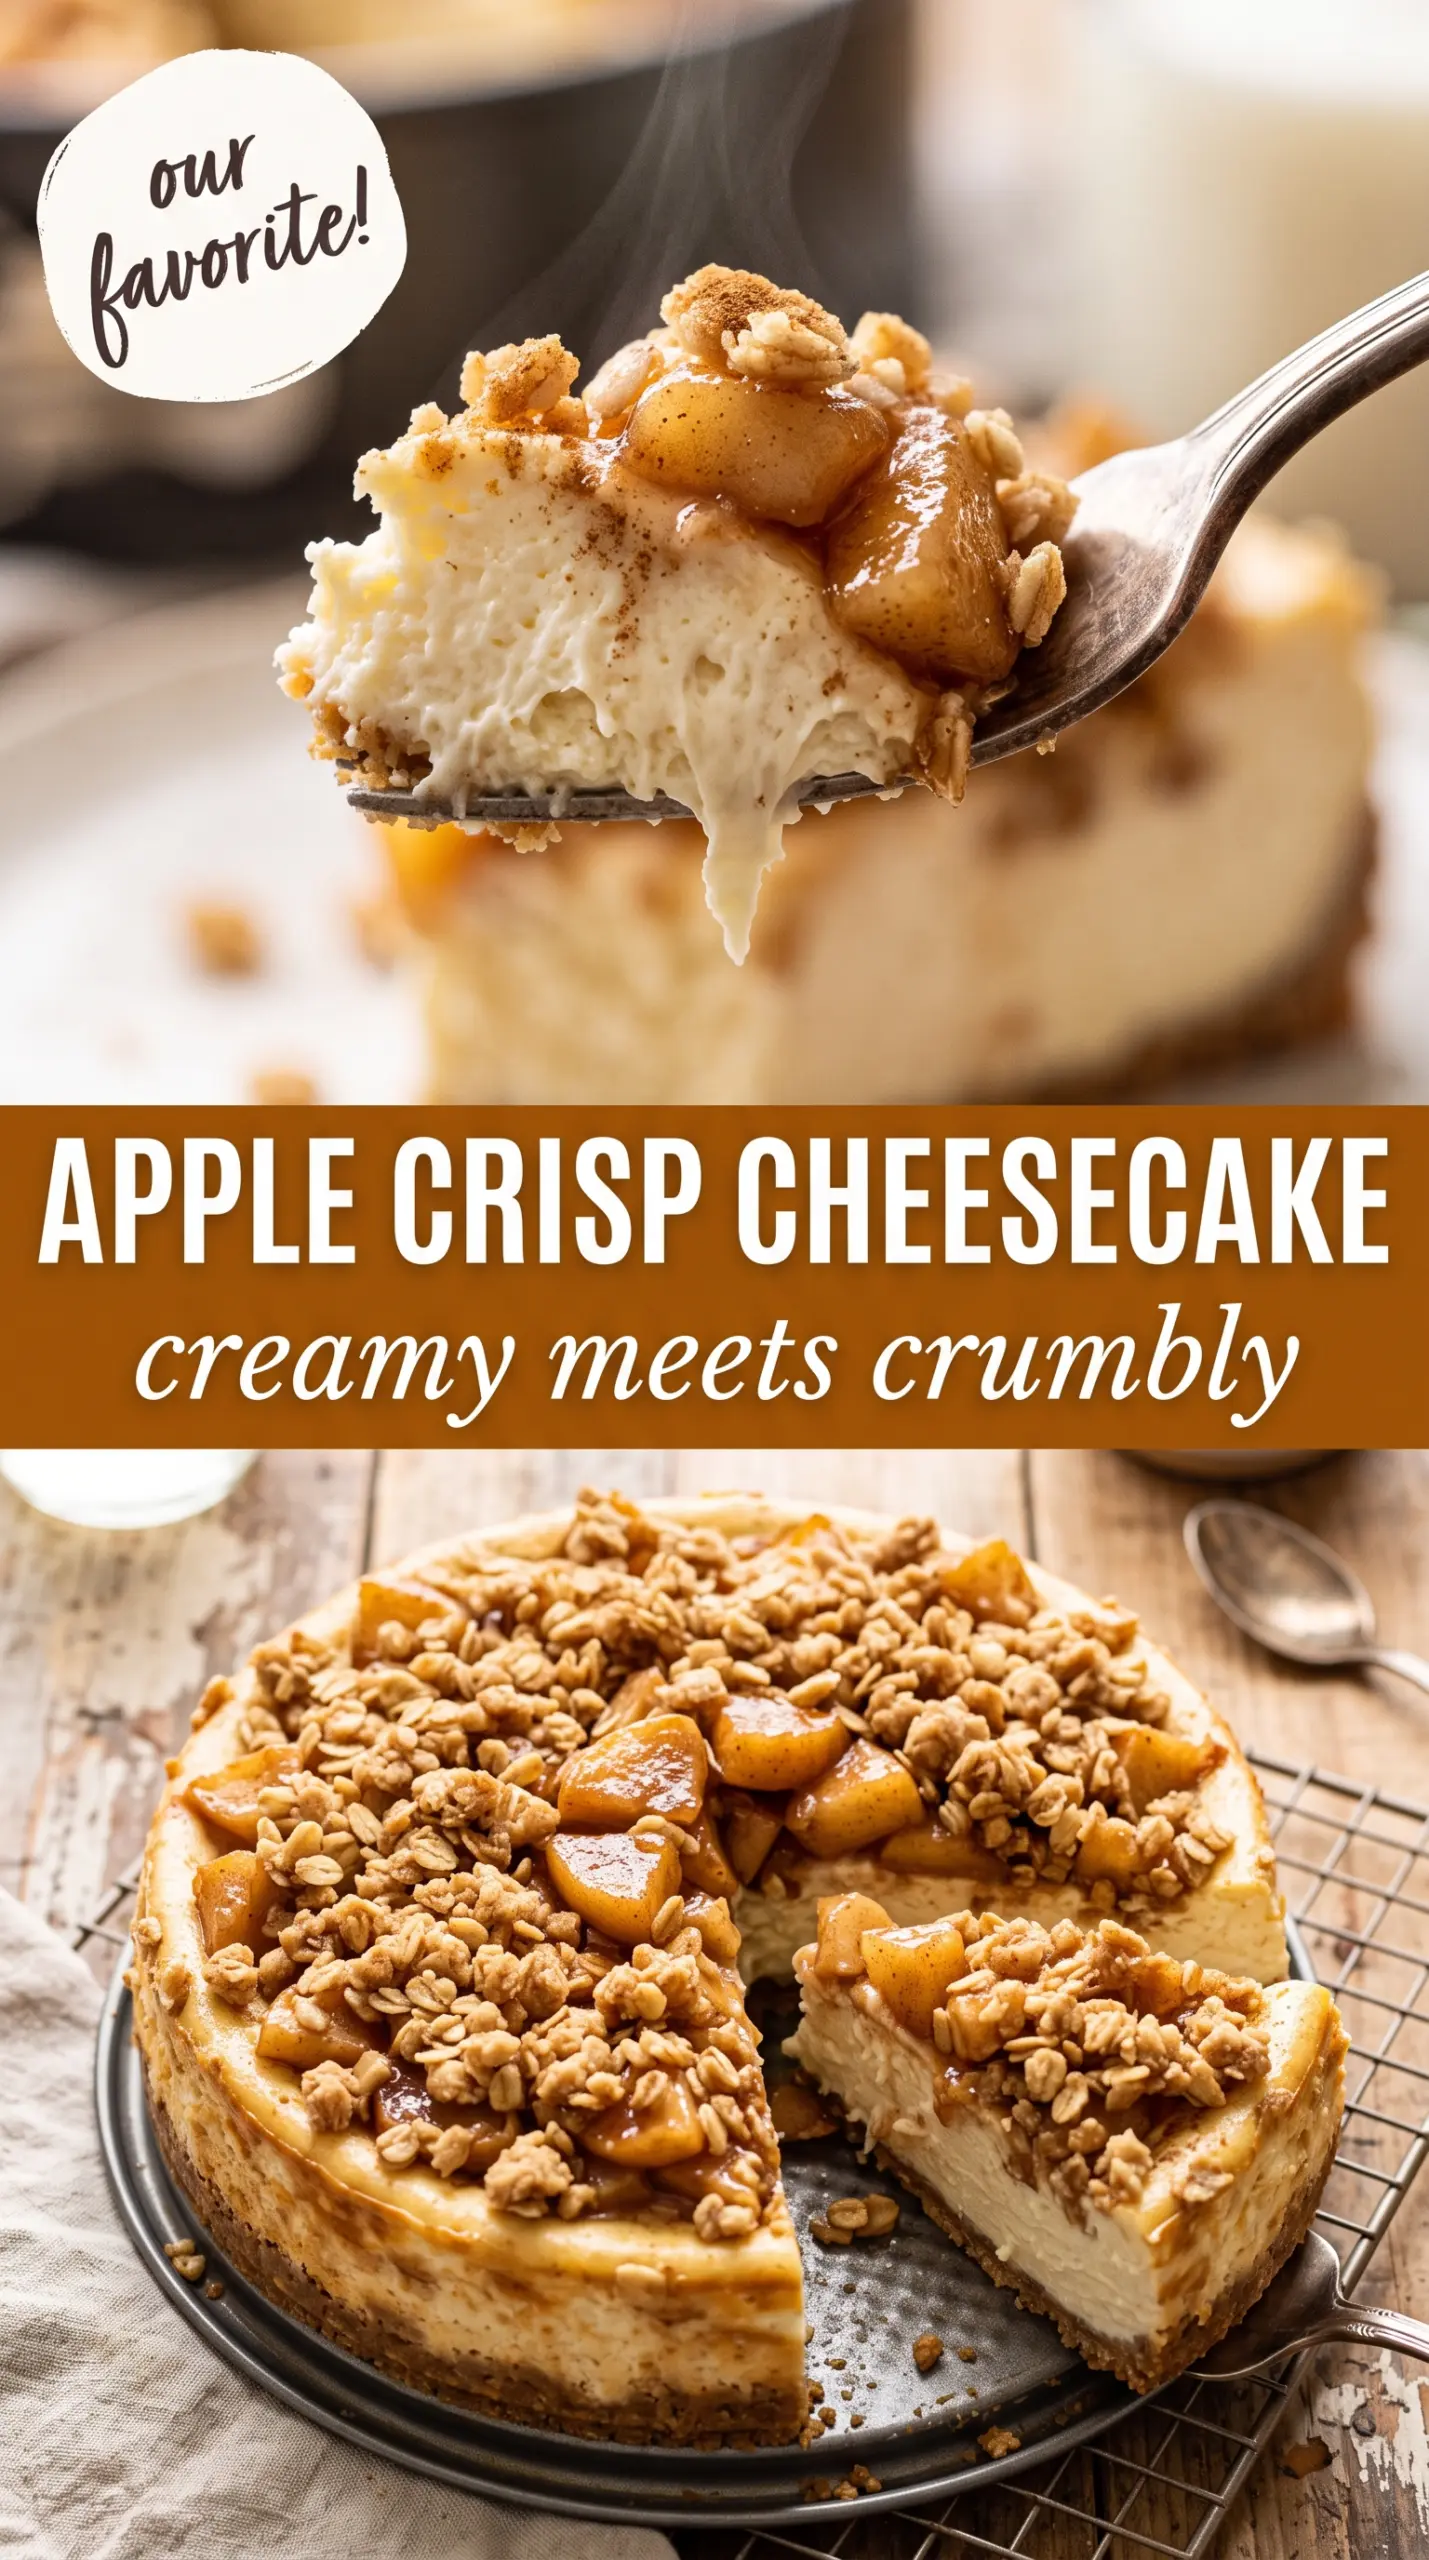
The Crust Needs a Short Pre-Bake
Mix the graham crumbs, melted butter, and sugar until every crumb looks evenly moistened, then press it firmly into the bottom of the springform pan. A quick 8-minute bake sets the crust so it doesn’t turn pasty under the filling. Let it cool slightly before adding the cheesecake, or the heat from the crust can start softening the batter at the bottom.
Stop Mixing the Filling Before It Looks Fluffy
Beat the cream cheese and sugar until smooth, then add the eggs one at a time and stop as soon as the batter looks combined. The goal is silky, not airy. If the filling looks whipped, it was mixed too long, and that extra air can cause a dramatic rise and fall in the oven. Vanilla and sour cream go in at the end so they stay evenly distributed without overworking the batter.
Layer the Apples and Crumble Without Pressing Down
Spoon the cheesecake filling over the crust, scatter the apple mixture evenly across the top, then sprinkle the crumble over everything. Don’t press the topping into the batter. It should sit loosely on top so the cheesecake can bake evenly underneath while the apples soften and the crumble browns. Bake until the center still has a slight jiggle when the pan is nudged; that gentle wobble means it will finish setting as it cools.
Three Ways to Adapt It Without Losing the Dessert
Make it gluten-free with a simple crust and crumble swap
Use gluten-free graham crumbs for the crust and replace the all-purpose flour in the crumble with a 1:1 gluten-free baking blend. The cheesecake filling and apples stay the same. The texture will be just slightly more delicate, but the dessert still slices cleanly once it’s chilled.
Use pears instead of apples for a softer finish
Firm pears can stand in for the apples if that’s what you have. Slice or dice them the same way, but expect a softer, more delicate topping and a slightly sweeter result. Keep the flour in the fruit mixture so the juices still thicken properly.
Lower the sweetness without losing the contrast
Cut the sugar in the apple layer to 1 tablespoon if you like a tarter finish, especially with Granny Smith apples. The cheesecake itself already carries enough sweetness to balance the topping. This version tastes a little more grown-up and lets the cinnamon come through more clearly.
Storage and Reheating
- Refrigerator: Store covered for up to 4 days. The crumble softens a little, but the flavor stays excellent.
- Freezer: Freeze whole or in slices, wrapped tightly, for up to 2 months. Thaw overnight in the refrigerator so condensation doesn’t make the topping soggy.
- Reheating: Serve chilled or at cool room temperature for the best texture. If you want to take the chill off a slice, let it sit on the counter for 20 to 30 minutes. Microwaving can make the cheesecake grainy and turn the crumble limp.
Answers to the Questions Worth Asking
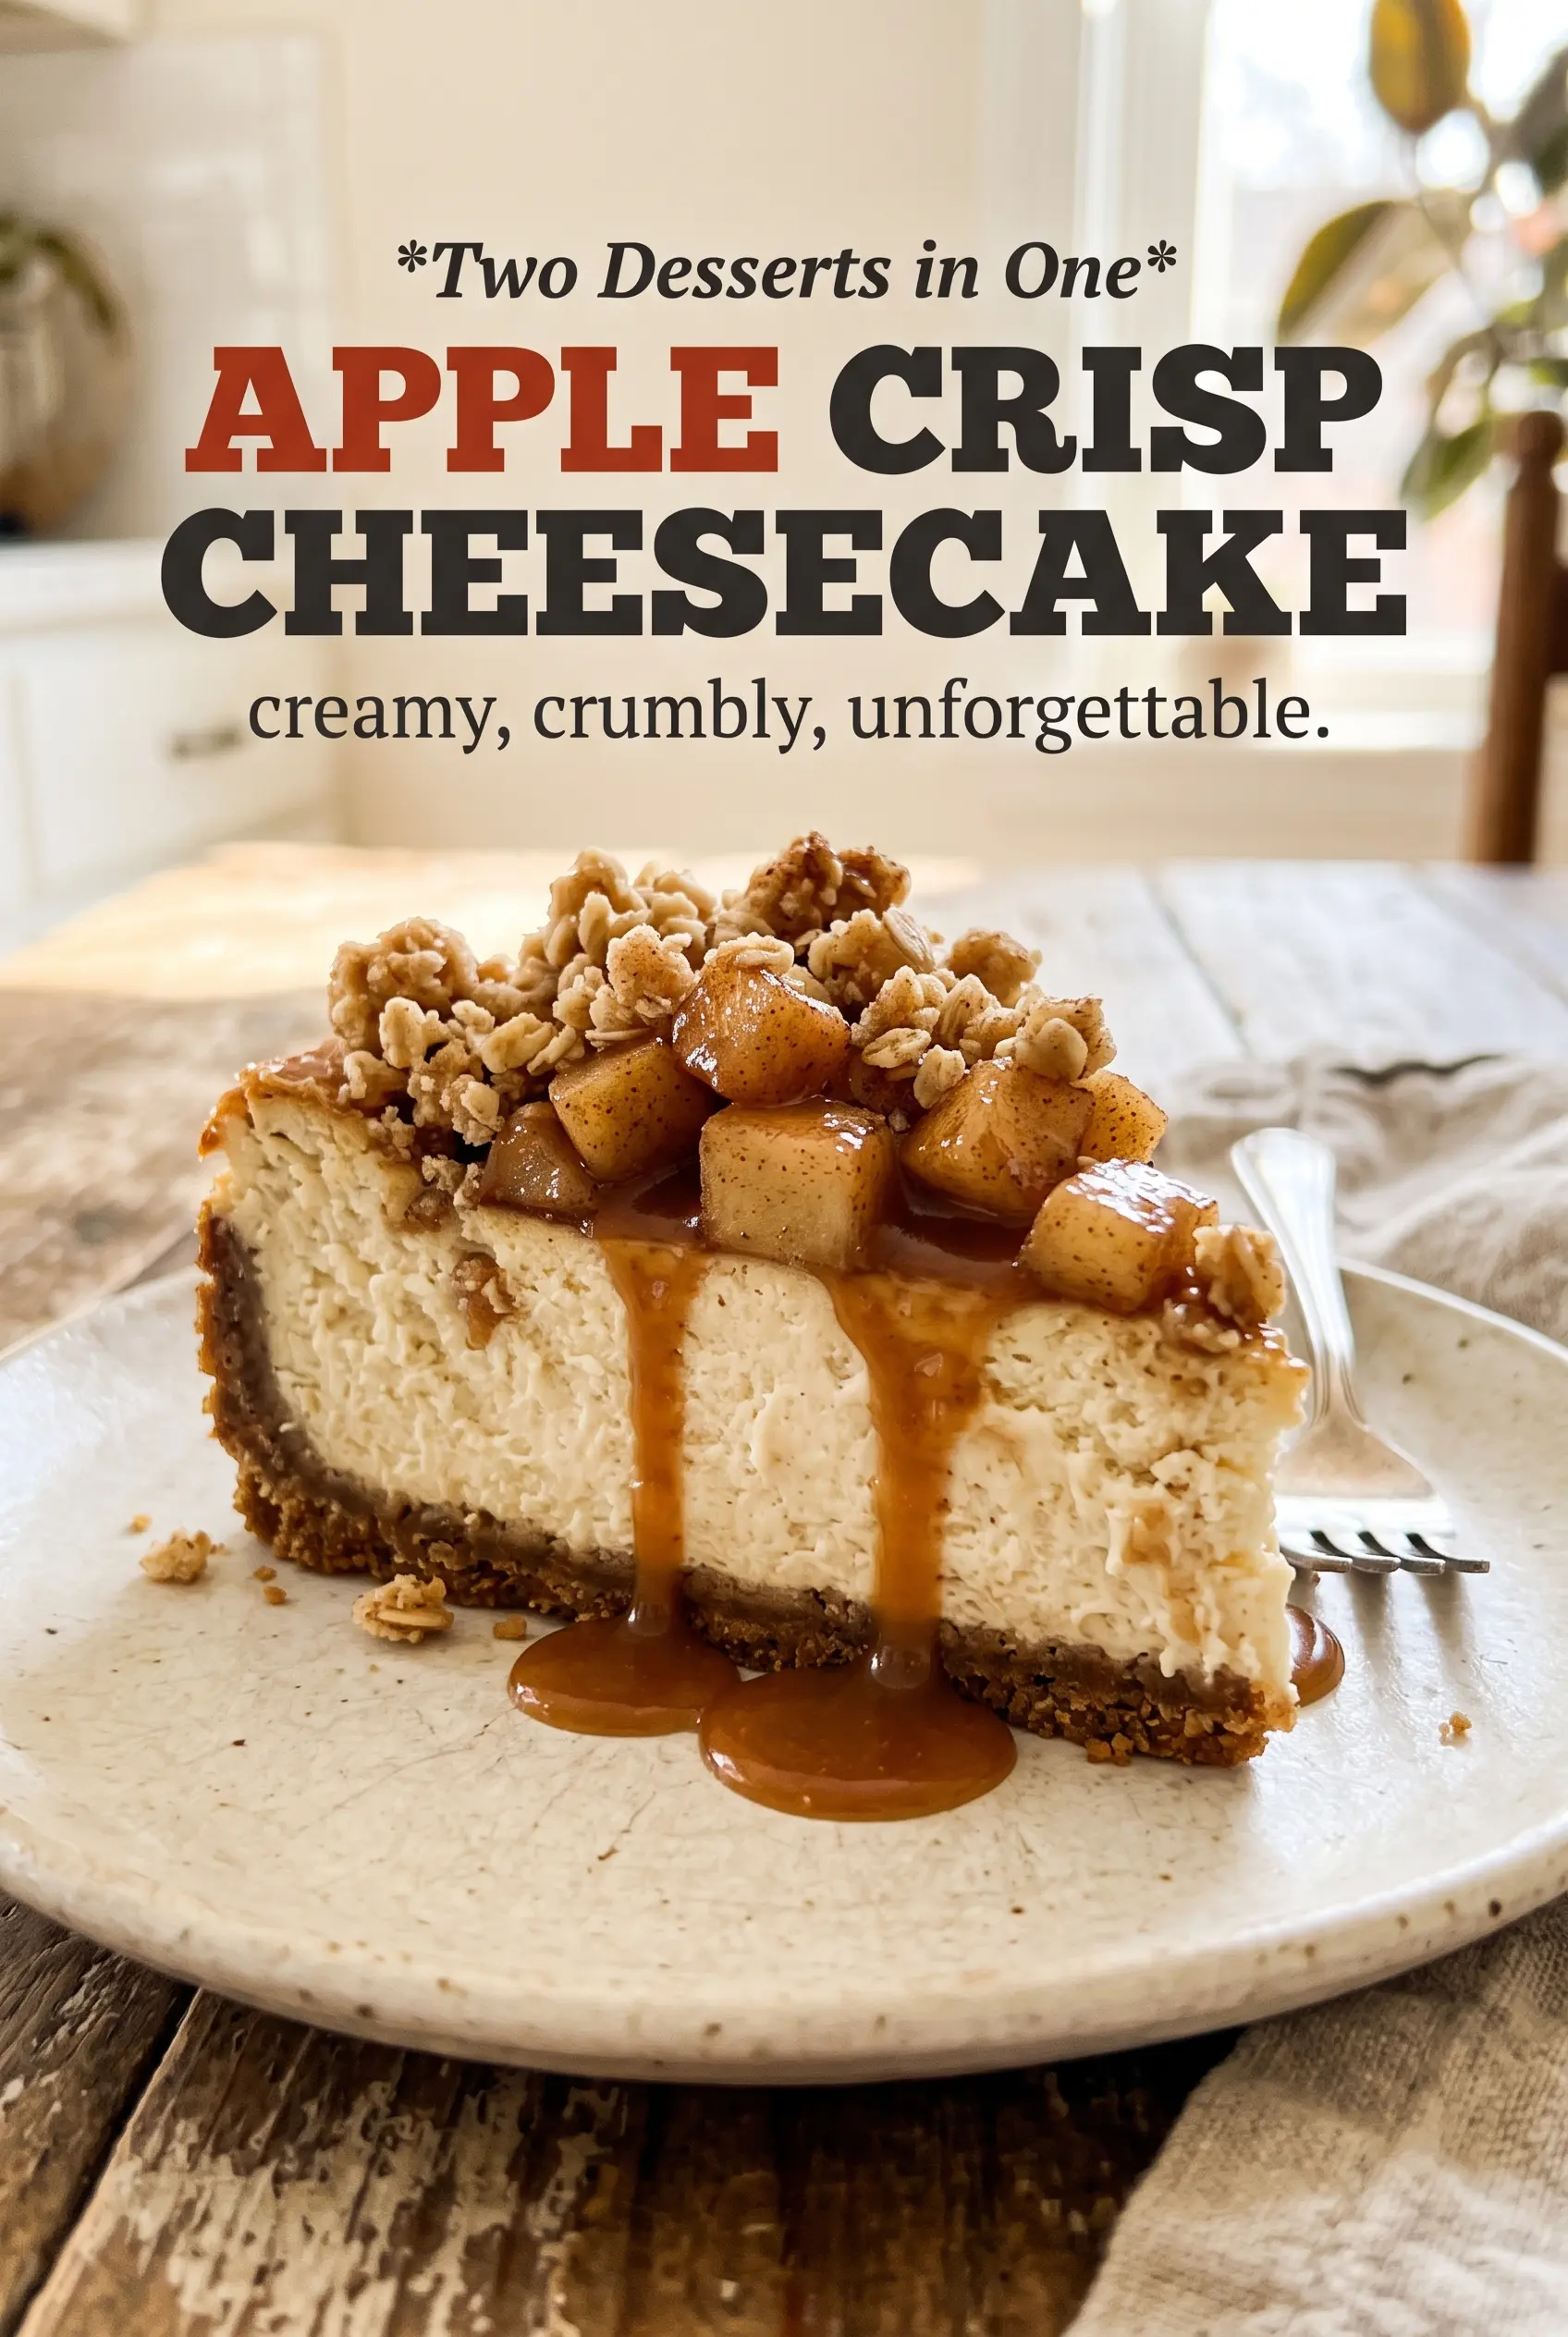
Apple Crisp Cheesecake
Ingredients
Equipment
Method
- Preheat oven to 325°F (165°C). Mix graham cracker crumbs, melted butter, and sugar, then press into the bottom of a springform pan.
- Bake the crust for 8 minutes, then cool slightly.
- Beat cream cheese and sugar until smooth, then add eggs one at a time.
- Mix in vanilla and sour cream until just combined, keeping the batter smooth.
- Toss diced apples with granulated sugar, ground cinnamon, and all-purpose flour, then set aside.
- Mix old-fashioned oats, all-purpose flour, brown sugar, and ground cinnamon, then cut in cold butter until crumbly.
- Pour cheesecake filling over the crust, then scatter the spiced apples evenly on top.
- Sprinkle the oat crumble over everything.
- Bake 50–55 minutes at 325°F (165°C), until the center is just set with a slight jiggle.
- Cool the cheesecake completely, then chill at least 4 hours before slicing.
