
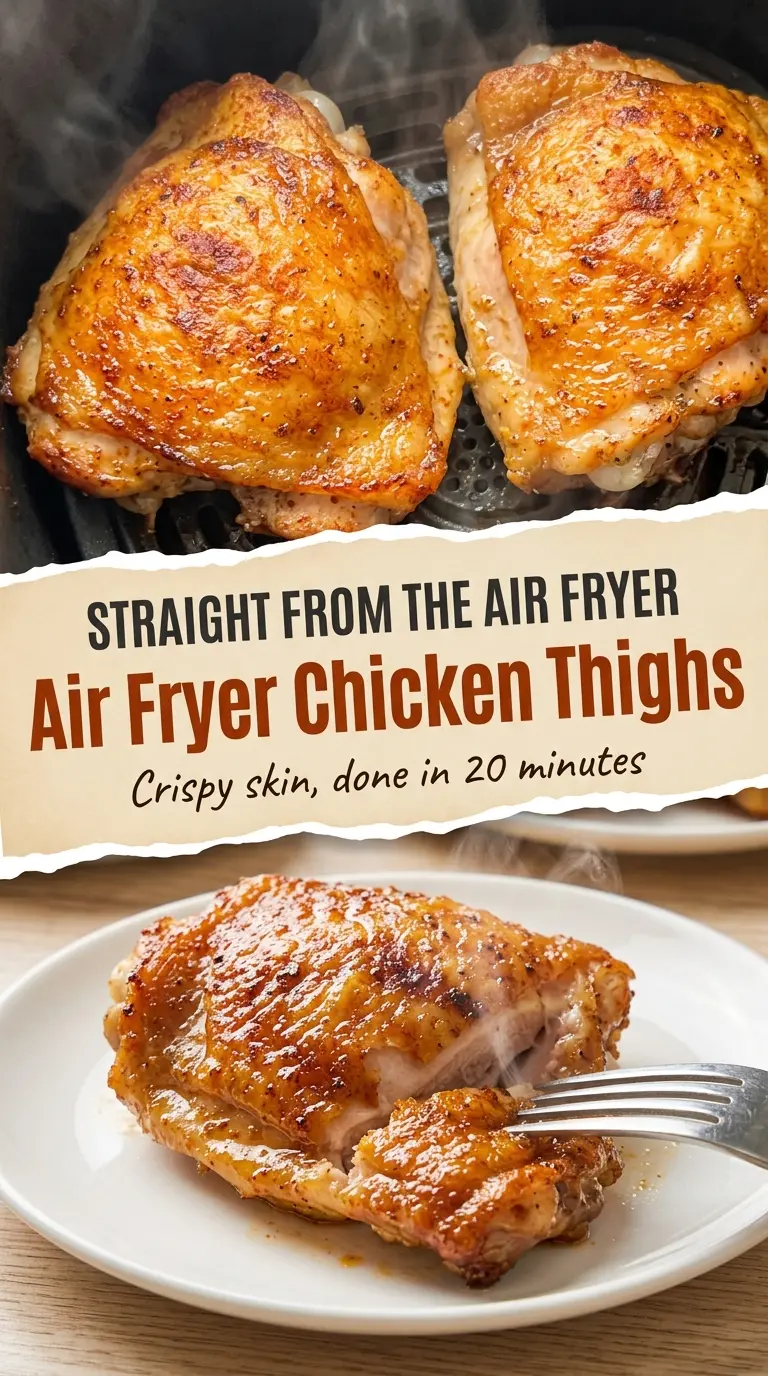
Air Fryer Chicken Thighs — Crispy in 20 Minutes
Shatteringly crisp skin and juicy, flavorful meat are exactly why air fryer chicken thighs earn a permanent spot in the weeknight rotation. The air fryer pulls off what a hot…
Tip: save now, cook later.Shatteringly crisp skin and juicy, flavorful meat are exactly why air fryer chicken thighs earn a permanent spot in the weeknight rotation. The air fryer pulls off what a hot oven often can’t in the same amount of time: deep golden skin that crackles when you cut into it, without babysitting the pan or dealing with a greasy stovetop.
The trick is simple but important. Dry the skin until it feels almost tacky, then season with a smoky rub that sticks and browns well at high heat. Bone-in, skin-on thighs are the right cut here because they stay tender while the fat under the skin renders fast enough to turn the outside crisp instead of rubbery.
Below, you’ll find the exact timing that gives you crispy skin without drying out the meat, plus a couple of smart swaps if you want to adjust the heat or seasoning. The little details matter here, and they’re the difference between decent chicken and the kind you end up making twice a week.
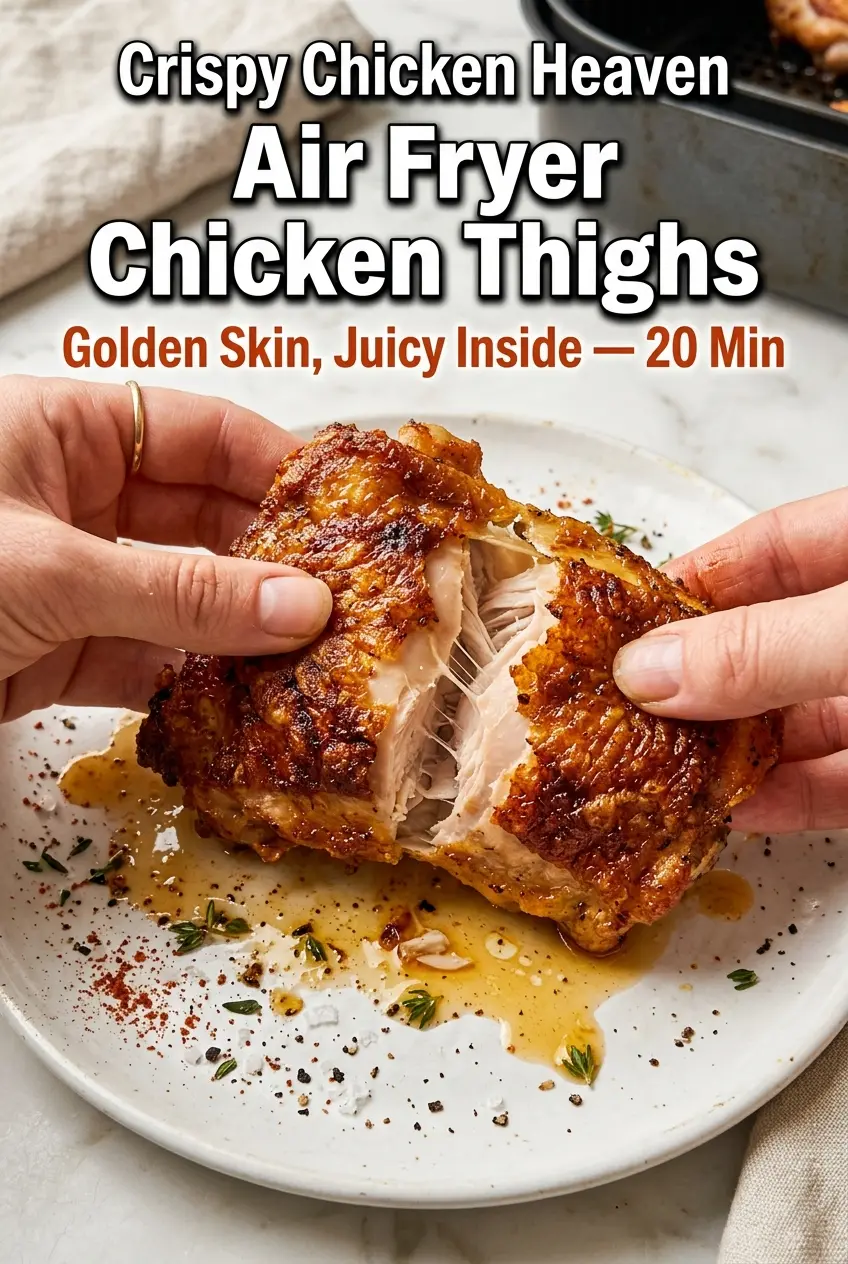
The skin came out crisp all the way across, and the thighs stayed juicy even after the full cook time. I loved that the spice rub didn’t burn at 400 and the chicken was done right when the timer went off.
Save these air fryer chicken thighs for the nights when you want crackling skin, juicy meat, and dinner on the table in 20 minutes.
The Skin Stays Crisp When You Dry It First, Not After Seasoning
Most soggy chicken skin starts before the food ever hits the air fryer. If the thighs go in damp, the surface has to steam off moisture first, and that steals the heat needed for browning. Patting the chicken dry until the skin looks matte is the difference between crisp and leathery.
The other mistake is crowding the basket. Chicken thighs need space for hot air to circulate around the skin, especially in the first 10 minutes when the fat starts rendering. If the thighs overlap or touch too much, the skin softens in those spots and you lose that crackly finish.
- Dry skin — Moisture is the enemy of crisping. Paper towels are not optional here.
- Single layer — Give each thigh room so the air fryer can brown the skin instead of trapping steam.
- Skin-side down first — This starts the fat rendering early, which helps the final flip finish crisp and golden.
What Each Ingredient Is Actually Doing in This Dish
Chicken thighs — Bone-in, skin-on thighs are the right cut because the skin has enough fat to crisp and the meat stays juicy through the high heat. Boneless thighs will cook faster, but they won’t give you the same crackling skin or the same deep, savory flavor.
Smoked paprika — This does most of the heavy lifting in the rub, adding color and a woodsy depth that tastes like you spent longer cooking than you did. Regular paprika works in a pinch, but the smoked version gives the chicken its best edge.
Olive oil — You only need a thin coating so the spices cling and the skin browns evenly. Too much oil makes the surface slick, which works against crisping instead of helping it.
Cayenne — Optional, but useful if you want a little heat behind the smoke. Leave it out for a milder version, or swap in a pinch of chili powder for warmth without the sharp bite.
The 20 Minutes That Actually Matter
Coating the Chicken Evenly
Mix the rub first so the salt and spices are evenly distributed before they hit the chicken. Drizzle the thighs with just enough olive oil to lightly coat them, then press the seasoning onto every side, including under the skin where it will flavor the meat as it cooks. If the rub looks patchy, the finished chicken will taste patchy too.
Starting Skin-Side Down
Preheat the air fryer to 400°F, then place the thighs skin-side down in a single layer. That first 10-minute stretch is when the fat begins rendering and the skin starts to firm up. If your air fryer runs hot, check at the 8-minute mark; if the skin still looks pale and limp, it needs the full time before you flip.
Flipping for the Final Crisp
Turn the thighs skin-side up and cook until the skin turns deep golden and crackling and the center reaches 165°F. The skin should look blistered in spots and pull away from the meat slightly at the edges. If the outside browns before the inside is done, lower the heat by 25 degrees next time rather than pulling it early.
Resting Before You Cut
Let the chicken rest for 3 minutes before serving. That short pause keeps the juices from running out onto the plate the second you cut in. Skip it and the meat can seem less juicy even if it was cooked perfectly.
How to Adapt These Chicken Thighs for Heat, Timing, or a Different Diet
Make It Milder Without Losing the Smoky Flavor
Leave out the cayenne and keep the smoked paprika. You’ll still get a bold, savory rub with enough color to look finished and taste layered, just without the heat at the back of the throat.
Use Boneless Thighs When That’s What You Have
Boneless thighs will cook faster, usually by several minutes, and they won’t need as much rest. The tradeoff is less rendered skin and a slightly less juicy result, so watch the temperature closely and pull them as soon as they hit 165°F.
Make It Dairy-Free and Gluten-Free Without Changing a Thing
This recipe already fits both of those needs as written. That’s one reason it’s such a strong weeknight option — the rub does all the work, so there’s no breading, sauce, or dairy to complicate it.
Storage and Reheating
- Refrigerator: Store leftovers for up to 4 days. The skin softens a bit in the fridge, but the meat stays flavorful and moist.
- Freezer: These freeze well. Wrap tightly and freeze for up to 2 months, then thaw in the fridge before reheating so the outside doesn’t overcook before the center warms through.
- Reheating: The air fryer is the best choice here. Reheat at 375°F for a few minutes until hot, and don’t use the microwave if you want the skin to stay crisp.
Answers to the Questions Worth Asking
Air Fryer Chicken Thighs — Crispy in 20 Minutes
Ingredients
Equipment
Method
- Pat the chicken thighs completely dry with paper towels to remove surface moisture for crisp skin.
- In a small bowl, mix smoked paprika, garlic powder, onion powder, dried oregano, salt, black pepper, and cayenne pepper.
- Drizzle olive oil over the chicken thighs and rub to coat evenly on all sides.
- Sprinkle the spice rub generously over each thigh, pressing it into the skin and underside for full flavor coverage.
- Preheat the air fryer to 400°F (200°C) for 3 minutes.
- Place the chicken thighs skin-side down in the air fryer basket in a single layer with no overlap.
- Cook at 400°F (200°C) for 10 minutes skin-side down.
- Flip the thighs so they are skin-side up.
- Cook at 400°F (200°C) for 8–10 minutes until the skin is deep golden and crackling, and the internal temperature reaches 165°F (74°C).
- Let the chicken thighs rest for 3 minutes before serving so the juices redistribute.
- Serve immediately alongside roasted vegetables, rice, or a simple salad.
