
Sweet and Sour Chicken Hong Kong Style
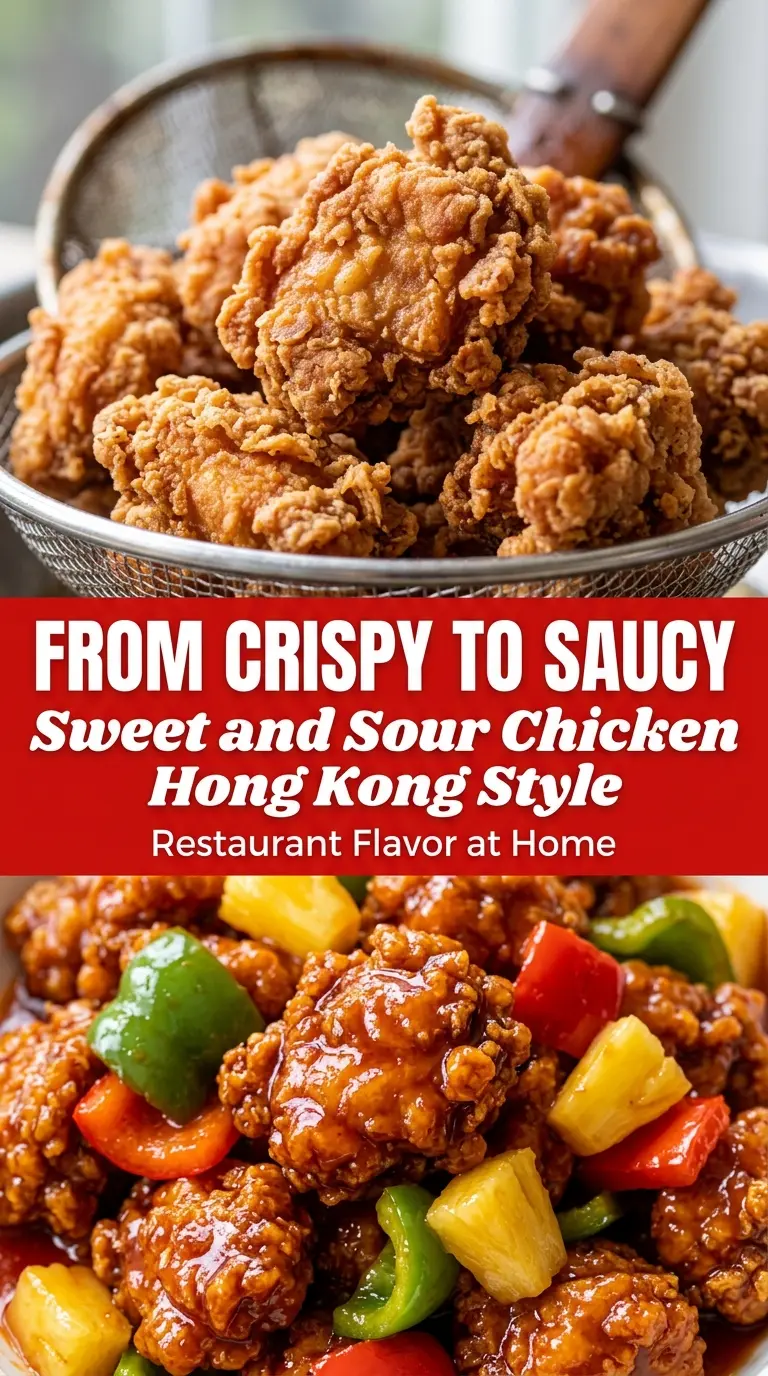
Crispy chicken coated in a glossy sweet and tangy sauce is the kind of dinner that disappears fast. The best versions don’t go soggy halfway through the plate. They keep…
Tip: save now, cook later.Crispy chicken coated in a glossy sweet and tangy sauce is the kind of dinner that disappears fast. The best versions don’t go soggy halfway through the plate. They keep that thin, crackly crust under a bright sauce that clings instead of pooling, with peppers that still have a little bite and pineapple that cuts through the richness.
What makes this Hong Kong-style version work is the order of operations. The chicken gets fried first so it stays crisp, then the sauce is cooked separately until it turns shiny and lightly thickened before the chicken goes back in. That keeps the coating from turning heavy. The sauce also leans on ketchup for body, rice vinegar for clean tang, and a little cornstarch to give it that takeout-style gloss without tasting starchy.
Below, I’m walking through the part that matters most: how to fry the chicken so it stays crunchy long enough to toss, plus the small sauce cue that tells you it’s ready to coat instead of run off the pan.
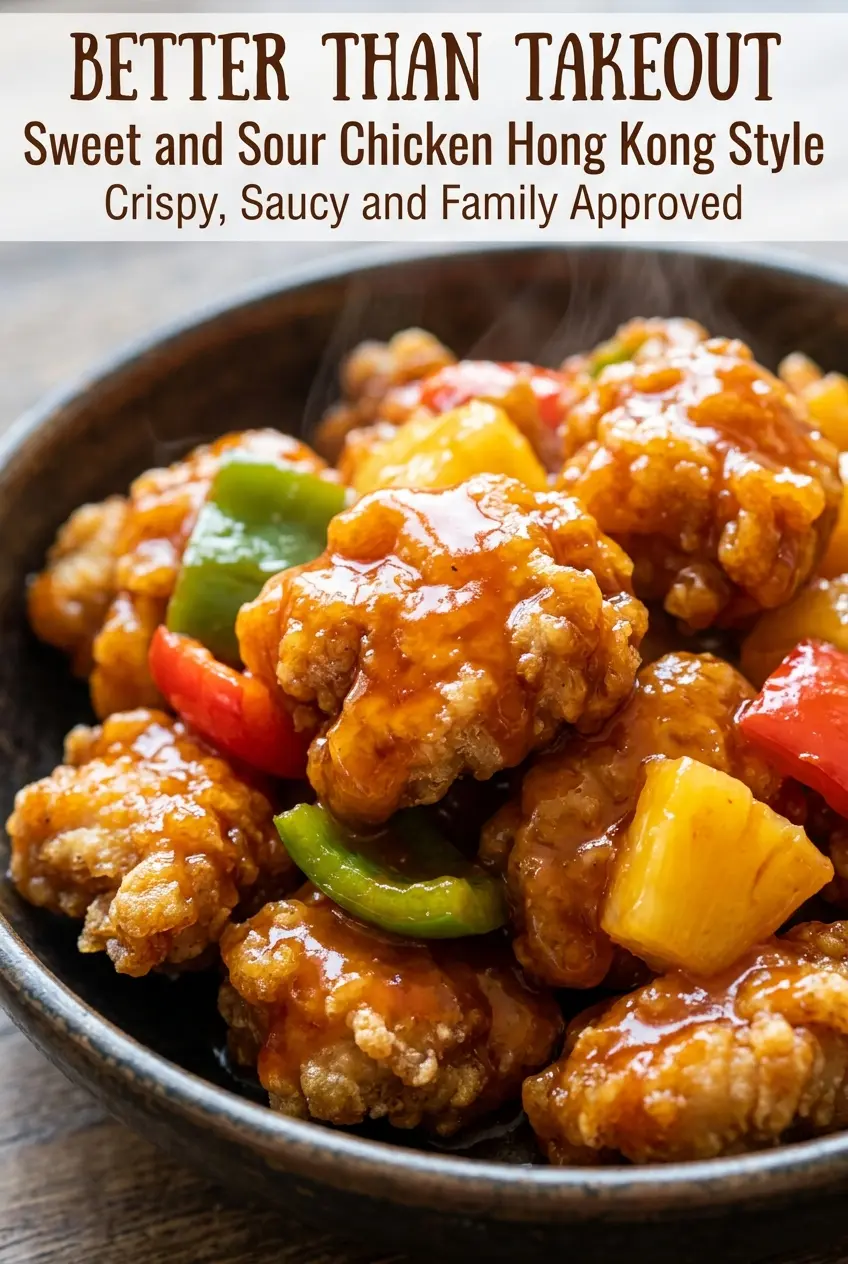
The sauce got thick and glossy in just a couple minutes, and the chicken stayed crisp long enough to serve over rice without getting soft. My kids kept picking out the pineapple and asking for more.
Save this Hong Kong-style sweet and sour chicken for the night you want crispy chicken, glossy sauce, and takeout flavor at home.
The Reason the Chicken Stays Crisp Instead of Going Soft
The coating on sweet and sour chicken usually fails for one of two reasons: the oil isn’t hot enough, or the chicken sits in the sauce too long before serving. A pale, sluggish fry gives you a coating that drinks up oil and turns heavy almost immediately. A properly hot fry sets the crust fast, so the chicken can survive the toss with the sauce at the end.
The other big mistake is trying to cook the sauce and the chicken together from the start. The sauce needs to be glossy and slightly thick before the chicken goes in. That way it clings in a thin layer instead of soaking through the flour crust. If the sauce looks watery, it’s not ready yet.
- Hot oil: The chicken should sizzle the second it hits the pan. If it barely bubbles, wait a minute and try again.
- Single layer frying: Crowding drops the temperature and gives you soft, greasy chicken instead of crisp pieces.
- Final toss only: The chicken only needs a short coating in the sauce. Long simmering is what ruins the texture.
What Each Ingredient Is Actually Doing in This Dish
The chicken breast gives you a clean, lean bite that stays tender as long as you don’t overcook it. Cut the pieces evenly so they fry at the same rate; uneven chunks mean some pieces go dry before the rest are done. If you want to use thighs, they work too, but the result will be juicier and a little richer.
Flour and egg are the simple breading here, and both matter. The egg helps the flour cling in a thicker layer, which gives you more crunch once fried. If you only dust with flour, the crust tends to look patchy and can slide off faster when the sauce goes on.
Ketchup carries a lot of the sauce’s body and color, so this isn’t the place for a thin tomato substitute. Rice vinegar gives the clean tang that balances the sugar, and brown sugar adds a rounder sweetness than white sugar would. Cornstarch is the part that turns the sauce from thin and shiny to properly clinging. Whisk it fully into the cold liquid first, or you’ll get little lumps that never smooth out.
- Bell peppers and onion: They need just enough heat to soften at the edges while keeping some crunch. If they collapse, they’ll disappear into the sauce.
- Pineapple chunks: Use juice-packed pineapple if you can, but drain it well. Too much extra liquid makes the sauce loose.
- Soy sauce: It adds salt and depth, not a strong soy flavor. Use regular soy sauce here; low-sodium is fine if that’s what you keep on hand.
Frying First, Sauce Second, Toss Last
Seasoning and Coating the Chicken
Season the chicken before it goes into the egg so every piece is flavored, not just the crust. Dip each piece into the beaten eggs, then into the flour until it’s fully coated and looks a little shaggy. That rough surface is what fries into a crisp crust. If the flour looks damp and paste-like, the coating is too wet; dust on a little more flour so the pieces fry up separate instead of clumping.
Getting a Deep Golden Fry
Heat the oil until a small piece of chicken sizzles right away and floats back to the surface in a few seconds. Fry in batches and keep the pieces moving gently so they don’t stick. The chicken is ready when it’s deep golden and the crust looks set, not pale and soft. Pull it out onto paper towels or a rack as soon as it’s done, because lingering in hot oil keeps cooking the coating and can make it greasy.
Building the Sauce in a Separate Pan
Sauté the onion and peppers for about 3 minutes so they soften slightly but still hold shape. Add the pineapple, then pour in the whisked sauce mixture and stir as it heats. The sauce should go from thin to glossy and lightly thickened in a couple minutes. If it stays cloudy or loose, the cornstarch hasn’t fully activated yet.
Coating Without Losing the Crunch
Add the fried chicken to the sauce only when the sauce is ready to cling. Toss quickly and serve right away, because every extra minute in the pan softens the crust. The finished dish should look lacquered, not soupy. Garnish with green onions and sesame seeds after it hits the plate so they stay bright and noticeable.
How to Adapt This for Different Tables and Different Pantries
Gluten-Free Version
Swap the all-purpose flour for a good gluten-free all-purpose blend with starch in it. The crust will still crisp up, though it may be a little more delicate when you toss it in the sauce. Use tamari instead of soy sauce so the sauce stays fully gluten-free.
Dairy-Free and Egg-Free Breading
If you need to skip the eggs, whisk 2 tablespoons of cornstarch with 3 tablespoons of water and use that as the binder before dredging in flour. The crust won’t be quite as thick, but it still fries up with good texture. It’s the closest swap that keeps the coating attached during frying.
Using Chicken Thighs Instead of Breasts
Thighs give you a juicier, more forgiving bite and are a good choice if you’re worried about dry chicken. Cut them into the same size pieces and fry just until cooked through, since they don’t need as long as breast meat to stay tender. The finished dish will taste a little richer.
Storage and Reheating
- Refrigerator: Store leftovers for up to 3 days. The chicken will soften as it sits in the sauce, but the flavor holds up well.
- Freezer: The sauced dish doesn’t freeze well because the coating turns soggy after thawing. Freeze the fried chicken pieces separately if you want to plan ahead, then make the sauce fresh.
- Reheating: Warm leftovers in a skillet over medium-low heat with a splash of water if needed. The microwave makes the coating softer much faster, so use it only if texture doesn’t matter.
Answers to the Questions Worth Asking
Sweet and Sour Chicken Hong Kong Style
Ingredients
Equipment
Method
- Season the chicken with salt and black pepper.
- Dip the chicken pieces into beaten eggs.
- Coat the chicken pieces with all-purpose flour, pressing lightly so the coating adheres.
- Heat vegetable oil in a deep skillet to 350°F.
- Fry the chicken until golden and crispy, about 3 to 5 minutes, then remove and drain on paper towels.
- In a separate skillet, sauté the onions and red and green bell peppers for 3 minutes.
- Add the pineapple chunks and cook for 1 to 2 minutes.
- Whisk ketchup, rice vinegar, brown sugar, soy sauce, cornstarch, and water until smooth.
- Pour the sauce into the skillet and cook for 2 to 4 minutes until thick and glossy, stirring as it simmers.
- Add the crispy chicken to the skillet.
- Toss until the chicken is evenly coated with the thick glossy sauce, about 1 to 2 minutes.
- Garnish with sliced green onions and sesame seeds.
- Serve immediately over steamed rice.
