
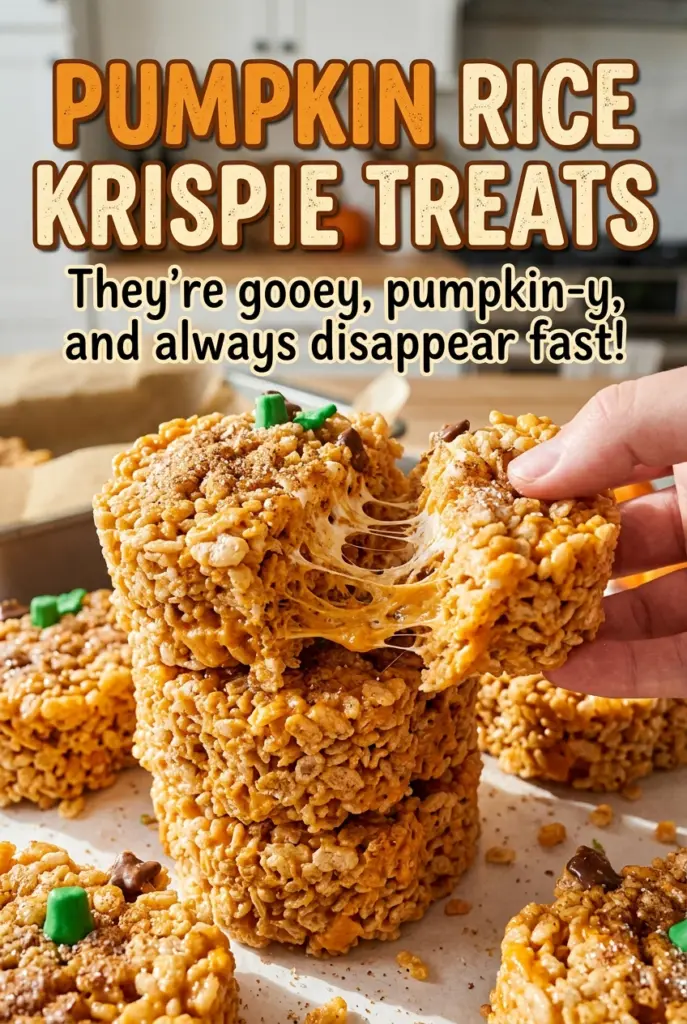
Pumpkin Rice Krispie Treats
When canned pumpkin hits the warm butter, it looks smooth and loose, nothing like the sticky base you want for a pan of cereal treats. That extra moisture is the…
Tip: save now, cook later.When canned pumpkin hits the warm butter, it looks smooth and loose, nothing like the sticky base you want for a pan of cereal treats. That extra moisture is the part that can make pumpkin Rice Krispie treats soft in the wrong way, so I cook the puree until it thickens before the marshmallows go in. It’s a small pause, but it gives the finished squares a chewy bite instead of a damp one.
Once the marshmallows melt, the rest moves quickly: vanilla goes in off the heat, then the cereal gets folded through and spread into a parchment-lined pan. I keep the pressure light when leveling the mixture. These pumpkin Rice Krispie treats set into tender, lightly spiced squares with crisp cereal still audible in every bite.
Kitchen Note
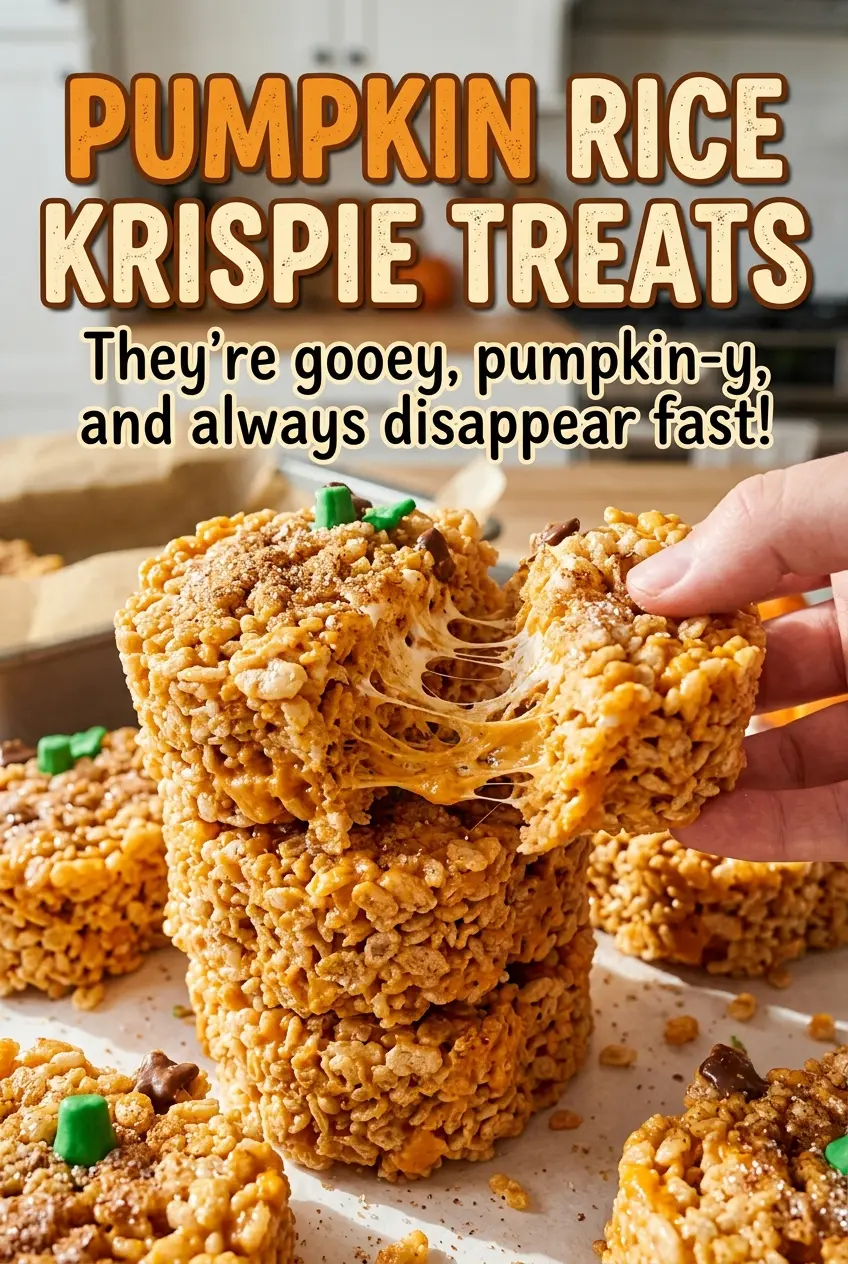
When you level the mixture in the pan, use just enough pressure to bring it together. Packing the cereal down tightly makes the squares dense instead of light and chewy.
Save these Pumpkin Rice Krispie Treats for soft, chewy squares with pumpkin puree cooked down before it meets the marshmallows.
Pumpkin Puree Has to Cook Down Before It Joins the Marshmallows
Classic cereal treats get their structure from melted marshmallows coating dry, crisp cereal. Pumpkin puree brings extra moisture into that same mixture. If it goes straight into the pot and stays loose, the marshmallow coating has to contend with water it wasn’t designed to absorb, and the cereal can lose its crisp texture.
Cooking the puree with the butter first gives that moisture time to evaporate. You’re not trying to brown it or turn it into a dry lump; you want a thicker, paste-like consistency that briefly holds the trail left by your spatula. That visual cue matters more than the clock because different pans and burners heat at slightly different rates.
Once the puree has thickened, the marshmallows can melt into a cohesive base instead of a thin, wet mixture. Keep the heat gentle while they melt, then fold in the cereal as soon as the vanilla is stirred through. The result is still soft and stretchy, but it holds its shape when you cut the pan into squares.
Why Canned Pumpkin and Mini Marshmallows Matter in This Batch

- Canned pumpkin puree — Choose plain puree, not a sweetened or spiced pumpkin product. A basic store brand works well here; consistency matters more than premium branding because the puree cooks down in the pot. Stir it before measuring so you don’t get a watery pocket from the can.
- Unsalted butter — Unsalted butter lets the kosher salt stay under your control, and an inexpensive brand is perfectly fine. If salted butter is what you have, leave out the added kosher salt so the finished treats don’t taste too salty.
- Mini marshmallows — Their small size helps them melt into the butter and pumpkin without leaving large pockets. A fresh bag melts more smoothly than marshmallows that have dried out in an open package; store-brand minis work just as well.
- Pumpkin pie spice — This is the direct source of the warm spice note, so use a blend that still smells fragrant when you open the jar. If the aroma has faded, the treats will taste flatter; there isn’t a single-ingredient swap that gives the same balanced blend.
- Rice Krispies cereal — Crisp, fresh cereal gives the squares their familiar light crunch. A plain crisp rice cereal can stand in, though the size and shape of the pieces may make the final texture a little different.
- Vanilla extract — Regular pure or imitation vanilla both work; there’s no need to buy an expensive bottle for this recipe. Stir it in after you take the pot off the heat so its aroma stays clear in the marshmallow mixture.
Cook the Pumpkin Base Before the Marshmallows Go In
Line the Pan and Melt the Butter
Line a 9×13-inch baking dish with parchment, leaving enough paper over the sides to lift the slab out later. Melt the butter in a 6-quart pot over low heat, rather than starting with a hot, empty pot. Low heat gives you a gentle base and leaves room to cook the pumpkin without scorching the butter.
Cook the Puree Until It Holds a Trail
Stir the canned pumpkin puree into the melted butter and cook over medium-low heat for 5–8 minutes, stirring often. At first the mixture will look loose and glossy; as it cooks, it becomes thicker and more paste-like. Drag your spatula across the bottom of the pot: the trail should remain visible for a moment before the mixture closes over it. If it disappears immediately, keep stirring and cooking until it thickens.
Melt the Marshmallows Gently
Add the mini marshmallows, pumpkin pie spice, and kosher salt, then stir over low heat for 3–5 minutes. The mixture is ready when the marshmallows have fully melted and you no longer see separate white pieces. Stir steadily around the bottom and corners of the pot so nothing catches while the marshmallows soften. Take the pot off the heat before stirring in the vanilla.
Fold, Level, and Let the Slab Set
Add the cereal and fold gently until the pieces are evenly coated; stop once there are no dry patches rather than stirring until the mixture turns compact. Transfer it to the prepared dish and spread it into an even layer with lightly buttered hands or a buttered spatula. Leave it at room temperature for 1 hour to set, then lift it out using the parchment and cut it into 12 squares.
Three Ways to Adjust the Spice and Shape
Make the Spice More Pronounced
For a warmer, more noticeable spice note, use 1½ teaspoons of pumpkin pie spice instead of 1 teaspoon. The squares will taste more boldly spiced, while the texture stays the same.
Make a Gluten-Free Batch
Replace the Rice Krispies cereal with 6 cups of crisp rice cereal labeled gluten-free. The cereal’s shape and crunch may differ slightly, but the pumpkin-marshmallow mixture and method stay the same.
Cut Them into Smaller Bites
After the slab has set, cut it into 24 smaller pieces instead of 12 squares. This gives you a tidier, snack-size portion without changing the mixture or the way it sets.
Storage and Reheating
- Refrigerator: Store the squares in an airtight container for up to 3 days. Chilling firms the marshmallow and makes them less chewy than they are at room temperature.
- Freezer: Freeze the cut squares in an airtight container, with parchment between layers, for up to 1 month for the best texture. Thaw them in the refrigerator before serving.
- Reheating: These treats don’t need reheating. Let a chilled square sit at room temperature briefly before eating; microwaving can melt the marshmallow unevenly and soften the cereal.
Questions That Come Up Before You Make a Batch
Pumpkin Rice Krispie Treats
Ingredients
Equipment
Method
- Line a 9x13-inch baking dish with parchment paper, leaving enough overhang to lift out the treats.
- Melt the butter in a 6-quart pot over low heat.
- Stir in the pumpkin puree and cook over medium-low heat for 5-8 minutes, stirring often, until thick and paste-like; the mixture should hold a spatula trail briefly.
- Add the marshmallows, pumpkin pie spice, and salt, and stir over low heat for 3-5 minutes until the marshmallows are fully melted.
- Remove the pot from the heat and stir in the vanilla extract.
- Add the Rice Krispies cereal and fold gently until evenly coated.
- Transfer the mixture to the prepared dish and press it into an even layer with lightly buttered hands or a buttered spatula, without packing it tightly.
- Let the treats set at room temperature for 1 hour.
- Lift the treats out by the parchment and cut into 12 squares.
