
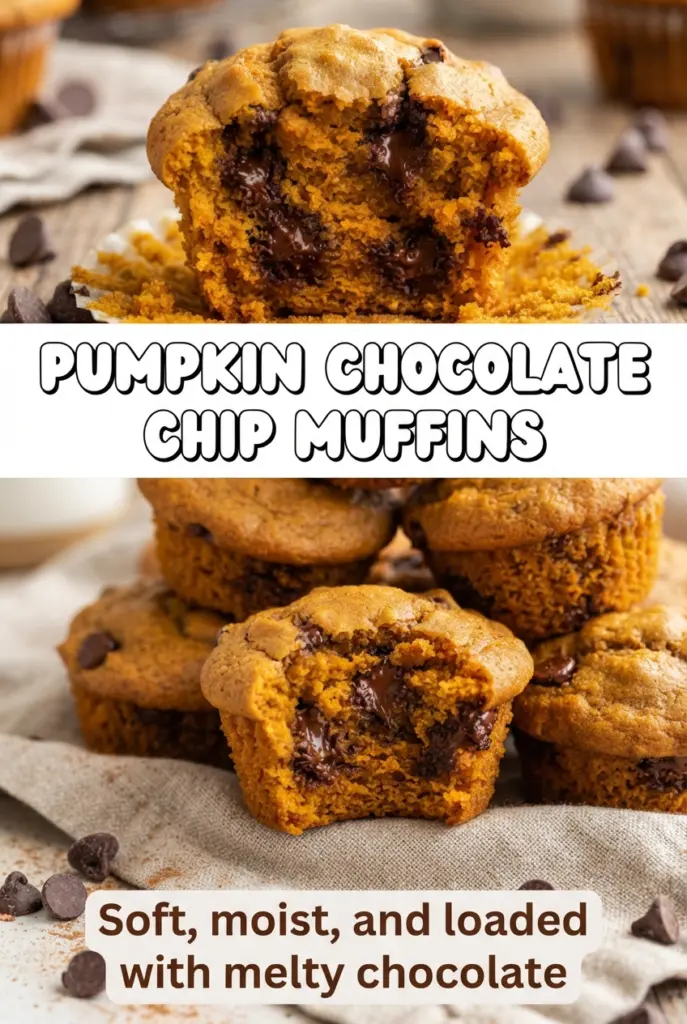
Pumpkin Chocolate Chip Muffins
Bakery-style pumpkin chocolate chip muffins earn their keep fast: tall domes, a tender spiced crumb, and little pockets of melted chocolate in every bite. The trick is getting that puffed-up…
Tip: save now, cook later.Bakery-style pumpkin chocolate chip muffins earn their keep fast: tall domes, a tender spiced crumb, and little pockets of melted chocolate in every bite. The trick is getting that puffed-up muffin top without drying out the center, and this version does it by starting hot, then dropping the oven so the insides can finish baking gently.
These muffins keep the pumpkin flavor front and center without turning heavy or cakey. Pumpkin puree brings moisture, but it also needs enough structure from flour and eggs to hold the rise, which is why the batter gets mixed just until combined and the oven starts at a high temperature. That first burst of heat is what gives you those bakery-style tops instead of flat, dense muffins.
Below, I’ve included the step that makes the biggest difference for the rise, plus a few swaps and storage notes so you can bake them once and enjoy them all week.
The tops came out beautifully domed and the centers stayed soft instead of gummy. I also loved that the chocolate chips stayed melty without sinking to the bottom.
These bakery-style pumpkin chocolate chip muffins rise high and stay fluffy, with melty chocolate chips in every bite.
The Secret to Tall Muffin Tops Without Drying Out the Centers
The first five minutes at 425°F do the heavy lifting. That blast of heat sets the outer structure quickly, so the batter springs upward before the center has a chance to spread. If you bake these the whole time at one moderate temperature, they’ll still taste good, but they won’t have that domed bakery look.
Just as important, don’t overmix once the flour goes in. Pumpkin batter can look thick and cozy, but stirring too long tightens the crumb and pushes the muffins toward dense and rubbery. Stop as soon as the flour disappears, even if the batter still looks a little streaky.
- Hot start: Gives the muffins their lift and helps create a domed top.
- Gentle finish: Drops the oven temperature so the centers bake through without overbrowning the tops.
- Minimal mixing: Keeps the crumb tender instead of tough.
What Each Ingredient Is Doing in the Batter
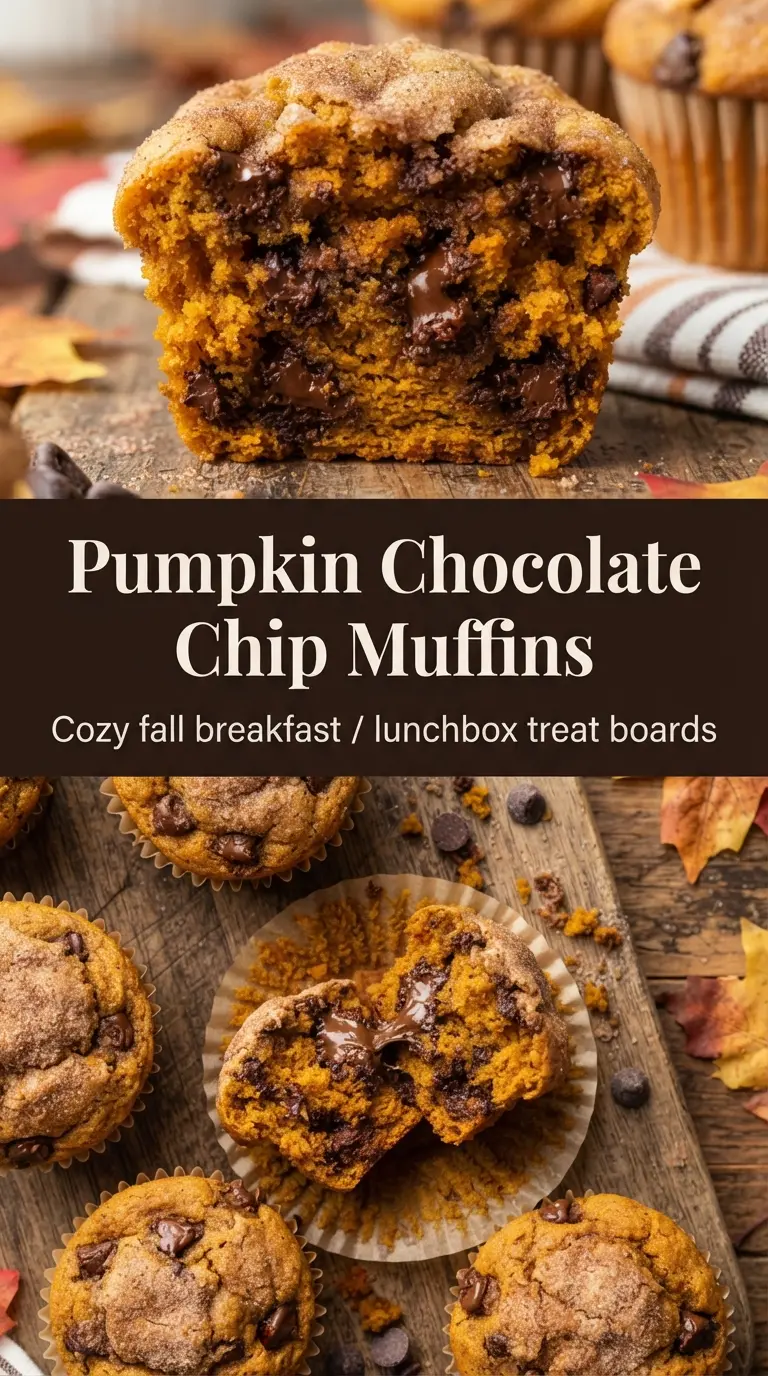
The pumpkin puree is the moisture source here, and it also gives the muffins their color and earthy sweetness. Use plain pumpkin puree, not pumpkin pie filling, or you’ll end up with extra sugar and spice that throws off the balance.
Oil keeps these muffins softer for longer than butter would. Butter tastes great, but it firms up as the muffins cool, while oil stays tender even after a day or two. The brown sugar brings a little molasses depth, and the granulated sugar helps the tops brown and keeps the texture from getting too heavy.
The chocolate chips matter more than you’d think. Semi-sweet chips balance the spiced pumpkin without making the muffins cloying. If you want to swap in chopped chocolate, it works, but the pockets will be less neat and you’ll get more melty streaks than distinct chips.
- Pumpkin puree: Adds moisture and structure, but it has to be balanced with enough flour and eggs to avoid a gummy middle.
- Vegetable oil: Keeps the crumb soft over time. Melted coconut oil works too, but it can firm up a bit once cooled.
- Brown sugar plus granulated sugar: The brown sugar deepens the flavor; the white sugar helps with lift and browning.
- Chocolate chips: Stir most into the batter, then save a handful for the tops so every muffin looks finished right out of the oven.
Building the Batter So the Muffins Rise Instead of Spread
Mix the dry ingredients first
Whisk the flour, baking soda, baking powder, salt, pumpkin pie spice, and cinnamon before anything touches the wet bowl. This spreads the leaveners and spice evenly through the batter, which means no bitter pockets of soda and no one muffin tasting stronger than the rest. If you skip this, the texture can bake unevenly and the spice will land in patches instead of every bite.
Whisk the wet ingredients until smooth
Combine the pumpkin puree, oil, both sugars, eggs, milk, and vanilla until the mixture looks glossy and uniform. You’re not trying to whip air into it. You’re dissolving the sugar and breaking up the pumpkin so the batter comes together cleanly later. If the eggs stay streaky here, they’ll never fully disappear once the flour goes in.
Fold, don’t beat
Add the dry ingredients to the wet bowl and fold only until the flour disappears. A few streaks are better than an overmixed batter, because overmixing develops gluten and gives you muffins that bake up tight and tunnelled. Fold in the chocolate chips at the end, then divide the batter right away so the leaveners can start working in the oven, not on the counter.
Start hot, then finish low
Bake at 425°F for 5 minutes, then lower the oven to 350°F and keep baking until a toothpick comes out clean. That first burst of heat gives height; the lower finish cooks the center through without scorching the tops. If your oven runs hot, the tops can darken too fast, so keep an eye on the color and tent loosely with foil if needed.
How to Adapt These Muffins Without Losing the Texture
Dairy-Free Version
Use any unsweetened non-dairy milk in place of the milk. The recipe already uses oil instead of butter, so this swap barely changes the texture. Almond, oat, or soy milk all work, but plain soy milk gives the most neutral result.
Gluten-Free Swap
Use a 1:1 gluten-free baking flour that already includes xanthan gum. The muffins will still rise, though the crumb may be a little softer and less springy than the original. Don’t use almond flour alone here; it won’t give the structure these need.
Extra Chocolate, Less Spice
If you want a sweeter, more dessert-like muffin, reduce the cinnamon a little and use extra chocolate chips on top. That makes the pumpkin quieter and pushes the chocolate forward without changing the structure of the batter.
Storage and Reheating
- Refrigerator: Store in an airtight container for up to 5 days. The tops soften a bit after the first day, but the crumb stays moist.
- Freezer: These freeze well. Cool completely, wrap individually, and freeze for up to 3 months.
- Reheating: Thaw at room temperature or warm a muffin in the microwave for 15 to 20 seconds. Don’t overheat them or the chocolate will seize and the crumb will turn dry at the edges.
Questions I Get Asked About This Recipe
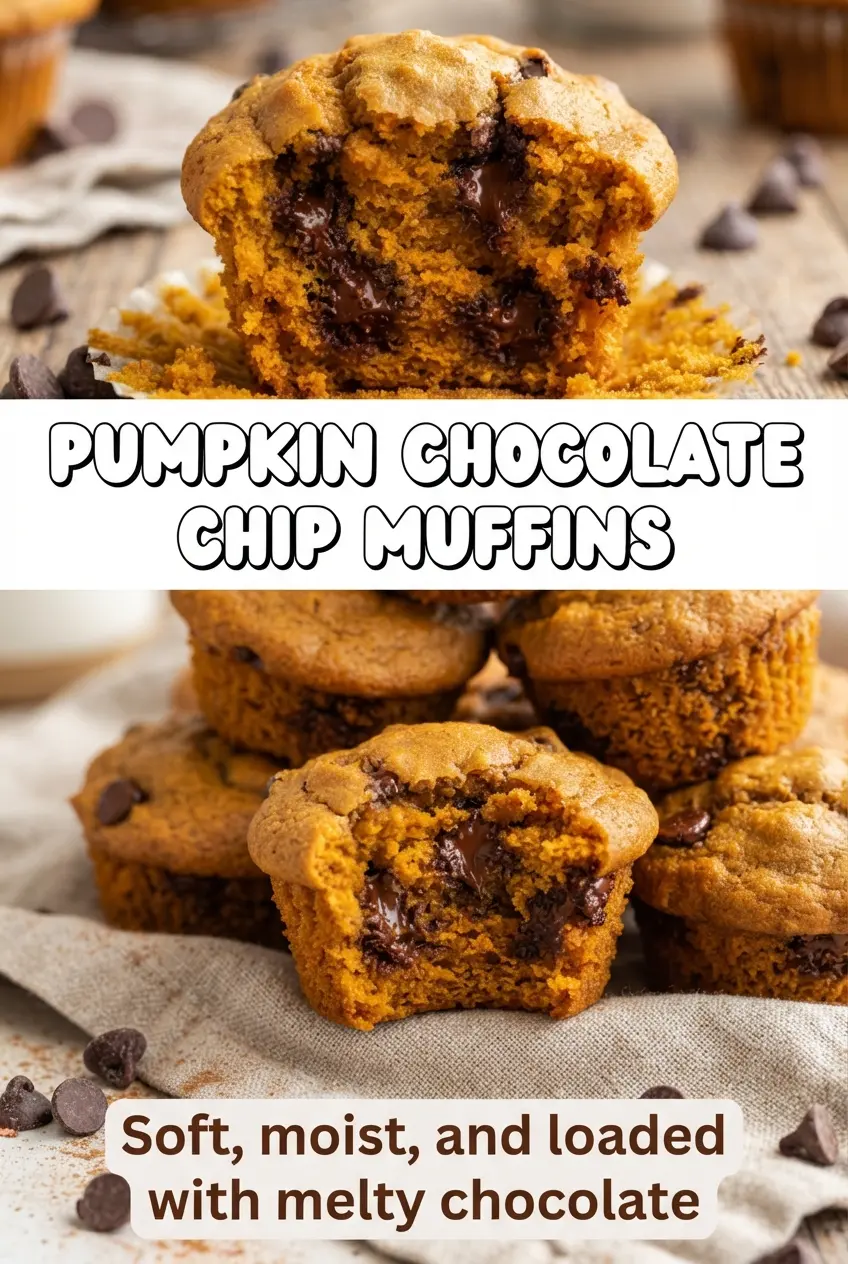
Pumpkin Chocolate Chip Muffins
Ingredients
Equipment
Method
- Preheat the oven to 425 F (220 C) and line a 12-cup muffin tin with paper liners.
- Whisk the flour, baking soda, baking powder, salt, pumpkin pie spice, and ground cinnamon together until evenly combined.
- In a large bowl, whisk the pumpkin puree, vegetable oil, packed light brown sugar, granulated sugar, eggs, milk, and vanilla extract until smooth.
- Fold the dry ingredients into the wet ingredients until just combined, then fold in 1 cup of semi-sweet chocolate chips.
- Divide the batter among the liners, filling them almost to the top, and sprinkle with the remaining semi-sweet chocolate chips.
- Bake at 425 F (220 C) for 5 minutes to kick-start the rise, then lower the oven to 350 F (175 C) and bake 15 to 17 minutes more until a toothpick comes out clean.
- Cool the muffins in the pan for 5 minutes, then move them to a wire rack to cool further.
