
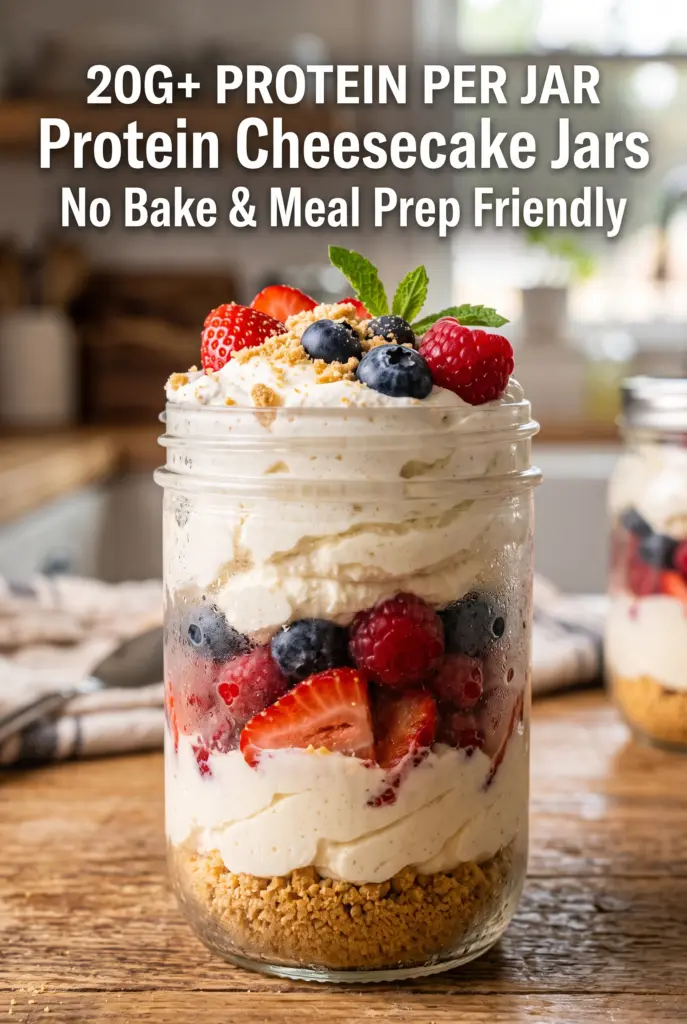
Protein Cheesecake Jars
Creamy, tangy, and spoonable straight from the jar, these Protein Cheesecake Jars hit the same satisfying note as classic cheesecake without needing a springform pan or a long chill in…
Tip: save now, cook later.Creamy, tangy, and spoonable straight from the jar, these Protein Cheesecake Jars hit the same satisfying note as classic cheesecake without needing a springform pan or a long chill in the oven. The filling tastes rich, but it stays light enough for breakfast or a post-workout snack, and the graham layer gives each bite that familiar cheesecake crunch before it softens just enough in the fridge.
What makes this version work is the base: cottage cheese gets blended until it disappears, then Greek yogurt and light cream cheese bring the cheesecake flavor without making the jars heavy. A little lemon juice sharpens the filling so it tastes like cheesecake instead of sweet yogurt, and the protein powder adds body along with the extra protein. The key is to blend long enough that the filling turns fully silky. If you can still spot curds, keep going.
Below, you’ll find the small details that matter most, including how to keep the crust from turning soggy, which toppings hold up best, and how to adjust the sweetness if your protein powder runs sweet on its own.
The filling turned out smooth like real cheesecake, and the graham layer stayed crisp for two days in the fridge. I used strawberries on top and my kids ate theirs before breakfast was even over.
Save these Protein Cheesecake Jars for a no-bake breakfast that tastes like cheesecake and still gives you a solid protein boost.
The Part That Keeps the Filling Tasting Like Cheesecake, Not Sweet Yogurt
The biggest mistake with high-protein cheesecake-style jars is treating the filling like a smoothie. It needs to be blended until completely smooth, but it also needs enough fat and tang to read as cheesecake. Cottage cheese alone can taste flat or a little grainy; the cream cheese and Greek yogurt fix that, while the lemon juice wakes the whole thing up.
Protein powder changes the texture more than people expect. Some brands thicken fast and some get chalky if you add too much, which is why two tablespoons is the sweet spot here. If your powder is especially sweet, pull back the maple syrup a bit. The filling should taste lightly sweet before chilling, because the graham layer and berries will round it out later.
What Each Ingredient Is Actually Doing in This Dish
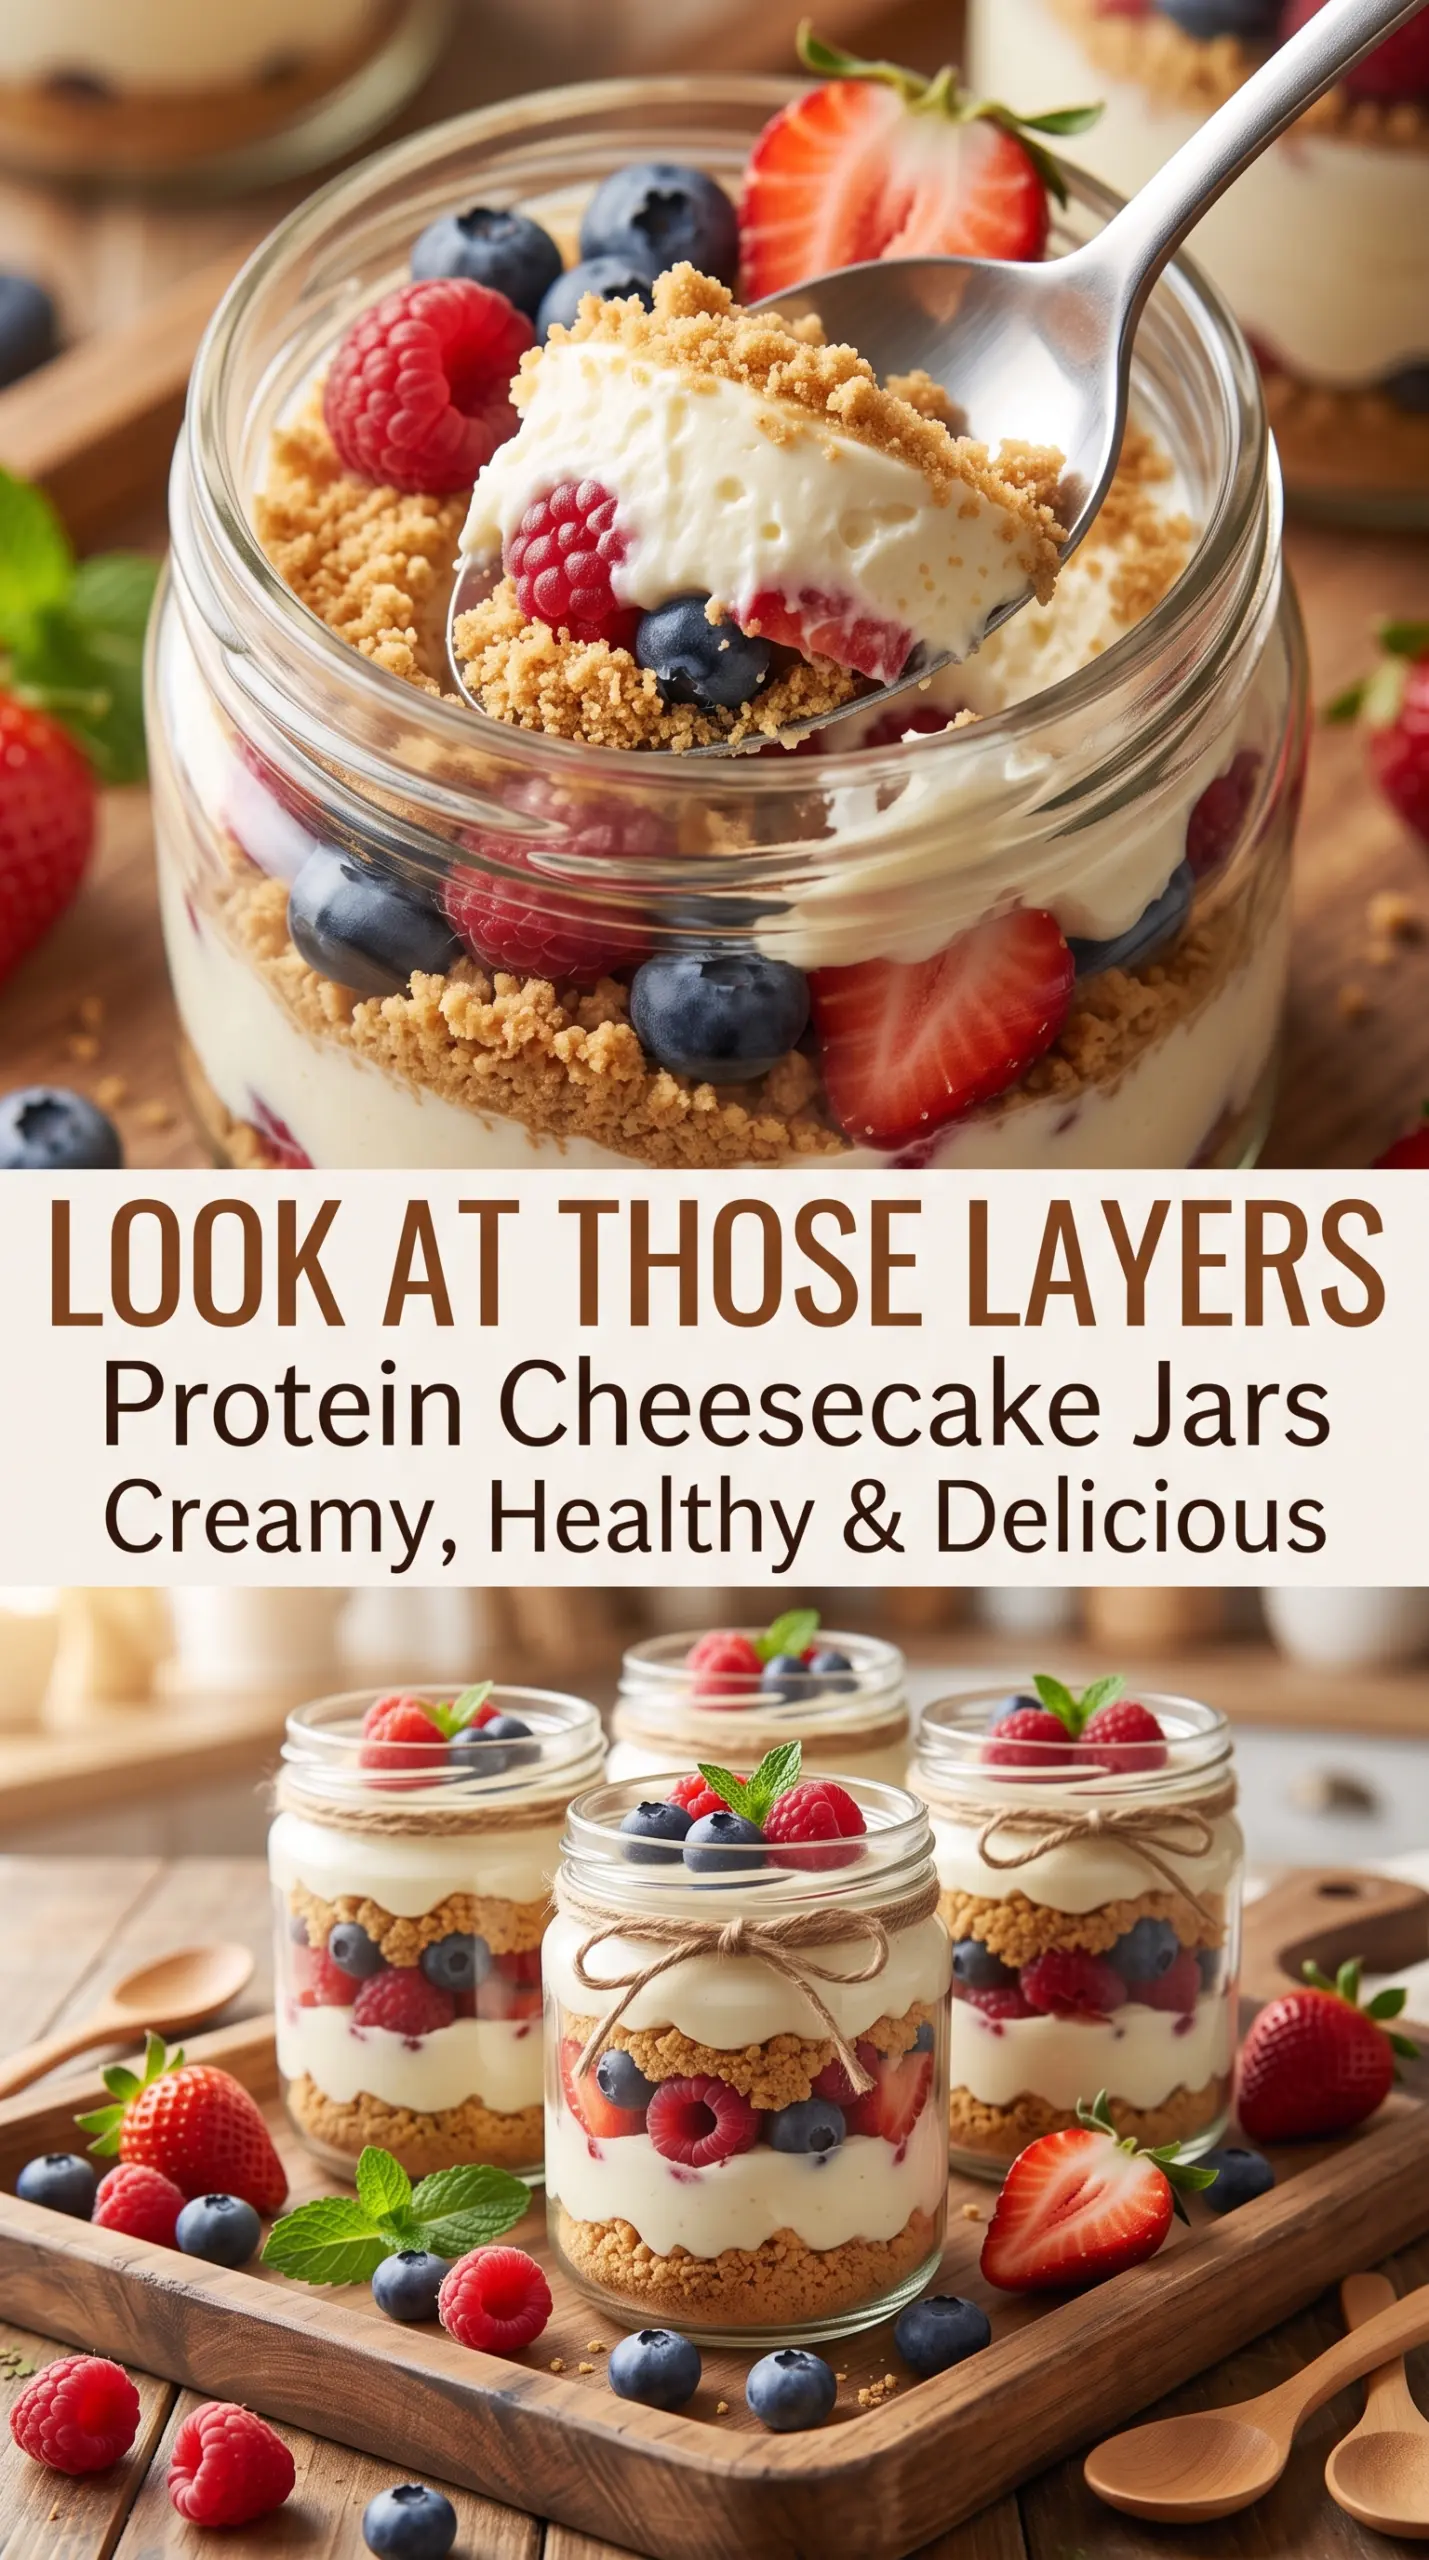
- Low-fat cottage cheese — This is the high-protein base, but it only works if you blend it until it looks completely smooth. If you skip that step, you’ll end up with a curdled texture that never quite feels like cheesecake.
- Plain Greek yogurt — It adds tang and keeps the filling light. Full-fat yogurt works too, but the texture will be a little richer and looser.
- Light cream cheese — This gives the filling its cheesecake backbone. You can use full-fat cream cheese if you want a denser, more classic texture, but it should be softened first so it blends cleanly.
- Vanilla protein powder — This adds body and boosts the protein count. Different brands thicken differently, so if yours is very absorbent, start with the amount listed before adding anything extra.
- Lemon juice — It sharpens the flavor and keeps the filling from tasting one-note. Fresh lemon is best here because the brightness matters.
- Graham cracker crumbs — These bring the cheesecake crunch and a little sweetness. If you want a gluten-free version, use gluten-free graham-style crumbs and keep the butter ratio the same.
Layering the Jars So the Crust Stays Crisp
Blending the Base Until It Vanishes
Start with the cottage cheese and blend it first on its own. That extra minute matters because it gives the blades time to break down the curds before the thicker ingredients go in. Once the yogurt, cream cheese, protein powder, sweetener, vanilla, and lemon juice are added, blend again until the filling looks glossy and thick, with no visible grains. If the mixture still looks speckled, the texture will show up later in the jar.
Making the Crust Mixture
Stir the graham crumbs with the melted butter and maple syrup until every crumb looks damp, like wet sand. If the mixture seems dusty, it won’t pack into a stable layer. Press it into the bottom of each jar with the back of a spoon so it forms a thin, even base. You want it compact, not thick enough to overpower the filling.
Filling and Chilling
Spoon or pipe the cheesecake mixture over the crust so the layers stay distinct. A piping bag makes the cleanest look, but a spoon works fine if you take your time. Chill the jars for at least two hours so the filling firms up and the crumbs settle into that classic cheesecake texture. Add the berries and any whipped cream right before serving so the tops stay fresh.
Three Ways to Make These Jars Fit What You Need
Dairy-Free Version
Swap in a thick dairy-free yogurt, dairy-free cream cheese, and a plant-based protein powder. The filling will be a little softer and less tangy, so the lemon juice matters even more for that cheesecake-like bite.
Lower-Sugar Jars
Cut the maple syrup in the filling down to 1 tablespoon and lean on the berries for sweetness. The jars will taste a little less dessert-like and a little more breakfast-friendly, which works well if your protein powder is already sweetened.
Extra-Crunch Topping
Add the crushed graham crackers just before serving instead of layering them under the filling. That keeps them crisp and gives each spoonful a fresher crunch, especially if you’re packing the jars for later in the week.
Storage and Reheating
- Refrigerator: Store covered for up to 4 days. The crust will soften a little under the filling, but the jars still taste great.
- Freezer: I don’t recommend freezing these. The yogurt and cream cheese can turn grainy once thawed, and the texture loses that smooth cheesecake feel.
- Reheating: These aren’t meant to be reheated. Serve them cold straight from the fridge, and let them sit at room temperature for 5 to 10 minutes if you want the filling a little softer.
The Questions That Come Up Before the First Spoonful
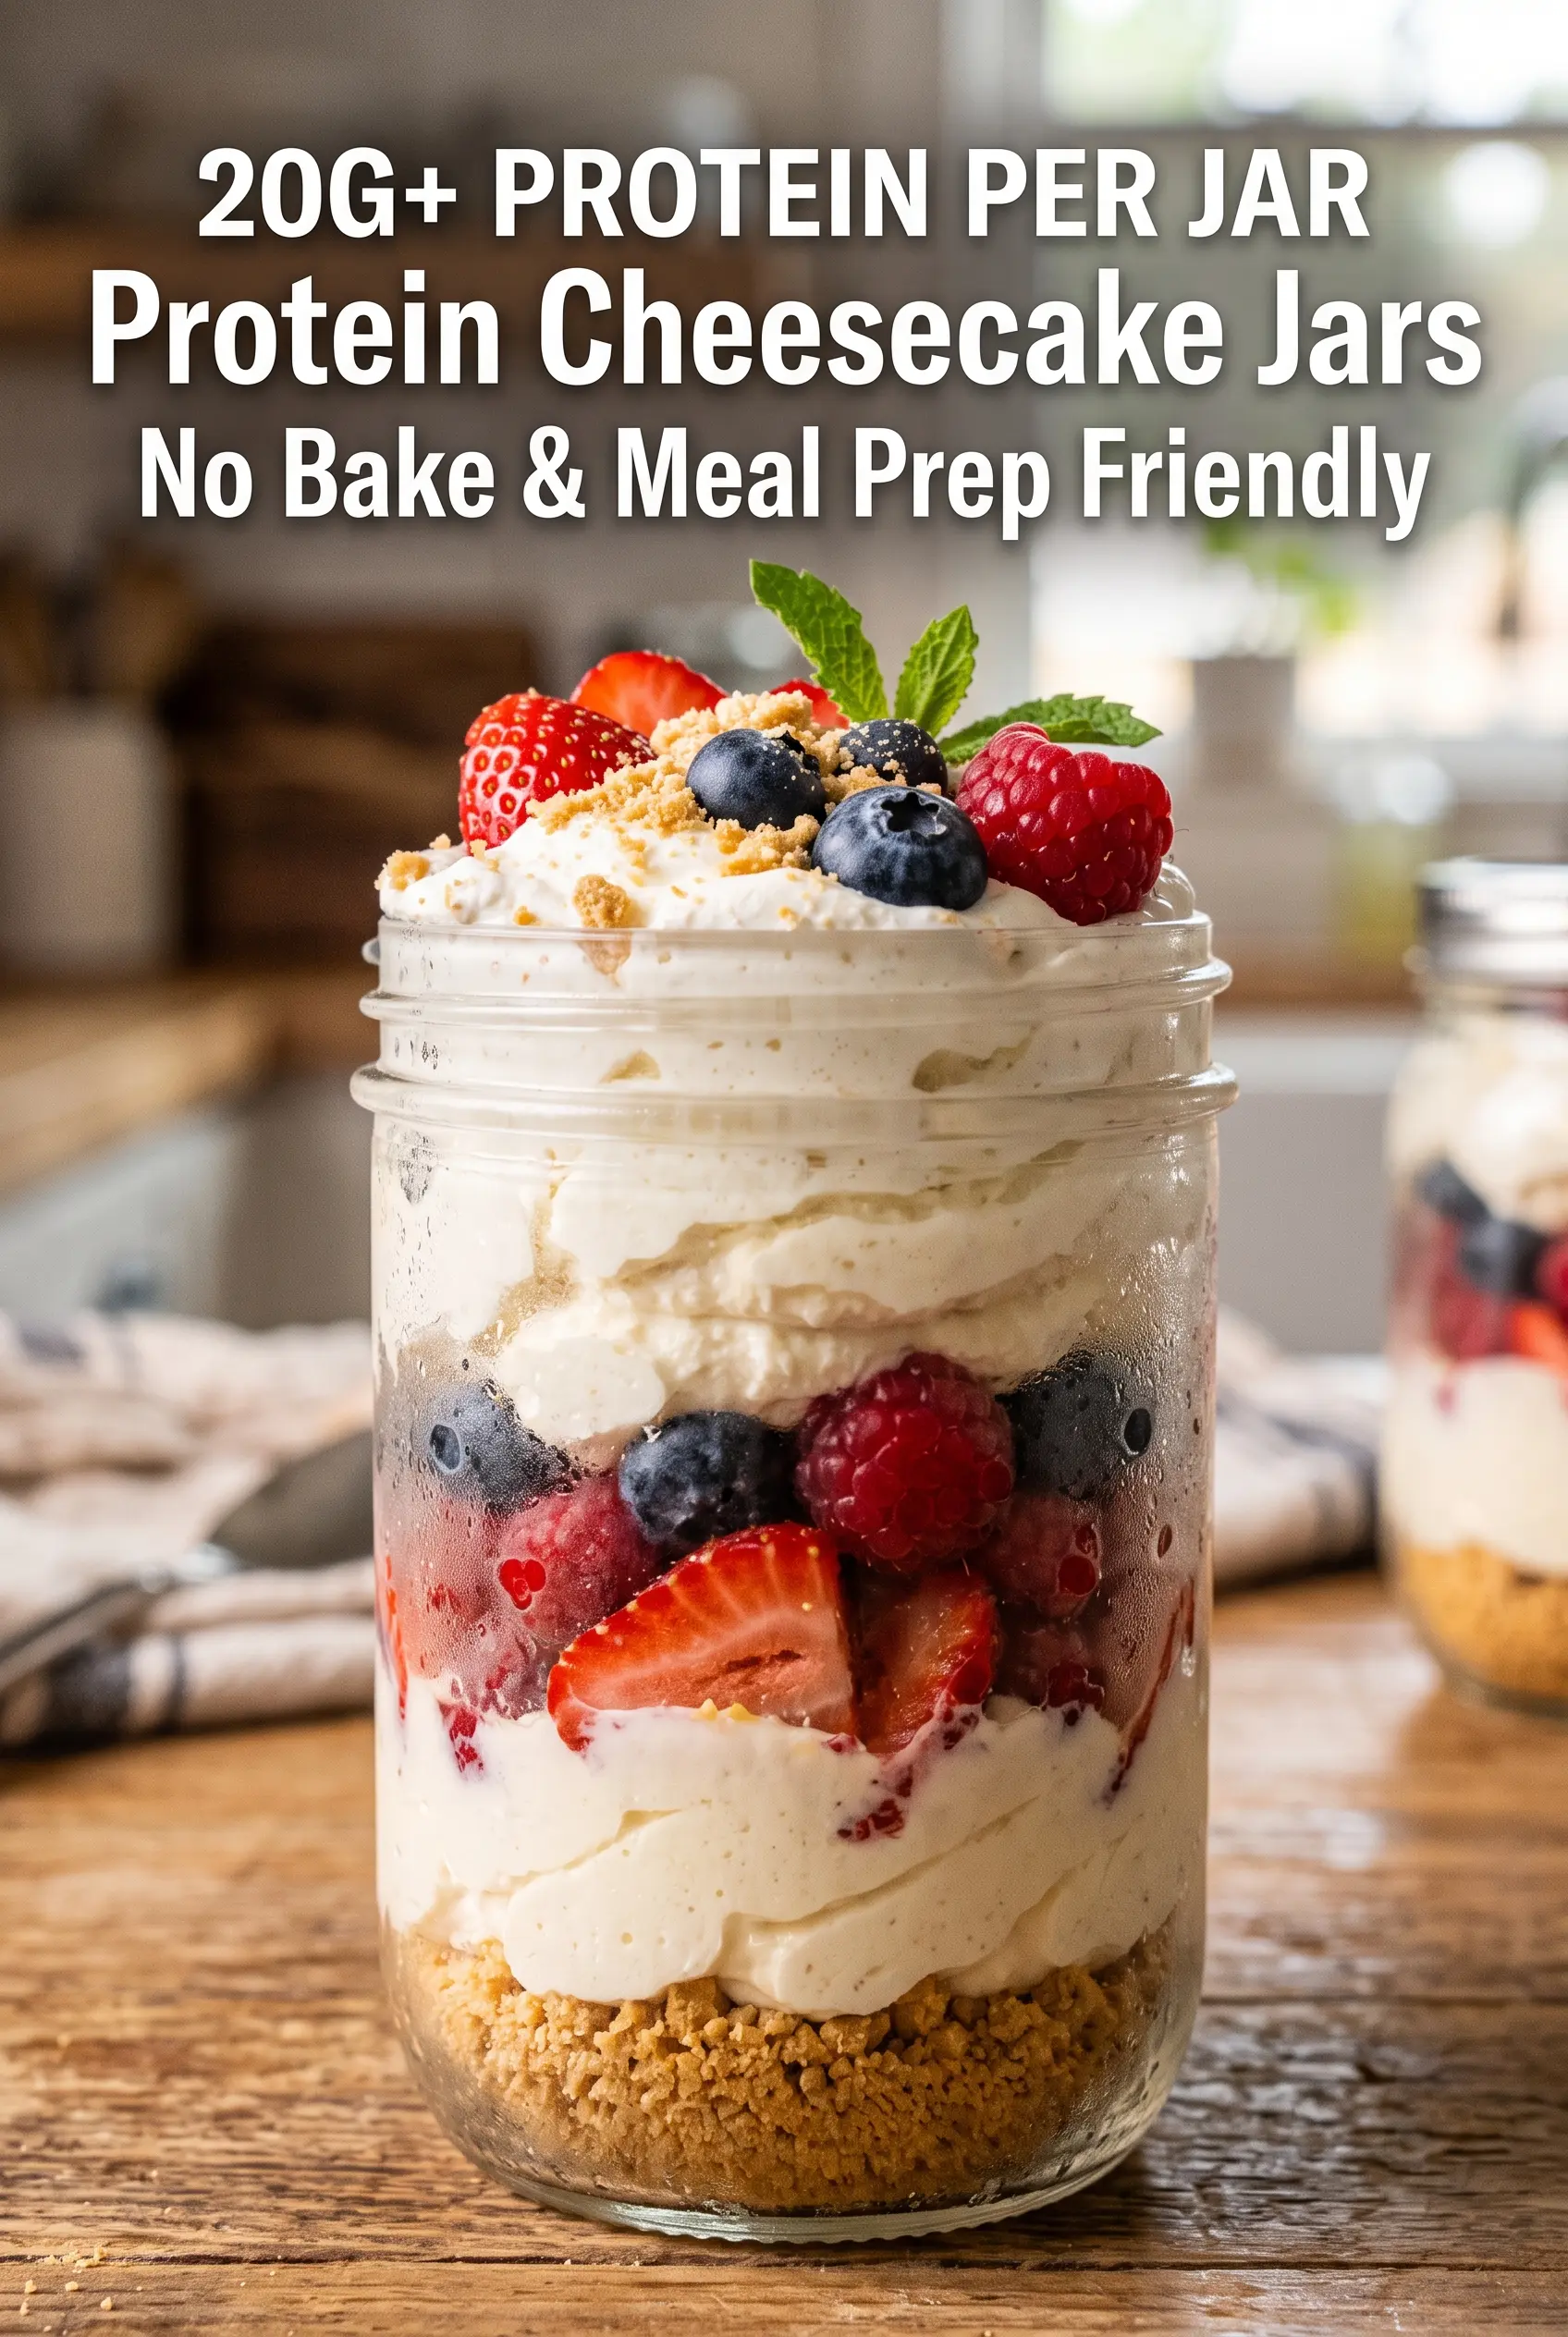
Protein Cheesecake Jars
Ingredients
Equipment
Method
- Blend the low-fat cottage cheese until completely smooth, pausing to scrape down the sides as needed (no heat).
- Add the plain Greek yogurt, light cream cheese, vanilla protein powder, maple syrup or honey, vanilla extract, and lemon juice, then blend again until silky and creamy (no heat).
- Mix the graham cracker crumbs with melted butter and maple syrup until evenly coated (no bake).
- Divide the graham cracker mixture among four mason jars.
- Spoon or pipe the cheesecake filling over the crust.
- Refrigerate for at least 2 hours to set the texture.
- Top each jar with fresh strawberries, blueberries, raspberries, crushed graham crackers, and whipped cream (optional) before serving, and finish with fresh mint leaves.
