
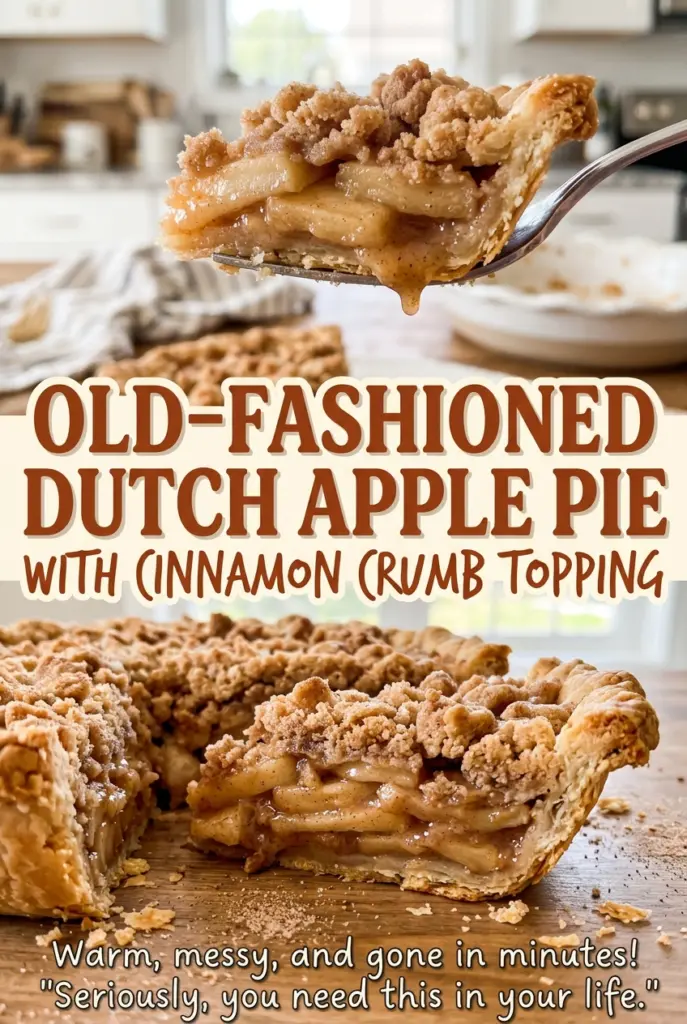
Old-Fashioned Dutch Apple Pie with Cinnamon Crumb Topping
The first slice of apple pie can tell you a lot: if the filling slides out in a puddle, the apples didn’t have enough help thickening their juices, or the…
Tip: save now, cook later.The first slice of apple pie can tell you a lot: if the filling slides out in a puddle, the apples didn’t have enough help thickening their juices, or the pie was cut before it had time to settle. This old-fashioned Dutch apple pie gives those juices a cinnamon-scented filling and a crisp, buttery crumb instead of a second crust. It’s the kind of pie where the golden topping catches your eye before you even reach for a plate.
I toss the sliced apples with the sugar and cornstarch mixture before they go anywhere near the crust, so the thickener is spread across the fruit instead of clumping in one spot. The crumb comes together with cold butter and a pastry cutter or your fingertips, then bakes over the apples while the crust turns golden underneath. After baking, the pie needs a proper rest; once it’s set, each slice holds its shape around tender apples and cinnamon crumbs.
Kitchen Note
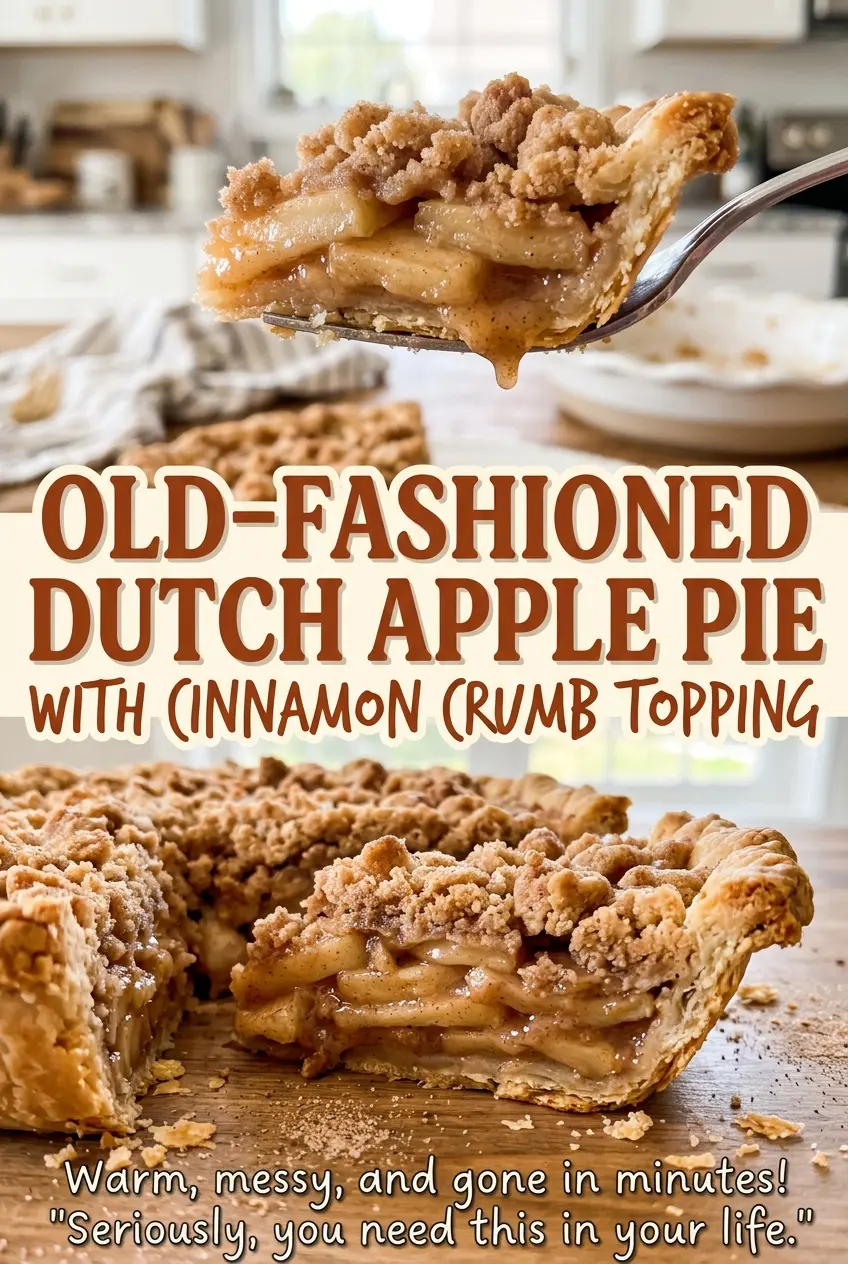
Keep the butter cold while you make the crumb. Stop when the mixture looks like coarse crumbs; if you work it until the butter disappears completely, you lose those crisp, buttery bits on top.
Save this old-fashioned Dutch apple pie for its cinnamon crumb topping and tender, thickly set apple filling.
Why Apple Pie Filling Turns Watery Before It Sets
Apples soften and release juice as they bake, and the filling has to thicken that liquid while it’s still inside the crust. In this pie, cornstarch is mixed with the sugar and spices first, then tossed through the fruit. That order matters: when the dry mixture coats the slices evenly, the juices have thickener throughout the filling rather than a few dense pockets and a loose pool elsewhere.
Cutting the apples evenly helps, too. Slices about 1/4 inch thick soften at a similar pace, so you’re less likely to have a mix of mushy pieces and firm ones when the center is ready. The pie also bakes in two stages: the hotter start helps the crust and topping get going, while the lower temperature gives the apples time to turn tender without asking the topping to take all the heat for the full bake. Look for bubbling near the center, not just at the outer edge.
What the Apples, Thickener, and Crumb Each Bring
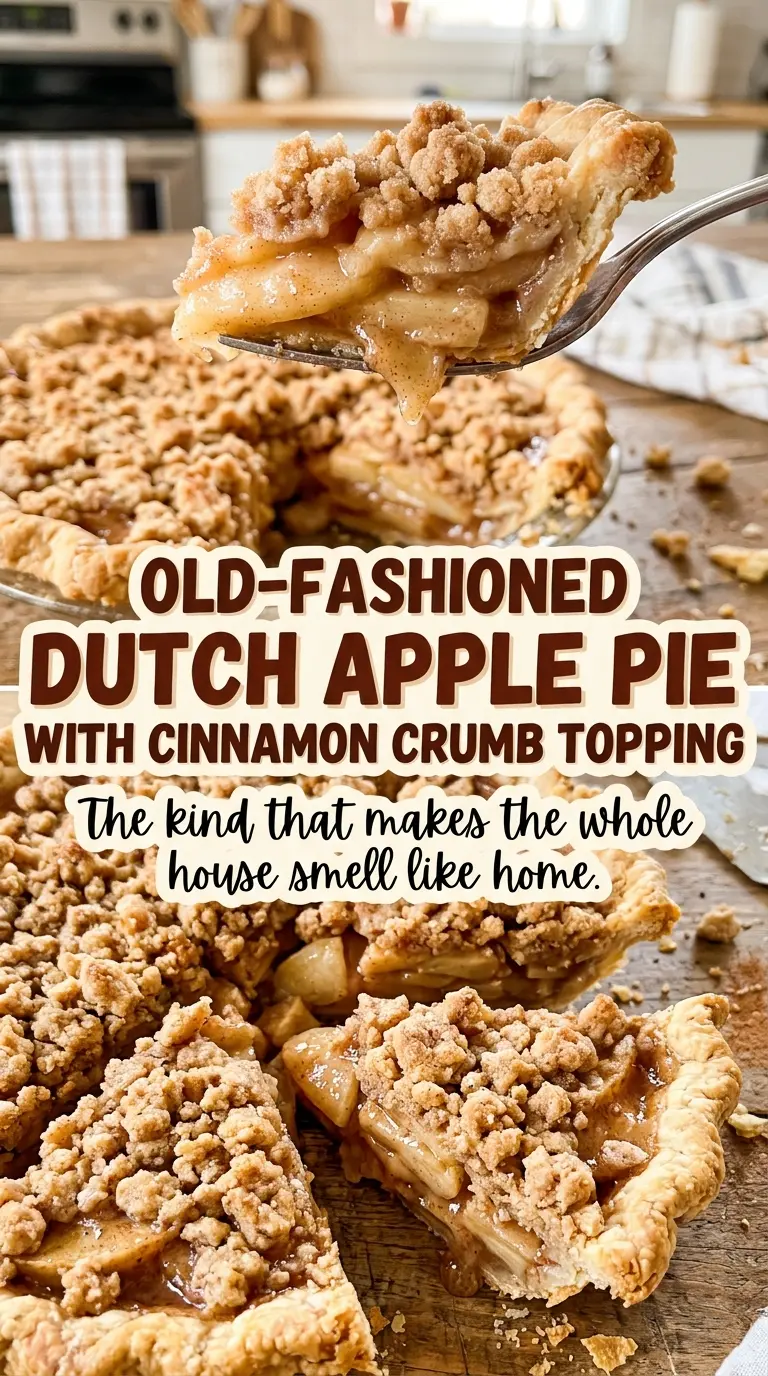
- Firm apples — Choose fruit that holds its shape when sliced; very soft apples can collapse into a less distinct filling. A mix of tart and sweeter firm apples gives the pie more character, while a bag of firm baking apples is perfectly fine.
- Lemon juice — Tossing the slices with lemon juice helps keep their cut surfaces from browning as you prepare the rest of the filling. Plain bottled lemon juice works if that’s what you have; avoid swapping in a sweetened lemon drink.
- Cornstarch — This is the filling’s thickener, not just another dry coating. It helps the apple juices form a spoonable, sliceable filling rather than running freely across the plate.
- Granulated sugar and warm spices — Sugar sweetens the fruit, while cinnamon and a little nutmeg add familiar apple-pie warmth without covering up the taste of the apples. Fresh, fragrant spices make the biggest difference; ordinary pantry brands work well.
- Refrigerated pie crust — A ready-made unbaked crust keeps this pie straightforward and gives the filling a sturdy shell. Fit it into the pie plate and crimp the edge before chilling so it’s ready when the apples are mixed.
- Flour and brown sugar — Flour gives the topping its crumbly structure, and packed light brown sugar adds a mellow, caramel-like sweetness. Standard all-purpose flour and regular light brown sugar are all you need.
- Cold unsalted butter — Cold butter keeps the topping in distinct crumbs as it bakes. Unsalted butter lets the measured salt stay in balance; a quality butter is pleasant here, but a standard grocery-store stick works.
Building the Pie Without Losing the Crumb
Fit and chill the crust
Set a rack in the lower third of the oven and preheat to 400°F. Fit the unbaked refrigerated crust into a 9-inch pie plate, then crimp the edges. Put the crust in the refrigerator while you prepare the filling; it should be cold when you fill it.
Coat the apple slices
Toss the peeled, cored apples with lemon juice in a large bowl. In a separate small bowl, stir together the granulated sugar, cornstarch, cinnamon, and nutmeg, then add that mixture to the apples. Toss until the slices are evenly coated, checking the bottom of the bowl for any dry mixture left behind.
Mix a coarse cinnamon crumb
Stir the flour, brown sugar, cinnamon, and salt together in a bowl. Work in the cold butter with your fingertips or a pastry cutter until coarse crumbs form. If the mixture still looks like loose flour in places, keep working it just until the butter is distributed and the crumbs hold together loosely.
Fill, bake, and cool
Spoon the apples into the chilled crust, mounding them slightly, then scatter the crumb topping evenly over the fruit. Set the pie plate on a rimmed baking sheet. Bake for 20 minutes at 400°F, then lower the oven to 350°F and bake for 35 to 45 minutes, until the topping is golden, a knife pierces the apples easily, and the filling bubbles near the center.
If the topping browns too quickly during the longer bake, cover the top loosely with foil. Set the baked pie on a wire rack and let it cool for at least 3 hours before slicing. The center needs that time to settle into a filling that stays in the slice instead of flowing onto the plate.
Two Useful Ways to Adapt This Dutch Apple Pie
Use a tart-and-sweet apple blend
Combine firm tart apples such as Granny Smith with a sweeter firm variety such as Honeycrisp, keeping the total amount of fruit the same. The blend gives each bite a more balanced apple taste than using only one variety, while firm slices still hold their shape as they bake.
Make the crust and crumb gluten-free
Use a gluten-free 9-inch pie crust and replace the all-purpose flour in the topping with a cup-for-cup gluten-free baking flour. The topping may be a little more delicate, so scatter it over the apples rather than pressing it down.
Storage and Reheating
- Refrigerator: Cover the fully cooled pie and refrigerate it for up to 4 days. The crust and crumb soften a little as they sit.
- Freezer: Freeze the cooled pie whole or in slices, wrapped tightly, for up to 3 months. Thaw it in the refrigerator before serving.
- Reheating: Warm slices in a low oven until heated through; this helps the topping regain some crispness. A microwave warms a slice quickly but softens the crumb.
Questions That Come Up While Baking Dutch Apple Pie
Old-Fashioned Dutch Apple Pie with Cinnamon Crumb Topping
Ingredients
Equipment
Method
- Set a rack in the lower third of the oven.
- Preheat the oven to 400°F.
- Fit the pie crust into a 9-inch pie plate and crimp the edges.
- Chill the crust while you prepare the filling.
- Toss the apples with the lemon juice in a large bowl.
- In a small bowl, stir together the granulated sugar, cornstarch, 1 teaspoon cinnamon, and nutmeg.
- Toss the sugar mixture with the apples until evenly coated.
- Stir together the flour, brown sugar, 1/2 teaspoon cinnamon, and salt.
- Work in the cold butter with your fingertips or a pastry cutter until coarse crumbs form.
- Spoon the apple filling into the crust, mounding it slightly.
- Scatter the crumb topping evenly over the apples.
- Set the pie plate on a rimmed baking sheet.
- Bake for 20 minutes at 400°F.
- Reduce the oven to 350°F and bake for 35 to 45 minutes, until the topping is golden, the apples are tender when pierced with a knife, and the filling bubbles near the center.
- Loosely cover the top with foil if it browns too quickly.
- Cool the pie on a wire rack for at least 3 hours before slicing so the filling can set.
