
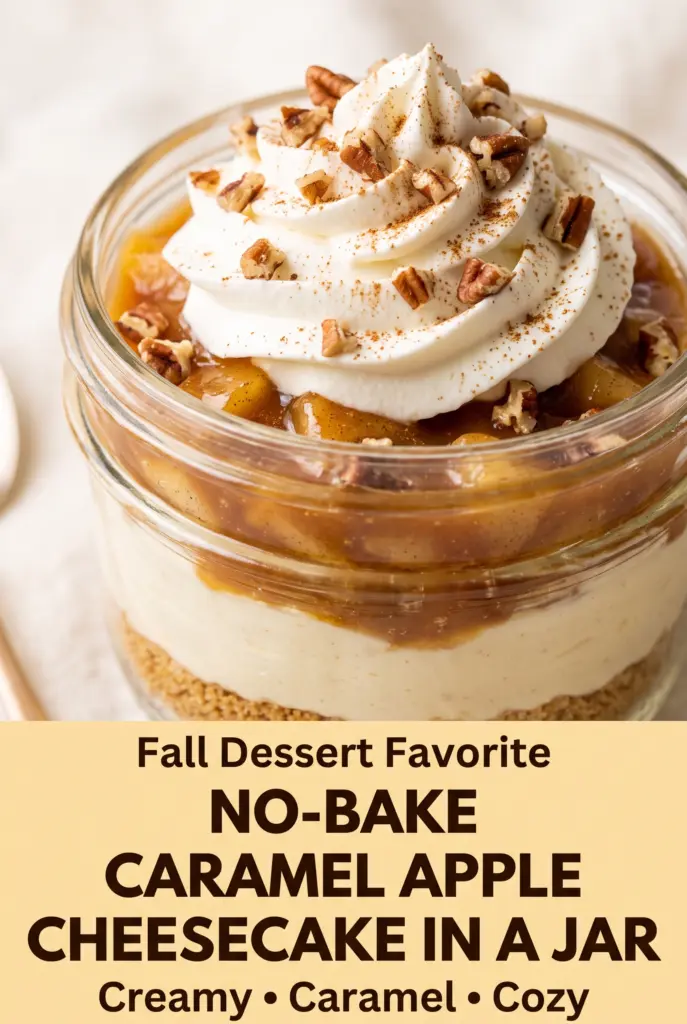
No-Bake Caramel Apple Cheesecake In A Jar
Layers of buttery graham cracker crumbs, cinnamon apples, and whipped cheesecake filling turn into a dessert that tastes polished without asking much of you. The jars set up with clean,…
Tip: save now, cook later.Layers of buttery graham cracker crumbs, cinnamon apples, and whipped cheesecake filling turn into a dessert that tastes polished without asking much of you. The jars set up with clean, separate layers, so each spoonful gives you a little crunch, a little creaminess, and that sticky caramel finish all at once. It looks like something you’d bring to a party, but it comes together with straightforward ingredients and no oven at all.
The part that makes this version work is balance. The apples are cooked just long enough to soften and pick up the cinnamon and brown sugar, but not so long that they collapse into jam. The cheesecake filling gets its lift from whipped cream folded into smooth cream cheese, which keeps it light enough to layer without turning dense. Chill time matters here, too. The jars need those couple of hours in the fridge so the crumbs settle and the filling firms up enough to hold its shape.
Below, I’ve included the small details that keep the layers neat, plus a few swaps and storage notes if you’re making these ahead for a crowd.
The apples stayed tender without turning mushy, and the cheesecake layer was light instead of heavy. I made them the night before, and the caramel stayed gorgeous in the jars.
Layer these caramel apple cheesecake jars for a no-bake dessert with crisp crumbs, fluffy filling, and glossy caramel.
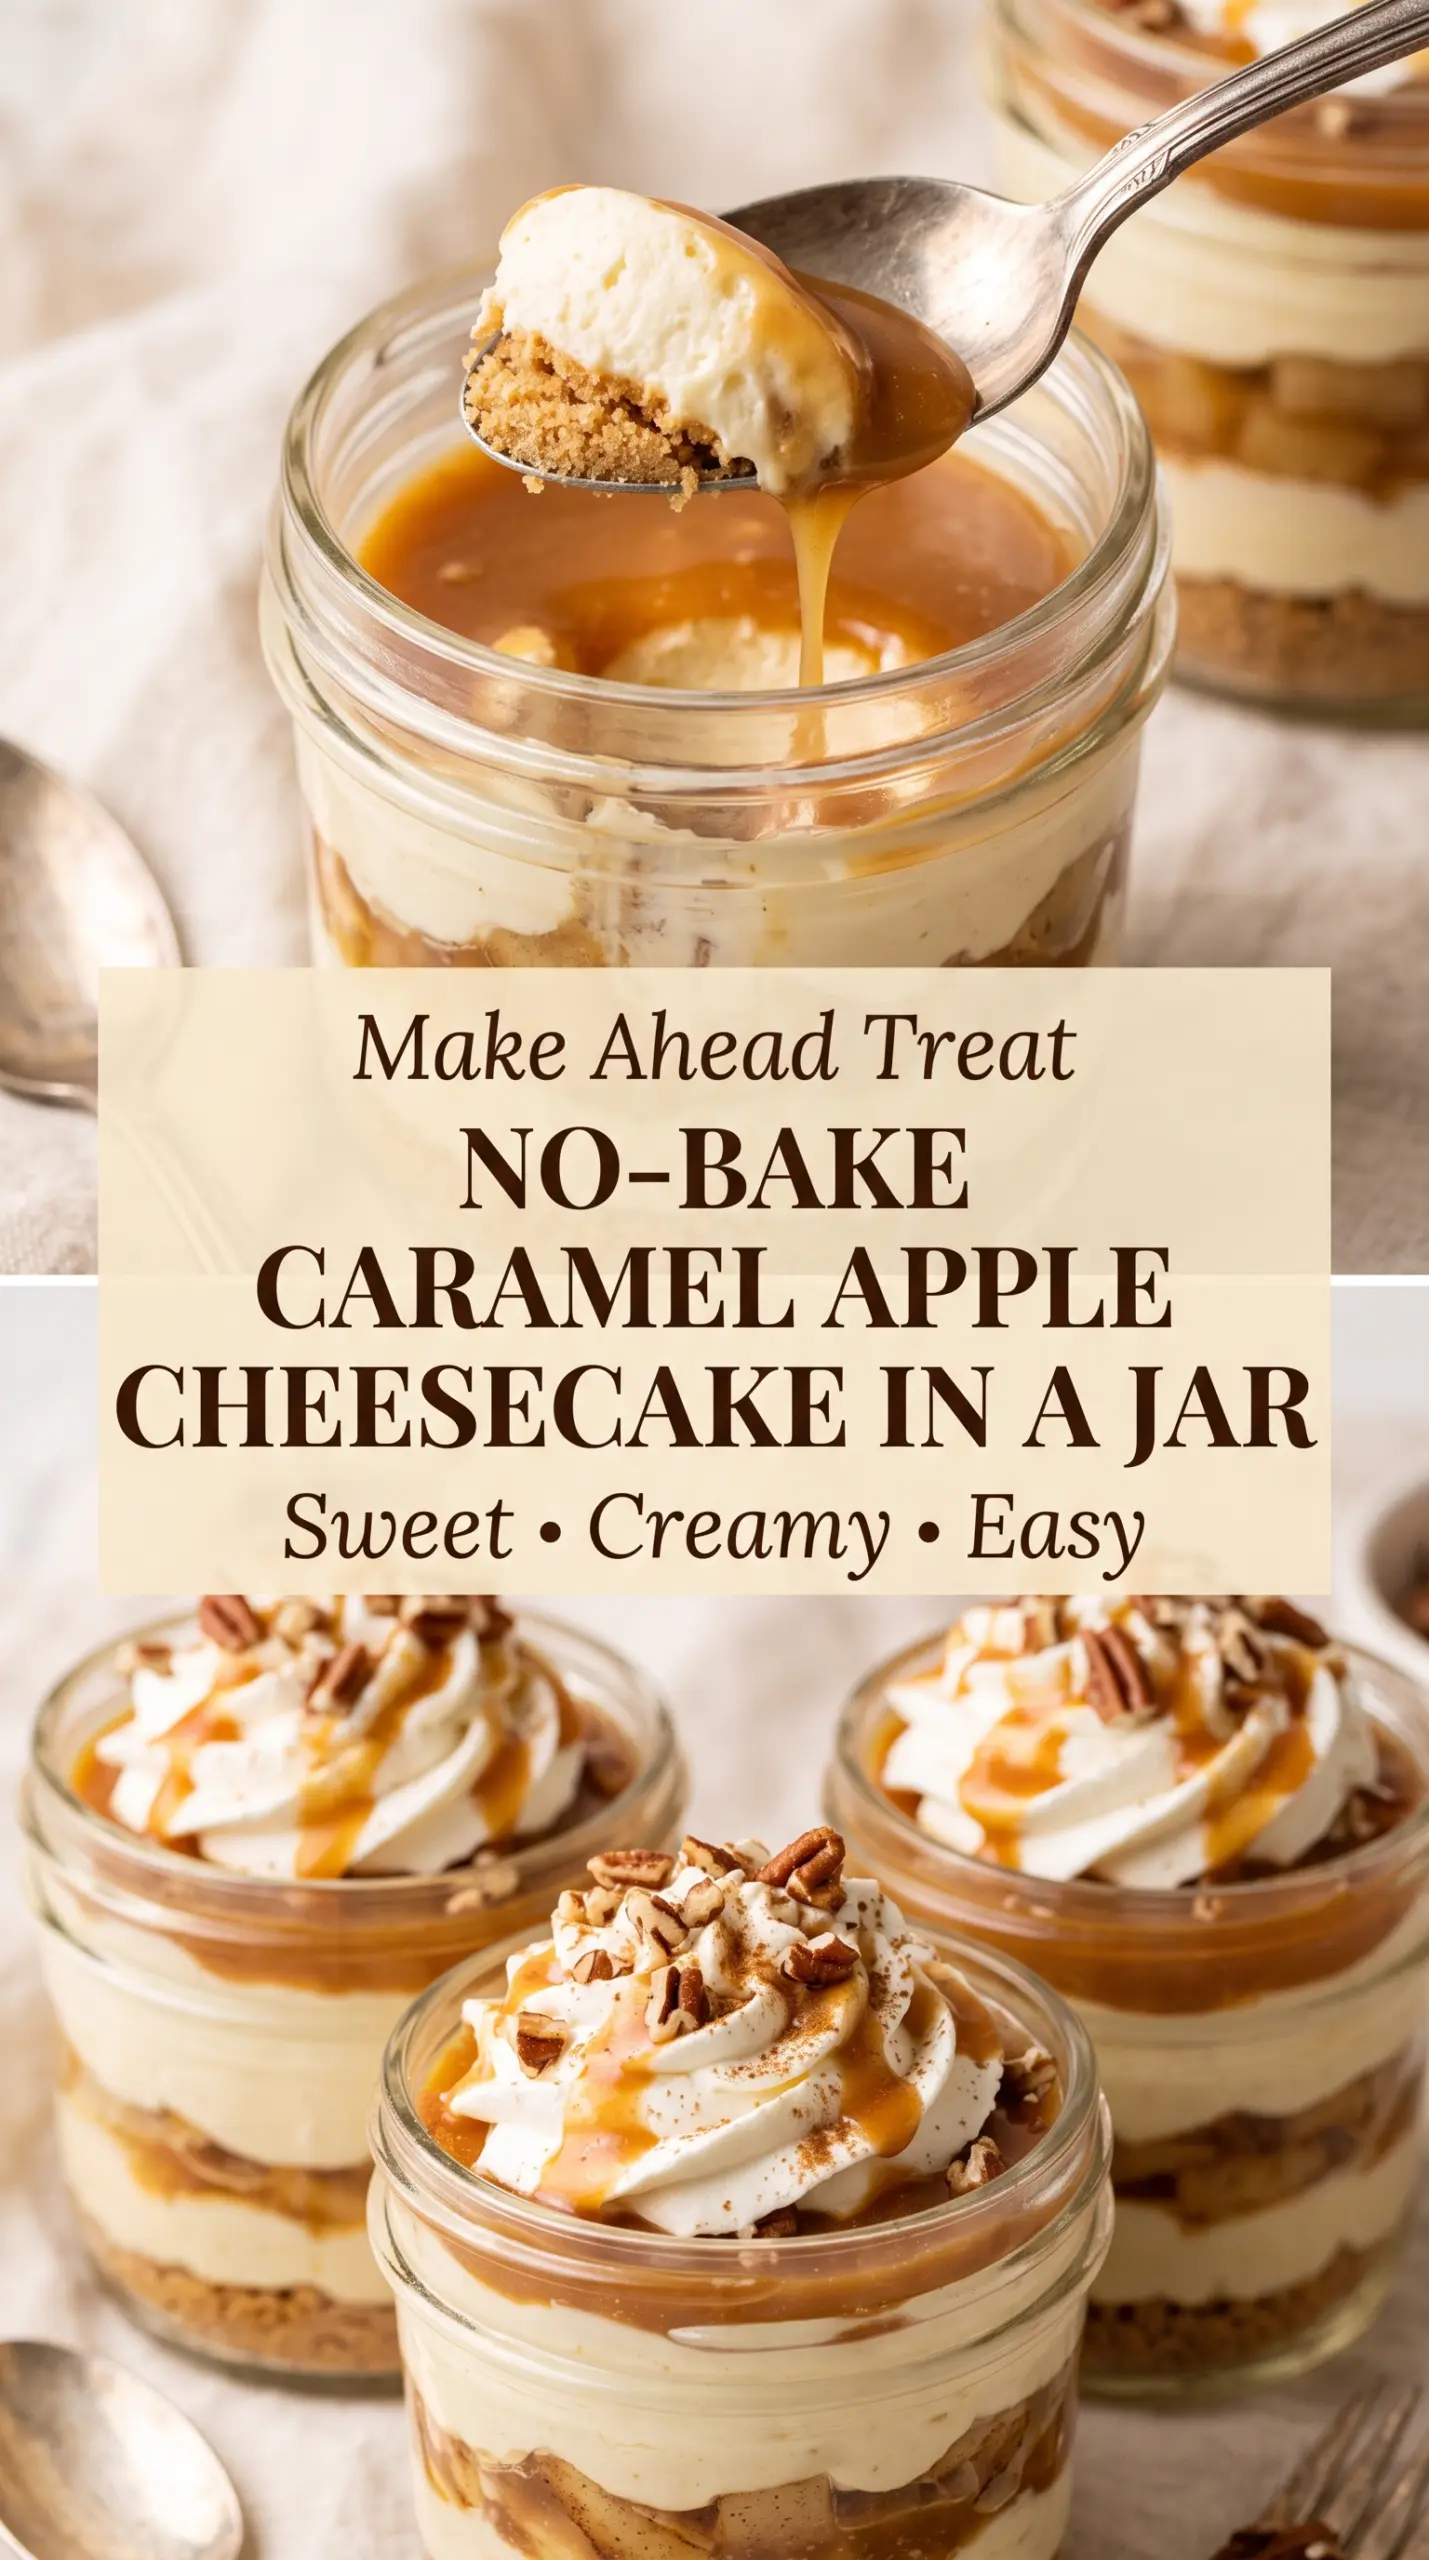
The Part That Keeps the Jars from Turning Soggy
The mistake with layered dessert jars is rushing the components together while something is still warm. Warm apples melt the cheesecake layer, and warm cheesecake softens the crumbs before they ever have a chance to set. That’s how you end up with a muddy middle instead of clear layers you can actually see through the glass.
This version avoids that by cooling the apple mixture completely before assembly. The graham crumbs also need enough butter to clump lightly, but not so much that they turn pasty. Press them gently into the bottom of the jar, then stop. You want a base that holds, not a crust that turns dense and heavy.
- Honeycrisp apples — They stay intact after cooking and bring enough sweetness that the filling doesn’t have to do all the work. If you swap them, use another firm apple like Fuji or Pink Lady. Avoid soft varieties that collapse fast.
- Cream cheese — Full-fat cream cheese gives the filling its body and tang. Low-fat versions usually loosen too much once whipped cream gets folded in, which makes the layers slump.
- Heavy whipping cream — This is what turns the filling from thick to spoonable and light. Don’t replace it with half-and-half or milk; they won’t whip, and the texture will stay loose.
- Caramel sauce — Use a thick sauce, not a thin drizzle, so it sits on top instead of disappearing into the filling. Jarred caramel works fine here if it pours smoothly.
- Graham cracker crumbs — Fine crumbs pack best for the bottom layer. If you only have full sheets, crush them finely so you don’t get big dry pockets in the jar.
Building the Layers Without Losing the Texture
Mixing the Crumb Base
Stir the graham crumbs, brown sugar, and melted butter until every crumb looks evenly damp. The mixture should hold together when pinched, but it shouldn’t look greasy or wet. If it’s too dry, the bottom layer falls apart in the spoon; if it’s too wet, it turns into a paste that never gives you that clean cheesecake-crust bite.
Cooking the Apples to the Right Point
Melt the butter first, then add the diced apples with the brown sugar, cinnamon, nutmeg, and lemon juice. Cook just until the apples are tender at the edges but still have a little bite in the center, about 6 to 8 minutes. If the pan is too hot, the sugar can scorch before the apples soften, so keep the heat at a steady medium and stir often.
Whipping the Filling for a Light Set
Beat the cream cheese, powdered sugar, and vanilla until the mixture is completely smooth before the whipped cream goes in. Any lumps left now will stay visible later. Whip the cream to stiff peaks in a separate bowl, then fold it in gently so you keep the air in the filling. If you stir hard, the filling turns dense instead of fluffy.
Assembling the Jars
Start with the crumb layer, then spoon in the cheesecake filling, followed by the cooled apples. Repeat the layers if your jars are tall enough, but keep the top neat so the caramel has a clean surface to sit on. Finish with caramel, whipped cream, pecans if you’re using them, and a dusting of cinnamon. Refrigerate long enough for the layers to settle, because a rushed jar will taste fine but look messy the second you dig in.
How to Adapt These Cheesecake Jars for Different Diets and Make-Ahead Plans
Dairy-Free Version
Use dairy-free cream cheese, plant-based whipping cream, and a vegan butter substitute for the apples and crumbs. The texture will be a little softer, but it still layers well if you chill it fully before serving. Pick a caramel sauce labeled dairy-free, since regular caramel usually contains cream or butter.
Gluten-Free Option
Swap the graham crackers for a gluten-free graham-style cookie or a finely crushed gluten-free cookie with a neutral flavor. The rest of the recipe already fits the format well, so this is an easy switch. Watch the crumb texture closely, since some gluten-free cookies absorb butter faster than standard grahams.
Make-Ahead for a Party
Assemble the jars up to 24 hours in advance, but hold back the whipped cream garnish until just before serving if you want the top to look fresh. The filling actually improves after chilling overnight, and the apple layer gets a little more cohesive. Keep the caramel drizzle on top, since it helps seal the surface and keeps the dessert looking neat.
Storage and Reheating
- Refrigerator: Keep covered for up to 3 days. The crumbs soften a bit over time, but the flavor stays good.
- Freezer: I don’t recommend freezing these jars. The whipped filling can turn grainy after thawing, and the apples lose their texture.
- Reheating: No reheating needed. Serve straight from the fridge, and let the jars sit out for 10 minutes if you want the filling a little softer.
Answers to the Questions Worth Asking
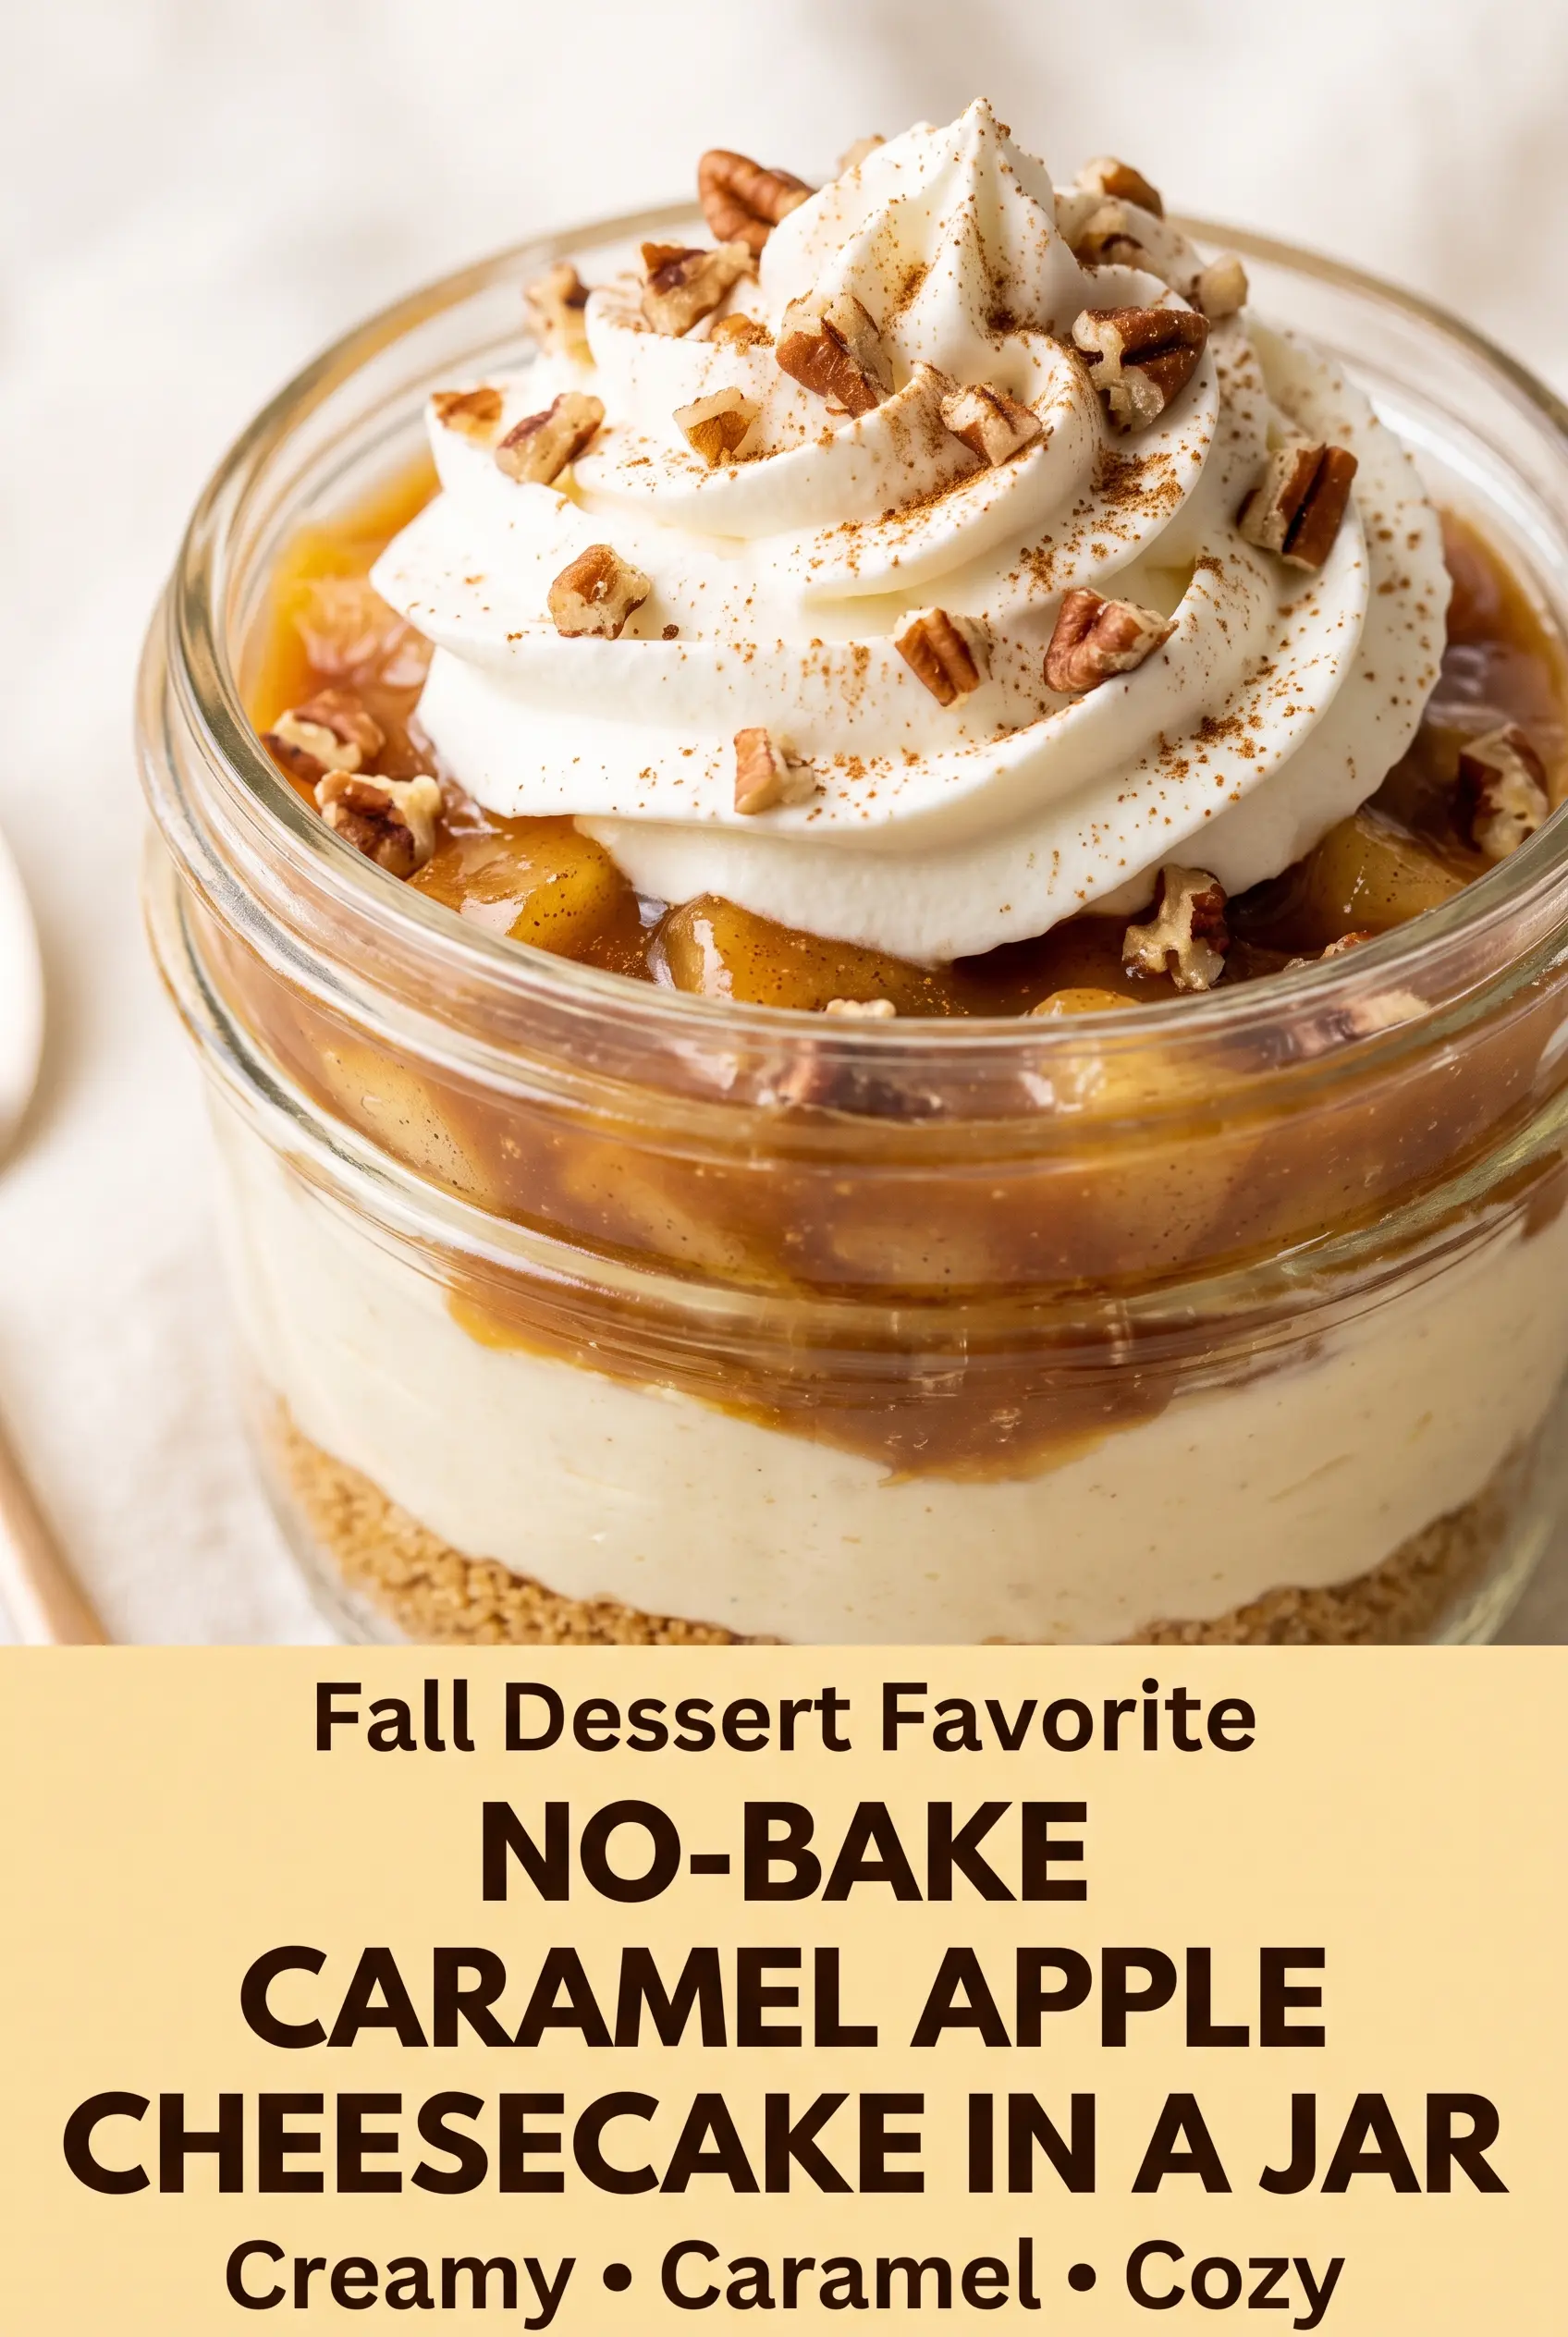
No-Bake Caramel Apple Cheesecake In A Jar
Ingredients
Equipment
Method
- Combine graham cracker crumbs, brown sugar, and melted unsalted butter until evenly moistened, with no dry patches. Press a little mixture between your fingers to ensure it clumps.
- Cook unsalted butter in a cast iron skillet over medium heat until melted and glossy, not browned. Add diced Honeycrisp apples, then spread them into an even layer.
- Add brown sugar, ground cinnamon, ground nutmeg, and lemon juice to the apples and stir to coat. Cook for 6–8 minutes, stirring occasionally, until apples are tender but still hold their shape (you should see pieces, not puree).
- Cool the cinnamon apples completely so the layers don’t loosen in the jars. Spread them out briefly if needed to speed cooling.
- Beat cream cheese, powdered sugar, and vanilla extract until smooth and creamy. Scrape the bowl as you mix so no lumps remain.
- Whip heavy whipping cream to stiff peaks. Look for tracks left by the whisk that hold shape without collapsing.
- Fold the whipped heavy cream gently into the cream cheese mixture until light and fluffy. Stop when no streaks of white remain.
- Layer jars with graham cracker crumbs, cheesecake filling, cinnamon apples, and another layer of cheesecake filling. Aim for even thickness so each spoonful shows layers.
- Drizzle caramel sauce over each jar so it sinks slightly into the top layer. Add chopped pecans if desired for crunch.
- Top each jar with whipped cream and a light dusting of ground cinnamon for garnish. Keep the garnish light so it doesn’t bleed into the caramel.
- Refrigerate the jars for at least 2 hours before serving so the layers set and the flavors meld together. Chill longer if you want firmer layers that slice more cleanly.
