
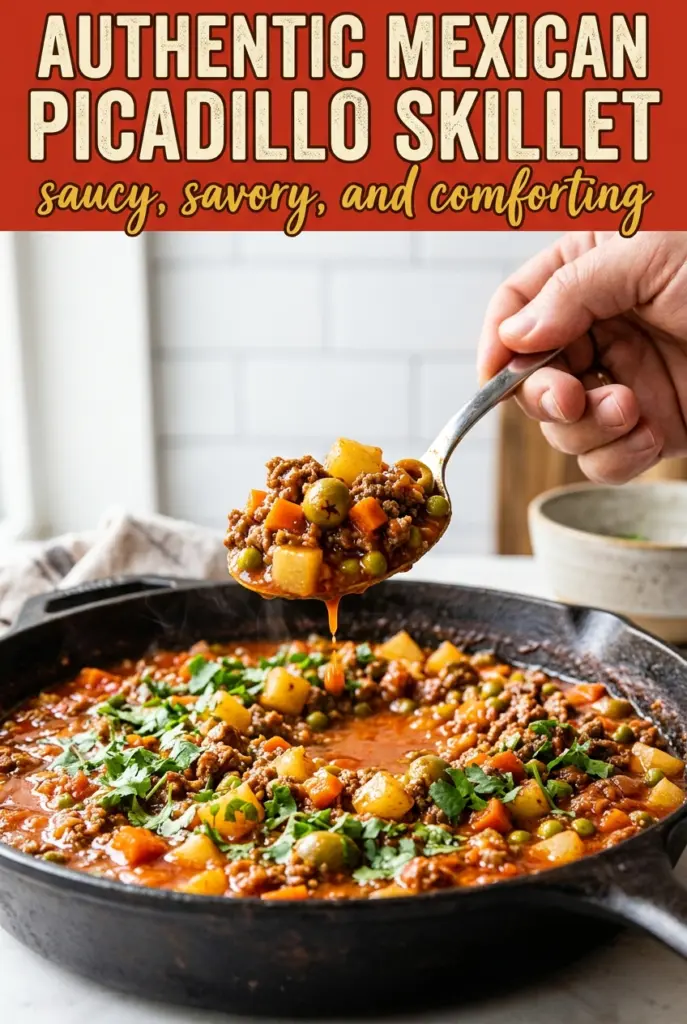
Mexican Picadillo
Mexican picadillo is the kind of skillet dinner that earns a permanent spot in the rotation because it gives you a saucy, comforting meal without asking for much more than…
Tip: save now, cook later.Mexican picadillo is the kind of skillet dinner that earns a permanent spot in the rotation because it gives you a saucy, comforting meal without asking for much more than one pan and a little patience. The beef stays savory and tender while the potatoes soak up the seasoned tomato broth, and the carrots bring just enough sweetness to keep every bite balanced. It’s the sort of dish that tastes even better once the flavors settle together.
What makes this version work is the way the vegetables are cut small and added early enough to soften in the broth instead of turning to mush or staying stubbornly firm. The cumin, chili powder, smoked paprika, and tiny pinch of cloves give it that classic picadillo warmth without pushing it into anything too heavy. The olives and peas go in at the end so they keep their shape and the sauce finishes with a little more depth and brightness.
Below, I’ll walk you through the small details that matter most, from getting the beef browned properly to knowing exactly when the potatoes are tender enough. I’ve also included a few practical variations if you want to stretch it, lighten it up, or serve it a different way.
The potatoes were perfectly tender and the sauce thickened up just enough to spoon over rice without getting watery. I loved the little pop from the olives at the end, and my husband went back for seconds before I even sat down.
Mexican picadillo is one of those dinners that gets even better as the broth turns saucy and the potatoes soak up all that cumin-spiced flavor.
The Trick to Picadillo That Stays Saucy Instead of Dry
The biggest mistake with picadillo is rushing the simmer or using pieces of potato that are too large. The beef gives you the base, but the broth, tomato paste, and vegetables need time to turn into a cohesive sauce instead of a loose pile of ingredients. Cut the potatoes and carrots small enough that they cook through in the simmering time, and keep the heat low once the pot comes up to a boil.
Drain the beef after browning if there’s a lot of grease in the pan, but leave enough behind to cook the onion. That little bit of fat helps the spices bloom and gives the tomato paste something to cling to. If the mixture looks dry before the potatoes are tender, add a splash more broth rather than turning up the heat. High heat evaporates the liquid too quickly and leaves the vegetables undercooked.
What Each Ingredient Is Actually Doing in This Dish
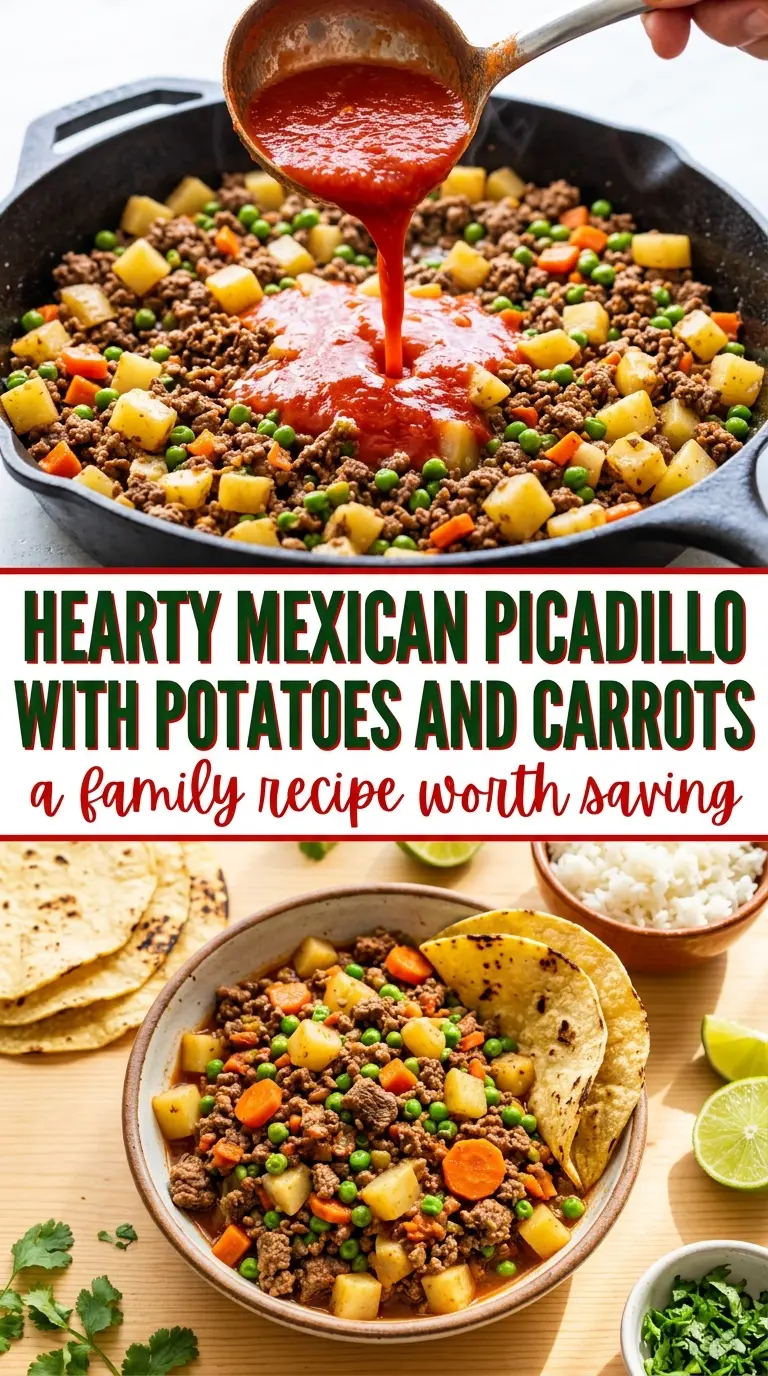
- Ground beef — An 80/20 blend gives the best balance here. Leaner beef works, but the finished picadillo won’t have quite the same round, savory flavor unless you add a little extra oil.
- Potatoes and carrots — These are not just filler. They thicken the skillet as they cook and turn the broth into a saucy meal. Dice them small and evenly so they soften at the same rate.
- Tomato paste and diced tomatoes — The paste deepens the base and gives the sauce body, while the diced tomatoes bring moisture and acidity. Don’t skip the paste unless you’re replacing it with a longer simmer and a richer tomato reduction.
- Cumin, chili powder, smoked paprika, and cloves — This is the backbone of the dish. The cloves should stay in the background; too much turns the skillet sharp and perfumy, so keep the measure light.
- Olives and peas — Add them near the end so they keep their texture. The olives give you briny contrast, and the peas bring little bursts of sweetness that keep the dish from tasting flat.
- Lime and cilantro — These don’t cook into the sauce, but they wake everything up at the end. The lime is especially useful if the picadillo tastes a little heavy after simmering.
Building the Skillet in the Right Order
Brown the Beef First
Start with a hot skillet and give the beef enough time to brown before you stir in the onion. You’re looking for deep color in the meat, not just gray crumbles. If the pan is crowded or the heat is too low, the beef steams and the finished dish tastes flatter. Once it’s browned, drain off the excess fat if needed so the final sauce doesn’t turn greasy.
Let the Onion and Garlic Cook in the Fat
Add the onion to the beef drippings and cook it until it turns translucent and soft at the edges. The garlic only needs about 30 seconds; any longer and it can turn bitter once the broth goes in. This is the point where the pan starts smelling like dinner instead of separate ingredients.
Simmer Until the Vegetables Are Tender
After the tomatoes, broth, paste, spices, potatoes, and carrots go in, bring everything to a gentle boil and then lower the heat. Cover the pan so the vegetables soften in the steam and the sauce doesn’t reduce too fast. Stir occasionally, scraping the bottom of the skillet. If the potatoes are still firm but the liquid is gone, add a small splash of broth and keep going; the goal is fork-tender vegetables in a saucy base, not browned dry hash.
Finish with the Peas, Olives, and Cilantro
Stir in the peas and olives near the end so they stay distinct. The peas only need a few minutes to heat through, and the olives just need enough time to warm and release their briny edge into the sauce. Taste before serving, then brighten it with cilantro and lime. That last hit of acid is what keeps the finished dish lively.
Three Ways to Make This Picadillo Work for Your Table
Use Ground Turkey Instead of Beef
Ground turkey works if you want a lighter version, but it needs help from the pan because it doesn’t bring the same richness. Add a tablespoon of oil before browning and don’t skip the tomato paste. The result will be a little cleaner and less beefy, but still hearty.
Make It Gluten-Free Without Changing the Method
This recipe is naturally gluten-free as written as long as your beef broth is certified gluten-free. That matters more than most people realize, because broth is one of the easiest places for hidden gluten to sneak in. Everything else in the pan stays exactly the same.
Turn It Into Tacos or Stuffed Potatoes
If you want to stretch the dish, serve it in warm tortillas or spoon it over baked potatoes instead of rice. The filling thickens a little as it sits, which makes it ideal for stuffing. If you’re using it as a filling, simmer off an extra minute or two so it isn’t too loose.
Leave Out the Olives if You Want a Milder Finish
The olives are classic, but they’re the ingredient people notice most. Leaving them out gives you a gentler, more tomato-forward picadillo that still tastes complete. If you skip them, add a little extra salt and finish with lime so the dish doesn’t lose its edge.
Storage and Reheating
- Refrigerator: Store leftovers in an airtight container for up to 4 days. The flavors deepen overnight, and the potatoes will soften a touch more.
- Freezer: It freezes well for up to 2 months. Cool it completely first, then freeze in portions so the potatoes don’t break down as much when you reheat.
- Reheating: Reheat gently on the stove over medium-low heat with a splash of broth or water. Microwaving on high can dry out the beef and make the potatoes mealy, so use shorter bursts and stir in between if that’s your only option.
The Questions People Ask Before They Make Picadillo
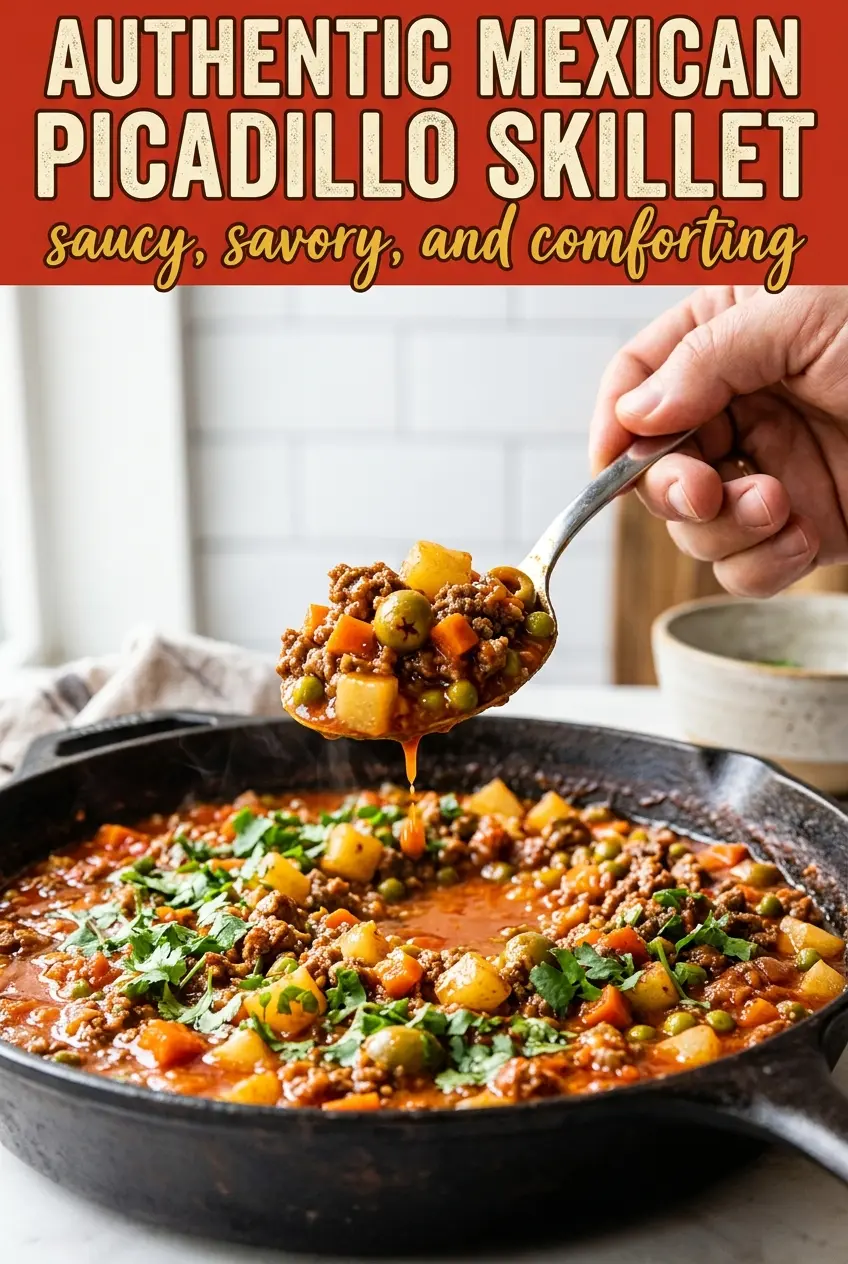
Mexican Picadillo
Ingredients
Equipment
Method
- Heat a large deep skillet over medium-high heat and add the ground beef, breaking it apart, and cook 5–6 minutes until browned. Drain excess fat so the skillet stays saucy but not greasy.
- Add the diced onion to the skillet and cook 3 minutes until softened. Stir in the minced garlic and cook 30 seconds until fragrant.
- Stir in the potatoes, carrots, diced tomatoes, beef broth, tomato paste, cumin, chili powder, smoked paprika, and ground cloves. Season with salt and pepper, then stir to combine so everything is evenly coated.
- Bring the mixture to a gentle boil, then reduce heat to low, cover, and simmer 20–25 minutes, stirring occasionally. Cook until the potatoes and carrots are fork-tender.
- Stir in the frozen peas and sliced olives, then cook uncovered 3–4 minutes until the sauce thickens slightly and the peas are heated through. Keep the heat at a steady low simmer so the sauce reduces without drying out.
- Remove the skillet from the heat and taste, adjusting seasoning with more salt and pepper if needed. Garnish with chopped cilantro and serve hot with lime wedges, warm tortillas, or over rice.
