
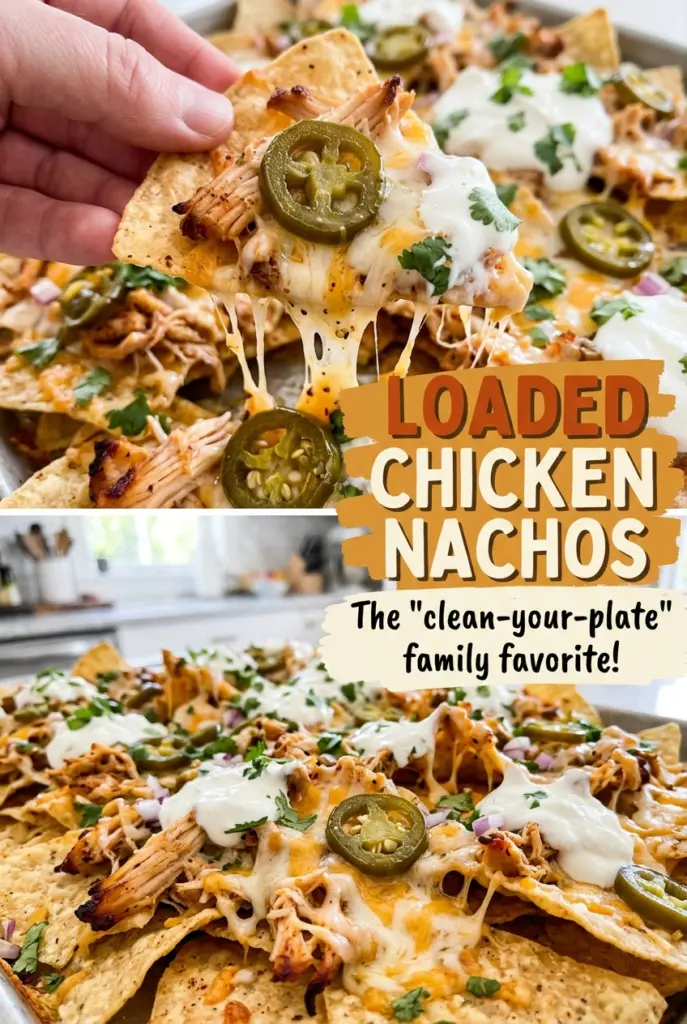
Loaded Chicken Nachos
The cheese starts bubbling at the edges first, then melts across the chicken and beans while the chips stay sturdy underneath. That contrast is what I want from a pan…
Tip: save now, cook later.The cheese starts bubbling at the edges first, then melts across the chicken and beans while the chips stay sturdy underneath. That contrast is what I want from a pan of loaded chicken nachos: a crisp base, warm seasoned chicken, and fresh toppings that haven’t gone limp in the oven.
I heat the cooked chicken briefly with taco seasoning and a little water before it goes on the chips. It takes only a few minutes, but the chicken comes out moist and evenly seasoned instead of tasting like a cold topping. A quick bake melts the cheese, and the pico de gallo, avocado, scallions, jalapeños, and sour cream go on at the end. Every bite gets a little crunch, a little creaminess, and plenty of savory chicken.
Kitchen Note
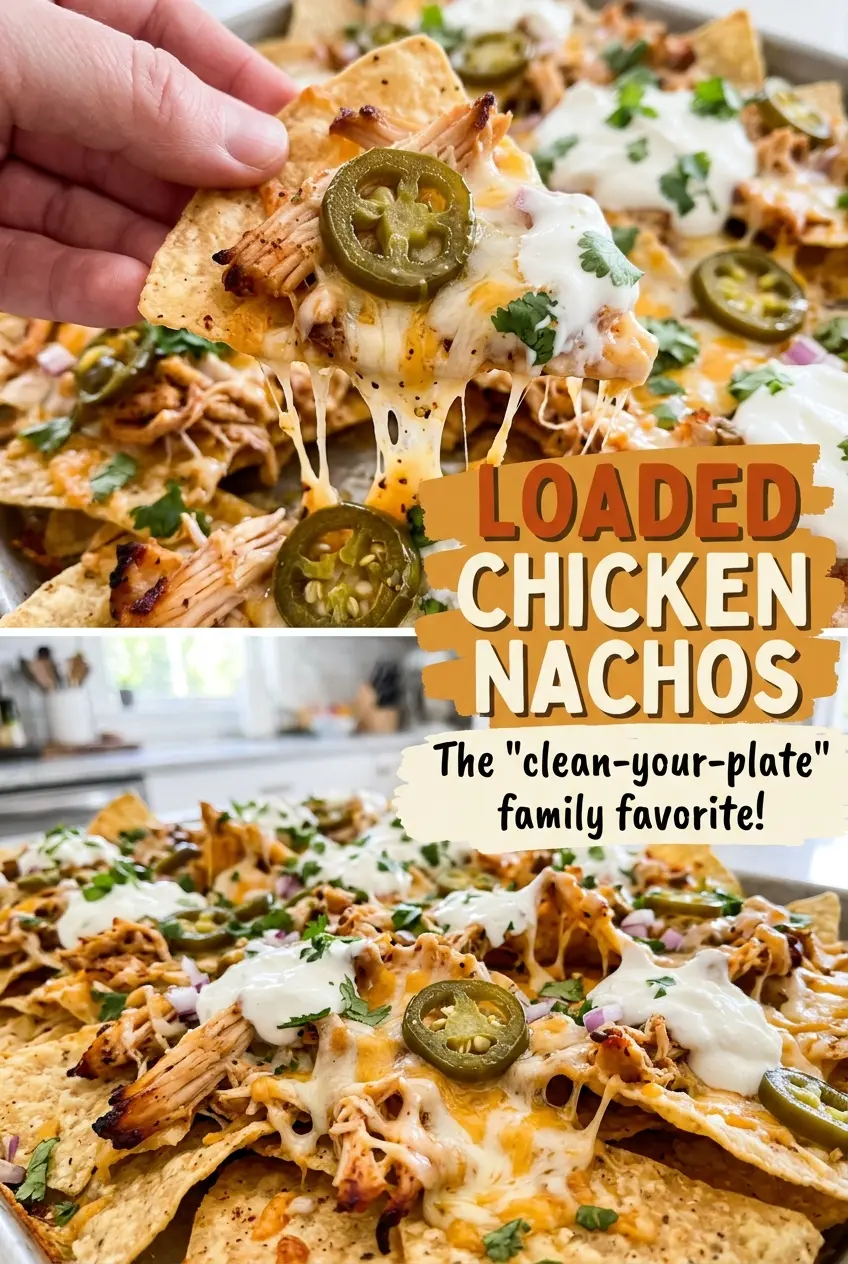
Let the nachos rest for the full two minutes before adding the toppings. That brief pause helps the melted cheese settle, so the pico and sour cream don’t immediately slide off the chips.
Save these loaded chicken nachos for a crowd-pleasing sheet-pan dinner: seasoned chicken, bubbling cheese, and fresh toppings on sturdy chips.
Why the Fresh Toppings Belong on Top After Baking
Putting every topping on before the nachos go into the oven sounds convenient, but it changes the texture of the whole pan. Pico de gallo releases moisture as it heats, avocado softens, and sour cream loses its cool, creamy contrast. The chips underneath can turn soft before the cheese has had a chance to melt evenly.
Instead, the oven handles the ingredients that benefit from heat: tortilla chips, black beans, chicken, and cheese. The fresh toppings go on after baking, so their distinct textures stay intact. You get cool avocado against hot cheese, bright pico beside savory chicken, and sour cream that still feels creamy rather than baked into the chips. This order also lets everyone see the colorful toppings across the tray instead of burying them beneath a blanket of melted cheese.
Why Sturdy Chips and a Mexican-Blend Cheese Suit This Sheet Pan
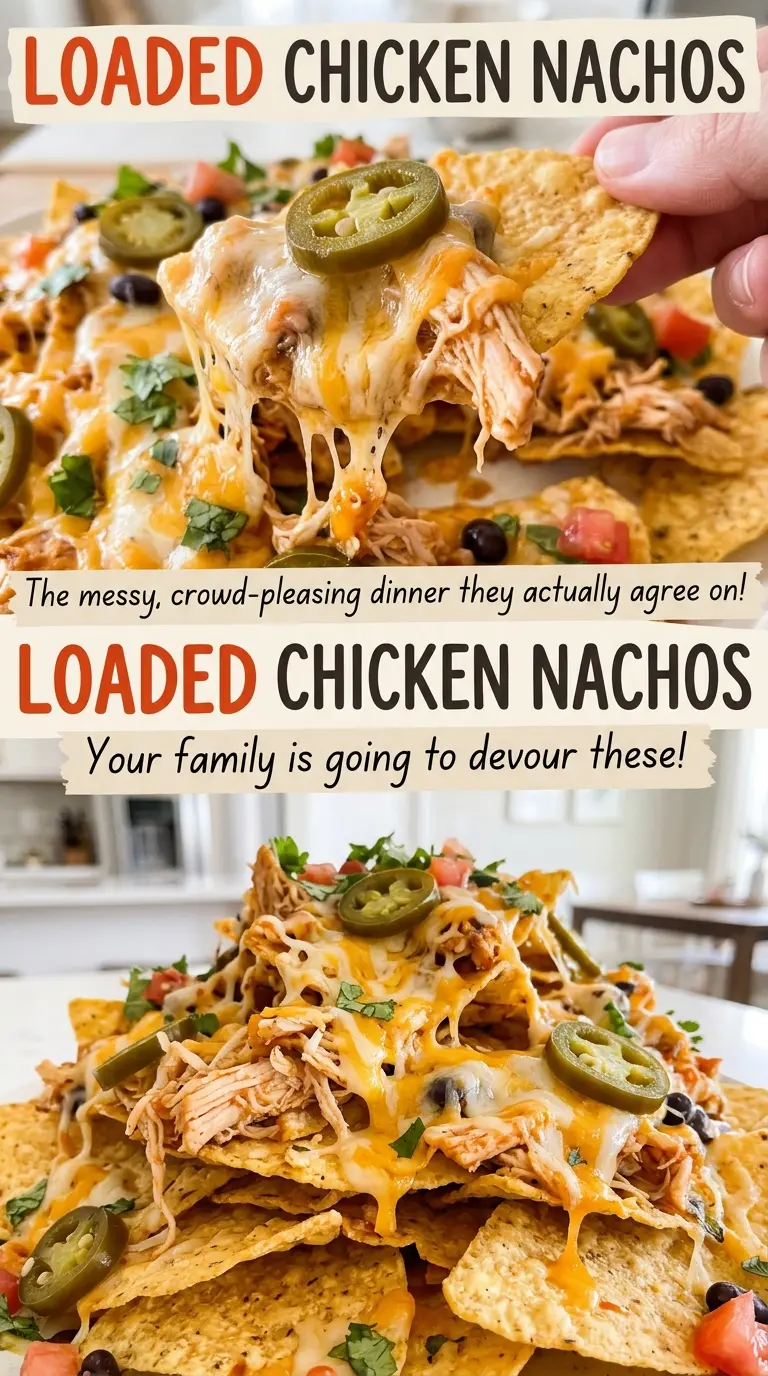
- Sturdy tortilla chips — Thick, strong chips hold the weight of beans, chicken, and melted cheese without collapsing as soon as you pick them up. The bagged kind is fine; choose chips that feel substantial rather than thin and delicate. There isn’t a useful one-for-one substitute here, so if you have thinner chips, keep the toppings spread lightly rather than piling them into one spot.
- Cooked shredded chicken — Shredded pieces catch the taco seasoning and distribute easily over the chips. Rotisserie chicken works as the cooked chicken here; pull it into small shreds before warming it with the seasoning and water. The chicken should already be cooked before it reaches the skillet.
- Taco seasoning — This gives the chicken its consistent savory, spiced character. A packet or jarred blend is convenient, and there isn’t a single-spice swap that delivers the same mix; if you don’t have it, leave it out rather than guessing at a replacement blend.
- Black beans — Draining and rinsing gets rid of the canning liquid, so the beans add substance without bringing extra liquid onto the chips. Canned beans are an easy fit here; let them drain well before scattering them over the tray.
- Shredded Mexican-blend cheese — The blend melts across the toppings and helps hold the chicken and beans in place. A packaged shredded blend keeps prep simple, and the familiar blend of cheeses suits the taco-seasoned chicken. Use the Mexican blend listed here rather than replacing it with a strongly flavored cheese that would take over the tray.
- Pico de gallo — Its fresh, bright bite cuts through the richness of cheese and sour cream. Good, fresh pico matters more than an expensive brand; use the prepared kind you enjoy eating on its own.
- Avocado, scallions, and pickled jalapeños — These bring different kinds of contrast: creamy avocado, a mild onion note from the scallions, and tangy heat from the jalapeños. Dice the avocado and slice the scallions close to serving so they look fresh when they reach the table.
- Sour cream — A drizzle adds coolness and creaminess to the finished tray. Regular sour cream works well; there is no need to seek out a specialty version for this topping.
Building the Nachos So the Cheese Melts Across the Tray
Warm the Chicken Until Steaming
Heat the oven to 400°F with a rack in the center while you work on the chicken. Combine the cooked shredded chicken, taco seasoning, and water in a medium skillet over medium heat. Stir for 3 to 4 minutes, until the chicken is steaming and heated to 165°F. Keep it moving around the skillet so the seasoning and water coat the shreds instead of collecting in one spot.
Spread One Even Layer on the Baking Sheet
Arrange the tortilla chips across a 13×18-inch rimmed baking sheet in an even layer. Scatter the drained black beans and warmed chicken over the chips, distributing them from edge to edge. Finish with the shredded cheese spread over the whole tray. If a large patch of chips has no toppings, shift some of the chicken and cheese over it before baking.
Bake Until the Cheese Bubbles
Set the baking sheet on the center rack and bake for 8 to 10 minutes. Watch for melted cheese with bubbling spots across the surface; the cheese should look glossy and settled over the toppings. If the cheese isn’t melted yet, give it the rest of its baking window rather than pulling the tray early. The chips themselves don’t need to brown for the nachos to be ready.
Rest Briefly, Then Finish with the Cold Toppings
Take the pan from the oven and let the nachos rest for 2 minutes. Top with the pico de gallo, diced avocado, sliced scallions, and pickled jalapeños, then drizzle the sour cream over everything. Add the toppings across the tray rather than concentrating them in the middle. Serve while the cheese is still warm and the chips have their crisp texture.
Three Ways to Adapt the Tray Without Losing Its Character
Make It Meatless with Beans and Cheese
Leave out the chicken and spread the black beans across the chips before adding the cheese. The tray will be less savory and less filling, but the beans still give each serving substance; keep the pico, avocado, scallions, jalapeños, and sour cream as listed.
Keep the Jalapeños on the Side
For a milder tray, leave the pickled jalapeños off the pan and serve them alongside it. The rest of the toppings stay unchanged, so each person can add the tangy heat to their own portion without making the whole sheet spicy.
Turn the Sheet Pan into a Topping Bar
Bake the chips, beans, chicken, and cheese together, then set the pico, avocado, scallions, jalapeños, and sour cream out separately. The base stays hot while everyone chooses their own combination, and the uncovered portions keep their crunch longer.
Storage and Reheating
- Refrigerator: Refrigerate leftovers in a covered container within 2 hours and use them within 3 to 4 days. The chips soften as they sit beneath the toppings.
- Freezer: I don’t freeze assembled nachos. The chips become soft after thawing, and the avocado and pico lose their fresh texture.
- Reheating: Warm leftovers in a 400°F oven just until heated through. The chips won’t return to their original crunch, so avoid leaving the pan in longer than needed.
Questions That Come Up When Making Loaded Chicken Nachos
Loaded Chicken Nachos
Ingredients
Equipment
Method
- Heat the oven to 400°F.
- Place a rack in the center.
- Combine the chicken, taco seasoning, and water in a medium skillet over medium heat.
- Cook, stirring, for 3 to 4 minutes, until steaming and heated to 165°F.
- Spread the tortilla chips in an even layer on a 13x18-inch rimmed baking sheet.
- Scatter the black beans and chicken over the chips.
- Top evenly with the cheese.
- Bake for 8 to 10 minutes, until the cheese is melted and bubbling.
- Let the nachos rest for 2 minutes.
- Top with the pico de gallo, avocado, scallions, and jalapeños.
- Drizzle with the sour cream and serve.
