
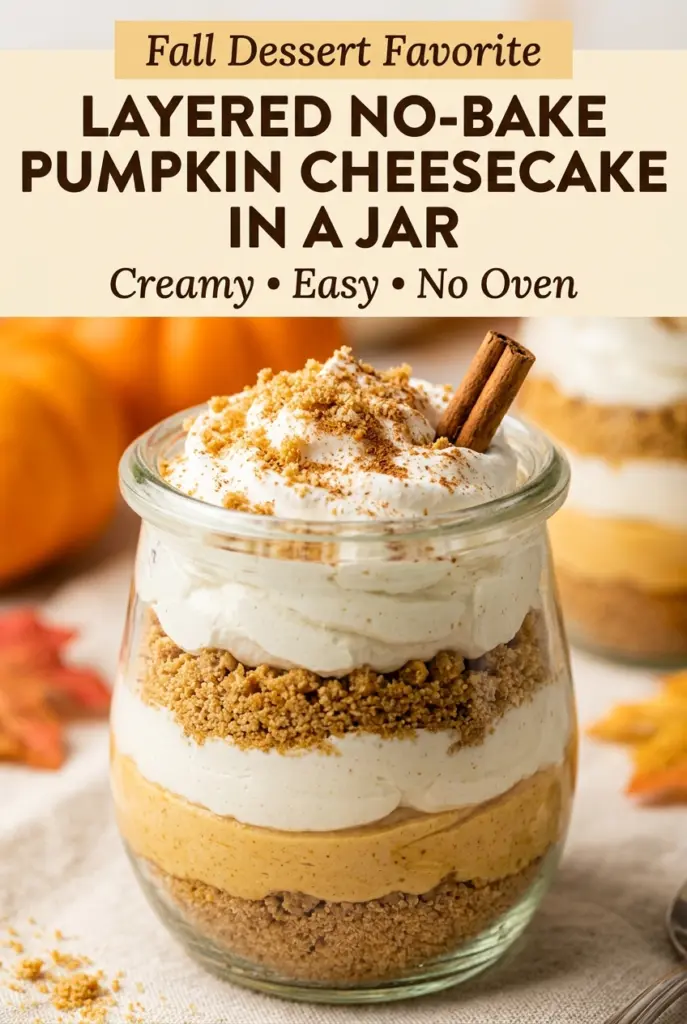
Layered No-Bake Pumpkin Cheesecake In A Jar
Layered no-bake pumpkin cheesecake in a jar gives you all the payoff of pumpkin cheesecake without the water bath, cracking, or long bake time. The crust stays buttery and a…
Tip: save now, cook later.Layered no-bake pumpkin cheesecake in a jar gives you all the payoff of pumpkin cheesecake without the water bath, cracking, or long bake time. The crust stays buttery and a little sandy in the best way, the filling turns creamy and mousse-like, and the separate jars keep every serving neat from the first spoonful to the last.
What makes this version work is the balance. The cream cheese needs to be beaten smooth before anything else goes in, or you end up chasing little lumps all the way through the filling. Whipping the cream separately and folding it in keeps the texture light instead of dense, and the chill time gives the crumbs time to soften just enough so they taste like a real dessert layer instead of a handful of dry cookie bits.
Below, I’ll walk through the part that matters most: how to keep the filling airy, how to layer the jars so they look clean, and which swaps still give you that classic pumpkin cheesecake flavor.
The filling set up beautifully after chilling overnight, and the graham layer stayed just soft enough without turning mushy. I topped mine with crushed gingersnaps and everybody asked for the jars instead of pie.
Layered pumpkin cheesecake jars are made for easy chilling, clean scoops, and those pretty graham-and-whipped-cream layers.
The Quiet Reason No-Bake Cheesecake Fills Crack and Sinks
No-bake cheesecake goes wrong when the filling is built with too much air from the start or not enough structure at the end. If the cream cheese is still cold and lumpy, the mixer works harder than it should and leaves little bits behind. If the whipped cream goes in too aggressively, the filling can lose that light texture and turn loose instead of set.
The other issue is moisture. Pumpkin puree brings great flavor, but it also brings water. That’s why this recipe leans on full-fat cream cheese, powdered sugar, and properly whipped cream to balance the puree instead of fighting it. The chill time matters just as much as the mixing, because the filling firms up as the fat cools and the crumbs absorb a little moisture from the layers above and below.
- Cream cheese — Use full-fat cream cheese for the best set and the cleanest pumpkin flavor. Low-fat versions can work in a pinch, but they stay softer and taste thinner.
- Pumpkin puree — Use plain pumpkin puree, not pumpkin pie filling. Pie filling already contains sugar and spice, which throws off the texture and makes the dessert taste muddy.
- Heavy whipping cream — This is what gives the filling its mousse-like lift. You need cream that can reach stiff peaks; half-and-half won’t whip properly and will leave the filling heavy.
- Graham cracker crumbs — Fresh crumbs taste better than stale ones and hold together more evenly once the butter goes in. If you only have whole sheets, crush them finely so the layer packs without large dry pieces.
What Each Layer Is Doing in the Jar
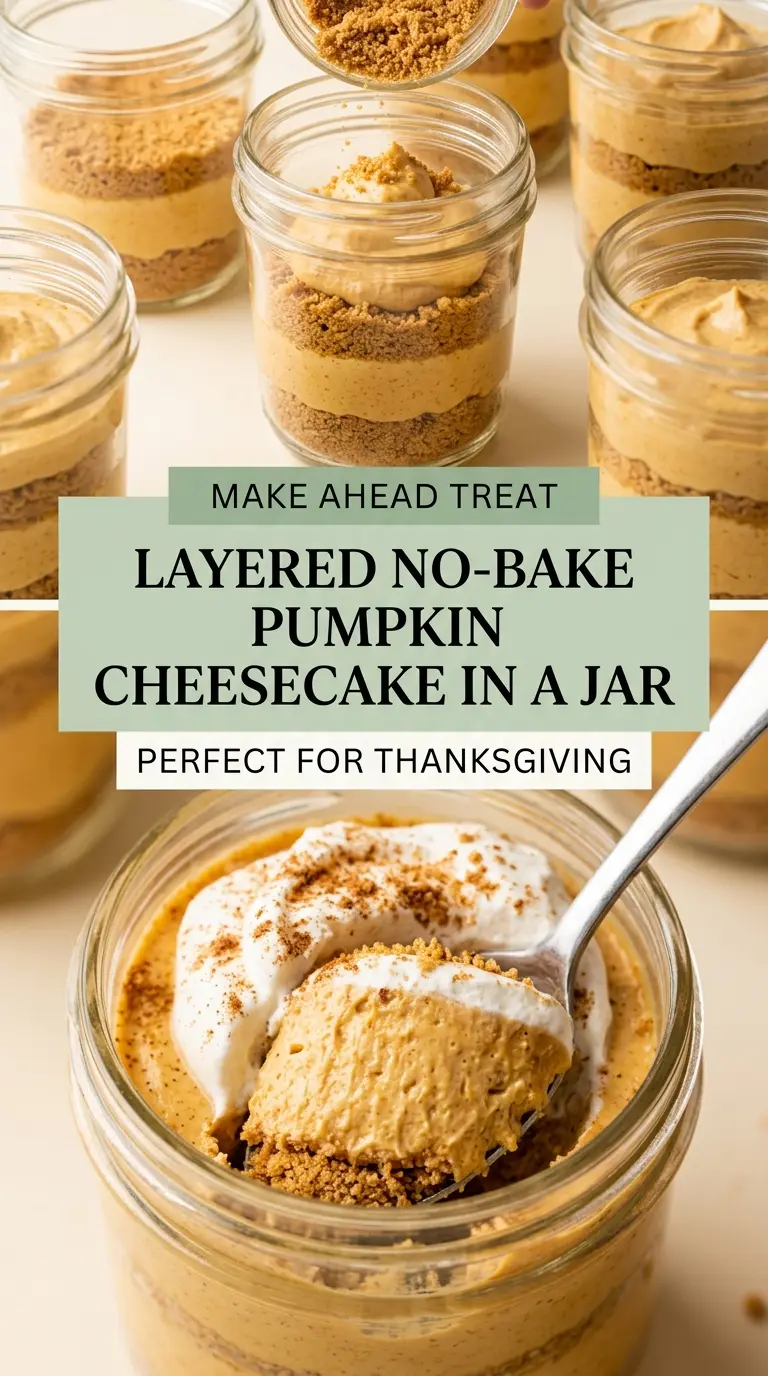
- Graham cracker crumbs — The crumbs give you the cheesecake crust flavor without baking a full shell. The butter should coat them evenly so they clump slightly when pressed, but they shouldn’t look greasy.
- Brown sugar — This adds a deeper caramel note that white sugar can’t match. It also helps the crumb layer taste like an actual crust instead of plain sweet crumbs.
- Softened cream cheese — Softened means truly pliable at room temperature, not just barely cool to the touch. If it’s too cold, the filling won’t turn smooth before you add the pumpkin.
- Pumpkin pie spice, cinnamon, and nutmeg — These spices keep the pumpkin from tasting flat. Pumpkin itself is mild, so the spice blend does the flavor lifting.
- Powdered sugar — Powdered sugar dissolves into the filling without grit and helps stabilize the whipped mixture. Granulated sugar leaves the texture a little sandy here.
Building the Jars So the Layers Stay Distinct
Mix the Crumb Base First
Stir the graham crumbs, brown sugar, cinnamon, and melted butter until every crumb looks lightly coated and the mixture holds together when pressed. If you see dry patches, the crust layer will crumble apart in the jar instead of packing into a clean base. Press it down gently, not hard, because you want a firm layer, not a compressed brick.
Whip the Cream Separately
Beat the heavy cream with powdered sugar until stiff peaks hold their shape on the whisk. Stop there. If you keep going, it turns grainy and starts heading toward butter, which gives the filling a broken, overworked feel. A clean peak should stand up and just curl at the tip.
Fold for Lightness, Not Speed
Beat the cream cheese and pumpkin mixture until it looks smooth and evenly orange before adding the whipped cream. Then fold the cream in with a spatula using broad strokes from the bottom of the bowl. If you stir too hard, the air you just whipped in disappears and the filling gets dense.
Layer and Chill
Spoon or pipe the filling over the crust in even layers so the jars look neat and the texture stays balanced in each bite. Chill the jars for at least 4 hours, but overnight gives the cleanest set. The layers firm up, the spices settle in, and the dessert tastes more like cheesecake than pumpkin mousse.
Dairy-Free Pumpkin Cheesecake Jars
Use dairy-free cream cheese and a plant-based whipping cream that can hold peaks. The filling won’t taste exactly like classic cheesecake, but you still get the same layered look and a creamy, chilled spoon dessert with solid pumpkin spice flavor.
Gluten-Free Crust Layer
Swap the graham crackers for gluten-free graham-style crumbs or crushed gluten-free cookies. The butter amount stays the same, but the texture may be a little more delicate, so press the base gently and chill well before layering the filling.
Make It More Gingersnap-Forward
Replace half the graham crumbs with finely crushed gingersnaps and keep the cinnamon light. You’ll get a sharper, spicier crust that cuts through the sweet filling and tastes a little more holiday-forward.
Storage and Reheating
- Refrigerator: Store covered for up to 3 days. The crumb layer softens a little more each day, but the dessert stays creamy and spoonable.
- Freezer: Freeze only if you want a firmer, semifreddo-like texture. The whipped filling can lose some of its airy feel after thawing, so it’s better fresh from the fridge.
- Reheating: No reheating needed. Serve straight from the refrigerator so the layers stay clean and the filling holds its shape.
Answers to the Questions Worth Asking
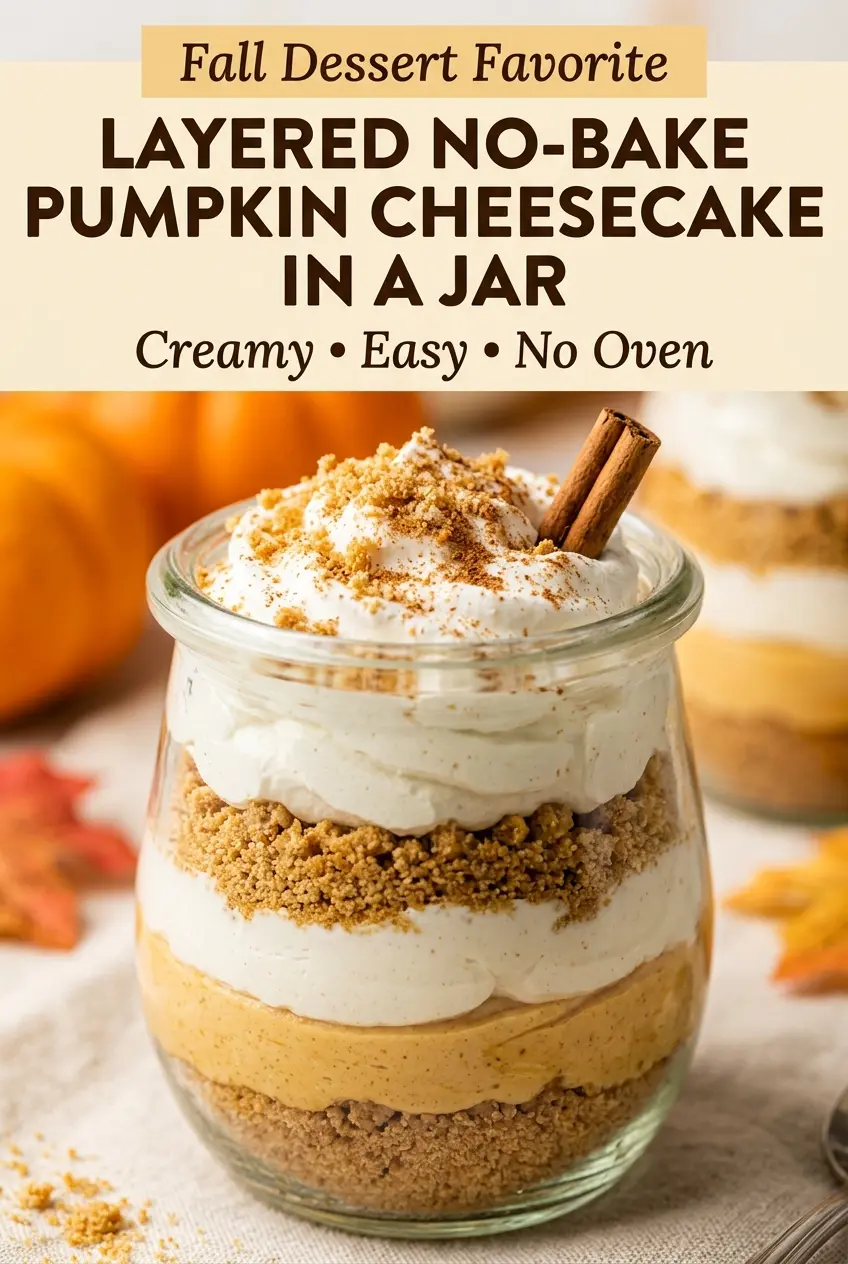
Layered No-Bake Pumpkin Cheesecake In A Jar
Ingredients
Equipment
Method
- In a bowl, combine graham cracker crumbs, light brown sugar, ground cinnamon, and melted butter until evenly moistened, pressing any dry bits together with your fingertips until it looks like damp sand.
- Let the mixture sit for 5 minutes so it thickens slightly, making it easier to spoon and press into the jars.
- Beat the softened cream cheese until smooth and fluffy, scraping the sides as needed so no lumps remain.
- Mix in pumpkin puree, powdered sugar, vanilla extract, pumpkin pie spice, ground cinnamon, and ground nutmeg until creamy and uniform.
- In a separate bowl, whip heavy whipping cream with powdered sugar for whipped cream until stiff peaks form, turning the bowl upside down without the cream collapsing.
- Gently fold the whipped cream into the pumpkin mixture until light and airy, stopping as soon as no streaks remain.
- Spoon 2 tablespoons of graham cracker mixture into the bottom of each 8-ounce dessert jar and gently press down to compact it.
- Pipe or spoon a layer of pumpkin cheesecake filling over the crumbs, spreading to the edges without disturbing the base.
- Repeat with another graham cracker layer and another cheesecake layer, ending with cheesecake on top.
- Refrigerate for at least 4 hours, or overnight for the best texture, until the filling is set and holds its shape when topped.
- Before serving, top each jar with whipped cream, graham cracker crumbs, and a light dusting of cinnamon, then add crushed gingersnaps and a cinnamon stick or star anise if using.
